~ * ~
This article is written by Kim Kelley
About a year ago I made my very first altered book, I had just found out my uncle Rocky was dying of cancer; was given just a few months to live, and I wanted to make something that might give him and the family a bit of hope. So I started playing around with a book I happened to have had two of and viola… a masterpiece was created…
 First try at an altered book
After that, I was hooked. Since I enjoy going to antique stores anyway, going through bins and shelves of; well wonderful pieces of junk, I started searching around for books. Looking for the heavy, hard cover monstrosities that will make fantastic art!
There are a few ways you can alter a book…altering page by page, making a shadow box of sorts, fanning pages, even cutting shapes out of the pages, but I chose to create a stand up, 2 opening frame display.
For this project I used Jacquard Lumiere paints in …. , harlequin chipboard pieces, some other chipboard pieces, bead texture, flake texture, texture gel, and a digital image from Rebecca Sinz named Wither purchased at www.sweetpeastamps.com. Oh and of course a book!
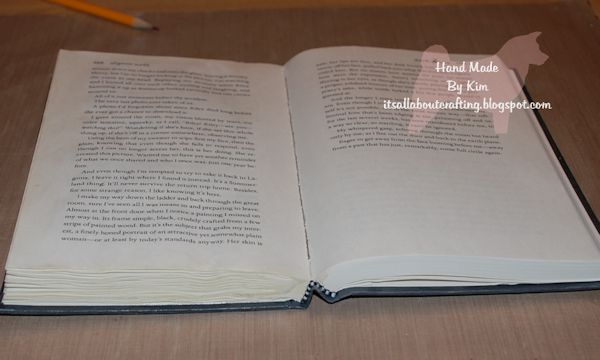
So to start, I find the middle of the book and pretty much break the spine by bending and wringing the book back and forth. If you could see my hands you would tell what to do. Ha-ha. Then I start to glue the pages together. This takes a little time because even though you are not gluing each and every page you do not want to skip too many, maybe every five pages or so. I used mod podge and made sure I got it right up to the spine of the book as well as right to the edges of the page. If there seems to be too many without glue you can always go back and add more.
 Bending of book, start of gluing
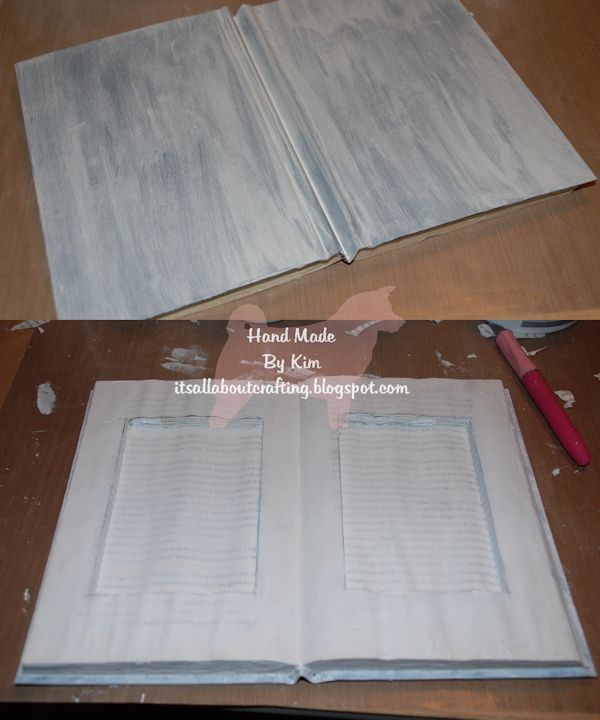
Depending on the size of your book is going to depend on the size of your opening that you cut out. I usually go in about an inch from the edges, draw my lines where I want to cut and then cut down about halfway through the pages. You want to leave the showing page to have some writing.
Now bring out your gesso! I like to put at least two coats of gesso on both the cover and the inside, making sure you get all the cracks and crevices.
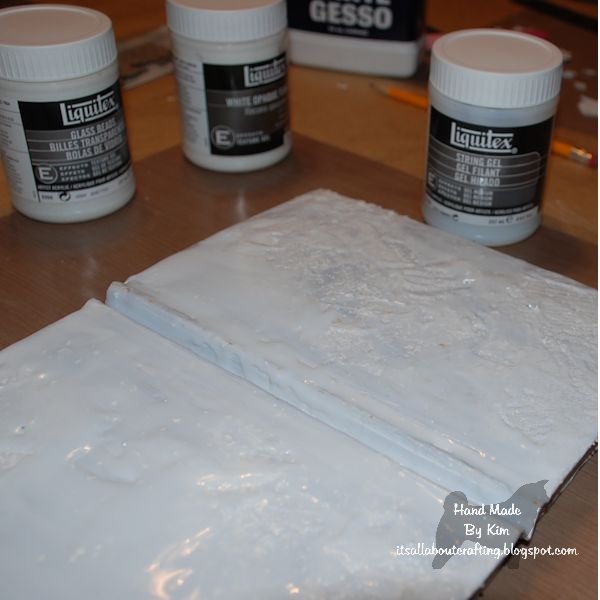
I usually decorate the cover side first. Even if the cover side may not be seen at all times you know someone will pick it up and look at it! I started with my palette knife and several texture mediums; spreading anywhere and everywhere, getting them spread around so that you can see and feel each texture style.
 Outside
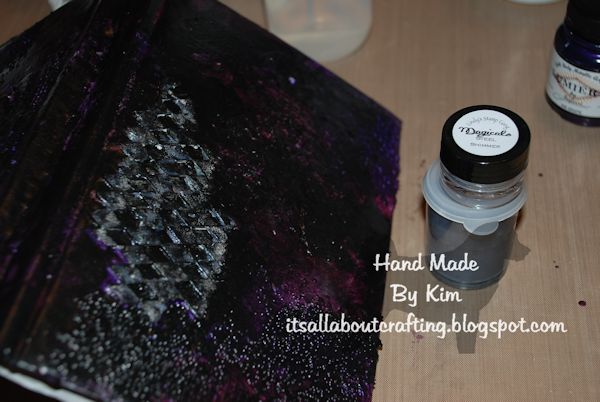
You want to continue doing the same on the inside, trying to keep it away from the cut out portion. If some drips onto the cut out edge, that’s fine, but keeping the bottom pretty clean is good, so that when you add your image and/or saying it will adhere the way it needs to. I initially added drips and splotches of string gel and then had to cut out the bottom page. Live and learn! Ended up just using some mists instead to give some color to the inside page.
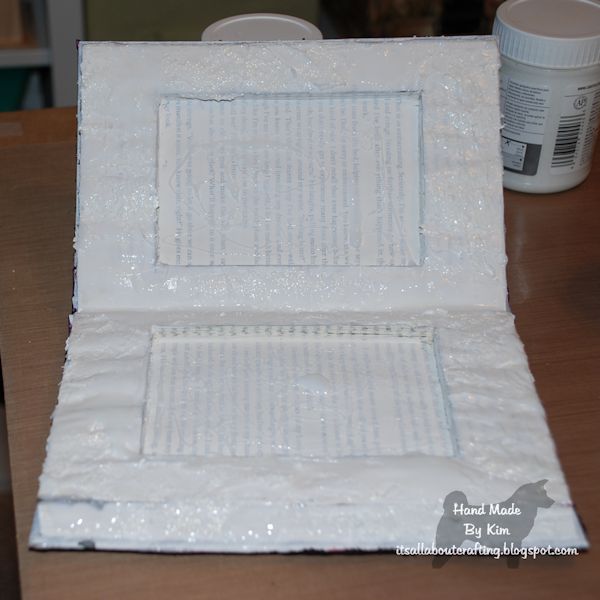 Inside
Once you get the texture the way you want it, you can start to add your chip board pieces. I added mine while the texture was still a bit wet, makes for adhering it a lot easier. I used both the outline of the harlequin chipboard and the little pieces that you take out. At this stage I also used my glue gun on the pages, giving both texture and strength to the book.
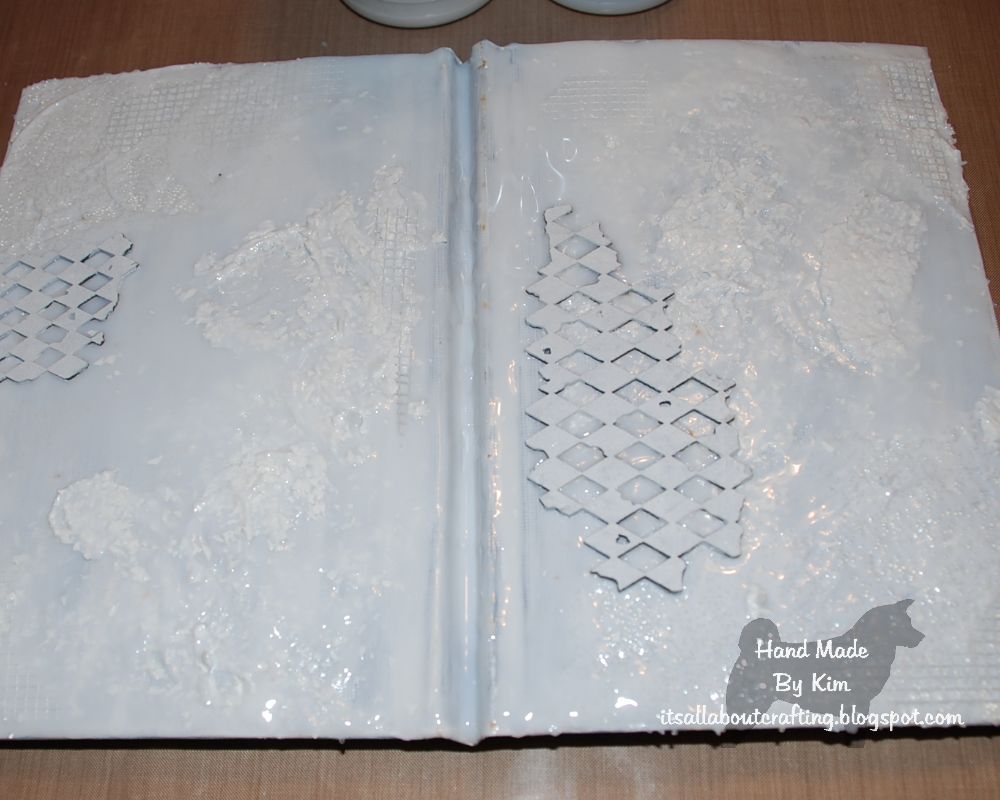 Chipboard
For some reason purple colors jumped off the shelf and onto my craft table, so I figured purples it shall be. I used Burgundy, Grape and Halo Violet Gold; alternating colors and brushes. After the purples dried, I also added black, misting with water and sponging some color off. The chipboard pieces I colored with black and silver.
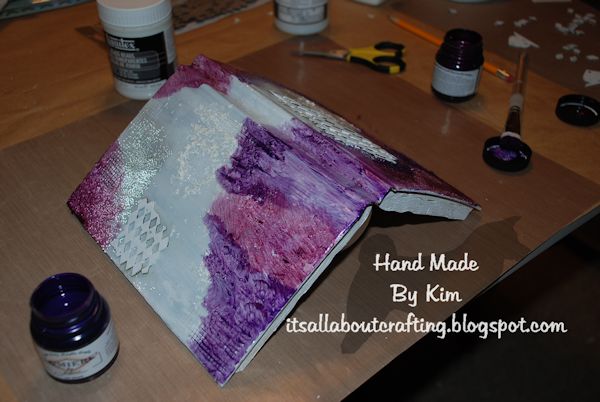 Painting it up
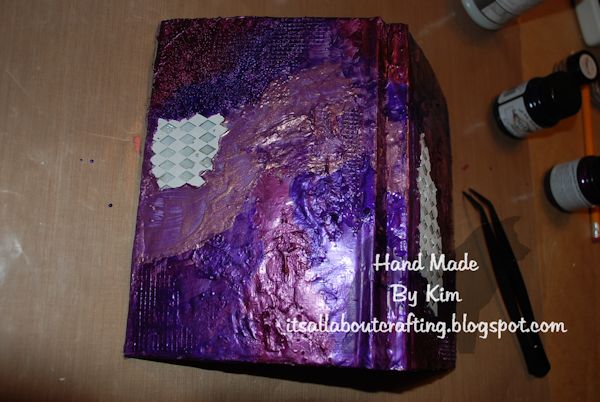 Painting it up 2
 Painted chipboard
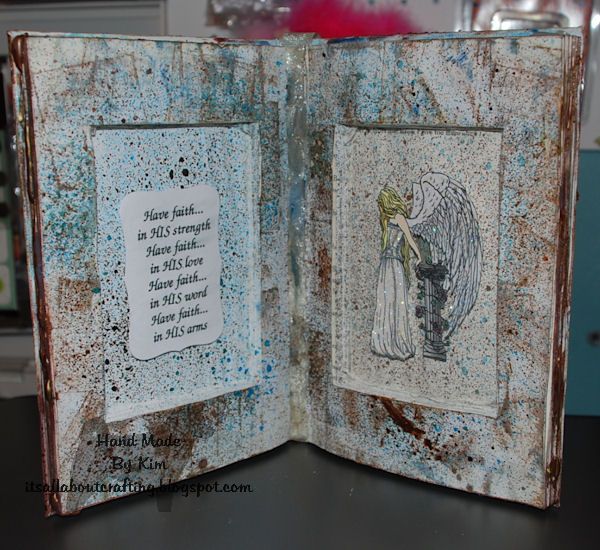
I chose to use an angel for this altered book, I mean who couldn’t use an extra angel around their house. I printed my image twice so that I could make her wings pop out, colored her with Copics and then added glitter to her wings. I will add a scripture or poem once I know who this belongs too, just to make it more personal for them.
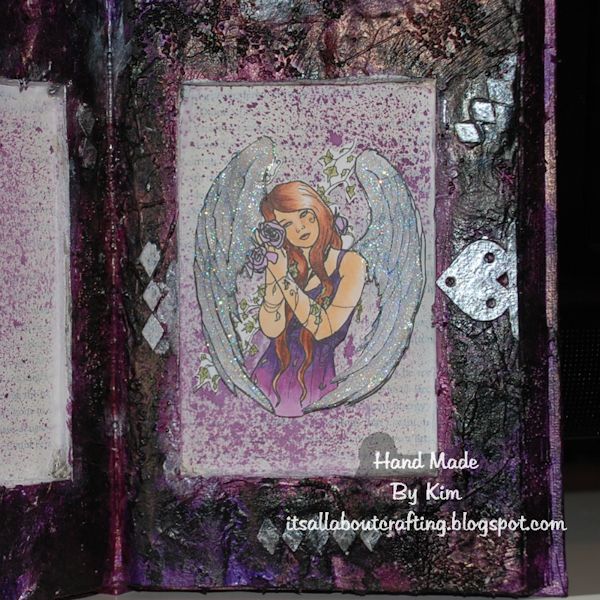 Close up of Angel
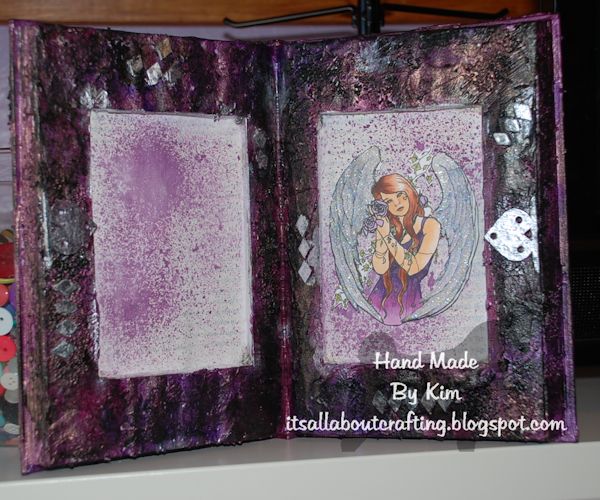 Finished Project!
~*~*~*~*~*~*~*~*~*~*~*~*~*~*~*~*~*~*~*~*~*~*~*~*~
Kim Kelley is borderline obsessive about her crafting and her art. She loves mixed media art because you are free to go beyond your comfort zone, using your imagination and exploring an anything goes mind set. Kim loves to learn and explore new techniques and hopes that any art she creates leads someone to find their inner creative artist!
Sites: itsallaboutcrafting.blogspot.com and www.facebook.com/kimscraftyconcepts
~*~*~*~*~*~*~*~*~*~*~*~*~*~*~*~*~*~*~*~*~*~*~*~*~
.
.


Recent Comments