Documenting your Creative Process with an Art Journal

~ * ~

There is nothing more frustrating to have created a wonderful mixed media painting or when you have mixed paints to create new, wonderful colors, and then not being about to repeat the process or outcome because you can’t remember what you did in the first place. That’s where an Art Journal or visual diary can make all the difference. By jotting down a few key steps and materials you used in your artwork, in creative journal, you will have a reference when you are looking for ideas or wanting to replicate a certain technique.

Have an art journal at hand to note down colours and materials used

Tips for using your Art Journal

Here Michelle shows you her art journal and the kind of things she documents.

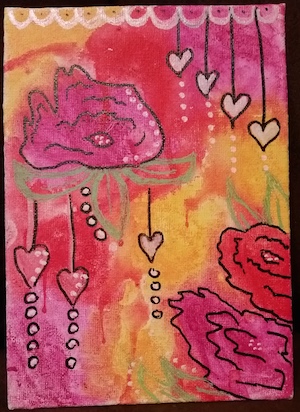
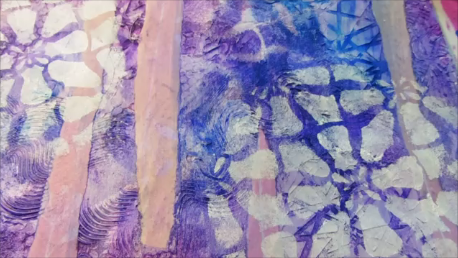
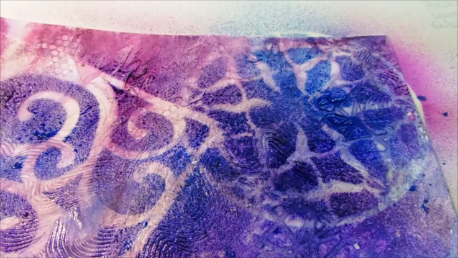
Here is the final mixed media painting Ocean that Michelle was creating while documenting the process steps and the acrylic paints used.

tip in swap spread with "Ocean" as the theme

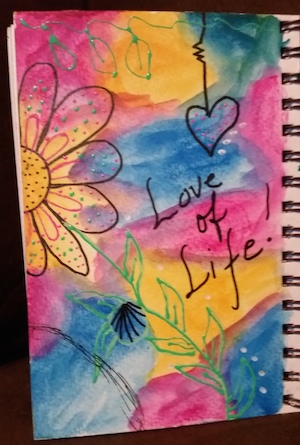
When you compare the initial sketch at the top of the page in the art journal, shown above, with the finished piece, you can see the sketch is only a rough outline of how the final piece turns out. That’s fine. The art journal is to simply document any thoughts and ideas that you have at the start. then you can show the layers, as you have added them. Note that paints or mediums you have used.

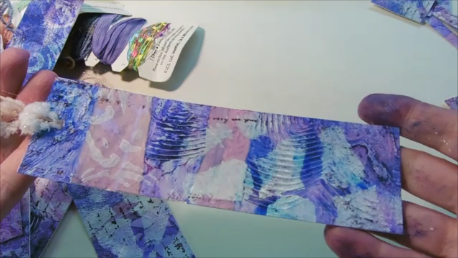
When selecting a book to use as an art journal, consider the different types of mediums you are most likely to use and choose one with paper that matches. Here I’ve used a visual journal, which is great for sketching and adding little samples of paints and adhesives. Some inks and too much paint will run through the pages, so keep the paints fairly dry.

I tend to use both sides of the pages but will always start an important piece of work on a new page. That way I have a nice clean sheet, without any lumps of bumps underneath the paper. Then I can use the backs of pages for straight sketched or to develop and document ideas for future projects.

Don’t Forget the Embellishments!

~*~

This article is written by Laura Shelton

Hello all! It is wonderful to be back here writing articles for Mixed Media Arts again! Hope you have been being super creative, and I really hope that this new articles gives you some new inspiration to make a lot more neat things! Today I am going to talk about embellishments. We all love them, buy them, and even stockpile them. At least I was, and spending way more money than I wanted on them!


Embellishments

Embellishments can run into quite a bit of money, at least mine did, until I made a decision – I decided that any embellishments I wanted, I was going to make myself…no small undertaking, and needless to say, my embellishments fell off a bit, lol! That was, until I just made up my mind, and really got serious about it… Now I would rather have my own, handmade embellishments than anyone elses!

Embellishments

The first embellishments were a bit primitive as you can guess, but as I went I picked my battles, and then things started coming together. Above is an extra large journal page using modeling paste for the lighter sections of the piece. Below you will see an album that I made, where I utilized what I call a “bead tail” coming off of the back of the album, and attached with a handmade bead I made recently

Embellishments

Toward the front, you can see that the closure is made of a vintage bead earring attached to a pendant jewelry finding…on the other side of the album, for the second part of the closure, I have another handmade bead mounted, and it is all held together with a reddish/purple leather cord. The closure alone really dressed up the album a lot!

Embellishments

Other embellishments I have made are more suited for your art journal. There are many, many times that I will use an ATC (Artist Trading Card) embellishment for an embellishment to dress up an art journal page or maybe a mixed median art piece I am working on. These are some of my really old ATC examples, and they have been used at some time for an embellishment.

Embellishments

There are so many things you can make from paper and paint.

Embellishments

What I also enjoy is making embellishments out of beads and old jewelry findings! I have a ton of old beads and fittings from all of the broken necklaces, bracelets and earrings down through the years. I am so glad that I held onto all of them because they are perfect for making your own unique embellishments! Some that I make regularly are what I call my “bead tails”.

These are basically just strings of glass beads, faux pearls, and other stones that I thread onto a heavy string, and then place a charm at the bottom of the string. These end up being the decorative touch that I add at the back spine of my prayer and scripture books that I make, as well as any other type of book, album or anything that is made that way.

A perfect example is the bead tail at the back of above album. These bead tails seem to add so much to a project! I wouldn’t know how to finish out the albums without adding them! Seriously though-embellishments can make or break a project, at least in my mind. Even if you just string a few beads together and maybe add a little fancier clasp to your project, you will be amazed at the difference just a little addition can make!

Embellishments

This is Hester, the Court Jester –  she is just one of several art pieces I have made. I can write about them next time!

Laura Shelton

~ * ~


Neocolor I v Neocolor II – A Funny Story

~ * ~

This article is written by Terri Sproul

Funny story, I found a newer product for me called NeoColor II

Neocolor ii by Caran D’Ache

Off the the store to purchase, first off they do not have them at Michael’s.
Got mine at Dick Blicks, BUT I did not purchase the right ones; I pick up NeoColor I

Neocolor i by Caran D’Ache

NeoColor I are Water Resistant Wax pastels

Well I came home with the NeoColor I and play with them and figured out they were NOT the product I was looking for??? Hum…. back to the store. This time got the NeoColor II, which are water solvent wax pastels, basically water color crayons.

This is a canvas I made using NeonColor II

mixed media art canvas

Are Journal page using Neoncolor II

mixed media art journal

~*~*~*~*~*~*~*~*~*~*~*~*~*~*~*~*~*~*~*~*~*~*~*~*~
You can see more of Terri Sprouls on her weekly show, live on Tuesday at 6 PM PST / 7 PM MST / 8PM CST / 9PM EST (New York Time)
Join her group on Facebook to get links weekly and details.

~*~*~*~*~*~*~*~*~*~*~*~*~*~*~*~*~*~*~*~*~*~*~*~*~

.

.

Mixed Media Bookmarks

~ * ~

This article was written by Tamara Dinius

Add ribbon to complete your project

In this video, you can complete several bookmarks using mixed media techniques on watercolor paper. By using one large sheet, you can have fun decorating one sheet and then cutting in up into many pieces. You will be ready for summer reading and have a few extras for gift giving.

Follow along and complete a layout in less than 10 minutes (plus drying time)

The layout was completed using a range of moulding pastes and other similar products, Derwent Inktense blocks Dylusion Sprays, Liquitex Acrylic Inks, stamps, stencils and papers, as well as other items.

Add texture by applying scrapbook paper of your choice. Additional depth is achieved by adding white acrylic paint through a stencil of your choice.

Adding layers and color

~*~*~*~*~*~*~*~*~*~*~*~*~*~*~*~*~*~*~*~*~*~*~*~*~

Tamara Dinius lives in the Pacific Northwest with her husband and chocolate lab. She has two grown daughters who make her life meaningful. They support her, ground her, embrace her, and are amazing people in their own right.

Her love for mixed media has taken over most aspects of her creative journey. She believes mixed media allows for a broad range of styles and anyone can find success in this form of artistic expression.

You can find more of Tamara’s work, and on her website countrycraftersusa.com, Etsy shop,  or via her Facebook

~*~*~*~*~*~*~*~*~*~*~*~*~*~*~*~*~*~*~*~*~*~*~*~*~

.

.