Graffiti Charm Bracelet

This article was written by Martice Smith II

Martice Smith II demonstrates how to make graffiti charm bracelets ATC canvas sheets

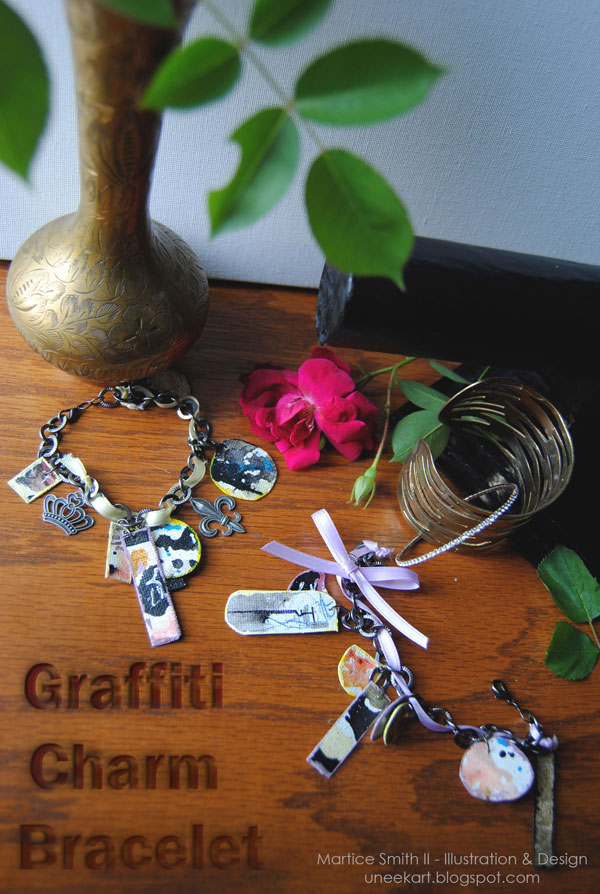
Lately, I’ve been experimenting with creative ways to incorporate more color into my wardrobe and accessories. I shopped around my local art store’s jewelry section and I had a serendipitous moment: why not transform my art into ‘wearable art’? I grabbed up some fun-sized, canvas ATCs and some basic jewelry making supplies and imagined infusing them with my own, signature style…vibrant splashes of color and of course, graffiti flair!

Simply put, this tutorial is the perfect way to show off your artistic side when you’re on the go! I’m sure your Graffiti Charm Bracelet will serve as a unique statement piece and will strike up a conversation in no time…let’s get started!

Gather supplies and tools of your choice

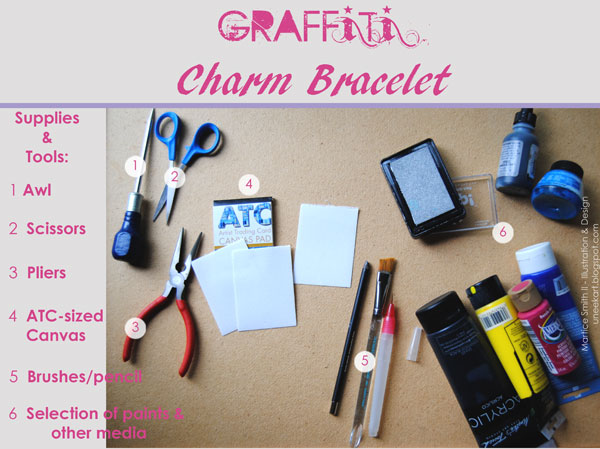
Gather supplies and tools of your choice.

Note: ATC Canvas sheets measure 2.5 inches by 3.5 inches

**Not pictured: 12″ chain ; makes approx. 2 chains

Jump rings; start with 10-15 pieces

Paint and draw on the ATC canvas

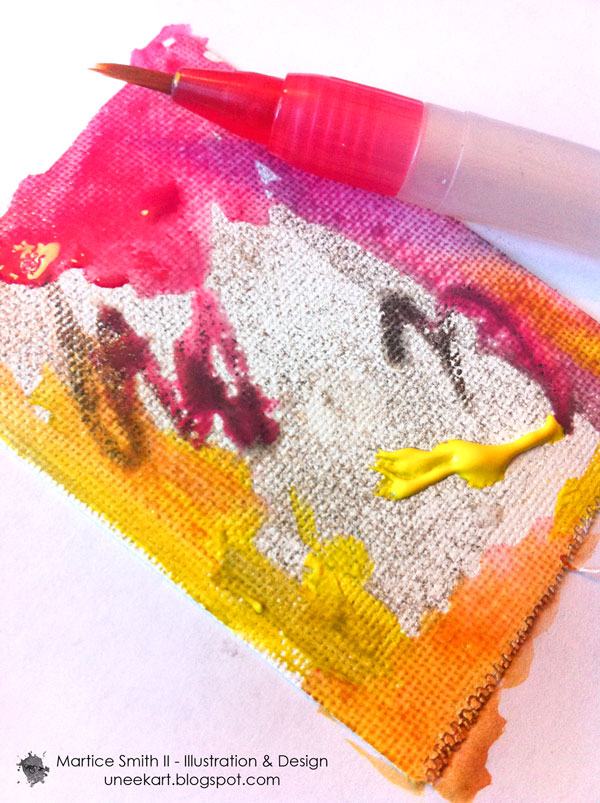
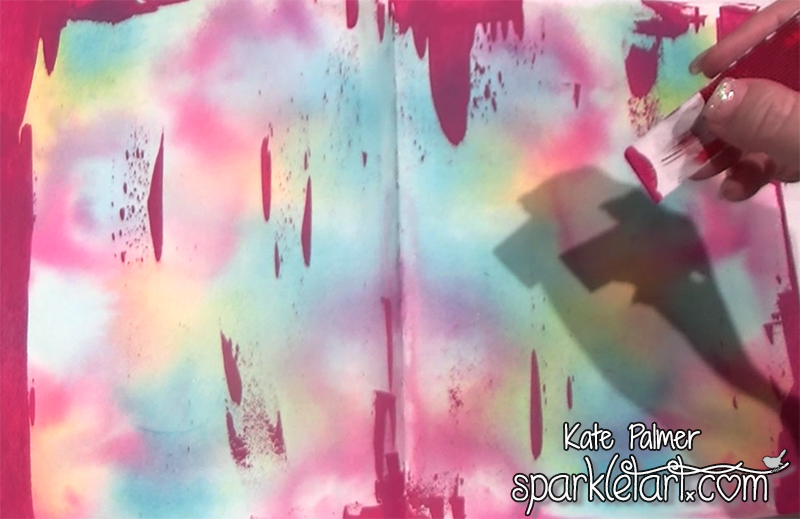
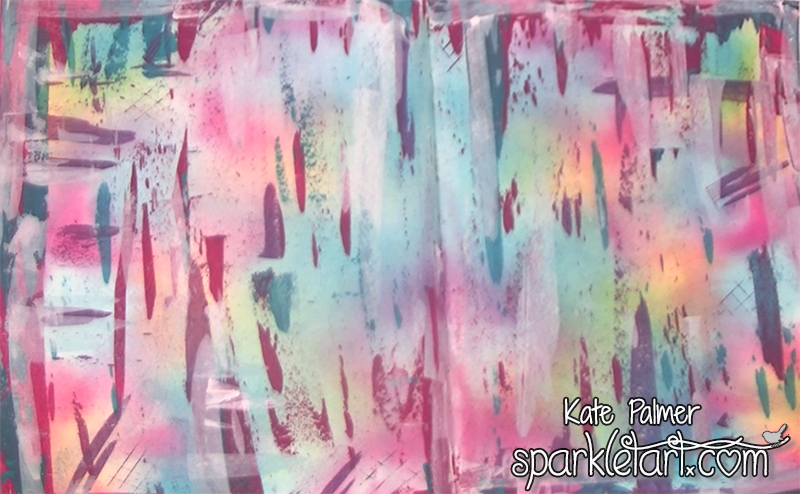
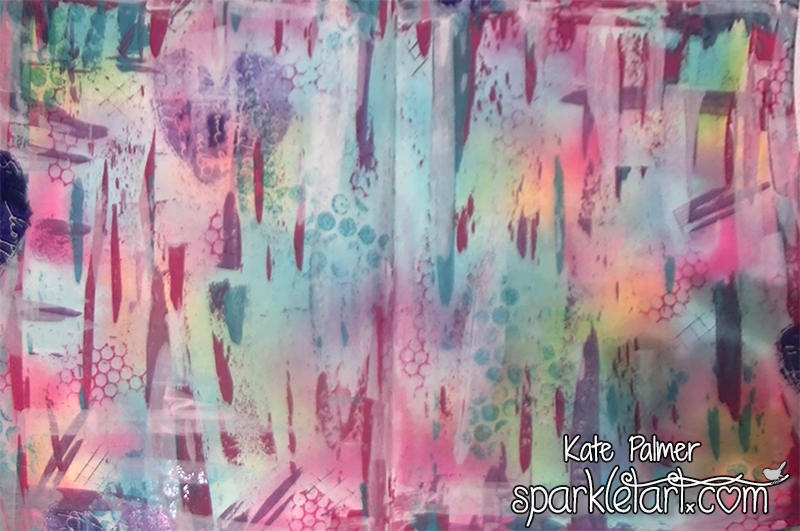
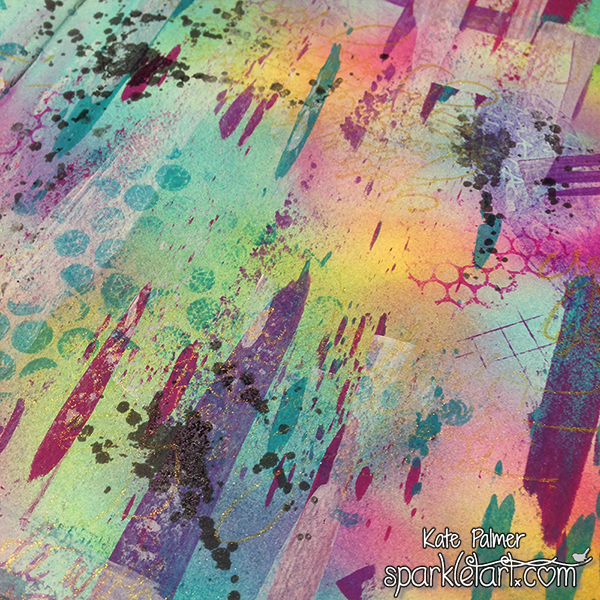
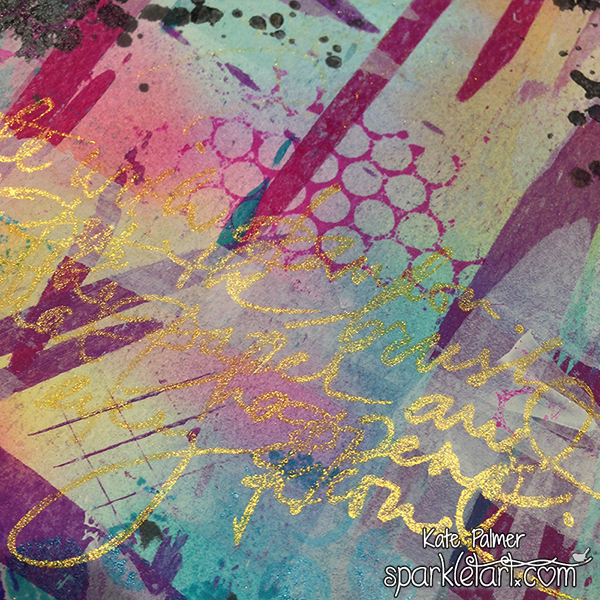
1. Paint the front and back of the canvas ATCs with your favorite media.

Set aside to dry.

TIP: If you used any water-soluble media, make sure to varnish!

These canvas ATCs will be very light. For my bracelet, I glued two sheets together for a little more sturdiness.

Cut the ATC canvas into different shapes

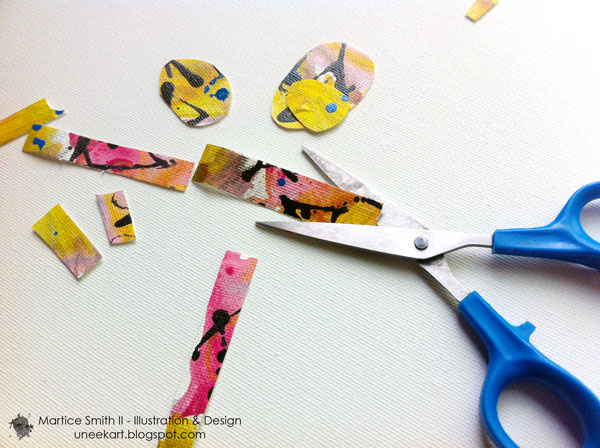
2. Cut canvas into pieces.

Narrow shapes, squares, ovals, and irregular shapes will add more interest and variety to your design. These will be our “charms”.

Feel free to add extra layers of handwriting to some of the charms.

Paint the edges with black acrylic paint

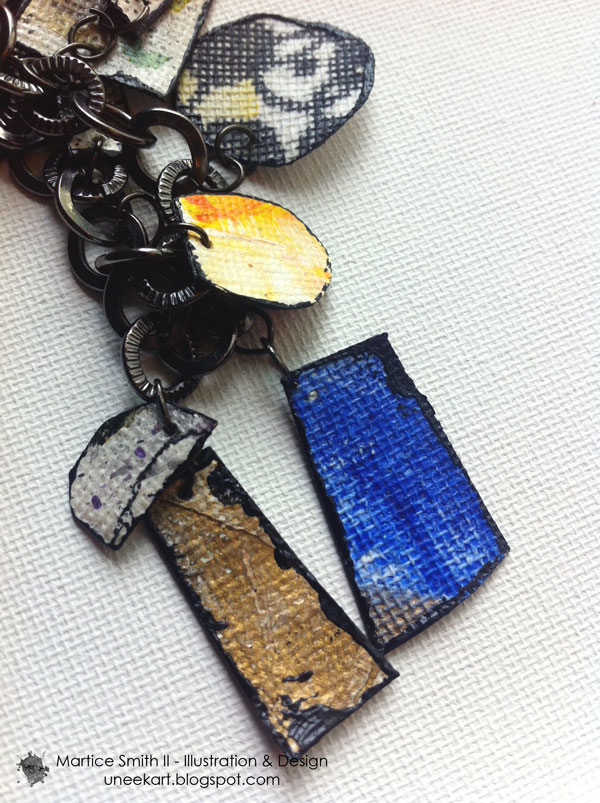
3. Seal the edges with black acrylic paint or a gold leafing pen.

Pierce and attach jump rings

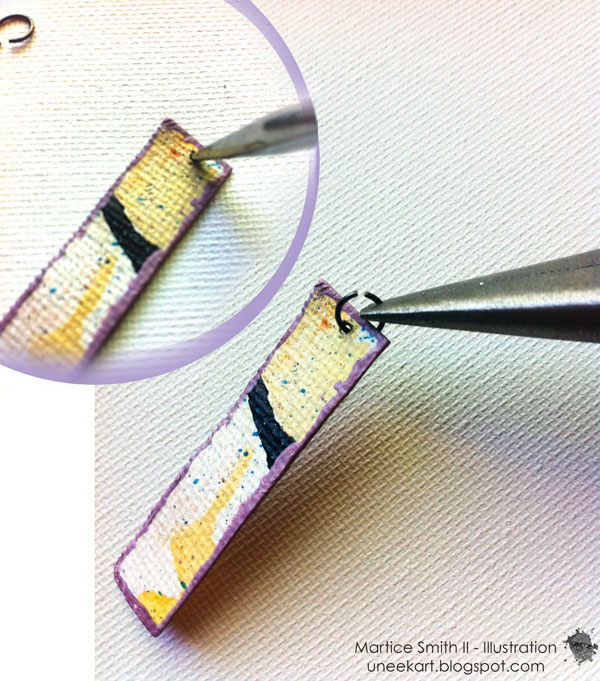
4. Using an awl, pierce through each piece of canvas, 1/4″ from the edge.

5. Insert jump rings.

Use needle-nose pliers to slowly open the jump rings.

Attach a jump ring through each of the holes in the cut out canvas pieces, using the pliers.

TIP: Try layering several pieces of canvas shapes together.

Also, think about pairing up a few complementary colors to give your bracelet’s color palette more contrast.

6. Measure around your wrist with a flexible tape measure or a piece of string, add 3/4″ to that measurement, and then cut the chain to that length.

Next, take your chain and attach the jump rings, however you wish.

I found that skipping every other link accommodated the number of canvas pieces I had without being too overwhelming.

7. Finally, attach a small lobster clasp closure to finish the graffiti charm bracelet.

Here's the finished graffiti charm bracelet!

Other variations to try:

More variety- Add ribbon

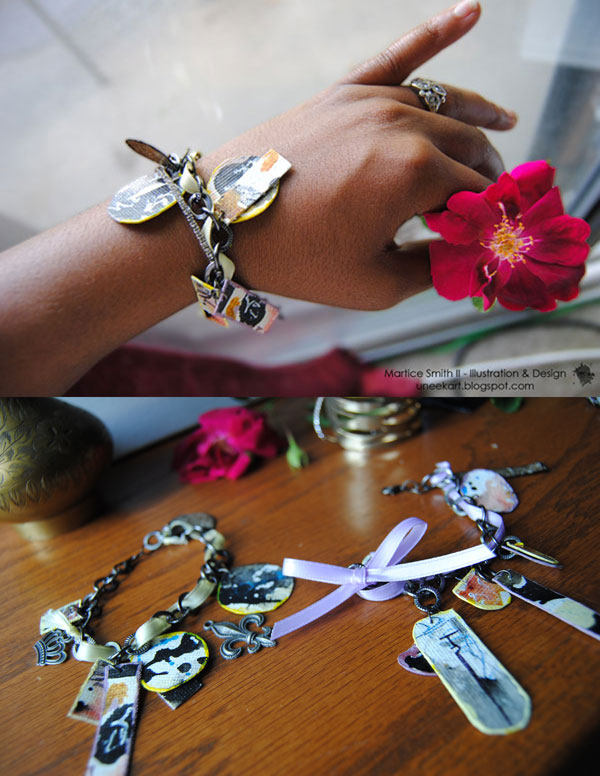
For a more feminine look, weave a silk ribbon through every other link in the chain. Secure ends with a double knot.

I rarely throw away leftover paper or fabric scraps from my previous projects. To clear the stash, I could also glue those bits onto the ATC canvas, before cutting. Got washi tape scraps? Use them for this project, too- they’d be perfect!

Have fun and don’t be shy to strut your beautiful artwork!

~*~*~*~*~*~*~*~*~*~*~*~*~*~*~*~*~*~*~*~*~*~*~*~*~

Author bio:

Mixed-media illustrator and designer Martice Smith II

Martice Smith II is creative director of Martice Smith II – Illustration & Design Studio, based in Kansas City, Missouri and owner of Uneek Art Boutique. She established herself as a freelance Illustrator and graphic designer after receiving her Bachelor of Arts Degree.

Martice also contributes as an article writer for the Creating Mixed Media Art website.

You can see more of her work via her Facebook page or her blog. She invites you to join her monthly newsletter, Uneek Art Letter, for art biz tips, advice and free digital goodies!


.

.

Rainbow Grunge Backgrounds

~ * ~

This article is written by Kate Palmer (aka Sparkle Tart)

Today I’m going to show you all how to create a vibrant Rainbow Grunge Background suitable for cards, pages, journal backgrounds and even canvas!  This background style is particularly useful for low mojo days as it is low stress, uses up extra paint, when finished can be used as a base for many different projects and of course, it can be created in any colours you like!

Finished background using Rainbow Grunge Technique

Journal Background

To create a page similar to mine you will need:

  • Lindy’s Stamp Gang Starburst Spray: Time Travel Teal and Flat Fabios: Summer Lovin’ Sun, Ocean Breeze Blue, Hibiscus Rose and T-bird Turquoise
  • Delta Ceramcoat Acrylic Paint:  Seashell White, Royal Fuchsia, Deep Lilac and Laguna Blue
  • Ranger Archival Ink Pads: Deep Purple, Aquamarine, Magenta Hue and Watering Can
  • Delicata Ink Pad – Golden Glitz

Stamps:

  • Dina Wakely & Stampington – Create with Abandon & Script Heart
  • Stampers Anonymous – Spills & Splatters
  • Pam Carriker – Honeycomb
  • Kaisercraft – Bubble Wrap
  • Old credit card or paint scraper

Step One – randomly spray paper or canvas with a variety of Lindy’s Stamp Gang Sprays and allow to dry.

Rainbow Grunge Step 1

Step Two – using a credit card and Ceramcoat Royal Fuchsia paint, add a little paint to the background by dipping an edge into the paint (I squeeze a little onto my work surface to make this easier) and then scraping the edge along the paper.  Make sure you only add a tiny amount of paint to the credit card otherwise you will end up covering far too much of the background, less is more definitely applies with this technique.

Rainbow Grunge Step 2

Step Three – using this same scraping technique add a little of the Laguna Blue – I like to overlap the colours a little – notice how they appear translucent and you can see one colour behind the other – this can only be achieved by scraping very thin layers of paint – add too much and you lose this effect.

Rainbow Grunge Step 3

Step Four – is a little more subtle as a result of the colour of paint I used – Deep Lilac.  In this step continue to scrape paint onto the background, but add a few horizontal elements.  I like to make sure there is still uncovered background so the whole thing doesn’t end up looking too busy.

Rainbow Grunge Step 4

Step Five – time to tone it down a bit by adding some of the Seashell White (you could a watered down gesso for this if you need to).  Add the white over roughly 1/3 of your paint in both horizontal and vertical directions – it helps to break up the paint streaks and tone down the colours a little.

Rainbow Grunge Step 5

After you paint has dried it’s time to add some stamped images, using Ranger’s Archival Inks.

Stamping on Rainbow Grunge Background

Step Six – using Aquamarine ink add some Bubble Wrap impressions, I like to hold the unmounted stamp in my hand to create these marks as you get a more random and less perfect impression.

Stamping on Rainbow Grunge Background Step 6

Step Seven – using Magenta Hue ink add some Honeycomb stamped images, notice how I’ve echoed the colours used on the first background layer in both the paint and ink layers – this helps to keep the background unified and stops it looking to overwhelming.

Stamping on Rainbow Grunge Background Step 7

Step Eight – time to add a little darkness to the background – but be careful not to overwhelm the more delicately coloured layers underneath.  I’ve used Deep Purple ink and the Script Heart stamp, but to keep it soft, for several of the stamped images I have inked my stamp then stamped lightly on scrap paper before stamping onto my project.  This creates a lighter coloured impression.

Stamping on Rainbow Grunge Background Step 8

Step Nine – this is my favourite part, I’ve added the beautiful text stamp Create with Abandon using Gold ink – while it may not add any additional colour it adds a textural element to the page and catches the light.

Stamping on Rainbow Grunge Background Step 9

Step 10 – this is the final background element and is the only additional colour I have used – Watering Can – a wonderful grey.  I’ve used one of the Spills & Splatters stamps to add a little extra grunge to the background and tone it down a little more.

Stamping on Rainbow Grunge Background Step 10

Now for a few close-ups so you can see the background elements.

It’s important to have a little bit of ‘something’ everywhere on the page as you never know which bits will be seen in the final piece.  You can see all of the layers and elements – the translucent images and paint marks, really help to bring this background together.

Rainbow Grunge Background Close Up 1

Just a little touch of gold can really lift the colours around it.

Rainbow Grunge Background Close Up 2

While I created this page in one session, the fantastic thing about this background is you could easily create it overtime with the leftovers from other projects.  You could create the first layer from over sprayed liquid, the paint scrapings could be left over paint that you add as you need to (rather than waste it) and the stamped images could easily be added whenever you have ink left over on a stamp – you could even play with the order that each item is added to the page, eg: stamps then ink then paint, as each layer is translucent you will still see each element.  Cool huh!

Challenge and Give-Away Winners

Now I’d like to issue a little challenge – I want to know how YOU would use this background – now that you’ve created it what would YOU use it for, what comes next? THANK YOU for all of your comments and inspiration – it is amazing what can be done with a wonderful background!

And the winners are:

Carole Furlong and Joan McAlpine

Carole Furlong says:
“I love this – the lovely warm yellow survives to the last layer – gorgeous. I would use as a background in my art journal. I think I’s do something like a technical drawing over the top – scaffolding, pipes, conveyor belts and that sort of thing – would be a great contrast to the prettiness of the background”

Joan McAlpine says:
What a beautiful, bright background. More like spring than dull and dark winter in Melbourne.
Firstly, I’d photocopy the original and then play to my hearts content with such things like a small Banksy stencil or a silhouette stamp in black archival ink on the top. Of course I could decorate my studio wall (only one with the window as it might be too much if I did more) and use it as wallpaper, then the colours are there all the time to remind me what works. This would be more interesting than the two colour wheels that hang there (obviously one is not enough as colour is sooo… important).” I love the idea or a living color wheel wall!

Ladies – please email Michelle [Michelle @ MixedMediaArt.net] and we will con-ordinate with Kate to get your prizes posted to you!

Plus a HUGE “thank you” to Kate for offering the give aways!

~*~*~*~*~*~*~*~*~*~*~*~*~*~*~*~*~*~*~*~*~*~*~*~*~

Kate Palmer though perhaps better known as Sparkle Tart loved playing with mixed media and techniques.  Most of her work incorporates sparkly media of some sort, which is used on journal pages, canvases, scrapbooks or hand made cards.

You can see more of Kate’s work at Sparkle Tart or via Facebook – Keep It Simply Sparkly

~*~*~*~*~*~*~*~*~*~*~*~*~*~*~*~*~*~*~*~*~*~*~*~*~

.

.

Making Your Own Duct Tape Flowers

~ * ~

Angee Woodman is crazy about duct tape and has created all sorts of things using this colourful material. Today Angee will run us through making our own duct tape flowers. Here we will add the flower onto the end of a pen or pencil – you are welcome to add a flower onto a skewer or wire, to give you a multiple use design.

Make your own duct tape flowers

Tools and Materials

Here are the materials you will need:

– Two colours of duct tape: You can use any design or print you want!

– scissors

– pen, skewer or wire to support flower

Make your own duct tape flowers

Process

The first step is to cover the pen, wire or skewer base. You take the duct tape lengthwise and wrap the pen in it. Most people like to use green to mimic a flower bases but you can use other colors as well.

Make your own duct tape flowers

The next step is to make the petals. The key is to measure two inches of duct tape of whatever print of color you want to be your petals. Cut 2 inch long pieces. You will need about 20 pieces for a small flower. Remember you can always cut more if your flower isn’t full enough.

Once you cut the pieces, you’re going to bend one corner over so it looks like a boat sail

Make your own duct tape flowers

Then you will fold the other edge over.

Make your own duct tape flowers

You’re going to wrap this around the very end of the pen opposite of the end you write with. Make sure the print is on the outside and the sticky part of your pedal is wrapped around the pen base. You’ll want a little bit of a point sticking out. Once you do this, repeat the process but stick your petal across from the one you just made. Then put a petal where there is empty space. Do another petal across from that. The object is to put petals in between other petals. As you do this, the flower will take form.

Make your own duct tape flowers

The last thing to do is to add leaves. This is the same process as the petals but I just make the leaves about ½ inch bigger, cutting 2 1/2 inch pieces from the free tape. You will attach the leaves to the bottom of the flower and the great thing about this is that it blends in with the stem.

Make your own duct tape flowers

And there you have it! A duct tape flower pen. You can also use these flowers on the pens for such things as gift wrapping and making smaller ones for rings. The possibilities are endless!

Make your own duct tape flowers

~*~*~*~*~*~*~*~*~*~*~*~*~*~*~*~*~*~*~*~*~*~*~*~*~

You can see more of Angee Woodman and her crazy Duct Tape products on her etsy shop Duct Dynasty

~*~*~*~*~*~*~*~*~*~*~*~*~*~*~*~*~*~*~*~*~*~*~*~*~

.

.