Michelle G Brown | Mixed Media Art

Mixed Media Materials Storage – Small Papers

As we get further into Mixed Media Arts we find it harder to throw things away, starting to see the potential in everyday objects, beautiful papers, shiny embellishments and other things. So we need to think about how to store them so they are easy to find when we need them and stored safely so they don’t get ruined.

Part 2 – Small pieces of paper
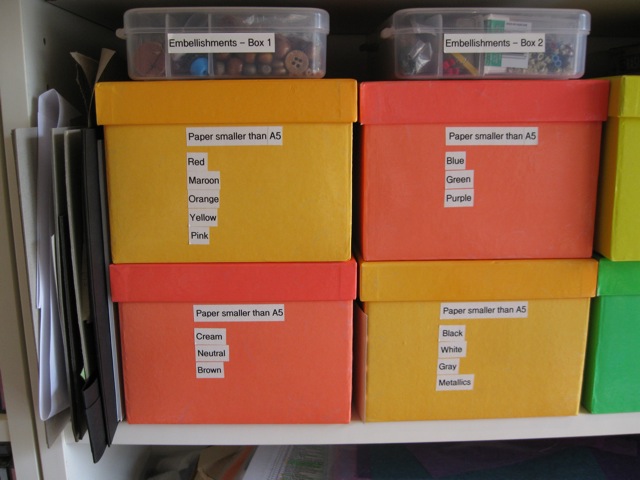
If the paper is smaller than a quarter of a sheet (if it started as A4, then smaller than A6) I store these separately from the 12″x12″ and A4 papers [See Good Papers Storage]. As I began to collect more offcuts that were just too nice to throw away, I started a series of small boxes about shoe box size. These were divided into four colour families:
– cool colours; blues / greens / purples
– warm colours; pink / orange / red / maroon / yellow
– natural colours; browns / cream / naturals
– shades; black / white / metallics / grey
Mixed Media art

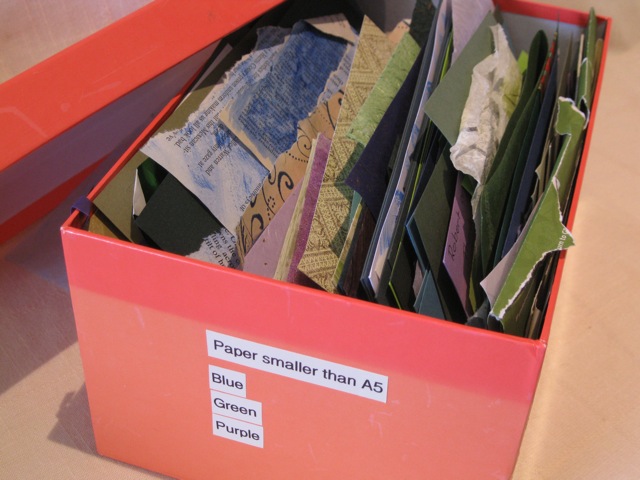
Sometimes these colour separations don’t quite work but most of the time I find it easy to pull out a box if I am looking for a particular colour. I can easily pull a few pieces out, find a matching stamp or sentiments and then put a card or two together.

I rarely make multiples (and admire those that do it on a regular basis) so keeping odds and ends of papers is okay because I’m not trying to make lots of the same.
Mixed Media Art

Every so often, I will still end up with a collection of paper pieces on my desk. then I will pull out all four boxes and sort the left overs out.

I would love to hear about how you store your small paper pieces ~ please leave a comment!
.

.
Mixed Media Material Storage – Good Papers


As we get further into Mixed Media Arts we find it harder to throw things away, starting to see the potential in everyday objects, beautiful papers, shiny embellishments and other things. So we need to think about how to store them so they are easy to find when we need them and stored safely so they don’t get ruined.

Part 1 – Good Papers
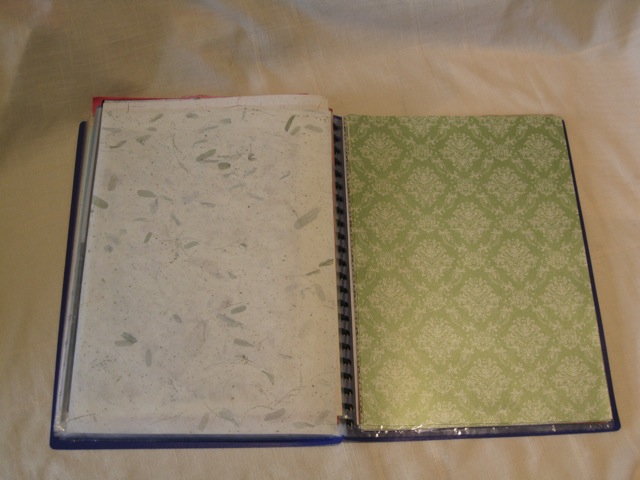
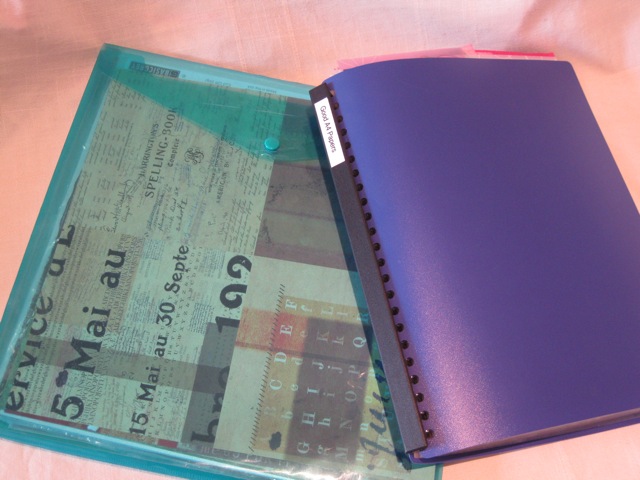
I have collected gorgeous 12″x12″ and A4 papers for many years (sometimes I even use them). My best / favourite / most expensive pieces are stored in a display folder, grouped loosely in like types, rather than colours. The folders are stored flat.

Mixed Media Art
The groups of paper include:
– printed and plain vellum
– good stickers
– words and sentiments
– velvet papers
– metallic
– Japanese papers
– teabag folding preprints
– musi papers (fibreous)
– natural papers – with flower petals and leaves anthem
– embossed papers

If I use only half a sheet or even have a piece that is more than a quarter of the original size, I will return it to this folder. For pieces of paper smaller than this, stay turned to the next post.

Mixed Media Art.

I would love to hear about how you store your good papers ~ please leave a comment!
.

.

My Favourite Materials – Part 5 Embellishments

It’s no secret that at Mixed Media Arts we love to create. We want to use materials that we have at hand, or are fairly cheap and easy to buy, as compared to corporate lines of specialty papers and embellishments where you need to buy something from the entire range as the colours don’t match with anything else. It can be very frustrating.

Today we will look at what we need to add those finishing touches to our mixed media artwork.

Part 4 – Embellishments and Found Objects

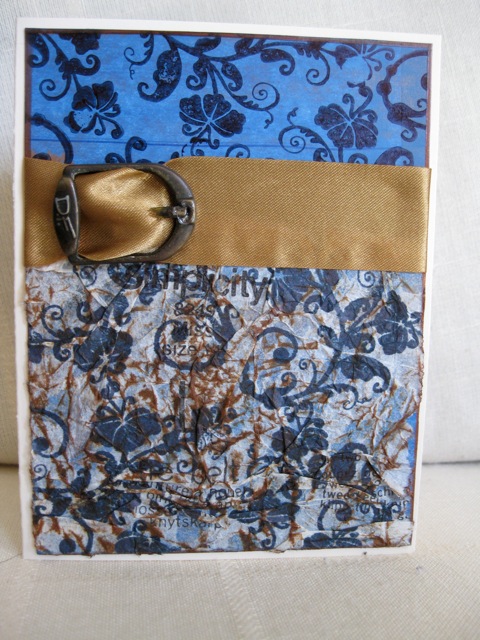
Another of my favourite mixed media materials is everyday objects to use as embellishments, adding that finishing touch or element of gold to complete your piece. I collect all sorts of metal and found objects as you never know when one may come in handy. This greeting card is embellished with an old sandal buckle and ribbon.

Mixed media collage greeting card

Metallic paint to add in touches to the backgrounds will make a great highlight. Or glitter glue that comes with a fine nozzle makes adding features or highlights by hand easy. (like this Stickles™ Glitter Glue Silver By The Each)

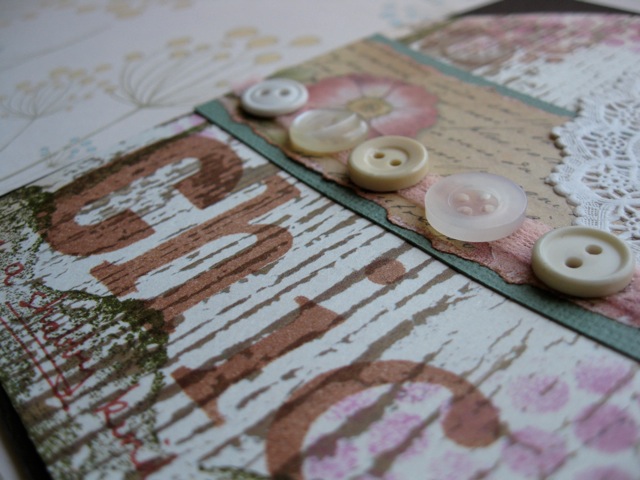
Use buttons as embellishments, reused from old clothing or spare ones from sewing friends or project.

mixed media art arch

Brads or eyelets are fun to use but we don’t need lots of colours; stick to basic black or gold. Then if you need to change colours, you can paint them, change colour with alcohol inks or metallic leafing pens. By using these in your work as well, it ensures the colours will match. It is amazing how many shades of gold there are and you will be forever trying to match odd ones if you have collected too many over the years.

By using paint to colour your embellishments as well as in your background, your colours will always match.

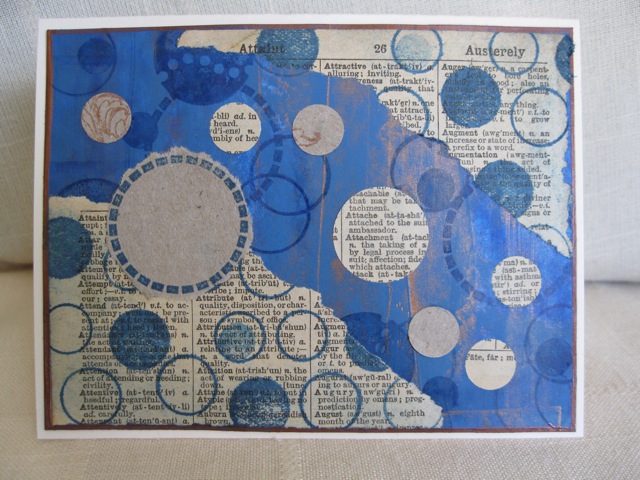
Using punches is also an economical way of creating embellishments. After the initial outlay of the punch, you can use papers to match your background or paint with the same colours. Circle punches are my favourite!

mixed media art greeting card

I hope you have enjoyed our mini-series on our favoutire mixed-media materials.

Happy Creating!

.

~*~*~*~*~*~*~*~*~*~*~*~*~*~*~*~*~*~*~*~*~*~*~*~*~*~*~*~*~*~

Here are other materials that I like:

My Favourite Materials – Part 1 Cardboard

My Favourite Materials – Part 2 Text Ephemera

My Favourite Materials – Part 3 Painting Tools

My Favourite Mixed-Media Materials – Part 4 Plastic Sheeting
Some further reading…

.

My Favourite Mixed-Media Materials – Part 4 Plastic Sheeting

It’s no secret that at Mixed Media Arts we support everyone who has an inner need to create. We want to use materials that we have at hand, around the home as much as possible, or are fairly cheap and easy to buy, as compared to corporate lines of specialty papers and embellishments where you need to buy something from the entire range as the colours don’t match with anything else. It can be very frustrating.

This article highlights some further uses of the humble cereal box.

Part 4 – Plastic Sheeting

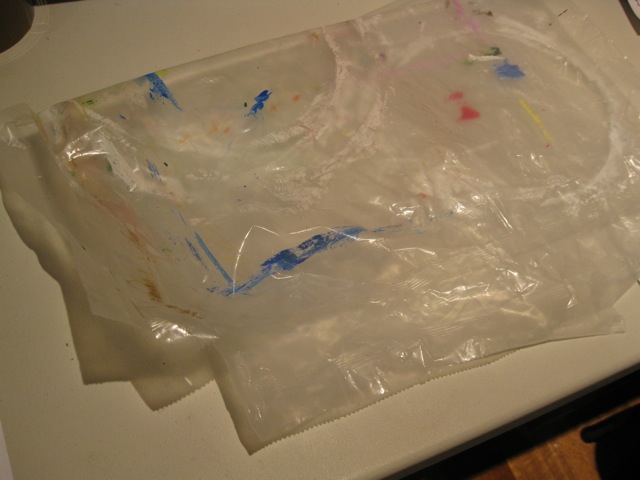
Cereal boxes were mentioned in an earlier article to use as a source of cardboard. It also provides us with the inner bag or lining, that can be carefully opened along the seams to create a fantastic protective sheet that can be laid out on your table to protect the surface when painting. Or it can be cut into smaller pieces to use as layering between pieces to stop the glue from transferring when weighed down to flatten out, if they have buckled when gluing.

Mixed Media Art

Here you can see a few I have already used. I have a store of them on stand-by that I have collected as the cereal is finished. I open the bag carefully along the seams and rinse them under the kitchen tap and allow them to dry. Then I fold them into a manageable size and store them under my craft table.

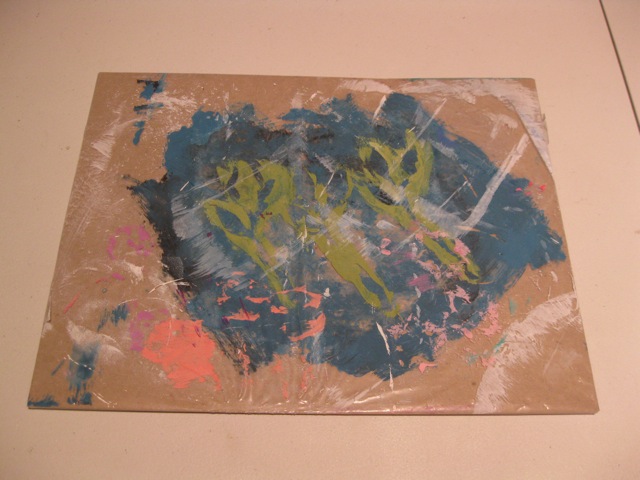
Another use for this plastic is to create smaller board covered with cereal box lining. This can be used if you have inked up a smaller piece, or have glued a few pieces that you want to set aside to dry. The plastic won’t stick to your work and it is easy to move out of your way, from your main work area. Use a few while juggling your work space.

Mixed Media Art

Note: don’t apply heat to this plastic without good ventilation. If you need to use a heat gun to speed up the drying process, remove it from the backing board first.

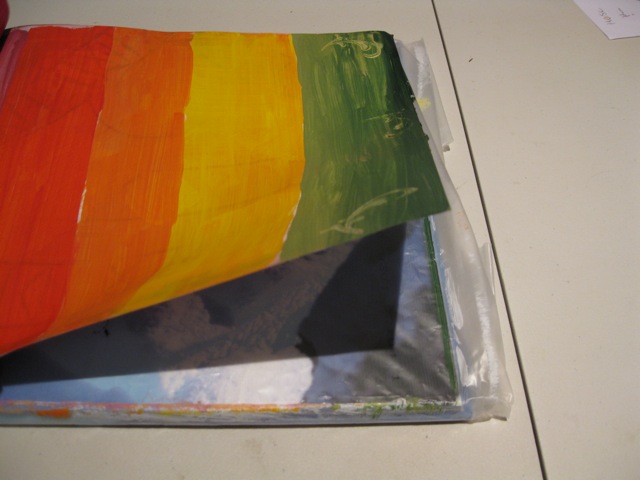
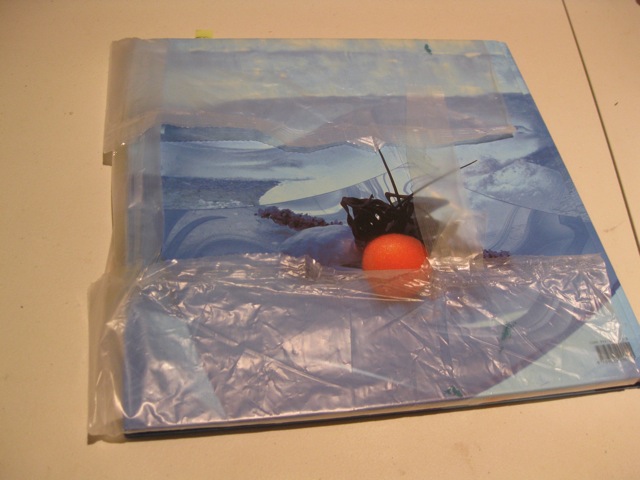
Any plastic sheet can be used in the same way – I like to reuse the cereal box lining instead of throwing it away. It also comes in useful with altered books. A sheet can easily be wrapped around the other pages of the book so that paint doesn’t transferred to a layout already complete or yet to be started.

Mixed Media ArtMixed Media Art

As you can see, creating Mixed Media Art allows us to see everything in a new light and always wondering what else we can do with the things around us.

Happy Creating!

.

~*~*~*~*~*~*~*~*~*~*~*~*~*~*~*~*~*~*~*~*~*~*~*~*~*~*~*~*~*~

Here are other materials that I like:

My Favourite Materials – Part 1 Cardboard

My Favourite Materials – Part 2 Text Ephemera

My Favourite Materials – Part 3 Painting Tools

My Favourite Materials – Part 5 Embellishments
See what others have done with their recycling and art…

.

.

.