~ * ~
This article is written by Melanie Statnick

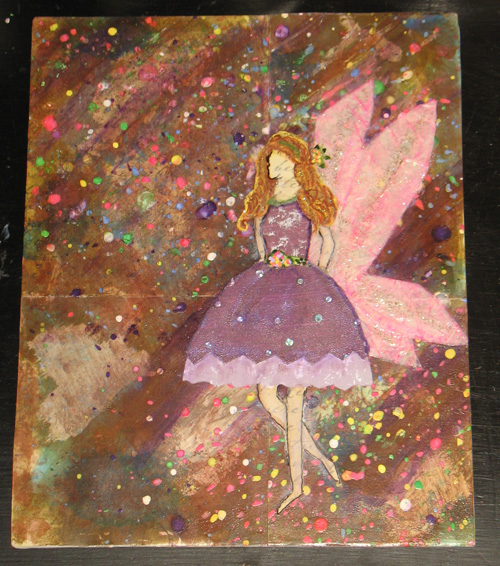
Greeting cards are so fun and quick to make. My mum and I would send cards to each other all the time. I really want to get in the habit of snail mail again. I love to send gifts, happy mail, post cards and handmade cards.
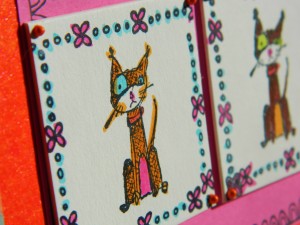
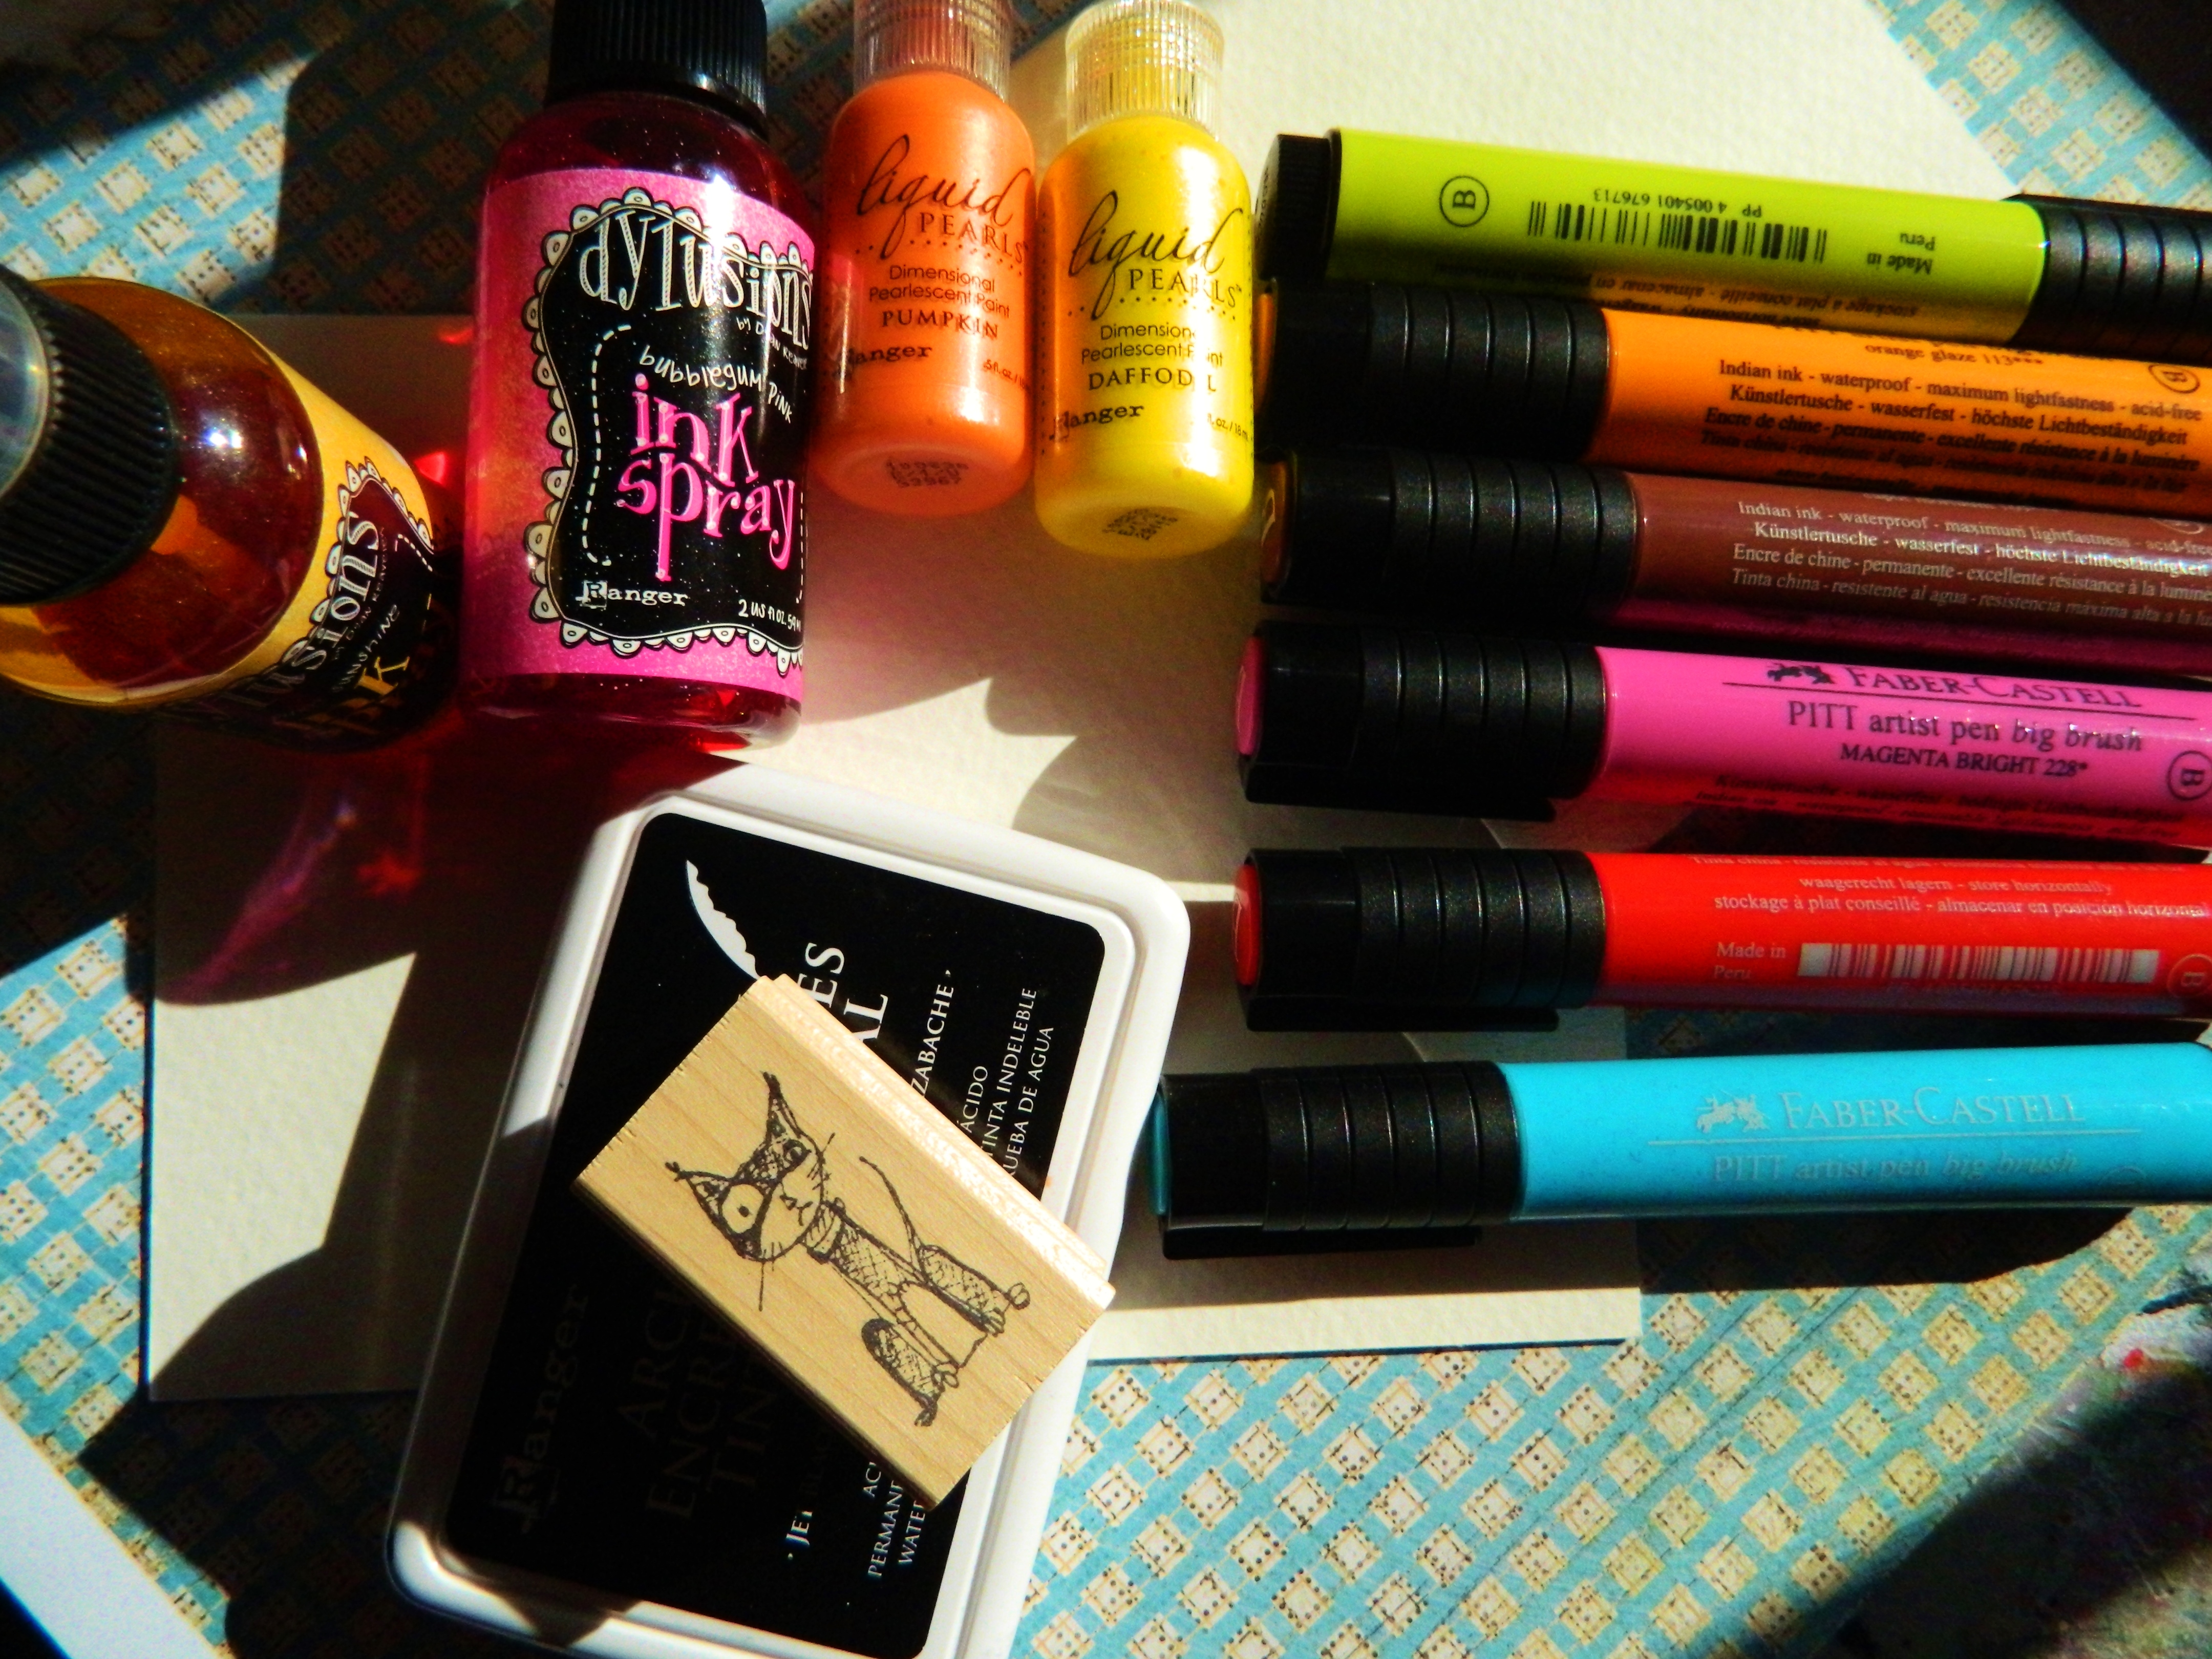
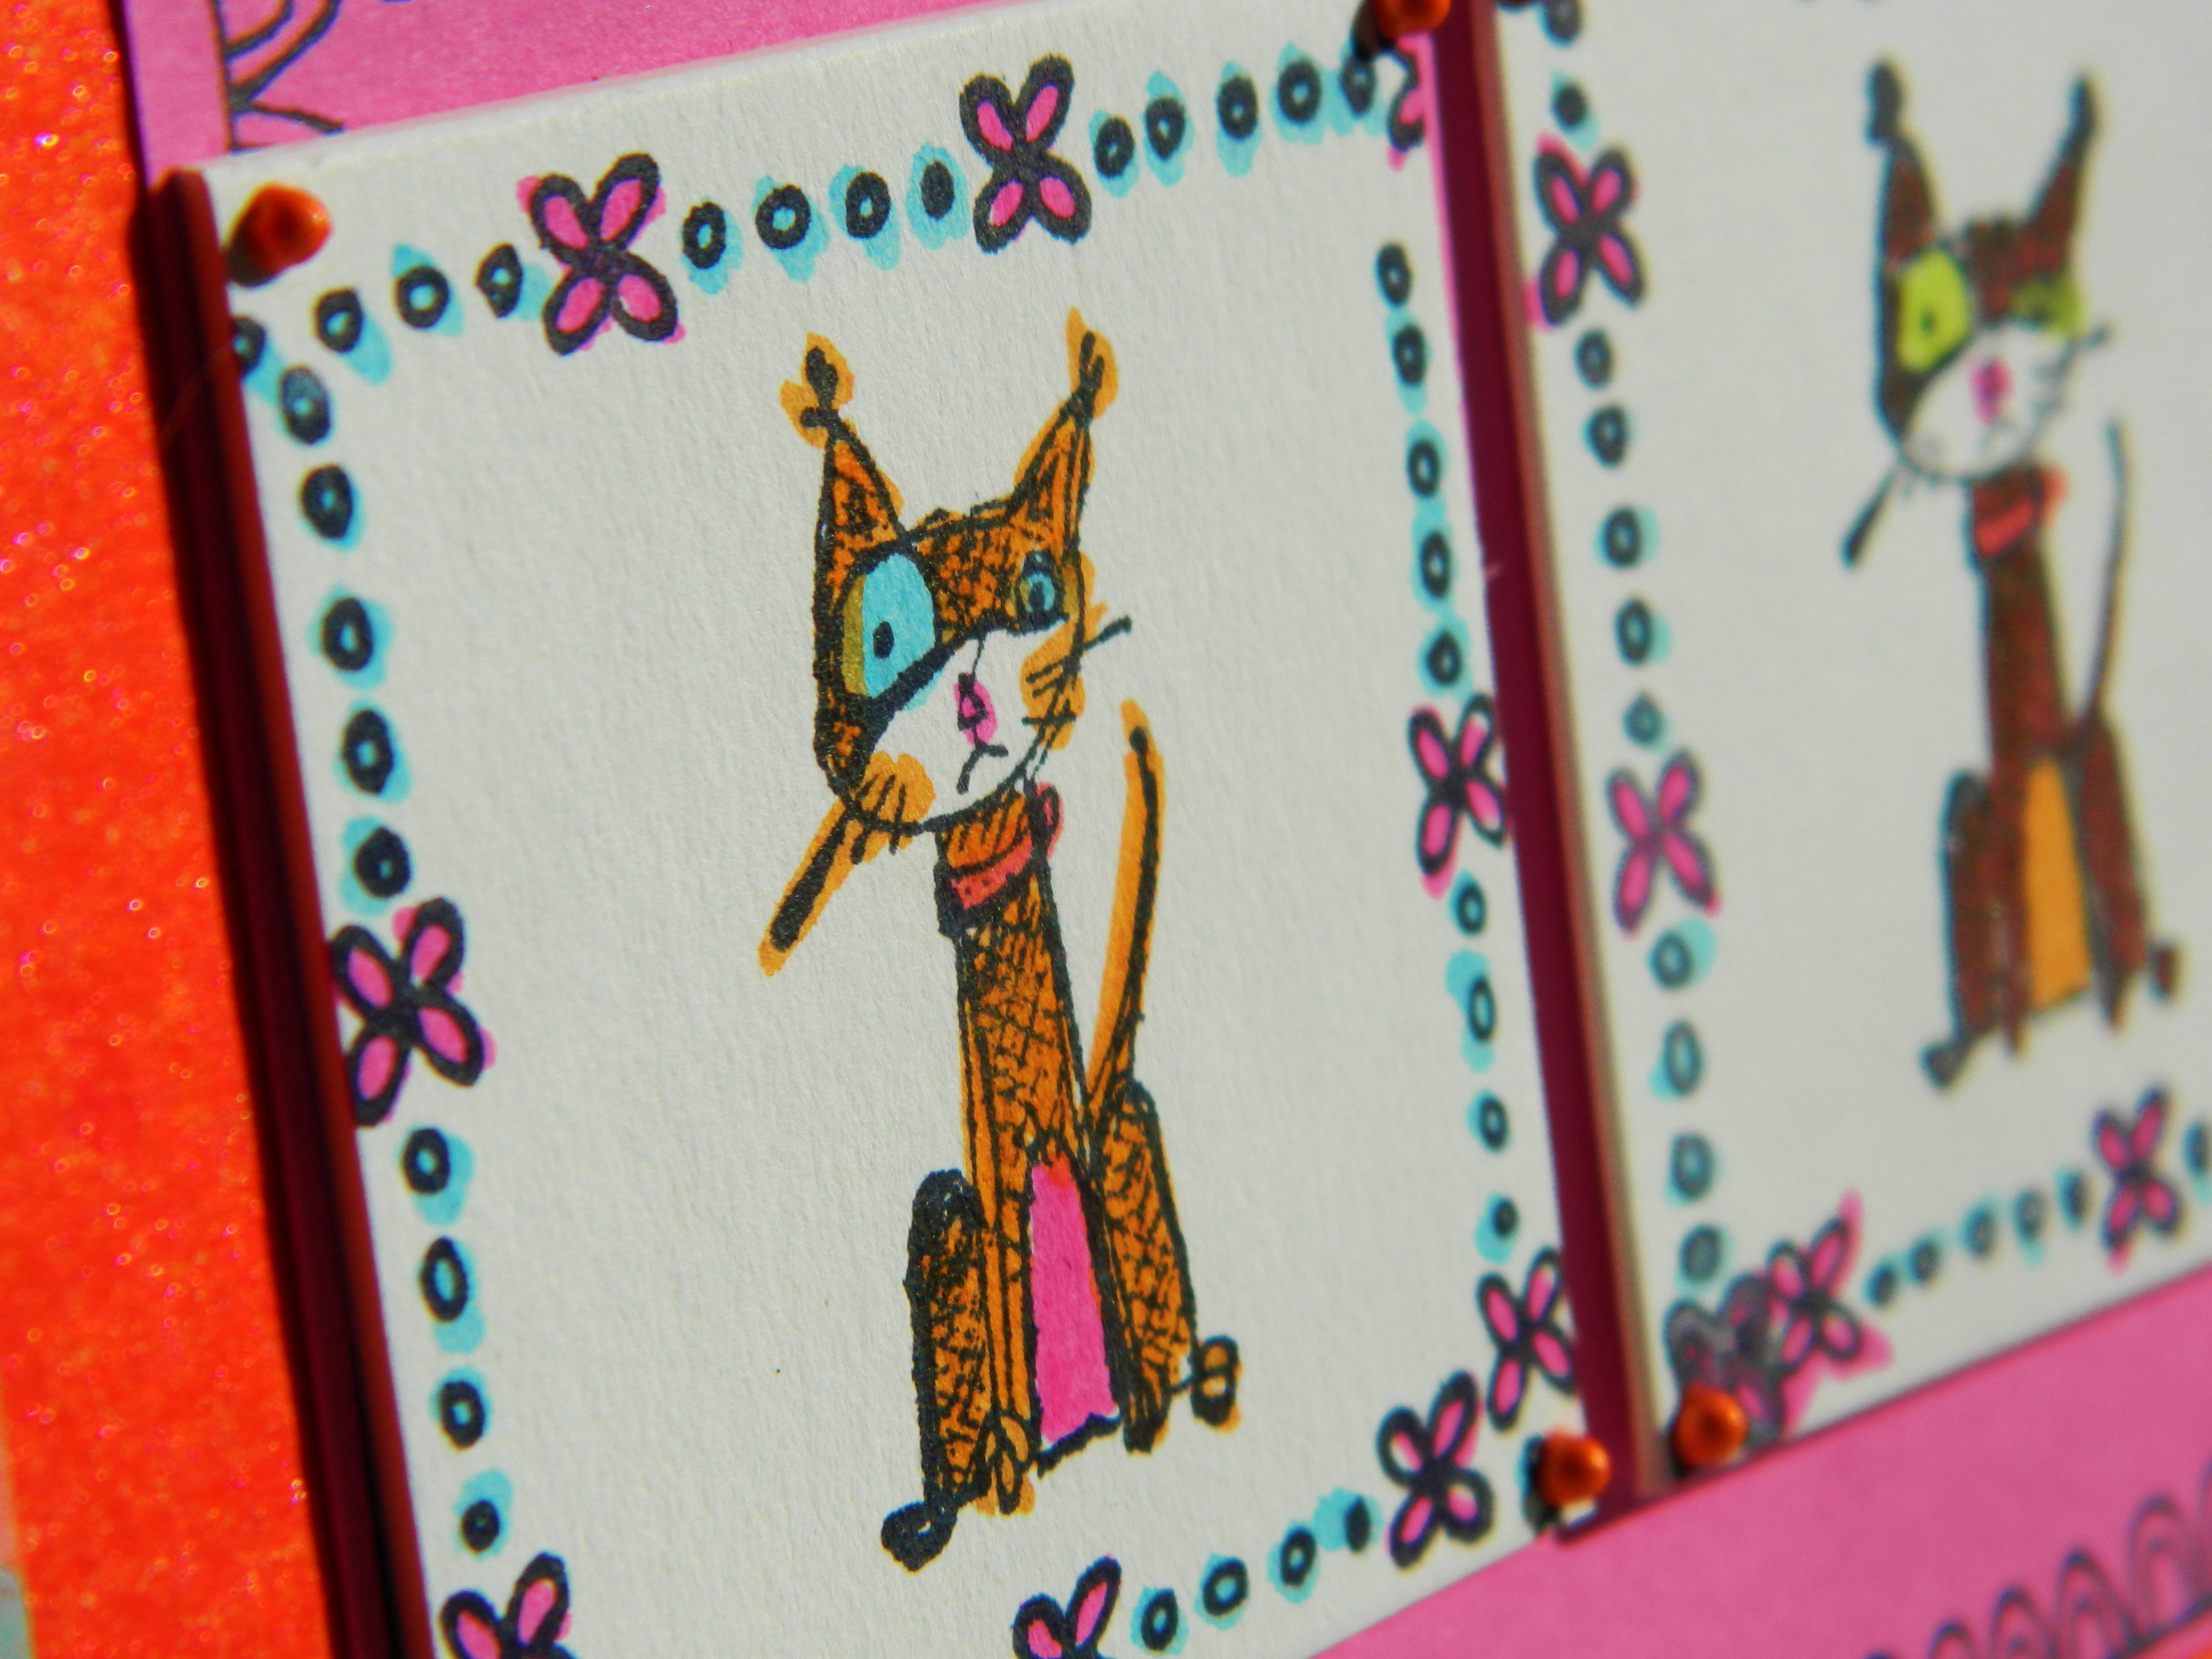
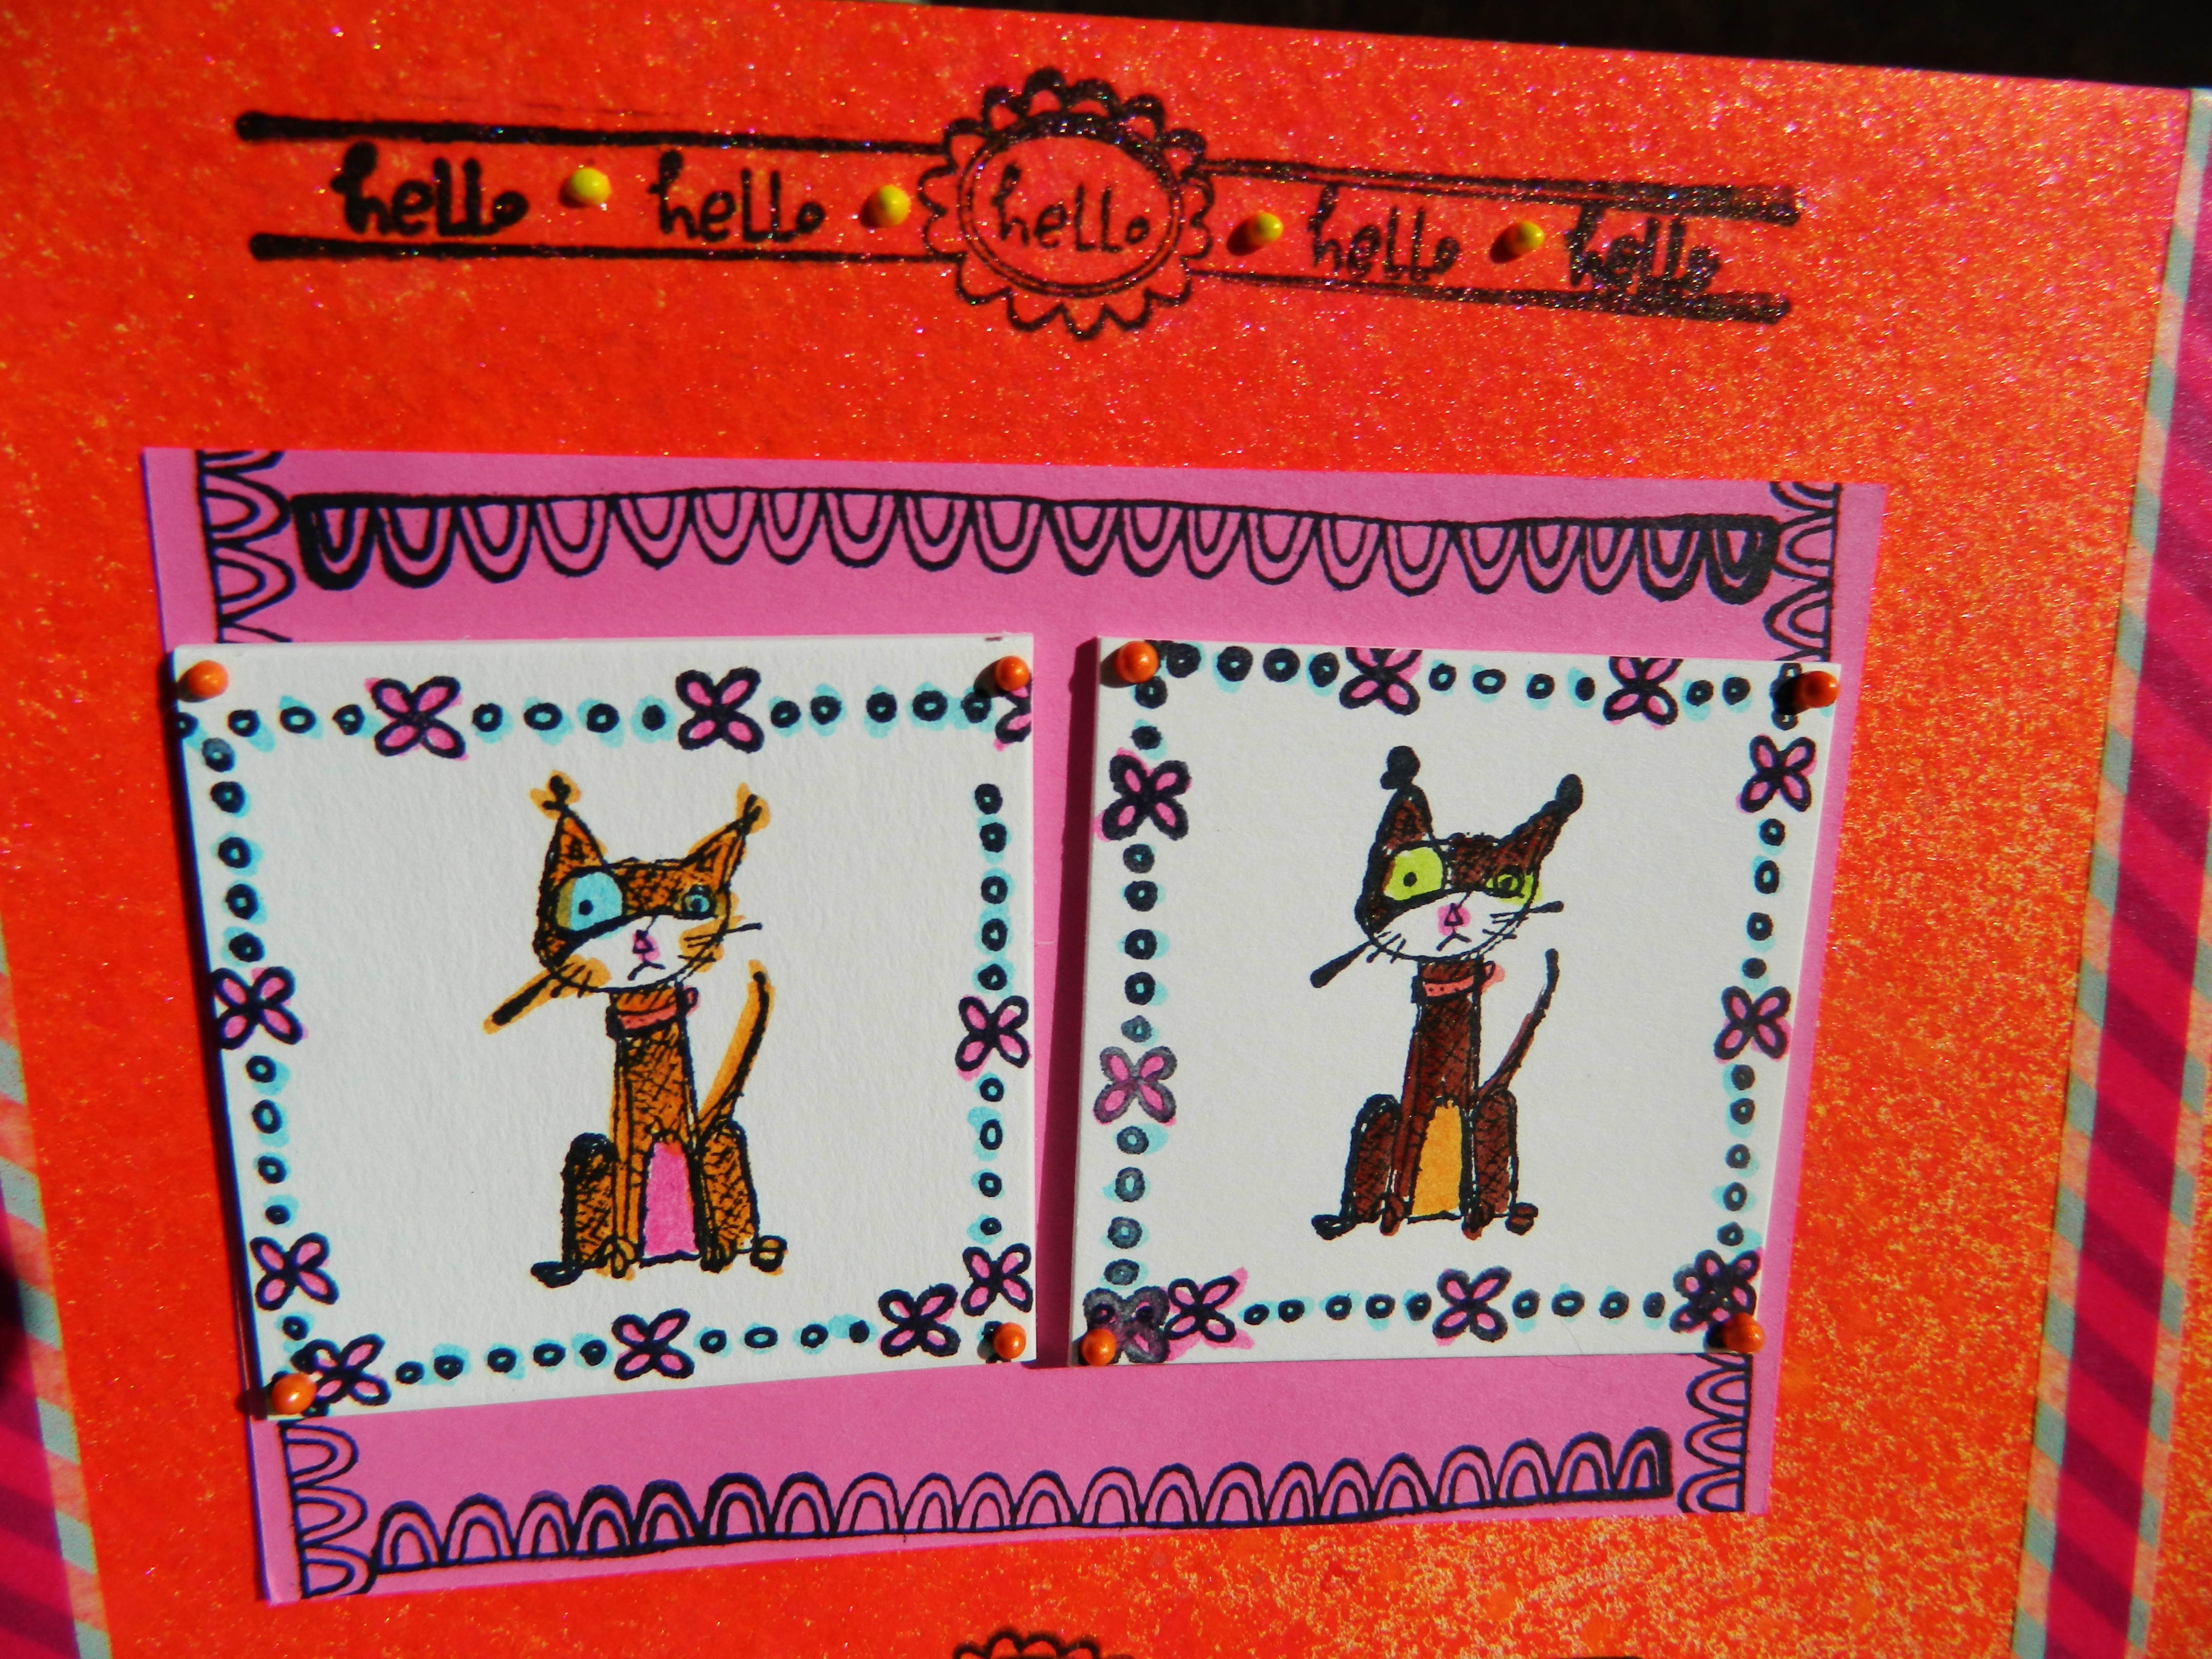
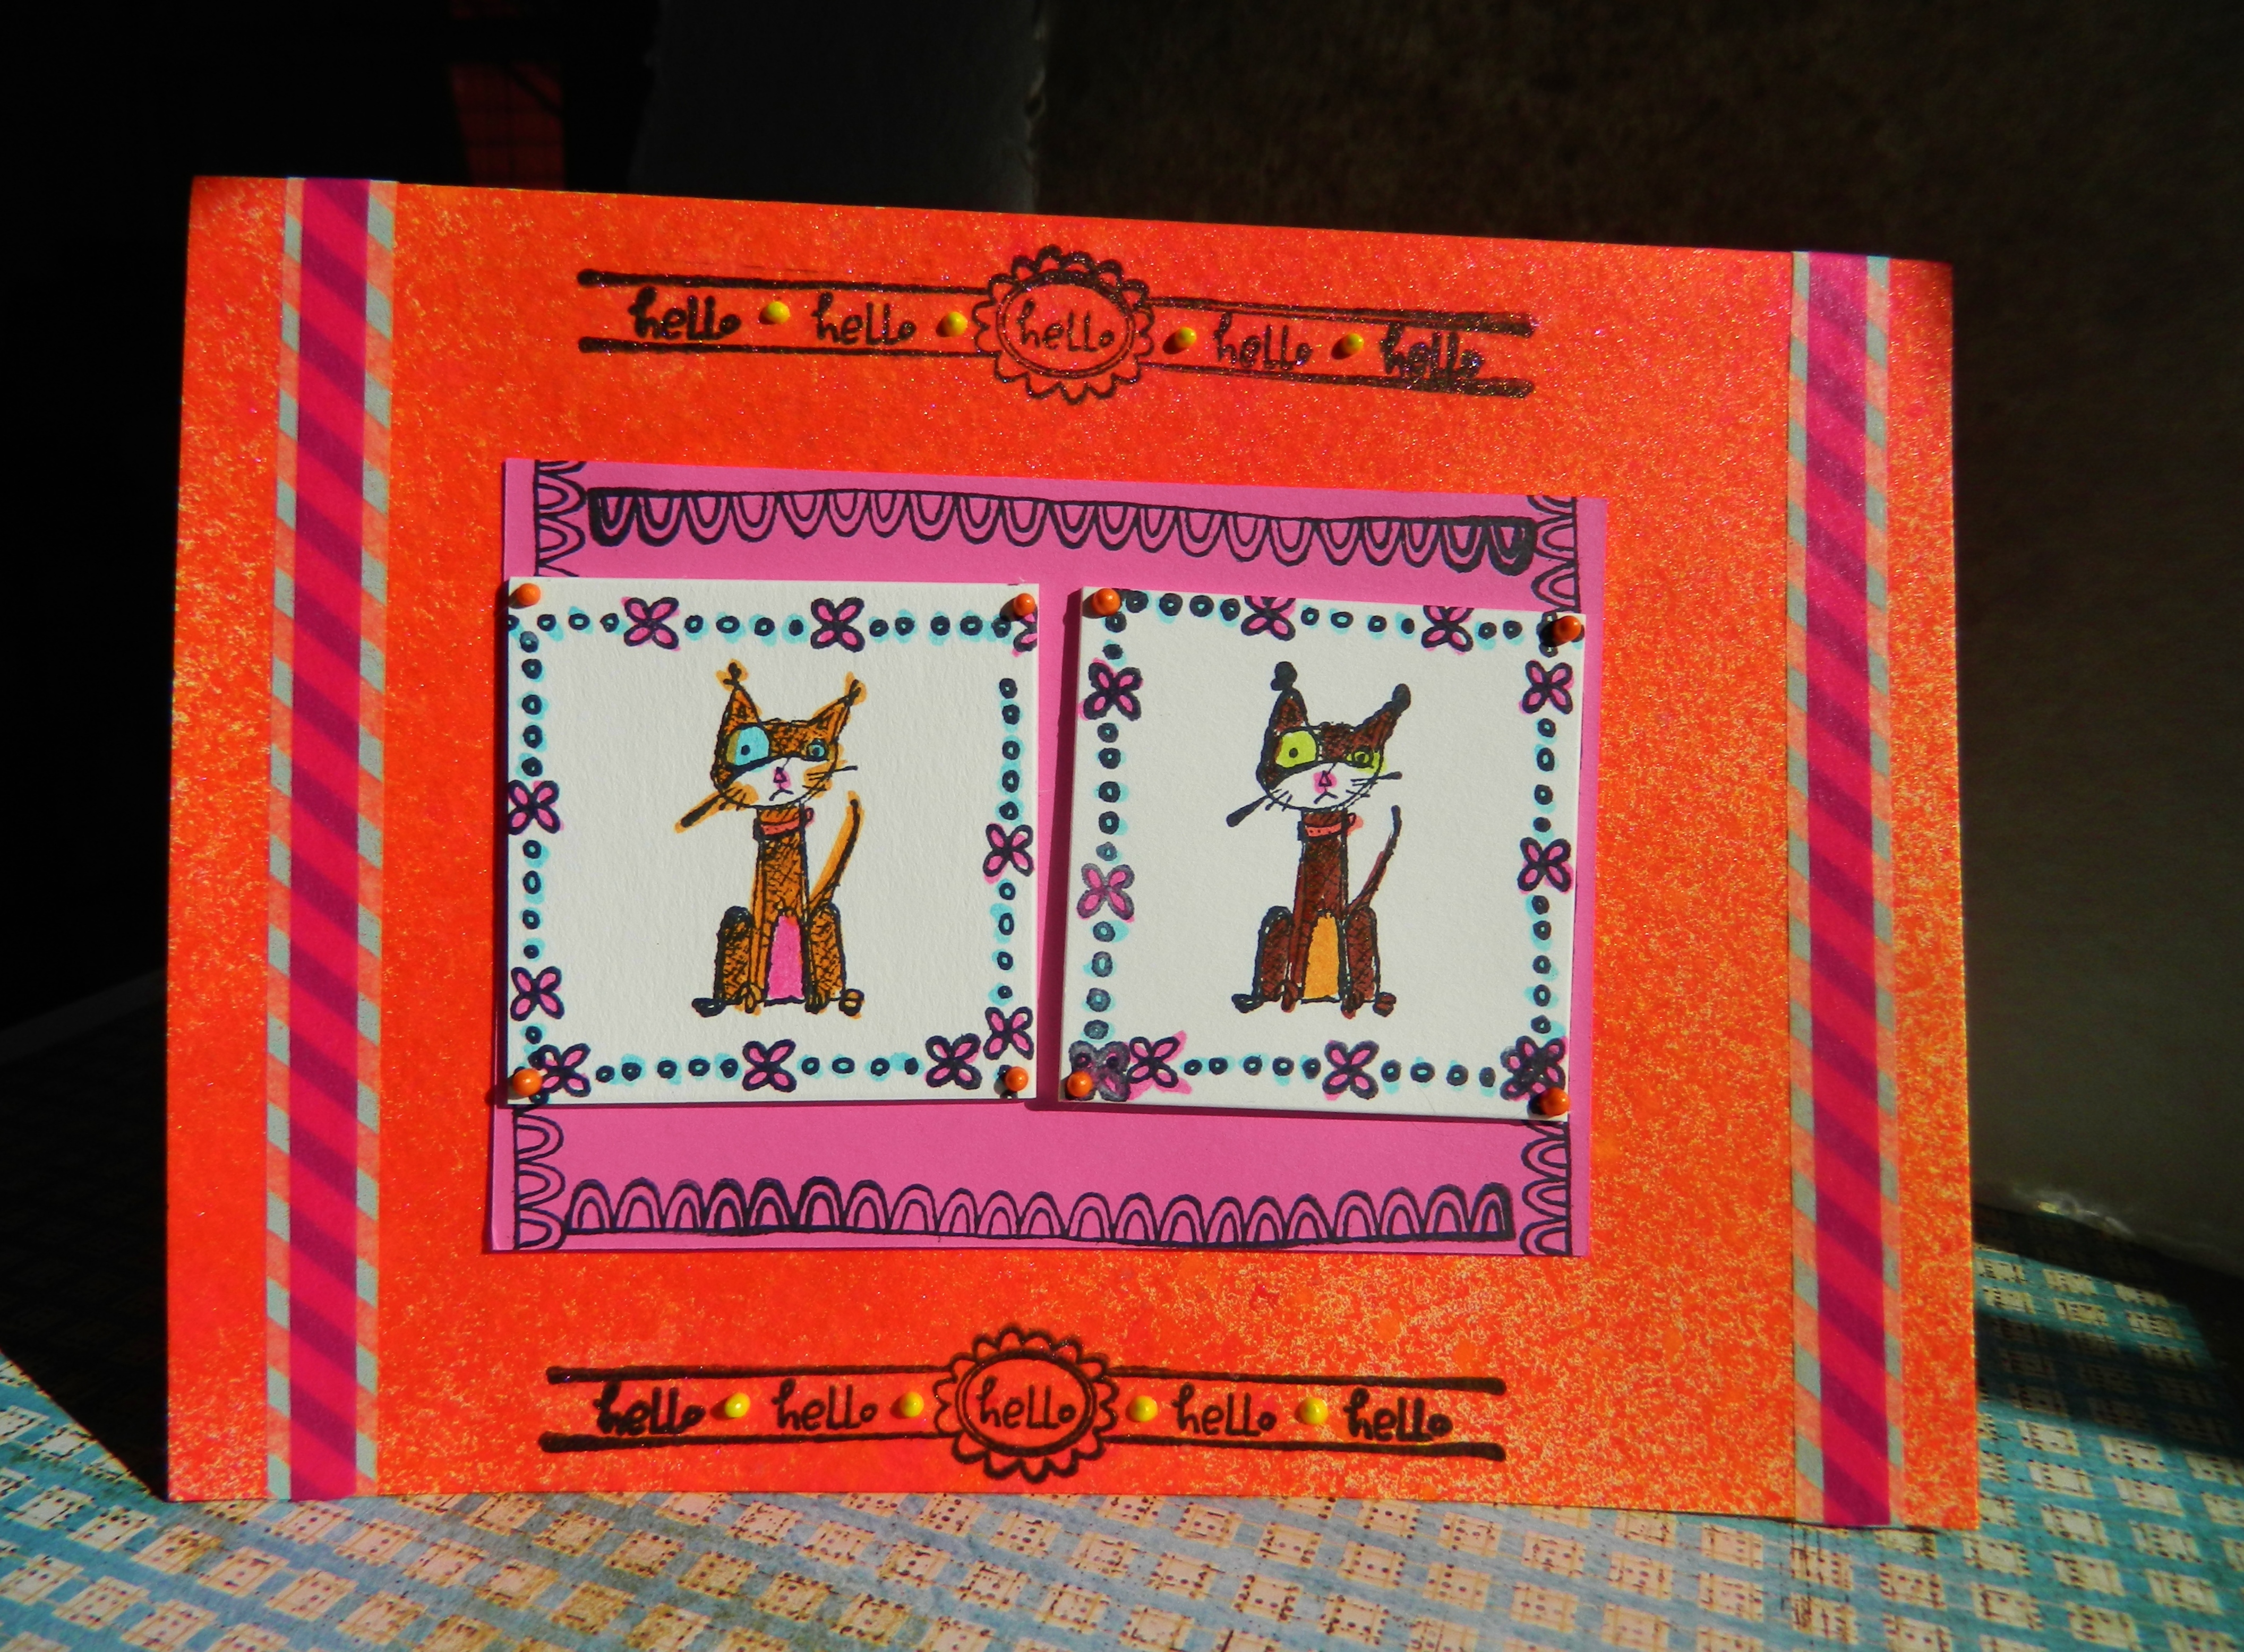
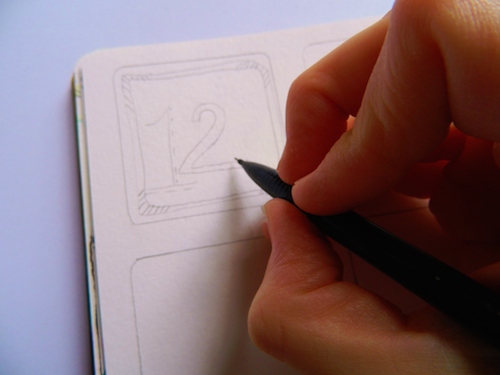
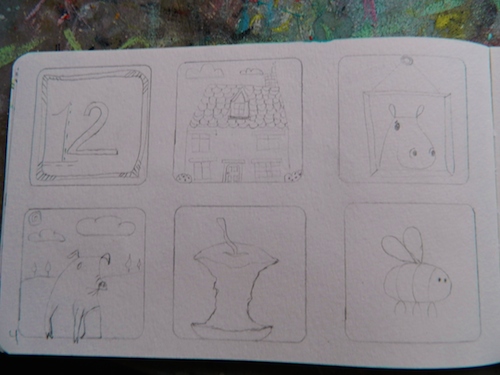
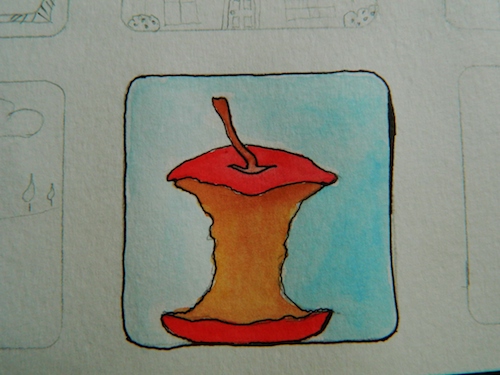
I hand folded 140lbs cold press watercolor paper into a card shape. Opened to lay card flat and spray with orange and pink Dylusions ink spray. These are my favorites. Air dry or dry with heat gun. Cut pink card stock paper to smaller size to center in the front of the card and glue. Stamp all four sides of card stock. Stamp image of 2” art squares. Glue squares to cardstock.

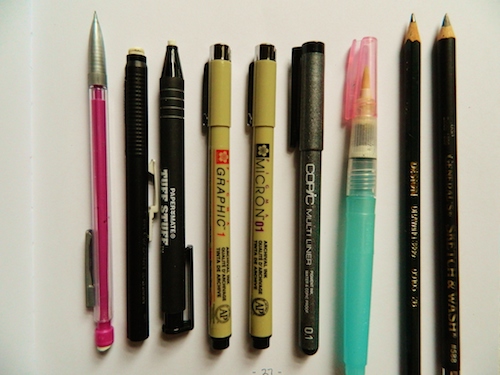
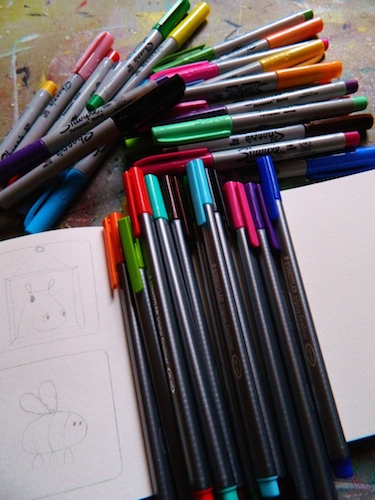
Stamp your greeting on top and bottom of watercolor card. Using Pitt Pen Big Brush Markers color in the stamped images. Add Stickles in your favorite colors and washi tape to the edge.

*stamp can be found at Rubbermoon.com
~*~*~*~*~*~*~*~*~*~*~*~*~*~*~*~*~*~*~*~*~*~*~*~*~
Author bio: Melanie Statnick is a published artist/writer out of North Carolina. Melanie creates art daily from her private studio. Her style is happy and whimsy. Statnick’s artwork can be found in art galleries and shops extensively in NC with international private collections.
~*~*~*~*~*~*~*~*~*~*~*~*~*~*~*~*~*~*~*~*~*~*~*~*~
.
.


Recent Comments