This article was written by Martice Smith II
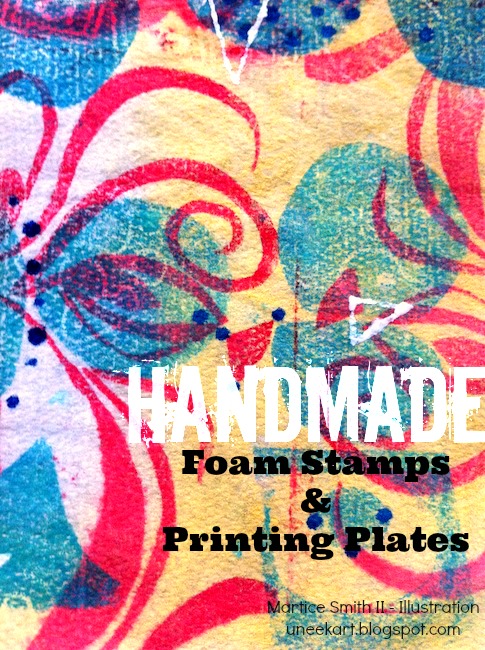
Handmade Foam Stamps & Printing Plates
Supplies to gather:
- cardstock or cardboard
- dried baby wipes or paper towel
- craft foam (with adhesive backing)
- glazing medium (DecoArt)
- heavy-bodied acrylics
- foam brush
- brayer
- scissors
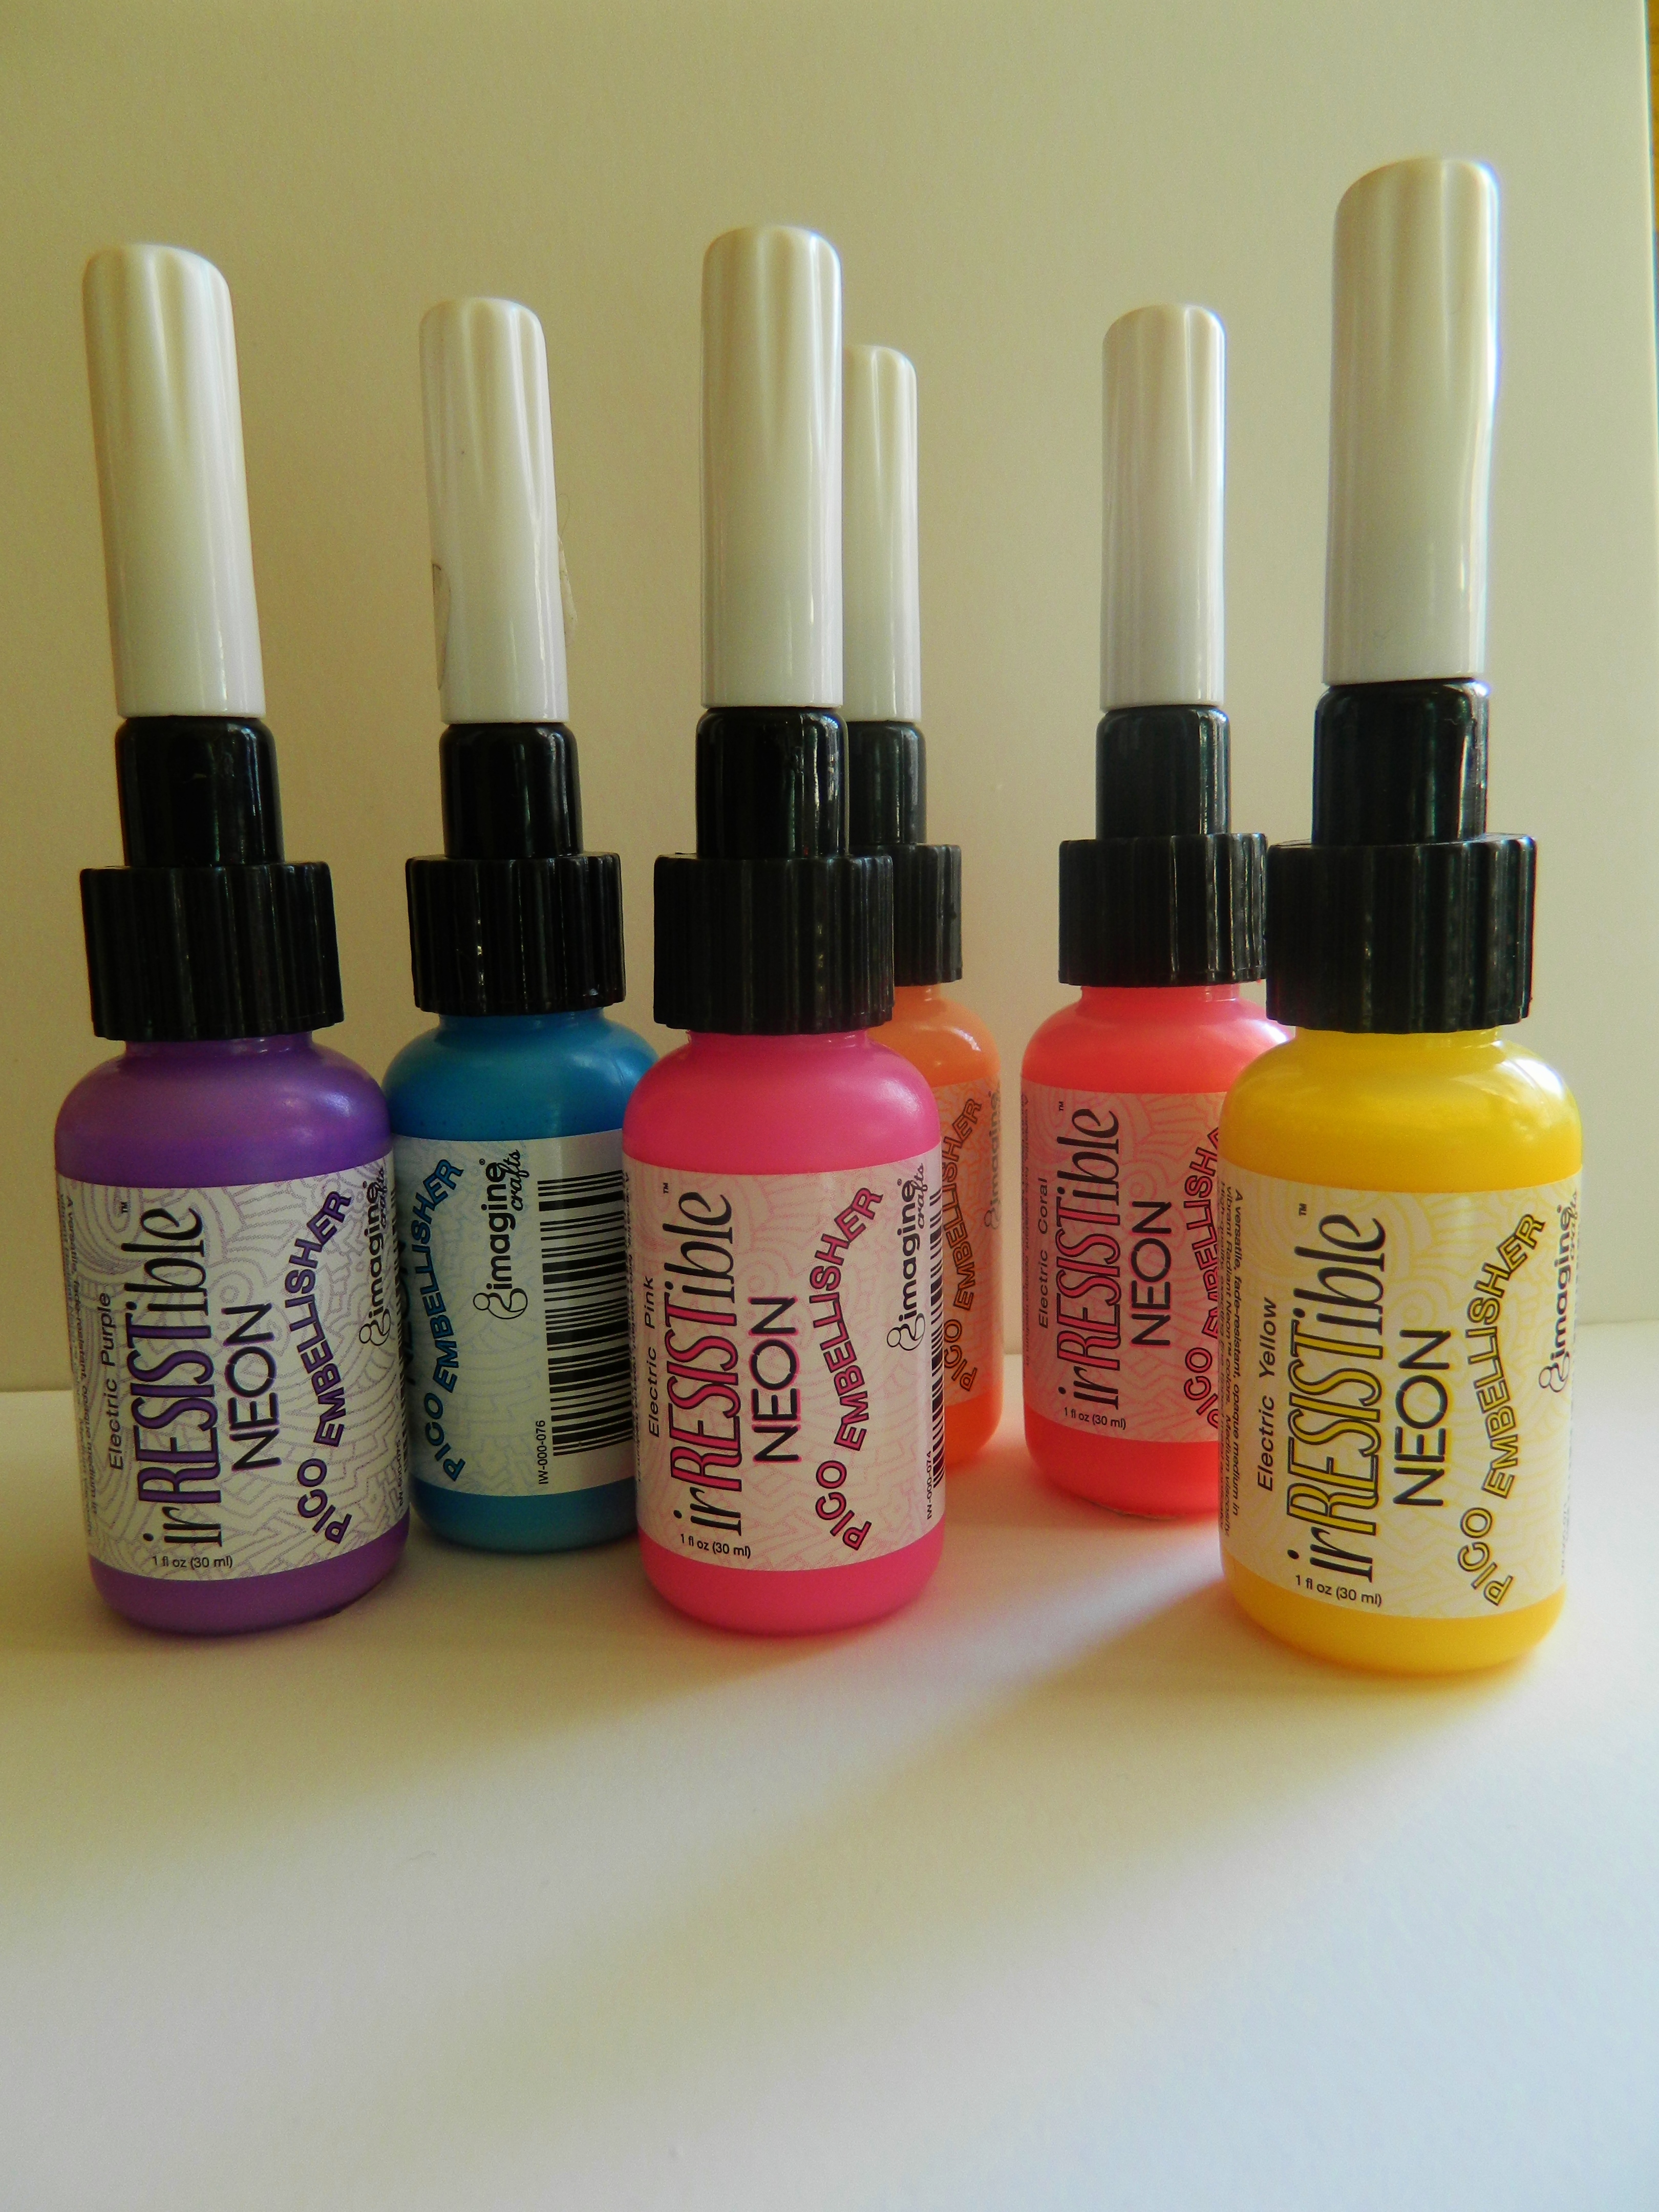
- IrRESISTible Pico Embellisher (optional)
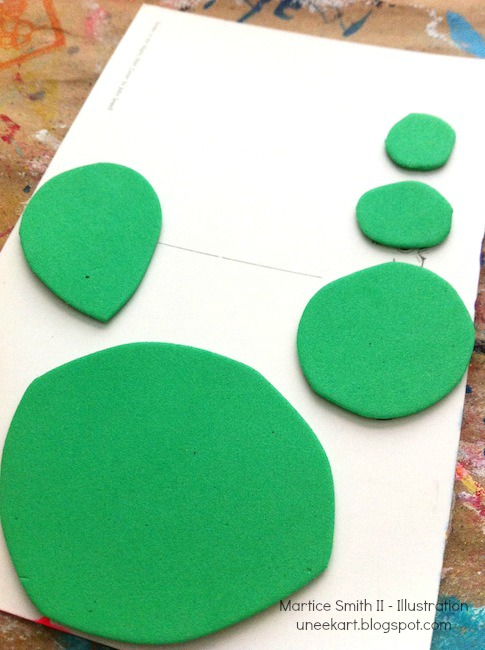
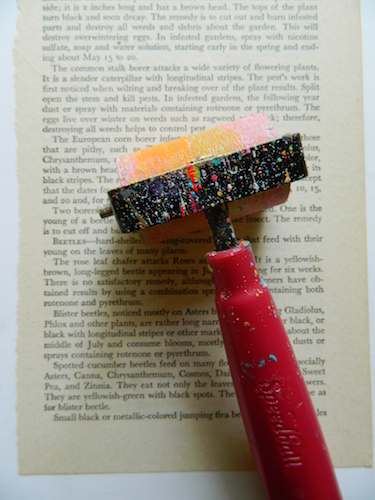
1. Create a printing plate with craft foam.
Cut shapes out of the foam, peel off the paper backing and adhere them to a piece of cardboard (or cardstock) to make a printing plate.
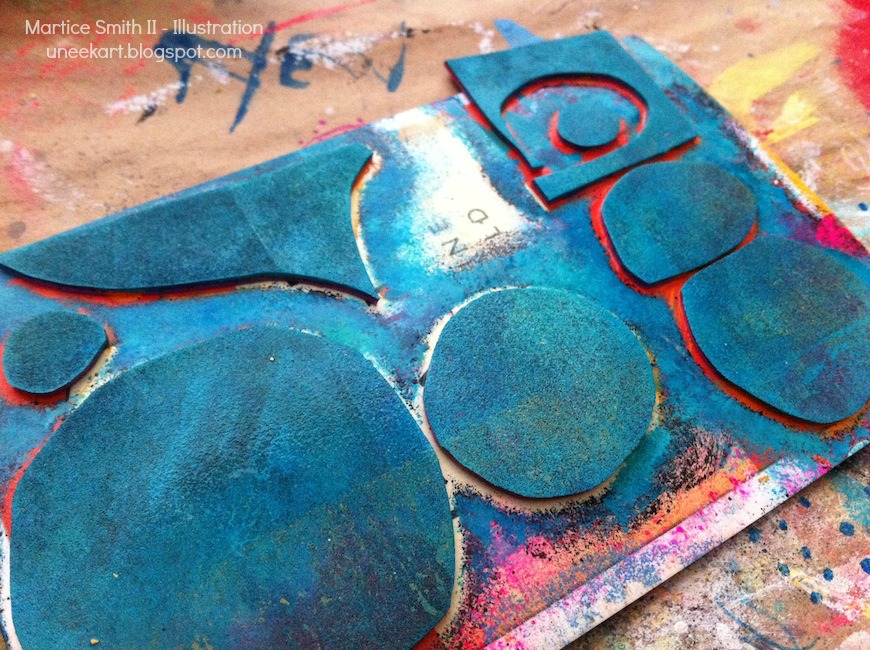
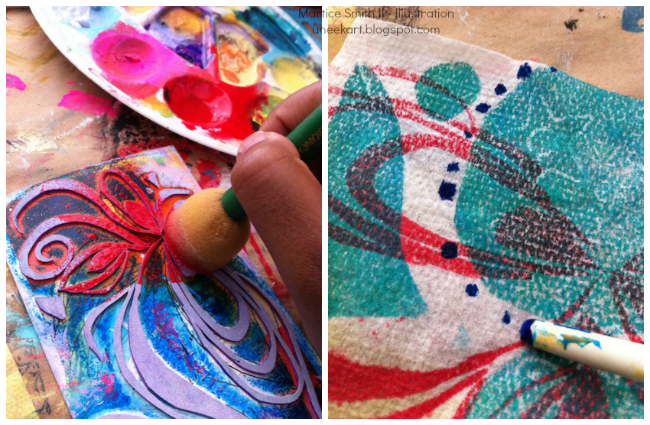
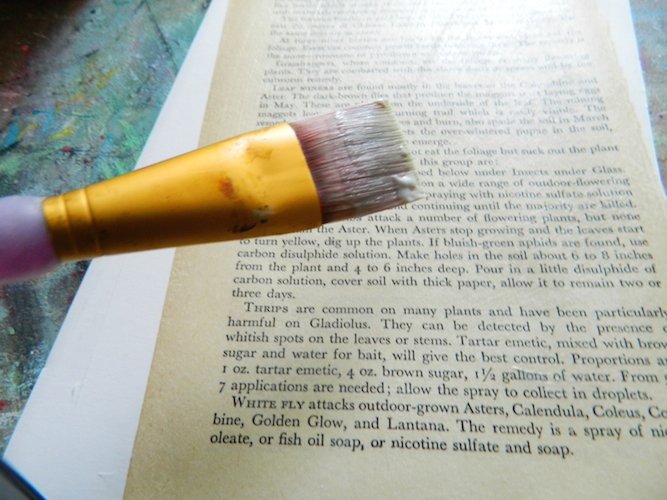
2. Add paint to the printing plate with foam brush.
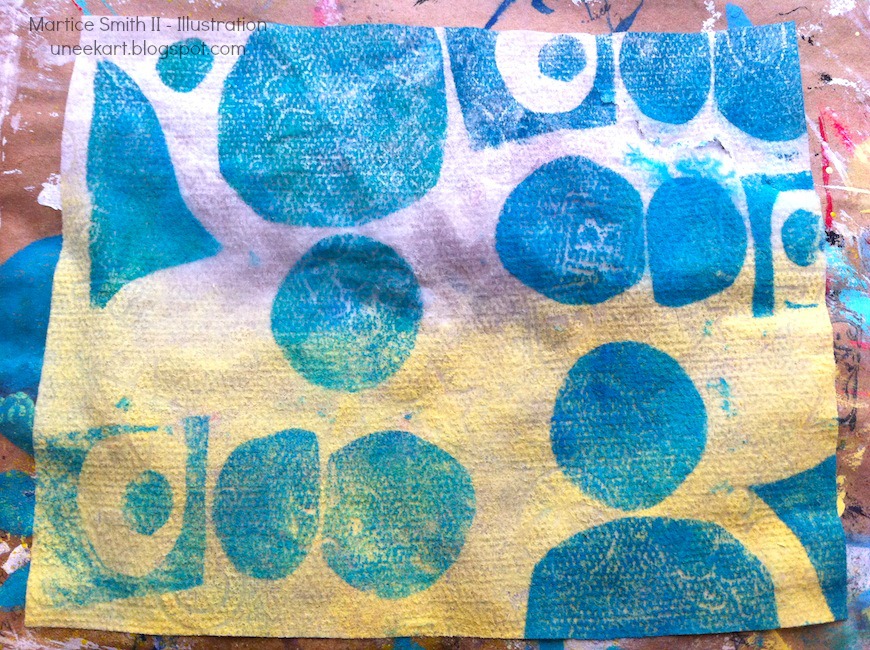
3. Stamp onto dry baby wipe.
Repeat the design by rotating your printing plate.
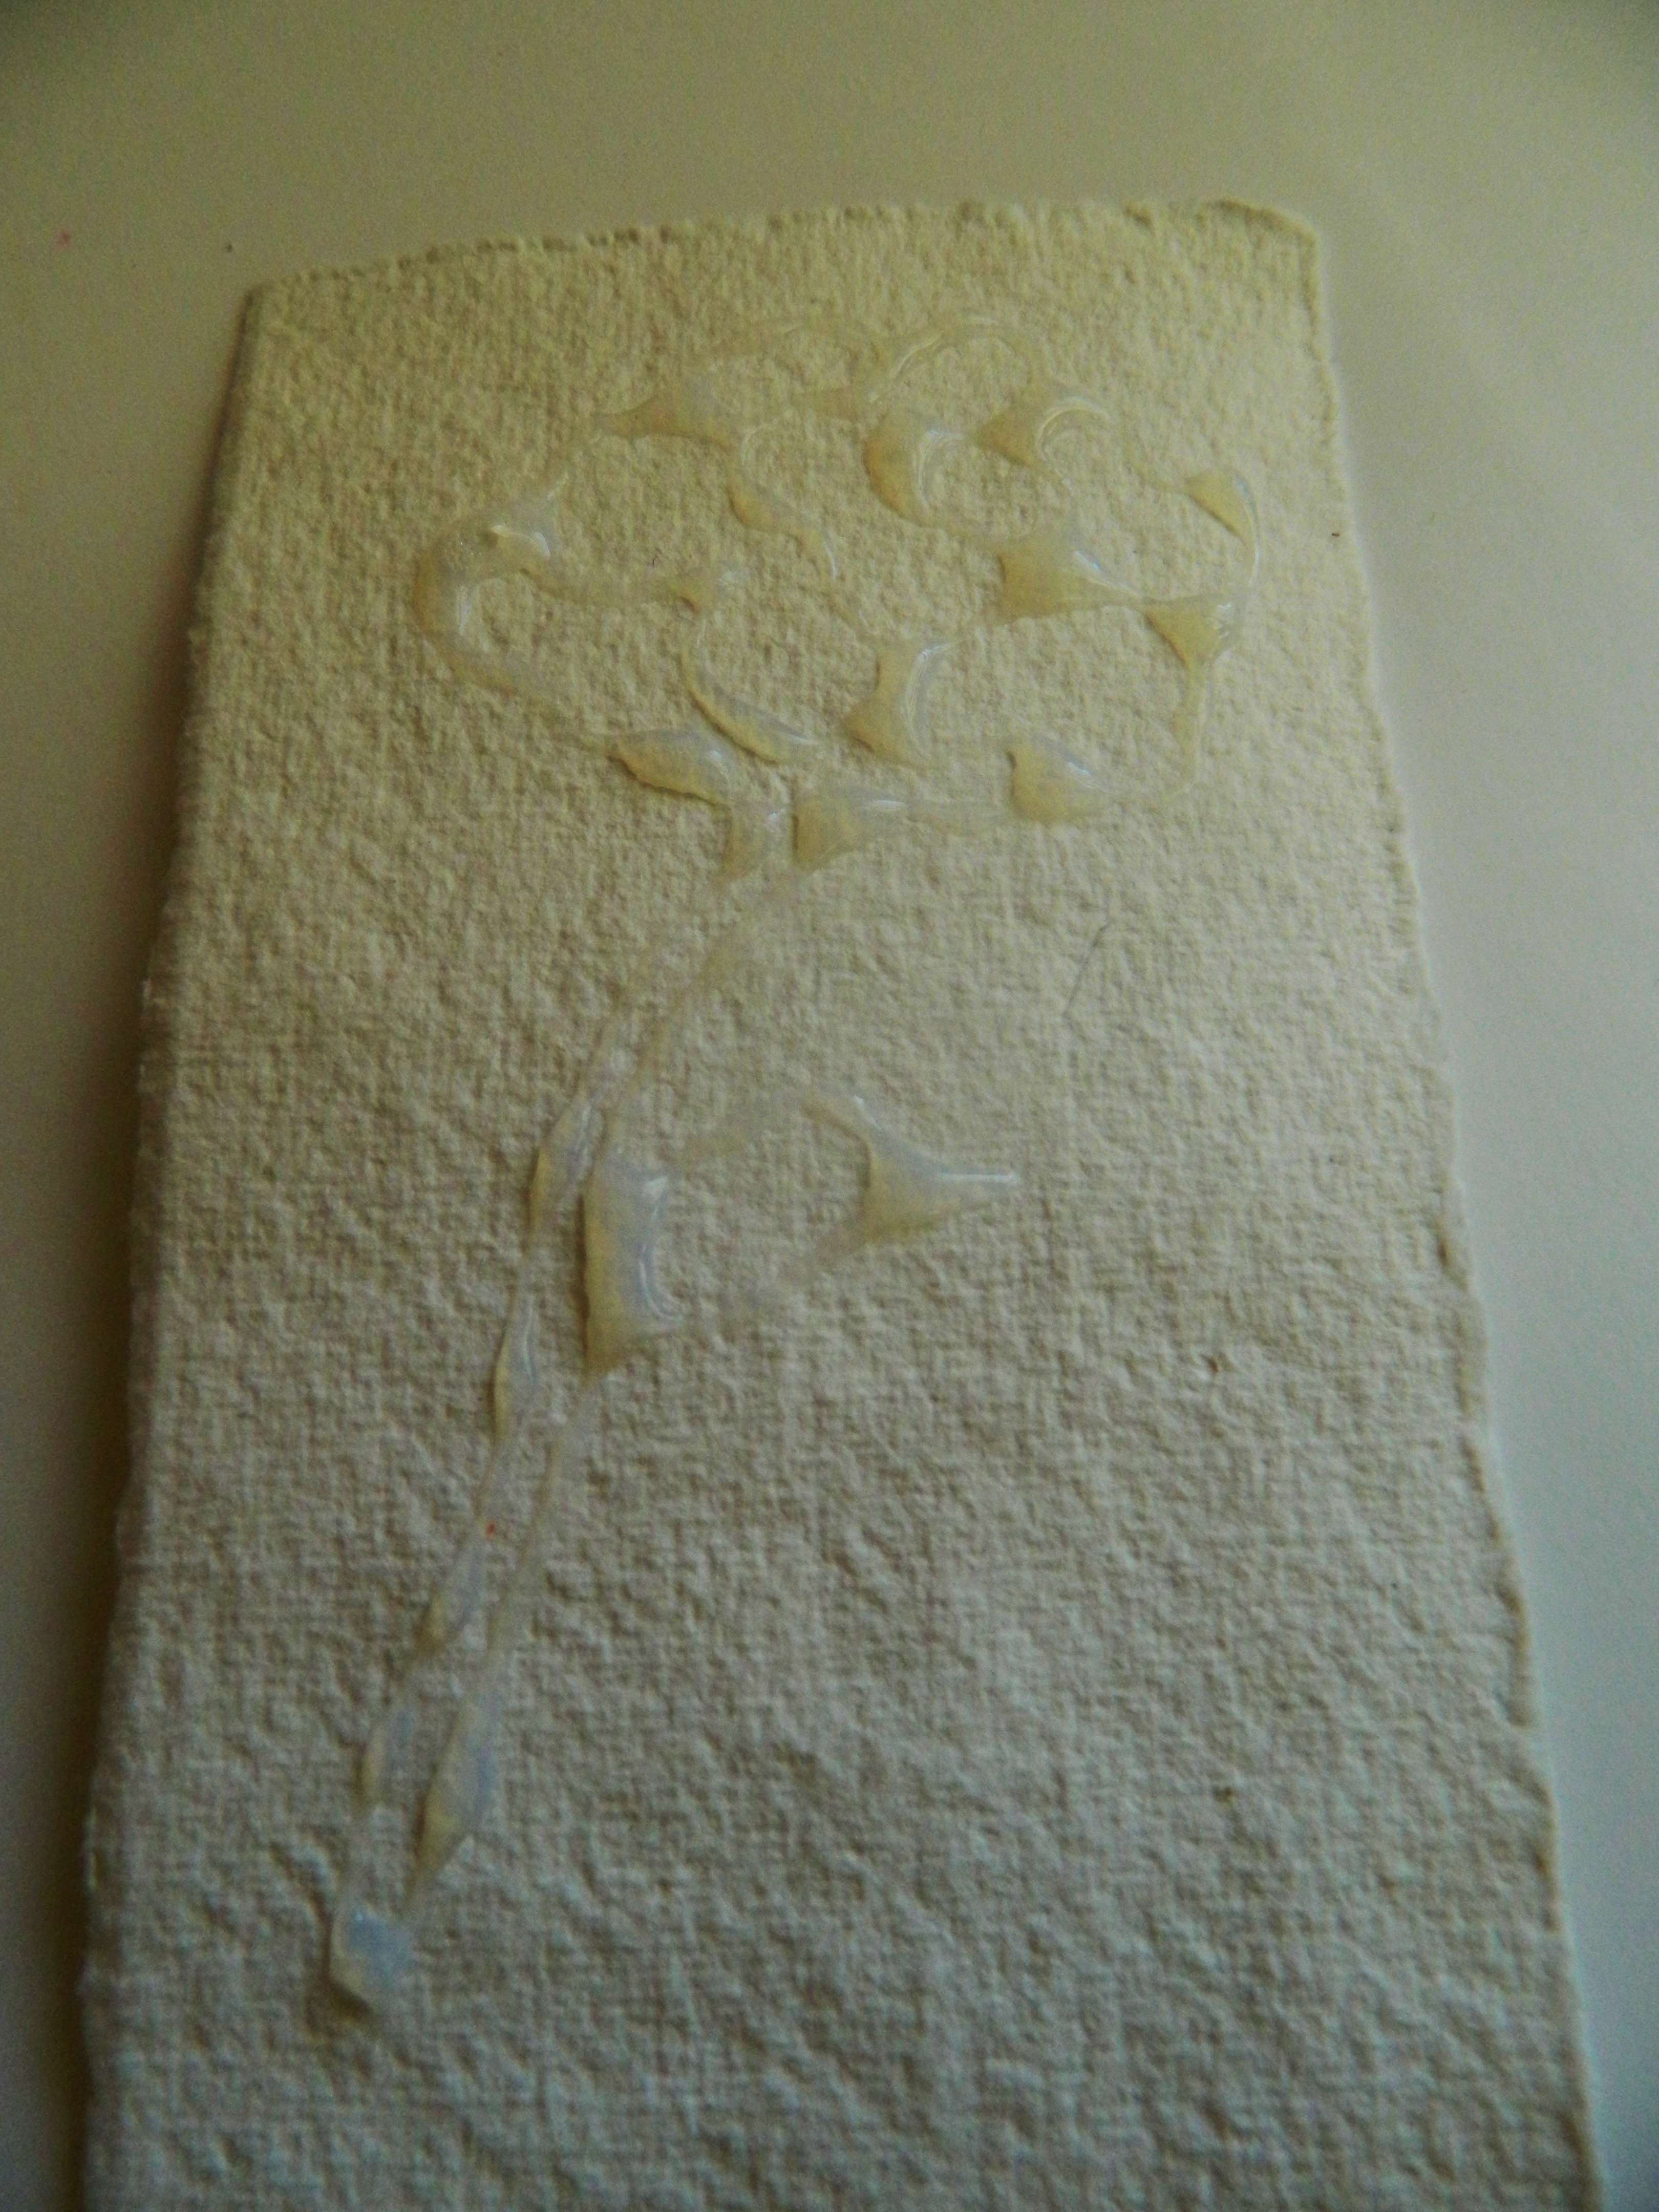
Use a brayer for a crisp impression onto the surface. Let dry for one minute.
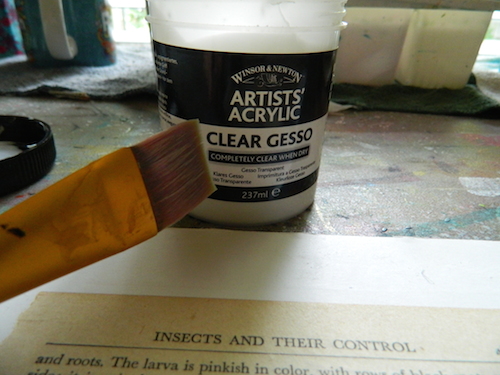
4. Apply a glaze over the paint.
Mix one part glazing medium to one part of the heavy-bodied acrylic color of your choice. (I applied DecoArt’s Banana Cream -Yellow, mixed with DecoArt’s Glazing Medium
Dip brush into water and then into the glazing mixture.
Apply a generous wash over a section of the baby wipe, using a clean foam brush.
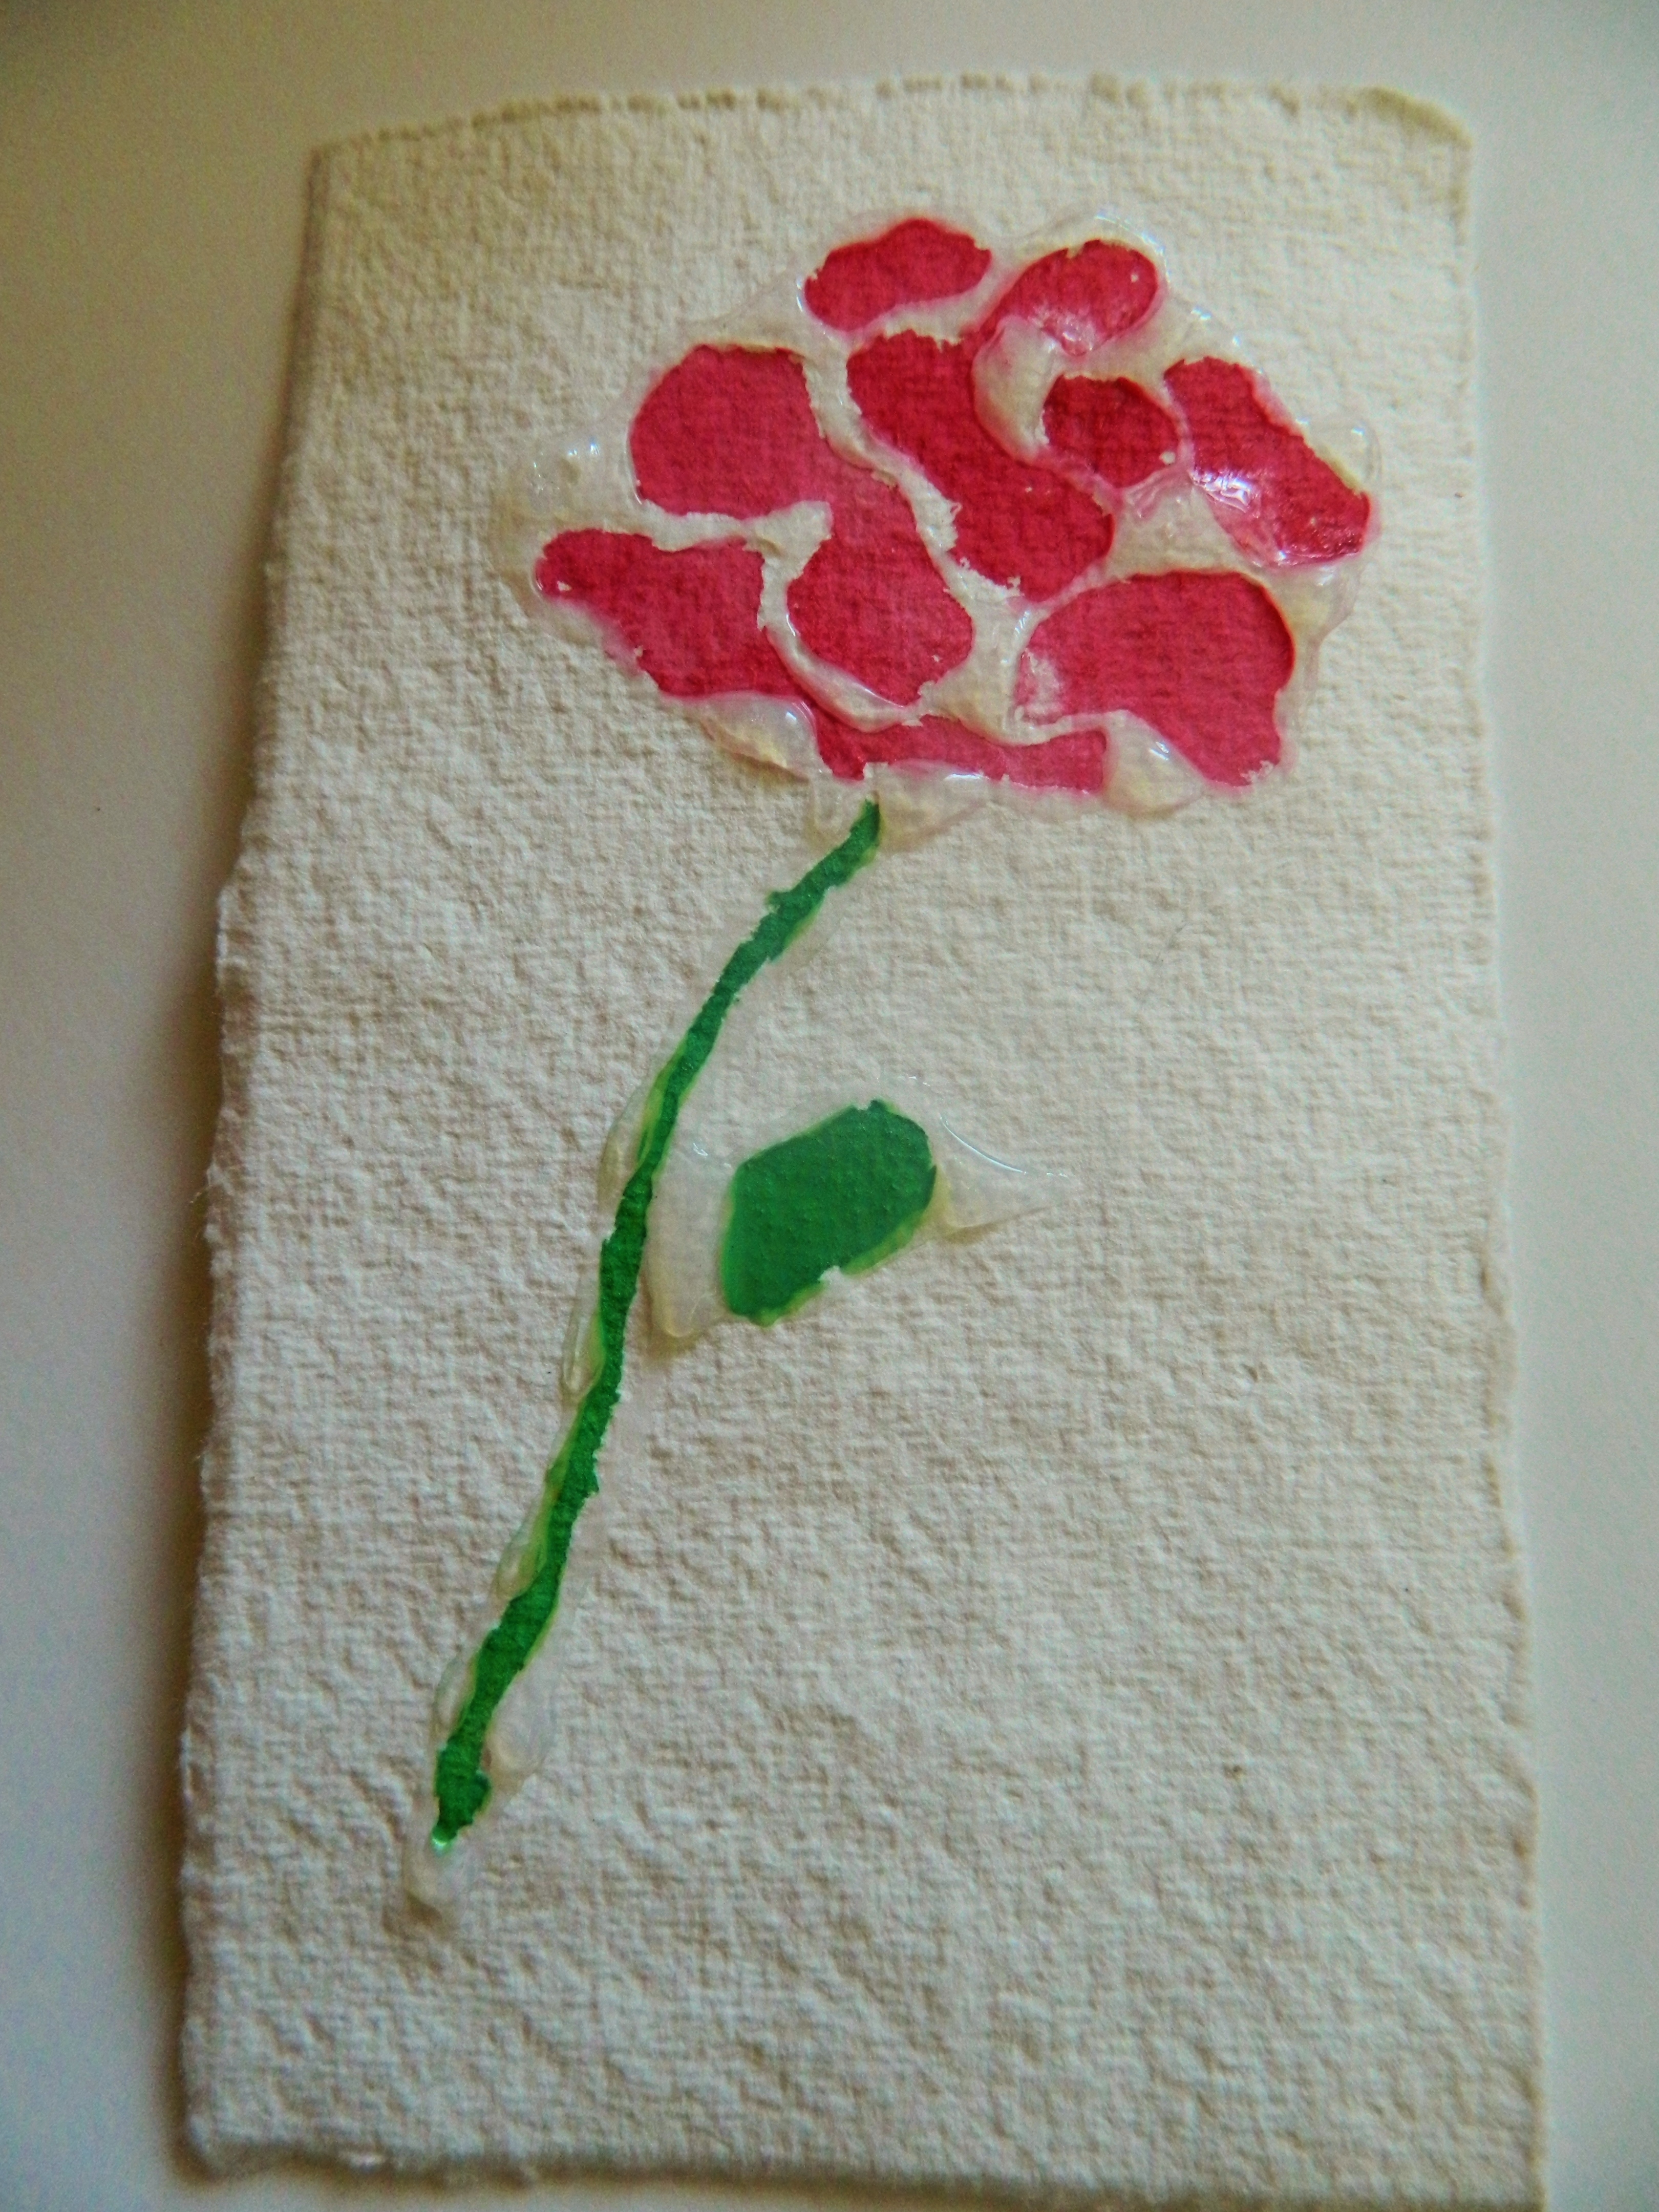
There are many benefits of using acrylic glazes as you build up layers and texture on delicate surfaces. This method is great because it offers a very graphic way of featuring a stamp’s design. Layers of visual texture can be achieved without the bulk and concern of ruining a delicate surface.
Glazing medium allows you to work with the acrylic paint longer and creates layers that are slightly translucent. Although the glazing medium changes the paint color slightly, it’s very cool to see how the paints interact! Experiment with different colors to find your favorite color combos.
5. Add paint to another stamp.
Using a foam brush, apply a mixture of one part glazing medium and another color of paint.
Stamp onto the paper, repeating the image a few times.
Try this! Use the handle end of a paintbrush to add dots, in varying sizes.
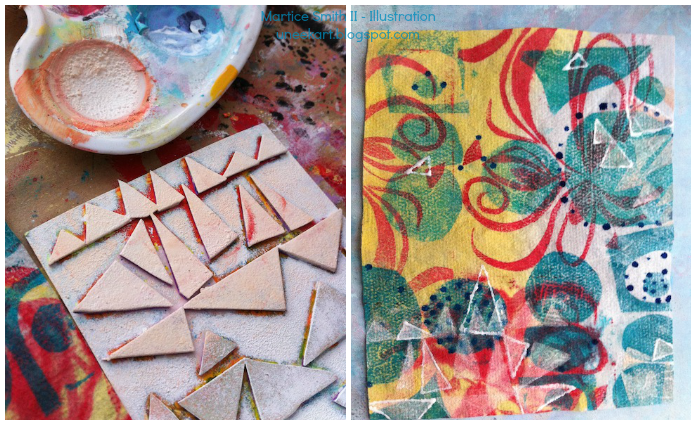
6. Add another stamp design.
Mix up a new color with more glaze, apply the mixture with a foam brush and press the stamp onto the painted baby wipe.
Continue layering the background with overstamping to get a look you like.
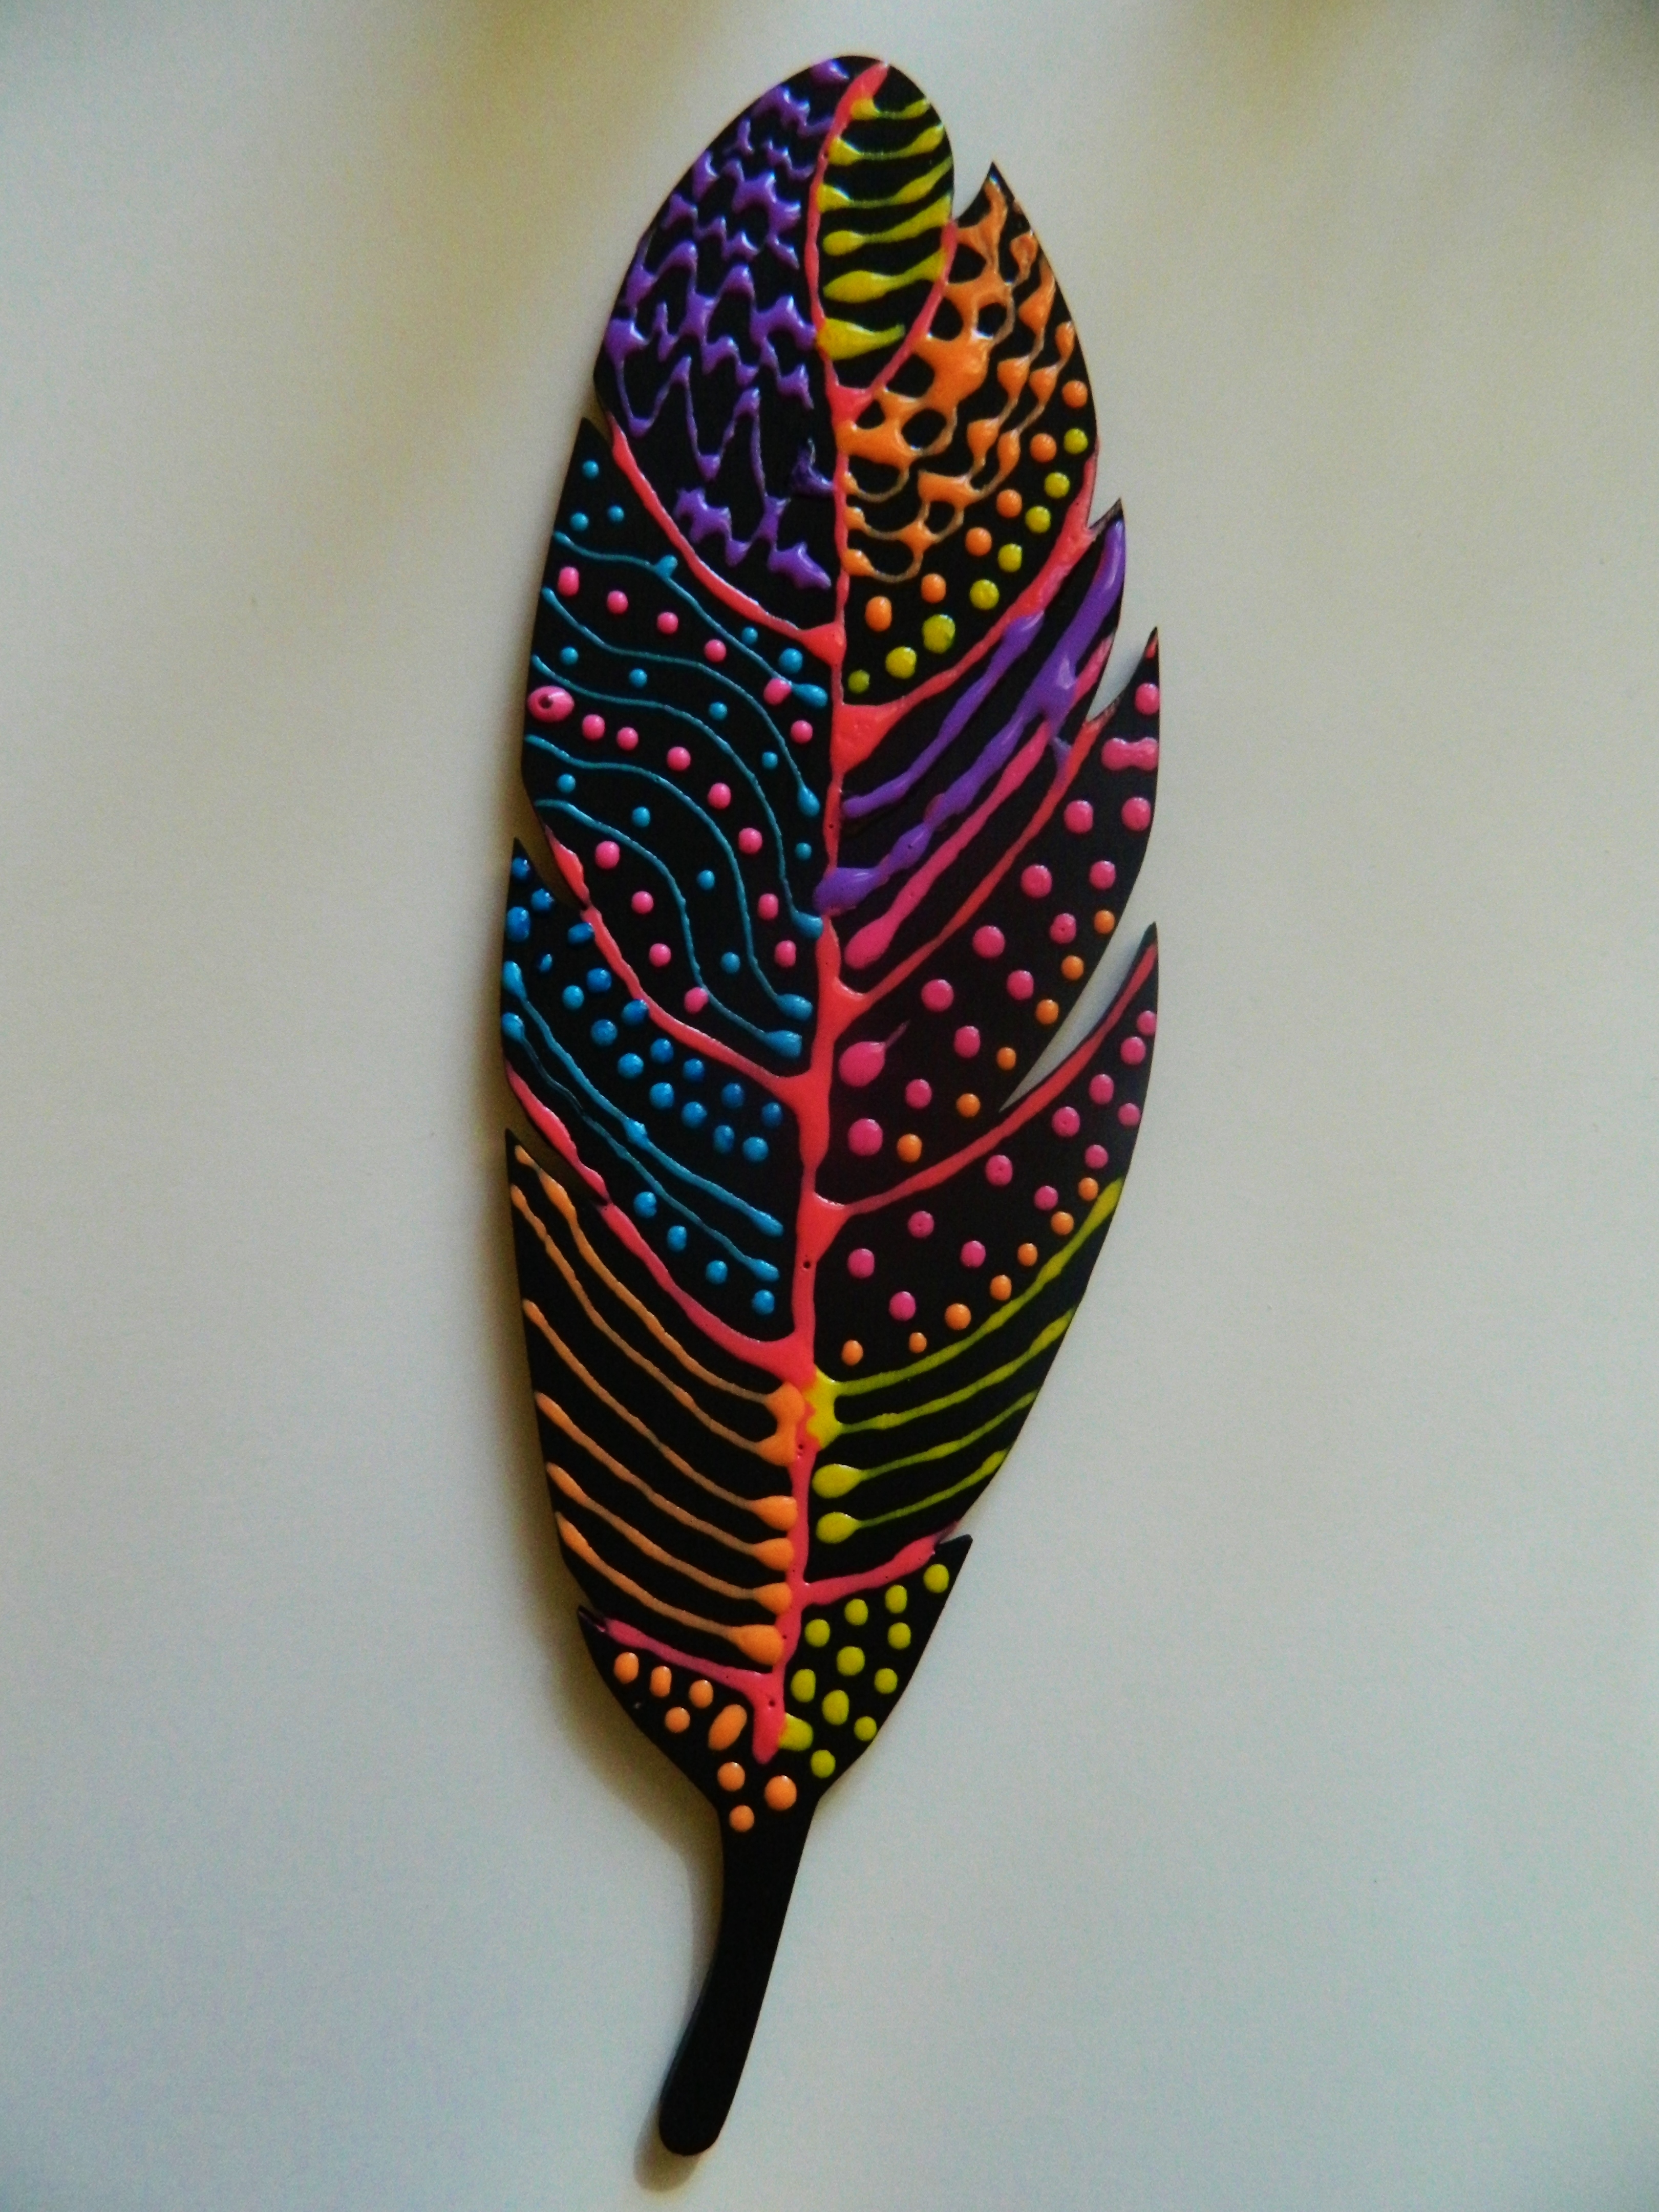
Try this! For dimensional texture, outline a few of the shapes with an IrRESISTible Pico Embellisher (Imagine Crafts/Tsukineko).
Happy stamping! Be sure to share a link to your creation, down in the comment section!
~*~*~*~*~*~*~*~*~*~*~*~*~*~*~*~*~*~*~*~*~*~*~*~*~

Martice Smith II is creative director of Martice Smith II – Illustration & Design Studio, based in Missouri and owner of Uneek Art Boutique. She established herself as a freelance Illustrator and graphic designer after receiving her Bachelor of Arts Degree. Specializing in mixed-media illustrations, Martice’s love for fashion, typography and wildlife are infused with a combination of traditional and digital art techniques.
Be sure to join the Uneek Art Letter, -Martice’s monthly newsletter- that offers art biz tips, advice and more digital goodness that will keep you inspired to be the artist you envision yourself to be!
~*~*~*~*~*~*~*~*~*~*~*~*~*~*~*~*~*~*~*~*~*~*~*~*~
.
.


Recent Comments