Tag Books

This article was written by: Melanie Statnick

~ * ~

Making little story books from paper tags.

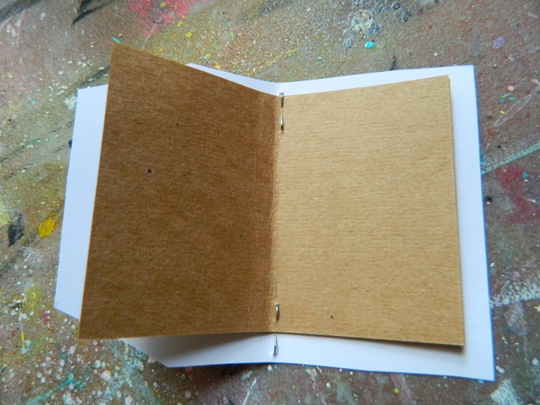
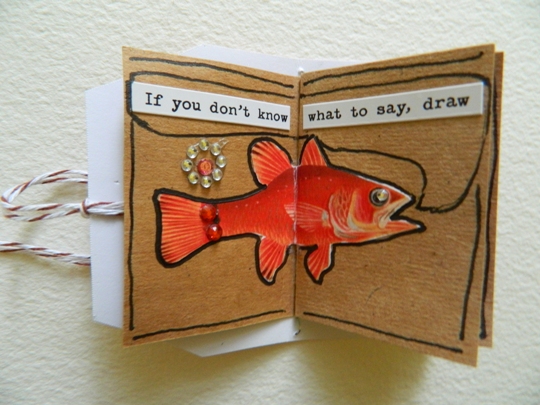
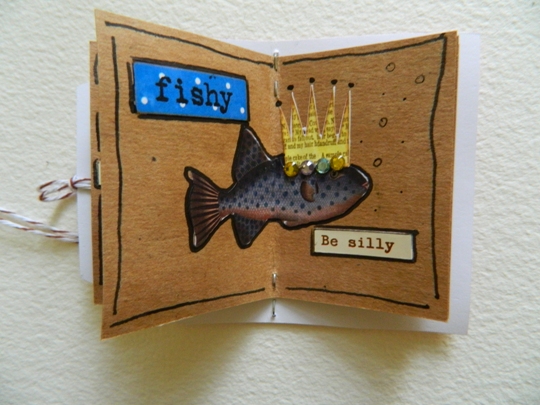
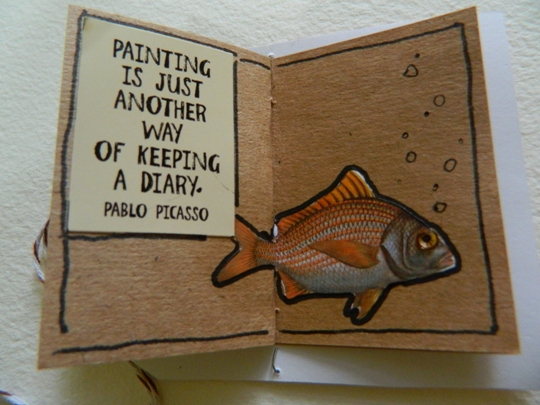
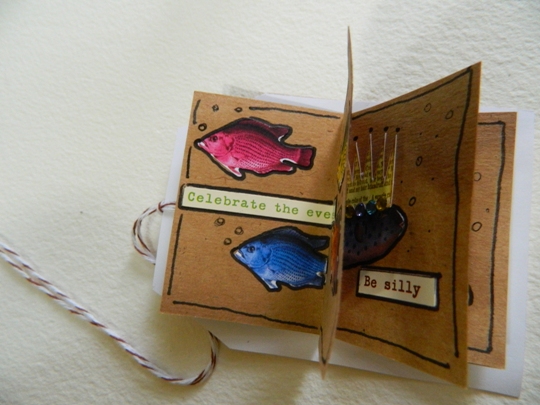
These have to be the cutest thing I’ve seen yet. Little story books or note books made from tags. I used some scrapbook paper and Kraft paper with collaged images to make a little books. This first one is about The Fish King.  Gather tags either pre made or shape to cut. Use any type of paper in between for your pages.

Making little story books from paper tags.

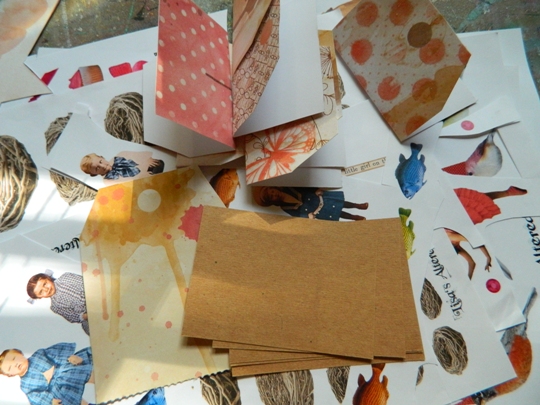
Fold tag in half, you’ll use the string to wrap your book. Cut and fold blank pages to size and staple to the inside of your tag. Cut assorted images and words and glue them onto your pages to create or story or note book. You can use the front and back of each one or use just one side.

Making little story books from paper tags.

Making little story books from paper tags.

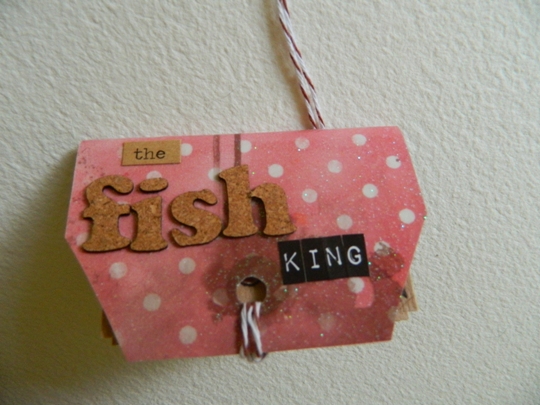
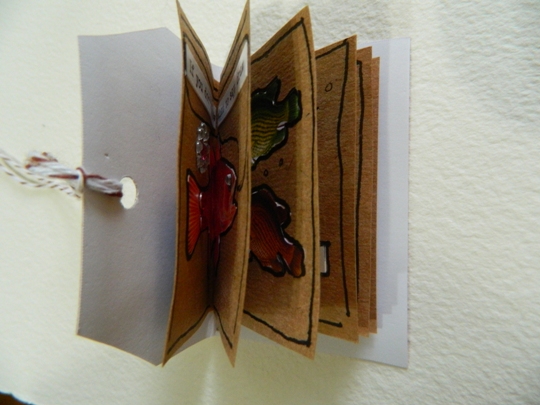
Don’t forget to decorate your cover. These are so cute and quick, you can make a dozen in a day. Have fun and be creative! I used a micron pen to outline the pages and images and added scrapbook gems to the images for a little sparkle. I also used a hole punch because I cut my tags from scrapbook paper.

Making little story books from paper tags.

Making little story books from paper tags.

Making little story books from paper tags.

Making little story books from paper tags.

~*~*~*~*~*~*~*~*~*~*~*~*~*~*~*~*~*~*~*~*~*~*~*~*~

Author bio: Artist Melanie Statnick is a Published Artist/Writer out of North Carolina who writes and creates art daily from her private studio.

~*~*~*~*~*~*~*~*~*~*~*~*~*~*~*~*~*~*~*~*~*~*~*~*~

.

.

What is Viva Décor Paper-Soft-Color?

~ * ~

This article is written by Barbara Rankin

What exactly is Viva Décor Paper-Soft-Color?

How does it differ from other products you may already own?  This article is intended to demystify this product.

When you open the jar, you will see a jar that appears to be full of paint on a sponge.

Product picture with a view inside jar

Removing the top sponge reveals the paint distribution system.  You will need to replace the top sponge for use.

Product picture with top sponge removed.

The best way to apply this product is with a sponge brush. Here are two examples of sponge brushes that I think work well.  The red handled sponge applicator is by Viva Décor, and the white handled applicators are by Martha Stewart.  A nice, dense sponge works best.

Viva Décor and Martha Stewart sponge applicators

Paper-Soft-Color is perfect for making soft, gradated colored backgrounds.  They blend extremely well and are super simple to use.  If you are familiar with distress inks and how to blend them, then you will find that Paper-Soft-Color is much easier to blend, and you can obtain more even coverage in a shorter amount of time.  The colors are very soft and they are quite transparent.  There are 20 colors.

First, load the sponge brush by dipping it into the jar’s sponge.  You will use very little paint, thereby making it excellent for stenciling with very little to no bleeding.  Using different colors will give you a graduated, soft effect, to make a beautiful background.  You can even stamp with Paper-Soft by dabbing the color onto your rubber or silicone stamp for amazingly crisp results.

For my example, I first cut a silhouette flower image onto light blue adhesive-backed card stock with a cut file from my Silhouette machine.  I adhered it to a #8 manila tag and began coloring the background, beginning with the lightest colors:  Lime Green, Light Carmine Red, Moss Green, and Light Blue.   I used a heat gun to dry the tag between each color while using a separate sponge for each color.

Photo of tag with colored background

Not only can you see how well the colors blended into each other, but also how the colors on the light blue die cut changed, as well.

I love distressing the edges of most everything I make, and so I distressed the edges of the tag all around and colored with Walnut Brown Paper Soft.  The technique would be the same as when you do this with distress inks and a foam blending tool, but again, the Paper-Soft-Color process is much faster and just as effective.

Photo showing how to distress edges of tag with brown Paper Soft.

I wanted to share the stencil technique with you, also, so I used a scrap of Punchinella  to stencil the dots with the Walnut Brown Paper Soft.  I deliberately sponged some areas darker than others to show how you can blend the stenciled areas right into the background.

Adding color through a stencil.

Moss Green Paper Soft was sponged directly onto the “PEACE” wood veneer and adhered at the bottom of the tag, thereby proving it works well on wood, too.

Adding Paper Soft to wood.

Moss Green, Light Blue, and Light Carmine Red Paper Soft colors were added in sections to a piece of off-white seam binding and thread through a decorative button, then through the tag hole at the top.  Again, this product works well on fabric, too!

Adding Paper Soft to fabric

Scrap lace was added to the bottom of the tag.

One last thing I wanted to share is how to take a simple silhouette image and give it some detail.  By simply adding a large dot of the Cream Pearl Pen and pulling it out towards the end of each flower with a pin, it dries shimmery and dimensional.  You can also apply the paint through a stencil with a spatula for a dimensional look. Add glitter to the paint while still wet for added sparkle.

Viva Décor Paint Pen uses

You can further embellish the tag to your heart’s content.

~*~*~*~*~*~*~*~*~*~*~*~*~*~*~*~*~*~*~*~*~*~*~*~*~

Barbara Rankin is a mixed media artist who loves to teach.  She loves to learn new techniques and to share her knowledge with other artists.    She is a contributing artist in a book:  Make it in Minutes: Mini Albums, and has been published in several paper and online magazines.  She is currently on two design teams, Sin City Stamps and Altered Pages, and has served as a design team member for The Robin’s Nest and Creative Paperclay®, as well as guest designer for Craftwell USA and an upcoming issue of Unruly Paper Arts.

She lives in the Memphis, Tennessee, with her very supportive husband of 32 years, and her two Yorkies, Chloe and Zoe.

You can see more of Barbara’s work on her blog at Black Hole Art Studio or via Facebook – Black Hole Art Studio

~*~*~*~*~*~*~*~*~*~*~*~*~*~*~*~*~*~*~*~*~*~*~*~*~

.
Aweber code:
.