Vicky P inspired ATC at Paperific

The Mixed Media Art team are excited to be heading back to Melbourne Paperific Expo – 26, 27 & 28 August 2022 at Flemington Racecourse, Victoria Australia for three days of papercrafting delight!

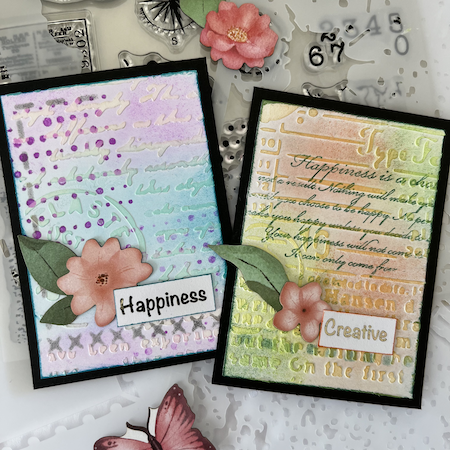
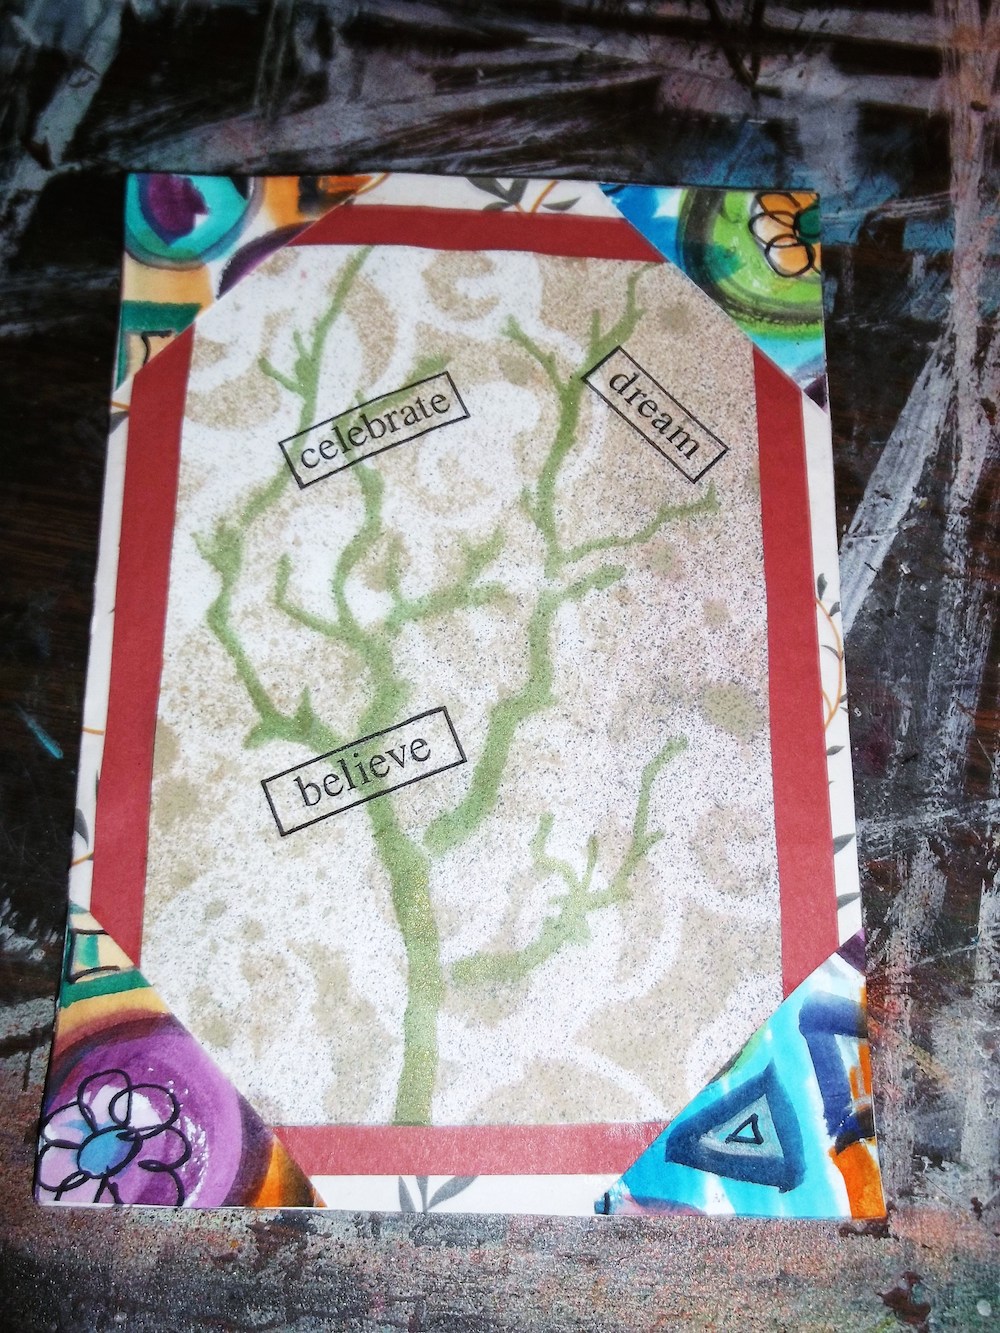
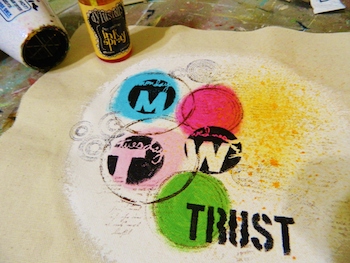
Come along and create this layered ATC featuring our new range Create Happiness by Vicky Papaioannou and Stamperia in our *free* Make and Take class.

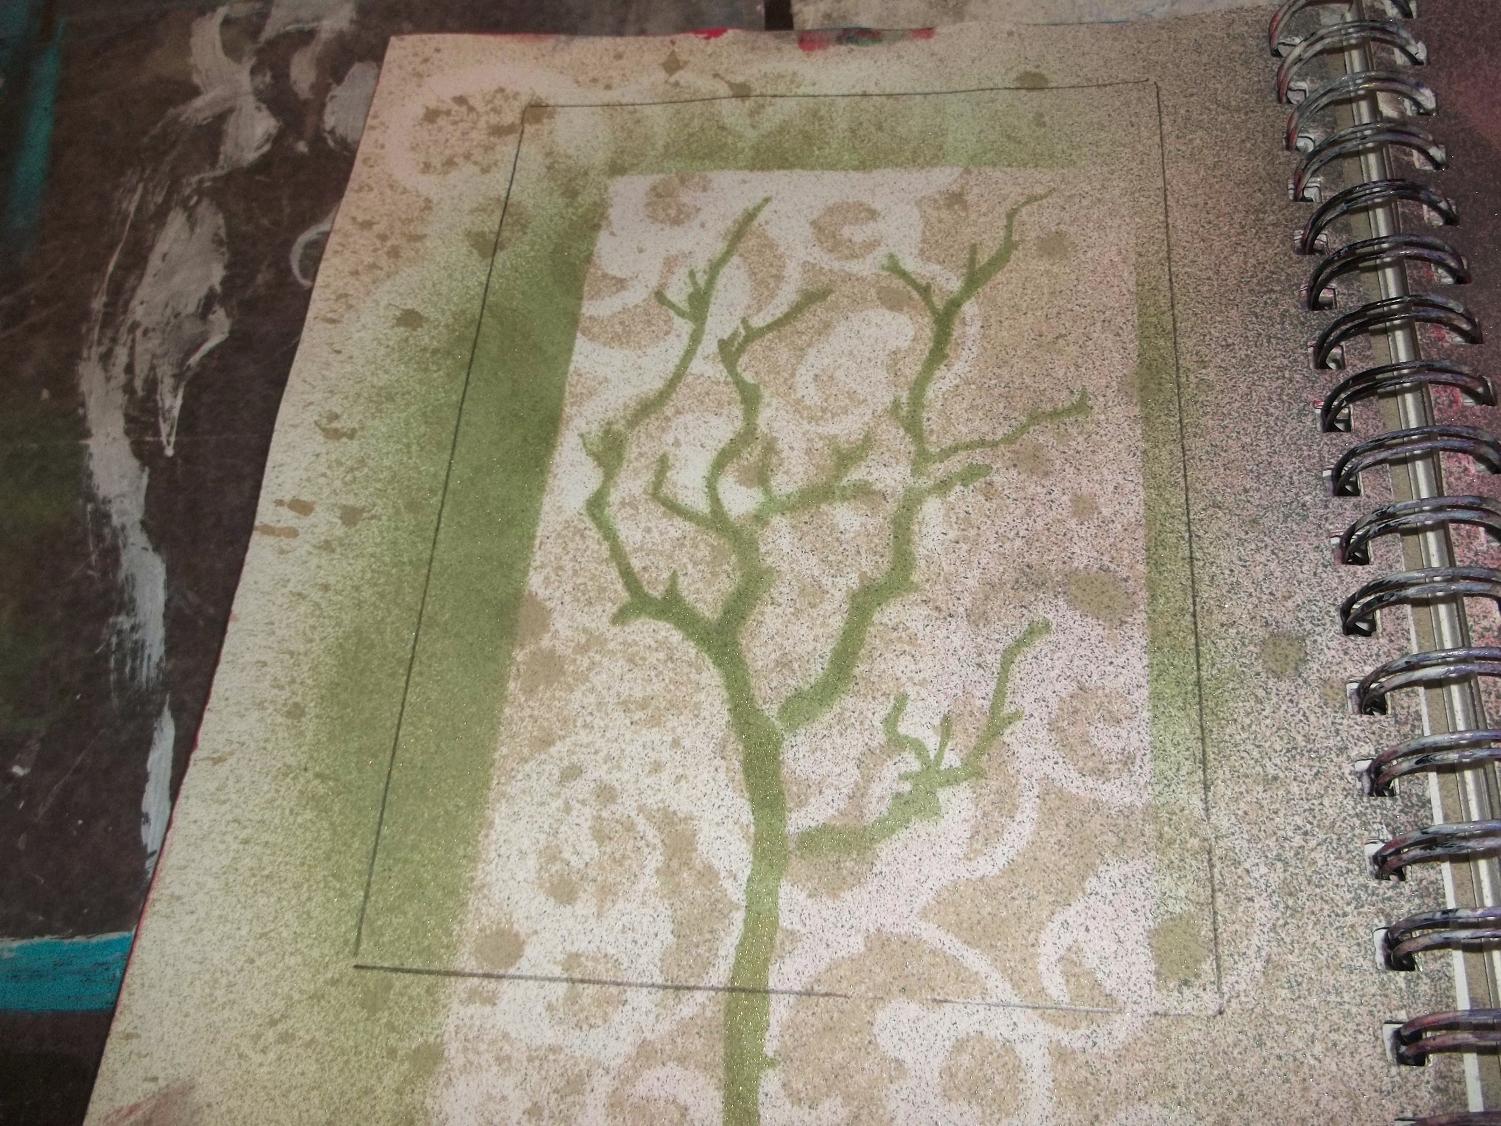
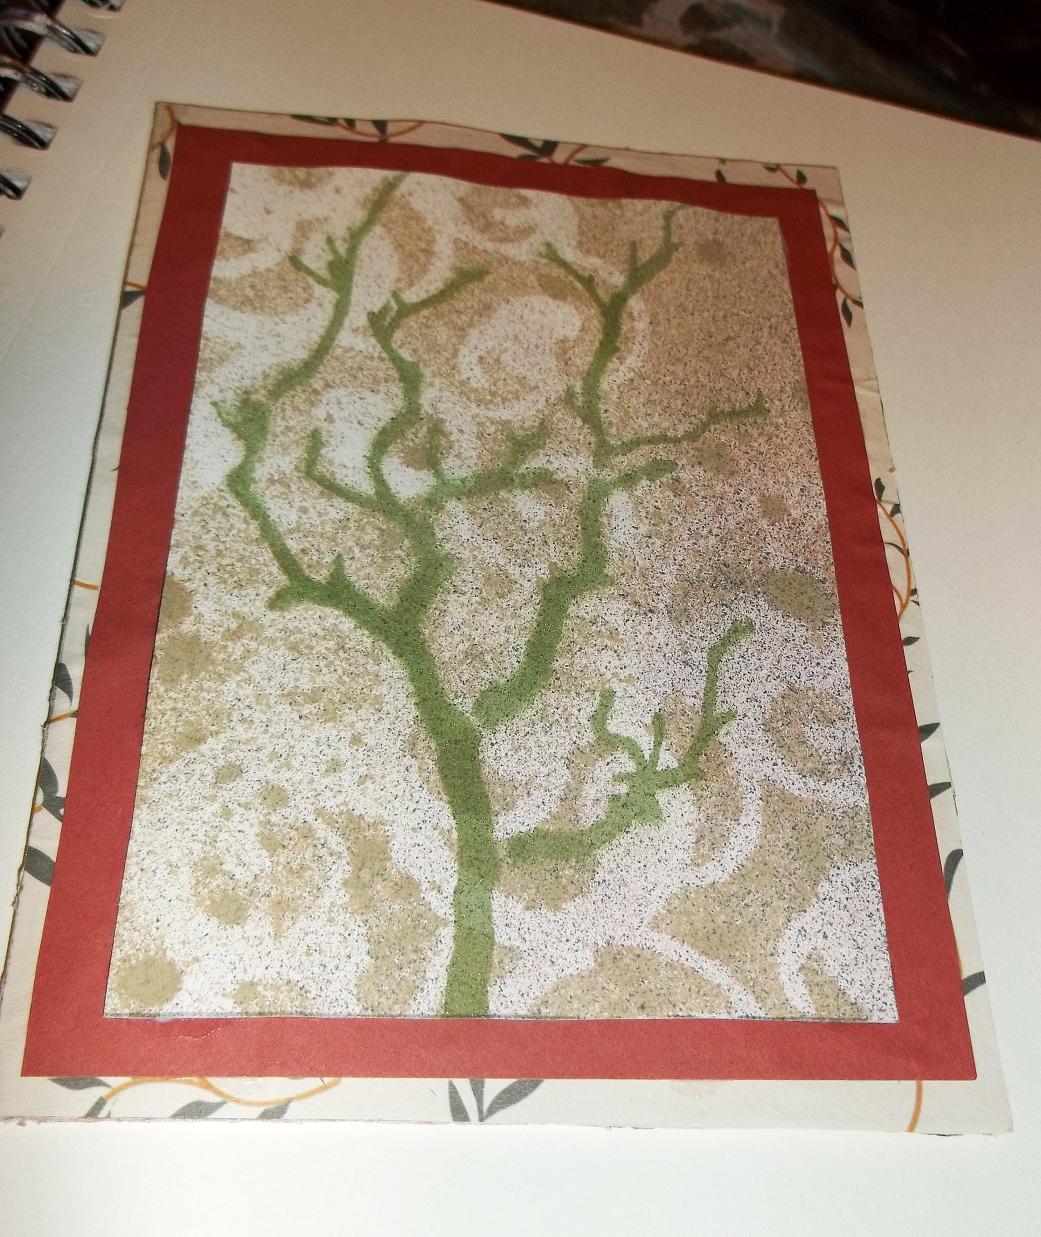
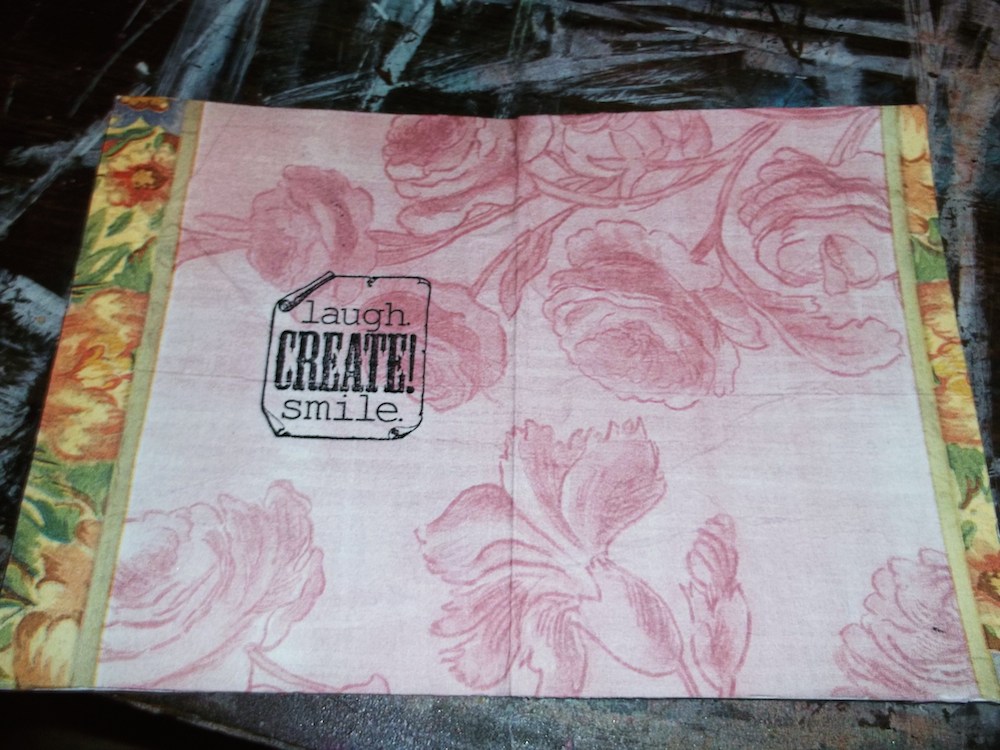
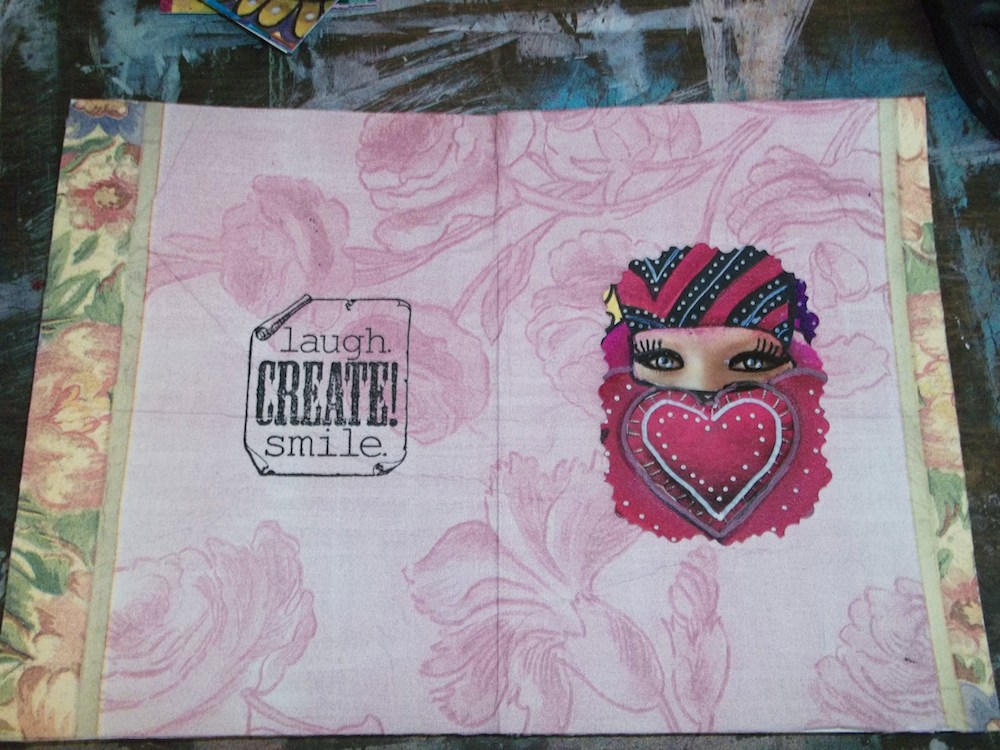
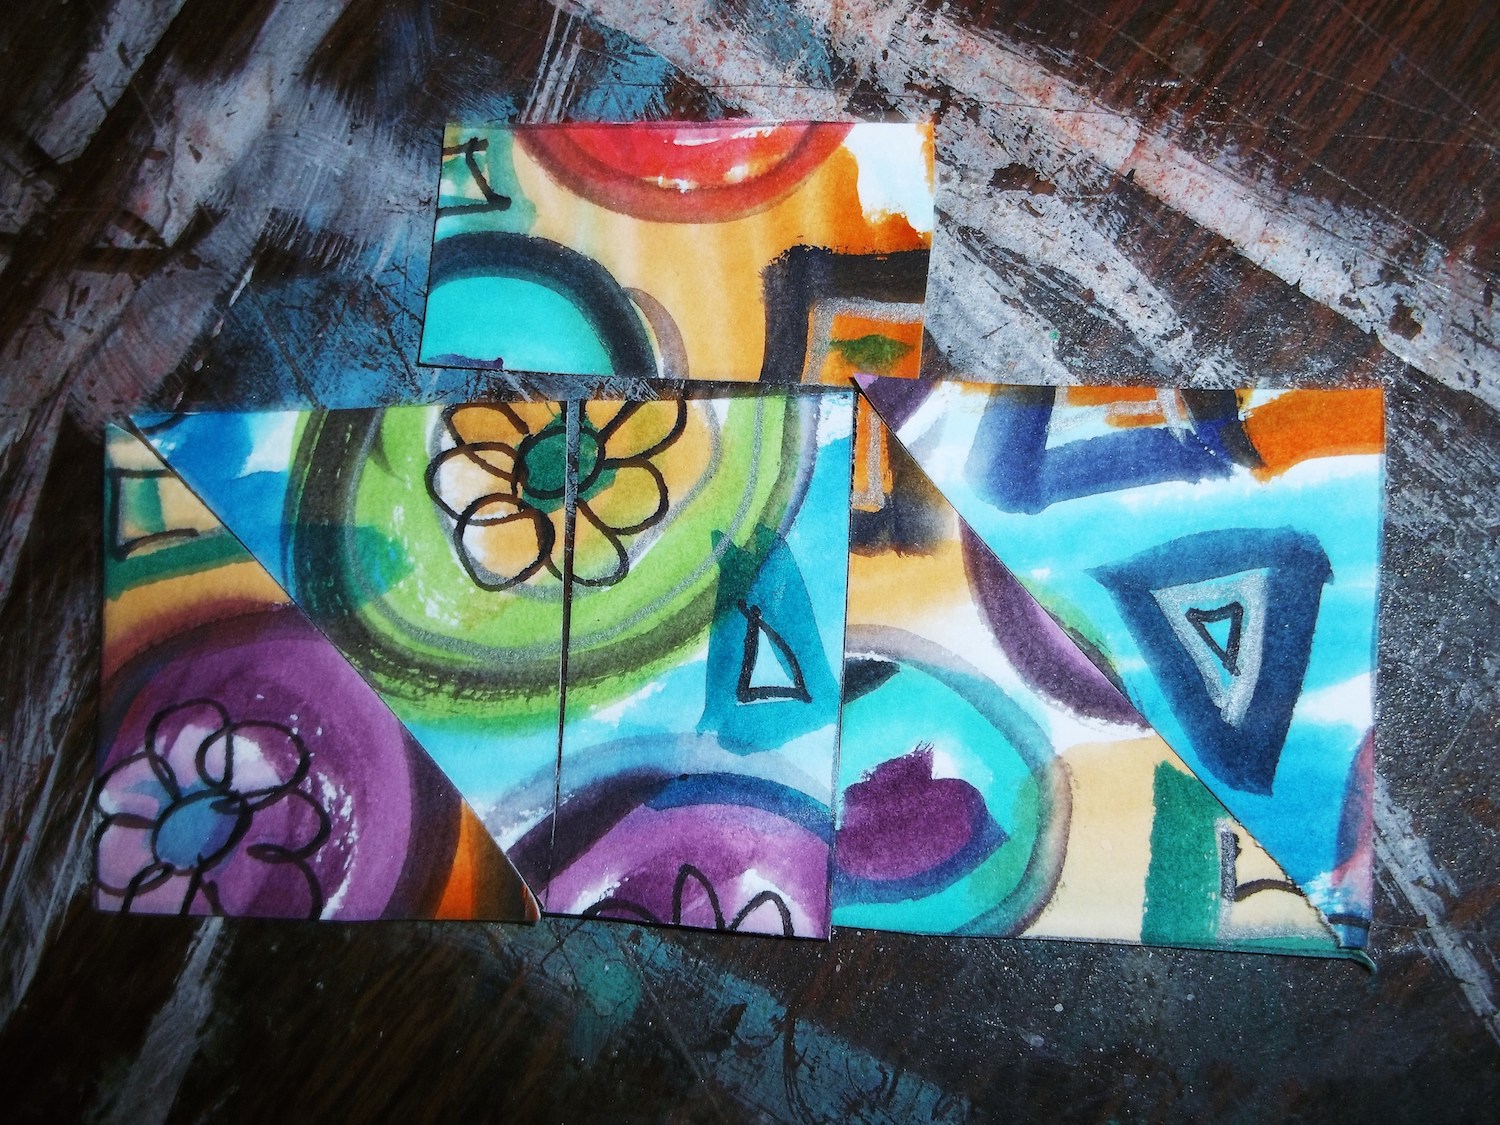
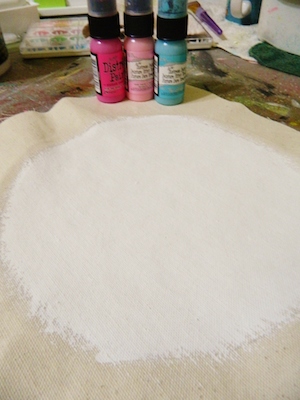
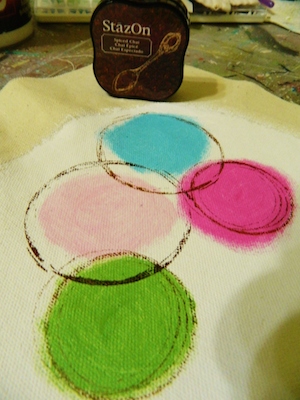
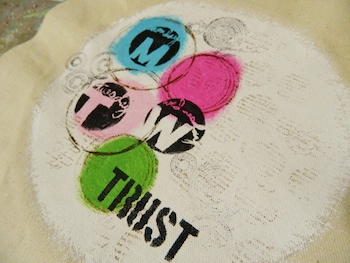
Just because an ATC (Artist Trading Card) is small (2.5″ x 3.5″) doesn’t mean it can’t have loads of mixed media dimension. You will learn several mixed media techniques, using stamps, stencils, inks, volume paste, glue, die cuts and more to create this gorgeously laid ATC.

Sign up for the free* ATC make & take at the Mixed Media Artist stand at Paperific expo. Sessions every half an hour across the weekend!

  • Note: Entry fee into the Melbourne Paperific Expo is required
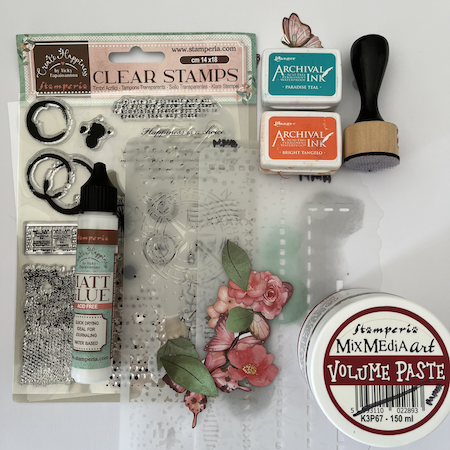
Materials List:

Making Greeting Cards from Recycled Art Scraps

~ * ~

This article is written by Laura Shelton Thykeson

I know that there are many, many artists that make their own beautiful and original greeting cards for all occasions, and they have so many creative ways to do it! I love the variety and beautiful cards I see out there. I wanted to write a short tutorial for those who may be just beginning to venture into this fun field and are maybe looking for some easy tips and techniques.

Handmade Greeting Cards are quick and easy to make

The card I have made may not be to everyone’s taste, but I love mixing up colors, textures and designs to really make for an interesting card to look at. It has several elements, but it is really easy once you know the details and instructions.

Materials

Below is a list of supplies you will need:

  1. Blank watercolor card w/envelope, or a piece of cardstock if you would rather work with that. You will have to cut and fold your cardstock over in half to make the card shape.
  2. Bits and pieces of our recycled art, old art journal pages, paint splattered pieces of papers, collage material, pretty paper napkins, stamps (optional), any 3d embellishments you choose. (I chose the yellow sunflowers for added texture, ribbons, buttons, sequins, etc….
  3. Coordinating scraps of “stencil play” pages, scraps of cardstock that may not be your favorites and you won’t be using for anything else.
  4. ATC’s in abstract, colorful and textured designs, or even postcards you have made that you don’t mind cutting up to reuse

Instructions:

  • After you have chosen your blank watercolor card or made one from cardstock, take your colored papers and glue and layer them on the front page of the card to start your colorful background. This is layer 1. I used a piece of brown paper, with a stencil design of a tree that I had been playing around with in an old art journal.

Handmade Greeting Cards are quick and easy to make

Handmade Greeting Cards are quick and easy to make

Handmade Greeting Cards are quick and easy to make

  • Once that is dry, open up your card and spread glue or your fav adhesive all over both sides of the inside pages of the card. Then take the paper napkin and lay over the glue, pressing and smoothing to get any wrinkles out. It is ok if you have some wrinkling, because the texture is always nice, but for this card I wanted it smooth. Let this dry well.

Handmade Greeting Cards are quick and easy to make

Handmade Greeting Cards are quick and easy to make

  • Using your choice of stamps (optional), or if you prefer your own handwriting, add some cool sayings or words on the inside of the card.

Handmade Greeting Cards are quick and easy to make

  • I also ran across another old ATC size scrap of art that caught my eye, and using decorative scissors, I trimmed all around the edges of the card to give it some interest and texture, then glued it to the right side page of the inside of the card to finish it out.

Handmade Greeting Cards are quick and easy to make

  • Now, take any old ATC’s, collage papers, gelli print papers, etc and cut them into triangles. Take these triangles and glue them to the corners of the front of your card to add more color and texture. If you are using an old ATC, cut it first in half, then cut the two halves into triangles by cutting from opposite corners to make the triangles. Also add some stamped words.

Handmade Greeting Cards are quick and easy to make

Handmade Greeting Cards are quick and easy to make

  • At the bottom of the front page of my card, I cut small strips of abstract, glittery watercolor paper scraps I had painted a long time ago, and glued them on as stems for the 3D yellow sunflowers that I added at the last minute.

Handmade Greeting Cards are quick and easy to make

This is a really fun and easy way to make a unique and interesting card for any occasion! Using different papers, napkins, stamps etc, you can fashion it to fit any occasion. I really hope you have enjoyed learning how to recycle scraps into something both unique AND useful!

~*~*~*~*~*~*~*~*~*~*~*~*~*~*~*~*~*~*~*~*~*~*~*~*~

Laura Thykeson has been totally immersed in mixed media art for many years. She discovered altered books and art journals about a year ago and have been hooked ever since! She has always loved mixed media art because of the variety and the “no rules” aspect! Laura lives in Granbury, Texas USA.

You can see more of Laura’s work at Taz’s Corner

~*~*~*~*~*~*~*~*~*~*~*~*~*~*~*~*~*~*~*~*~*~*~*~*~

.

.

Mixed Media Art in the Round

~ * ~

This article is written by Melanie Statnick

One of the things I like most about creating mixed media art is the numerous amount of different surfaces you can use to paint or alter. I thought the embroidery hoop was a fantastic idea and it steps away from the average square shape of the canvas.

using embroidery hoop as a framed canvas

using embroidery hoop as a framed canvas

Using a loose sheet of canvas fabric that can be found in most craft stores, I found this in with the scrapbook paper. Trace the inside hoop using a pencil. Gesso the inside of the circle and dry well. Paint shapes with acrylic paint, here I used Distress paint dabber, and I stamped images with Stazon ink pad.

using embroidery hoop as a framed canvas

Pick your favorite stencil and stencil in images and/or write words. Because your surface is primed with gesso you can accomplish the same effects as you would on a regular square canvas.

using embroidery hoop as a framed canvas

Dry well and spray with a matt finish. Flip your artwork over to the back side match the gesso circle you made. Push smaller hoop through the inside. Cut remaining fabric off.

using embroidery hoop as a framed canvas

You can see more about this Julie Fei-Fan Balzer’s Weekly Circles stencil here

~*~*~*~*~*~*~*~*~*~*~*~*~*~*~*~*~*~*~*~*~*~*~*~*~

Melanie Statnick is a published artist/writer out of North Carolina. Melanie creates art daily from her private studio. Her style is illustrative and whimsy. Melanie’s artwork can be found in art galleries and shops extensively in NC with international private collections. Learn more about Melanie view her website at: www.melaniestatnickart.com

~*~*~*~*~*~*~*~*~*~*~*~*~*~*~*~*~*~*~*~*~*~*~*~*~

.

.

My Top 3 Art Journaling Videos

Whenever I need some inspiration or just general arty cheering up – I head over to my reliable favorite videos. It’s not just the art journaling of these three mixed media artists that cheers me up; I love their openness and honesty of their creative process.

Pam Carriker in art journalling mode

There is also something about actually watching the process of the art journalling unfold! Seeing how the paint moves around the page – watching as the layers are built up. It really does bring art journalling to life and makes my fingers itch to get messy and get creating!

Pam Carriker and her “Hear” page

*


In the bluey-green art journal layout, Pam uses Gelli plate printed deli paper to build up the collage layers and her hand carved prints. Pam then adds detail  with water resistance Faber-Castell artist crayons. The colours are then added with the Derwent Inktense blocks – this video was the inspiration for me buying my own set of Intense blocks!

You can see more of Pam’s work per at her blog – Living Art at the Speed of Life

~ * ~ * ~ * ~ * ~ * ~ * ~ * ~ * ~ * ~ * ~ * ~ * ~ * ~ * ~

Traci Bautista

*


I love Traci’s use of bright colors and stencils to create the base of this vibrant art journal page. This background is then collaged over to create the foundation for quick sketching with a charcoal pencil and then highlighted with acrylic paints and various markers – all of the ingredient for a fabulous mixed media art journal page!

You can see more of Traci’s work per at her blog – Kollaj

~ * ~ * ~ * ~ * ~ * ~ * ~ * ~ * ~ * ~ * ~ * ~ * ~ * ~ * ~

Donna Downey with “Imperfection is a Form of Freedom”

*


Donna never shows fear in the face of colour – here she uses orange and turquoise to create this fun art journal layout. Again, it’s great to see the layers being built up with all of the different coloured paints, as there are spots of colors that aren’t as noticeable when looking at the finished picture, but once I’ve seen them added during the process, I notice them. donna finished this layout off with charcoal pencil lines and some stencilling.

You can see Donna’s weekly videos over here at Inspirational Wednesday

.

.