~ * ~
This article is written by Michelle G. Brown
Know what it’s like to wake up early with a BRILLIANT idea in your head?!? That happened to me this week and I couldn’t wait to combine this gorgeous Kaisercraft butterfly stencil with the Goosebumps and Gelatos! The results was this bright card – perfect for my nieces birthday!

~ * ~
Materials
.

* Shipping tags
* Kaisercraft Template – Flutter
* Goosebumps by Imagine Crafts
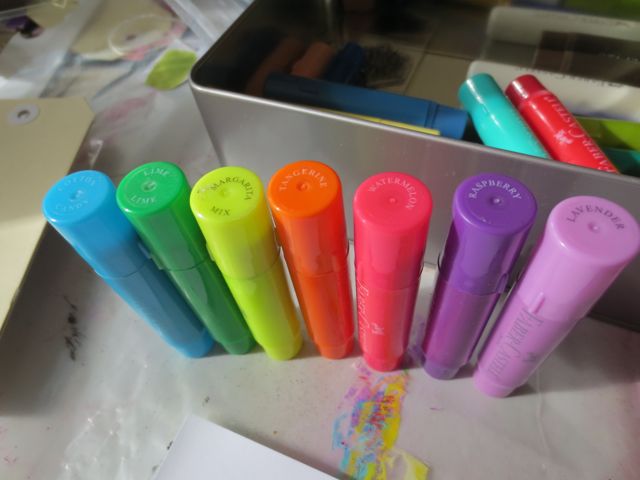
* Gelatos – Tropical Set by Faber-Castell
Plus
- plastic cereal box sheet
- masking tape
- water container
And card making stuff, as desired
~ * ~
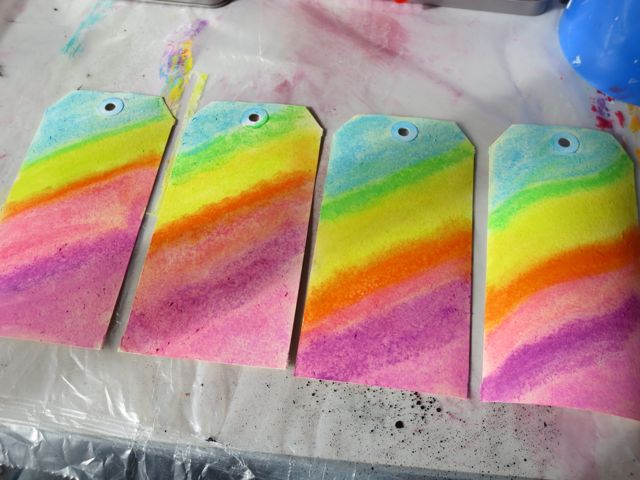
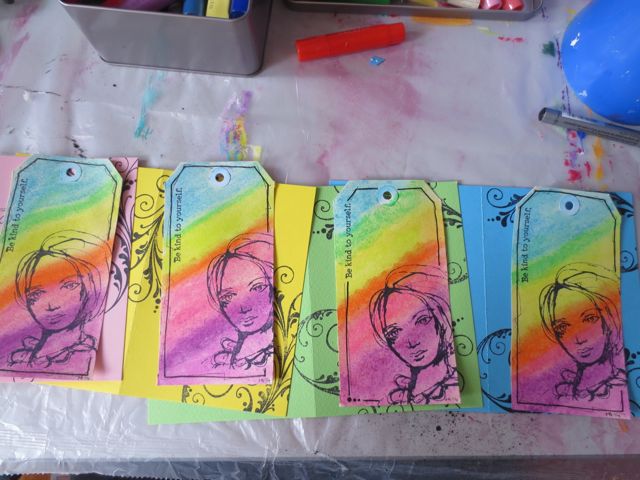
Gelato Resistance Technique
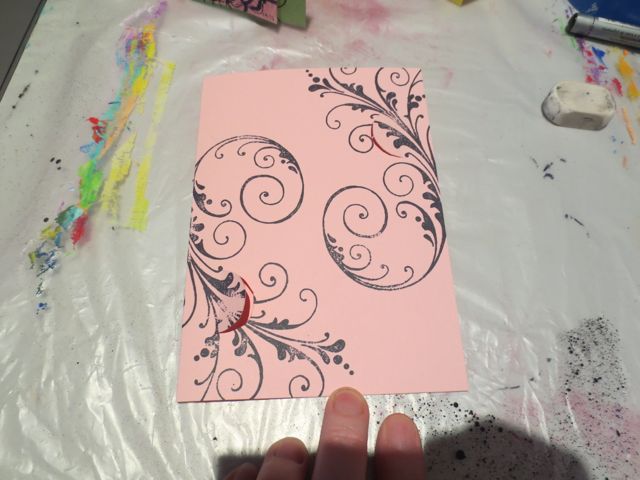
Gather materials and add the tags onto the plastic sheet, using masking tape to secure the stencil (it’s easier than trying to hold it still with one hand and apply the Goosebumps with the other – trust me on this one!)

Daub the Goosebumps medium on the stencil. Once you get to the end, go back to the start and repeat to add a second layer. Take care not to add too much or the stencil will bleed.

Set tags aside to dry. Wipe your stencil clean with a baby wipe or kitchen towel and a little water. The goosebumps will clean off your stencil if you wipe it STRAIGHT AWAY!
The Goosebumps medium also comes in “Shimmer” which has silver glitter in the mixture.

Grab your Gelatos – I used the Tropical set. You can use a combination that inspires you!

Color in with the Gelatos. This is the fun part!

Then use water to activate the Gelatos. I use my finger and start with the lighter colours, cleaning off my finger between colours. Use kitchen towel to rub over your butterflies and clean them up a bit.

Some clean off better than others, depending on the amount of goosebumps applied – I love this effect!

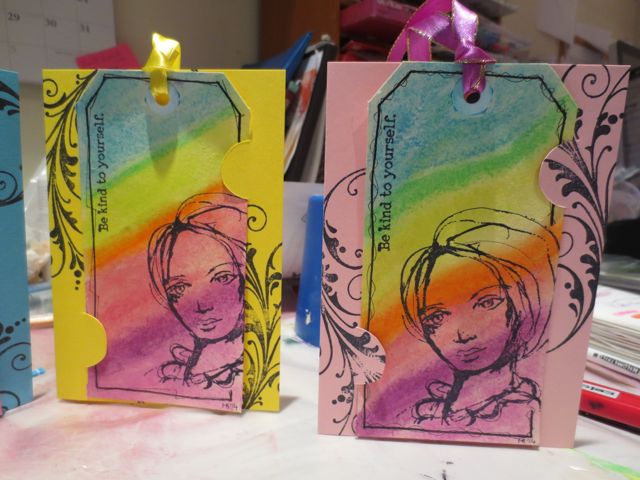
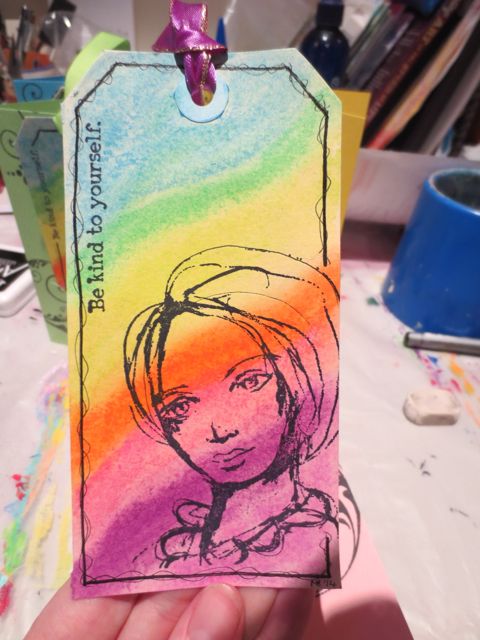
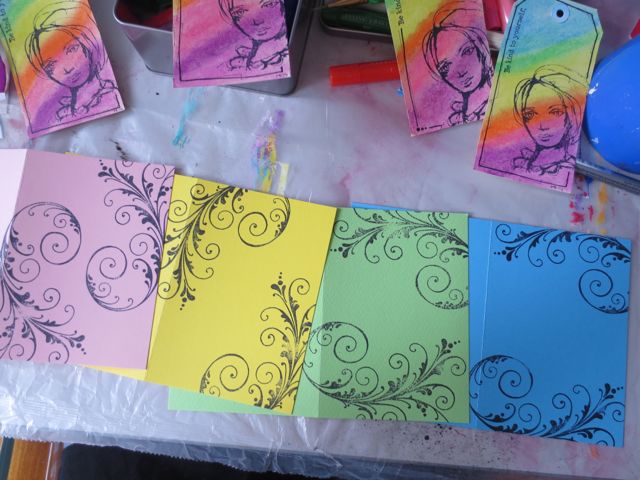
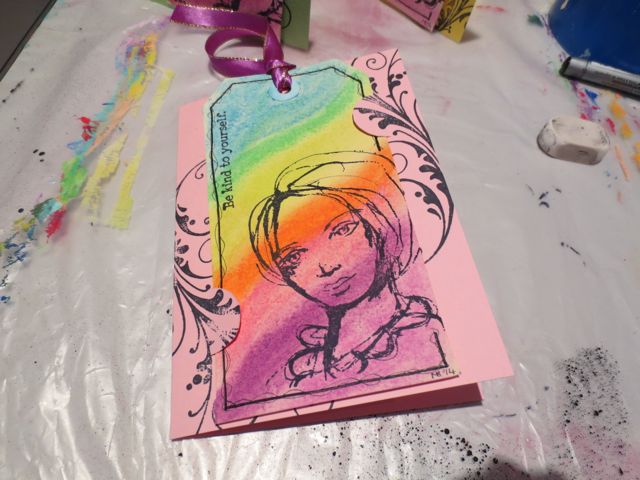
Now your tags are ready to turn into whatever you choose – a card, bookmark or gift tag!
~ * ~
Butterfly Birthday Card
Gather your card making stuff. Here I’ve used black card with silver ink and a few other embellishments to complete the card.

Using shipping tags makes it easy to add fibres into the top hole. I’ve also added a bit of bling.

~ * ~
Gelato Resistance Trials
After I finished my first card with Goosebumps I realised I had other mediums that could also produce a resist with the Gelatos. So for the sake of completeness, I trialled a total of four mediums:
1. Goosebumps
2. Clear embossing powder
3. Crayon (using pink because I couldn’t find my white one)
4. Gesso
Each mini tag got a butterfly in each of the mediums

Then I applies the same Tropical Gelatos as above, using the same process.

Here are the final results:
1. Goosebumps – quick an easy and produces a soft resist

2. Clear Embossing Powder – produces a clear, shiny image. Applying the heat to melt the embossing powder has made the small tag a bit wavy

3. Crayon – quick and easy; not a solid image but a different look

4. Gesso – nice white image

Each medium produces a slightly different effect, so feel free to choose whichever medium you have on-hand. It’s great to have so many options when it comes to creating fun backgrounds for your mixed media art project.
Happy creating!
~*~*~*~*~*~*~*~*~*~*~*~*~*~*~*~*~*~*~*~*~*~*~*~*~
Michelle G. Brown is passionate about mixed media art and enjoys sharing her knowledge and techniques with you to allow you to express your own creativity. Michelle understands that many of us have an inner need to create. By learning a few basic techniques the amazing world of mixed media art is accessible to everyone!
Michelle lives with her husband and two boys in Melbourne, Australia.
~*~*~*~*~*~*~*~*~*~*~*~*~*~*~*~*~*~*~*~*~*~*~*~*~
Disclosure: Some of these products have been provided by Imagine Crafts and Kaisercraft for the purpose of review. All opinions are that of the MixedMediaArt team. The links on this page are affiliate links and any purchases help to support the ongoing work by MixedMediaArt.


Recent Comments