~ * ~
This article is written by Tamara Dinius
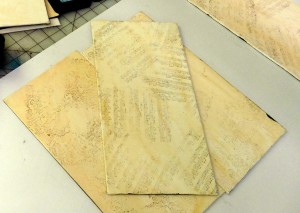
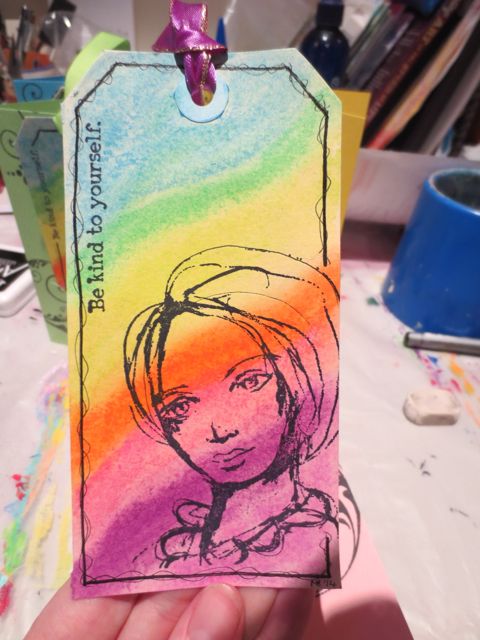
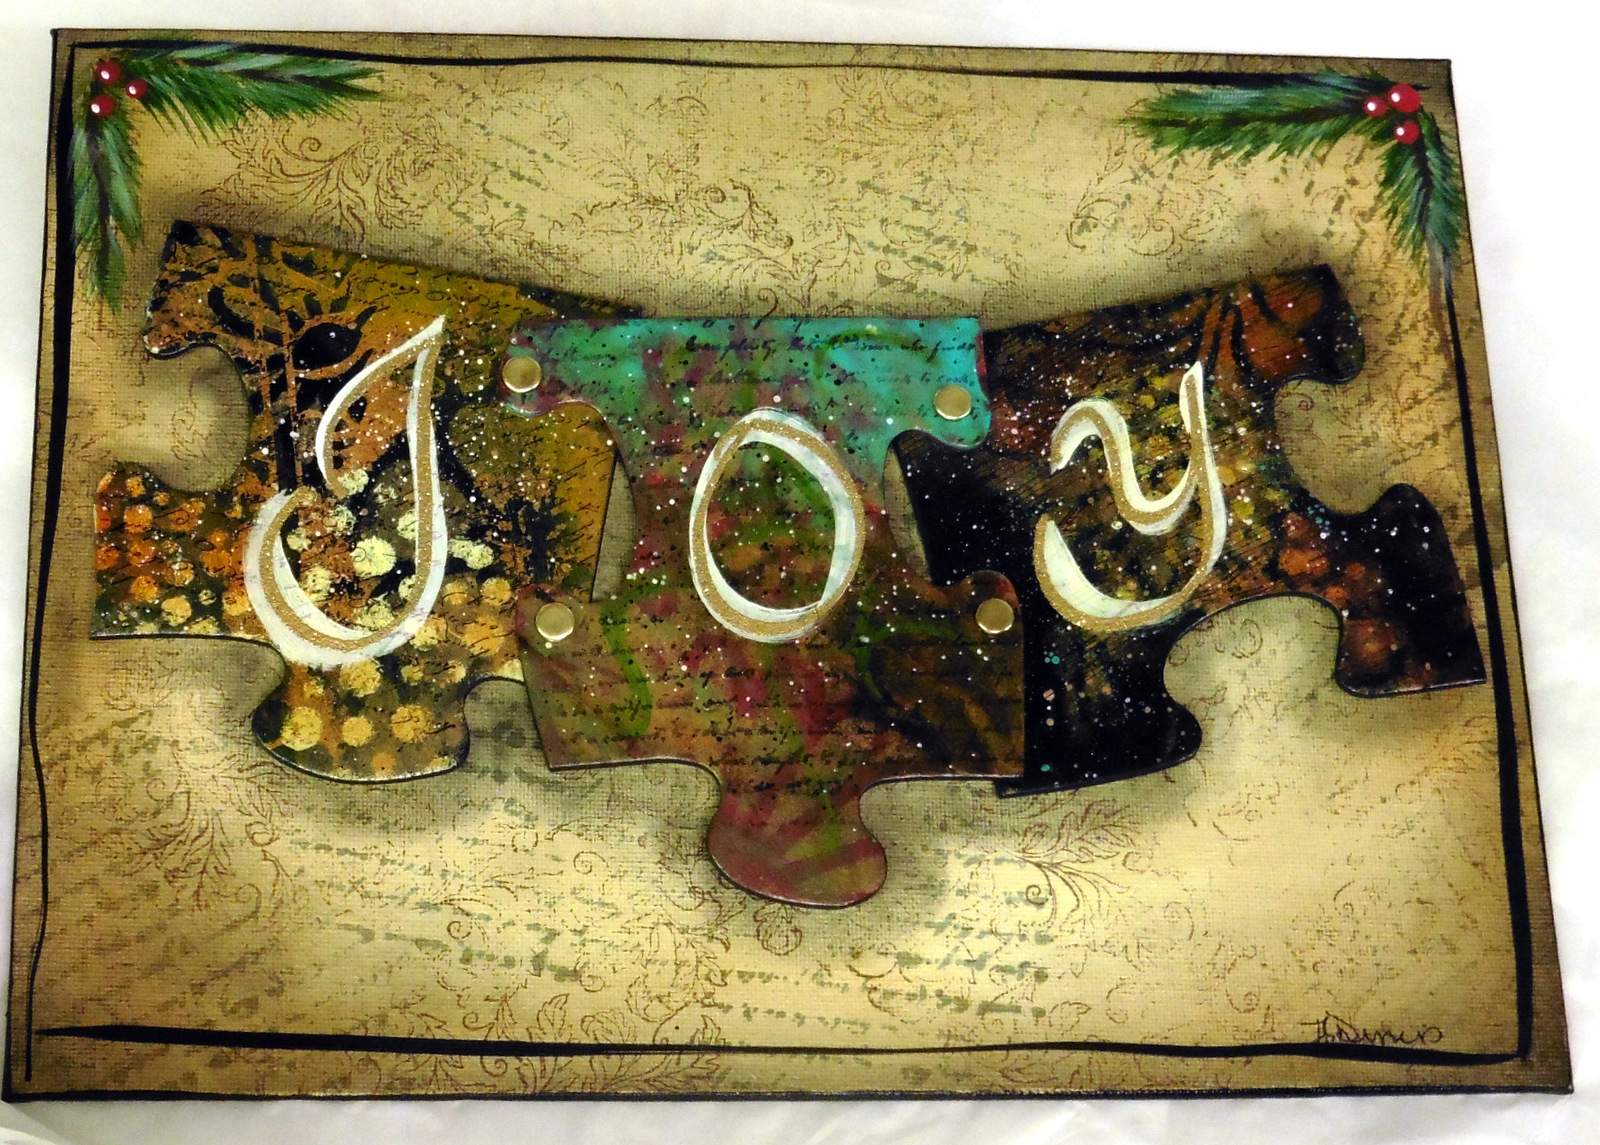
Here we’ve taken canvas panels or water-colour paper to create this cute wall hanging.

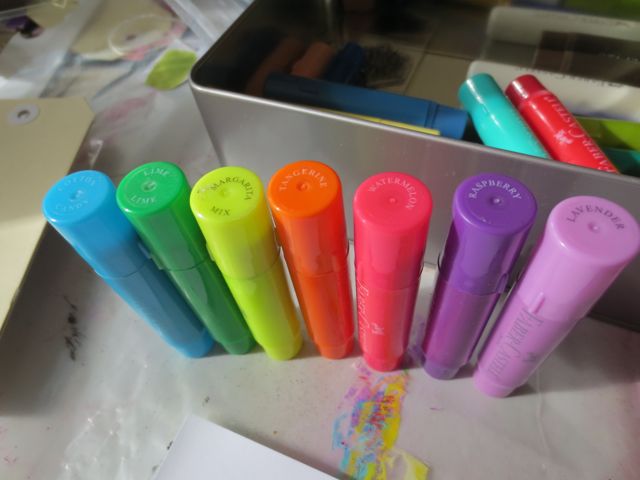
This video will demonstrate the use of Pan Pastels and rubber stamps to create an aged background for use in your mixed media artwork.
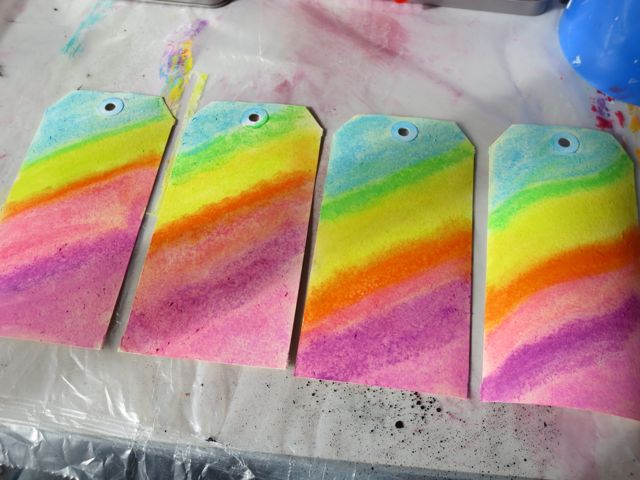
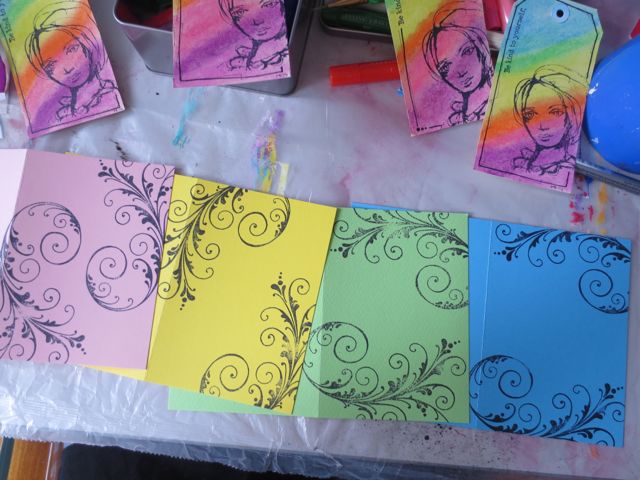
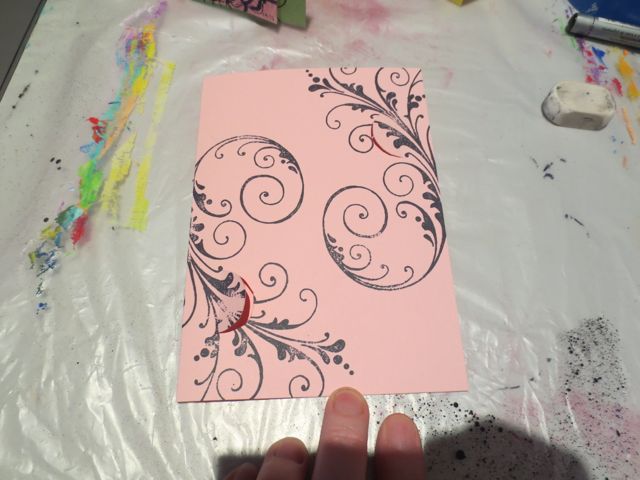
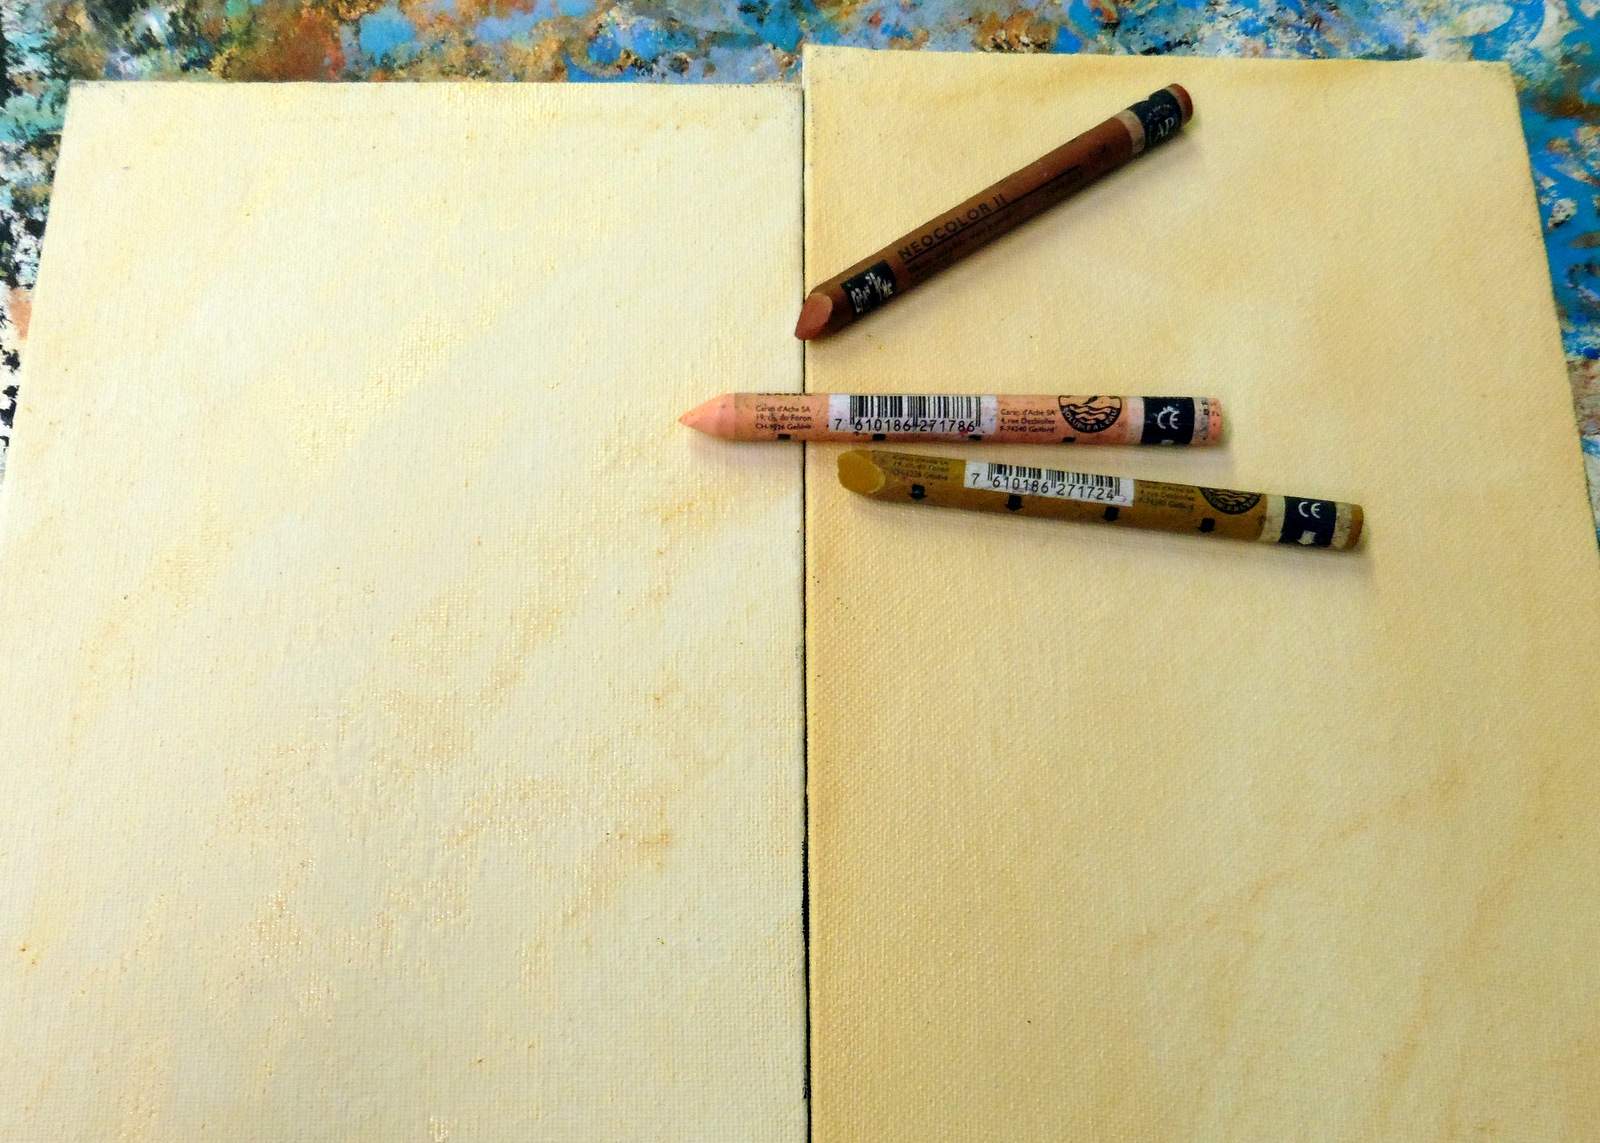
Here is a snap shot of the background with the first few layers

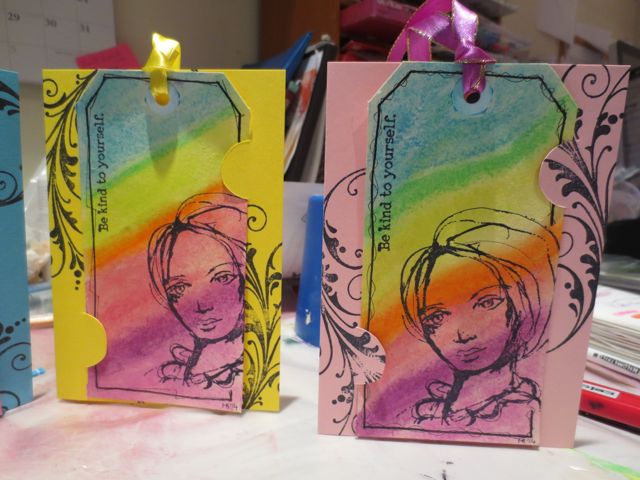
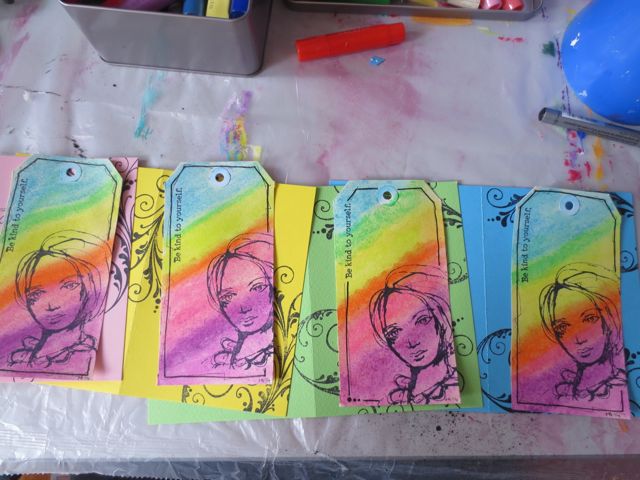
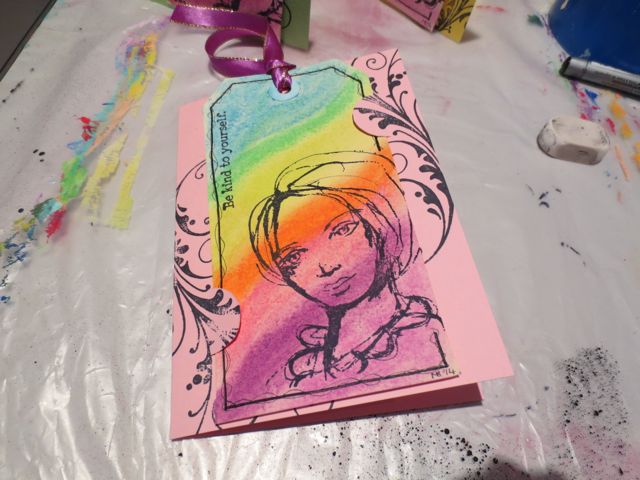
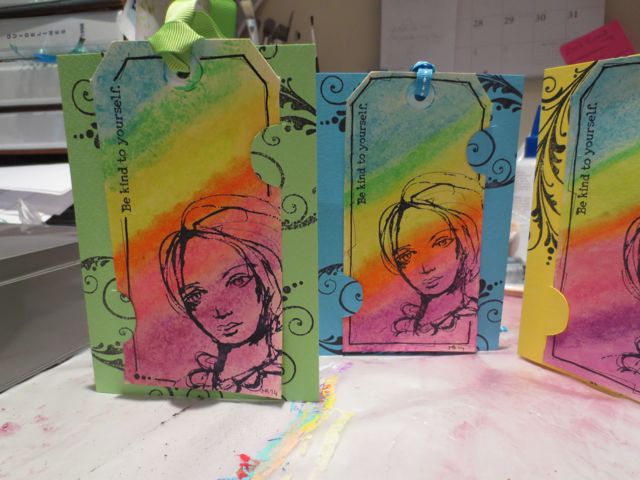
And here we’ve added the stamping:
~*~*~*~*~*~*~*~*~*~*~*~*~*~*~*~*~*~*~*~*~*~*~*~*~
Tamara Dinius lives in the Pacific Northwest with her husband and chocolate lab. She has two grown daughters who make her life meaningful. They support her, ground her, embrace her, and are amazing people in their own right. Her love for mixed media has taken over most aspects of her creative journey. She believes mixed media allows for a broad range of styles and anyone can find success in this form of artistic expression.
You can find more of Tamara’s work, and on her website countrycraftersusa.com, Etsy shop, or via her Facebook
~*~*~*~*~*~*~*~*~*~*~*~*~*~*~*~*~*~*~*~*~*~*~*~*~
.
.


Recent Comments