~ * ~
This article was written by Melanie Statnick
Supply List:
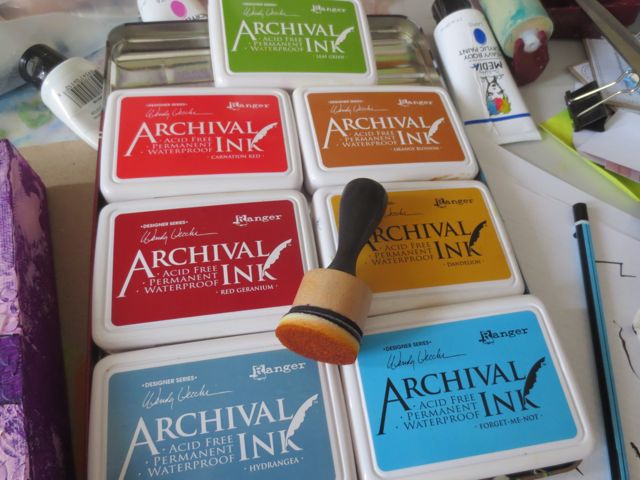
- Ranger Alcohol Inks in a variety of colors
- Alcohol Blending Solution
- Alcohol ink cardstock and/or Yupo paper pad
- Waterproof ink pad
- Stamps of choice
- Old toothbrush
- Gloves
- Paper towel
- Small glass bowl
Instructions:
I have had the Ranger Alcohol inks on hand since they were first introduced. Since then I have seen many different brands and ink tools to use with them. I wanted to take advantage of what I already had invested in and find something new and fun to do. Mixed media backgrounds can be made many different ways. I have always admired the work of acrylic landscapes. I’m not as tight in my painting and the Alcohol inks allow for some experimental fun. Let me guide you through a quick and addictive background technique with Alcohol inks by Ranger. 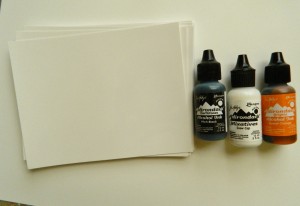
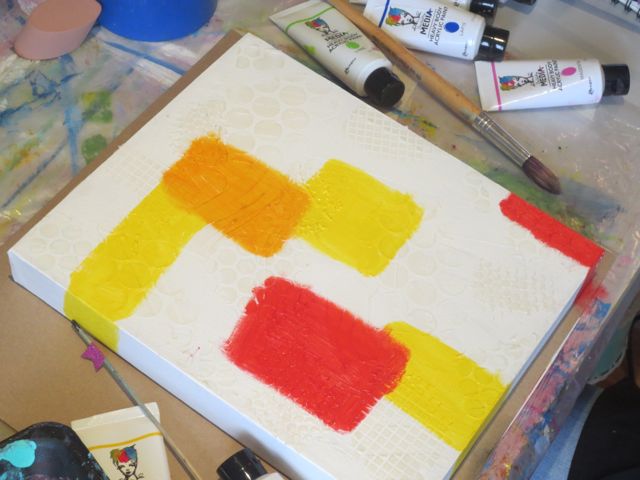
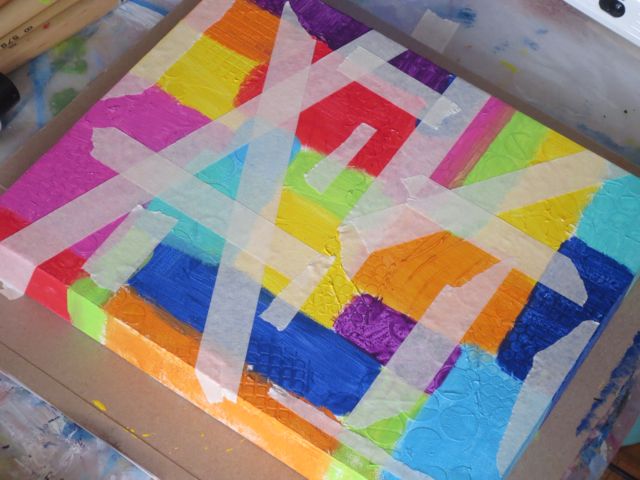
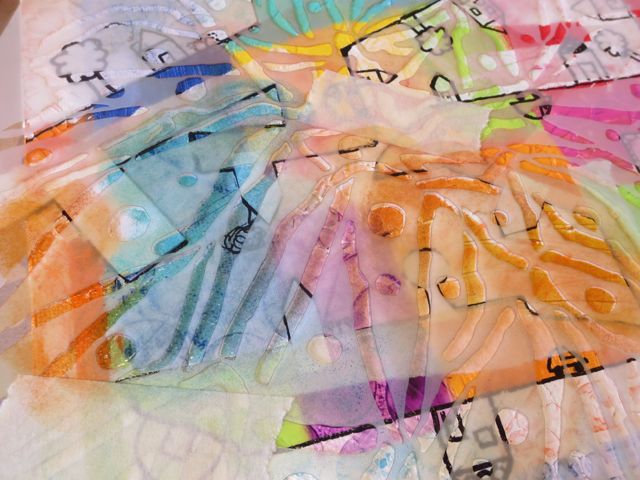
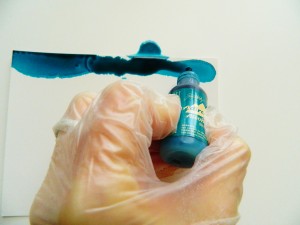 I started with picking a large verity of the ranger ink line. Wearing gloves I picked a sky blue ink color and began by spreading the ink from side to side. I moved the card stock/or Yupo paper from side to side allowing the ink to move back and forth across the paper. The ink will dry fast. I also found that on Yupo paper the ink can become tacky in heavier applied areas.
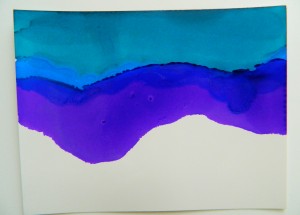
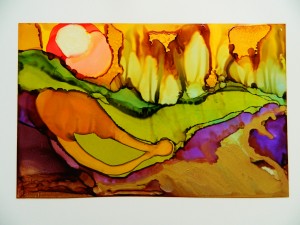
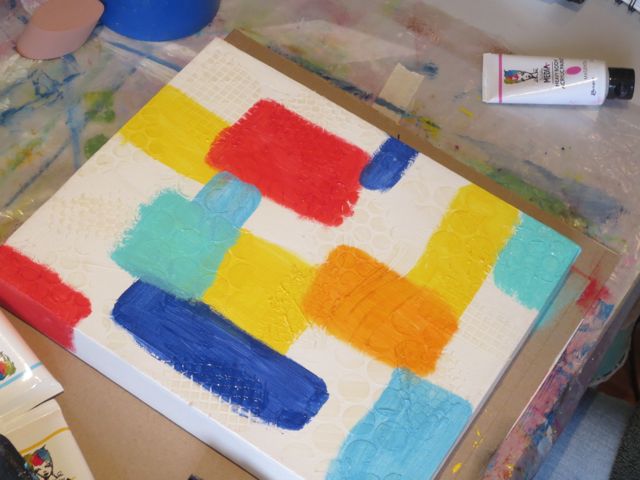
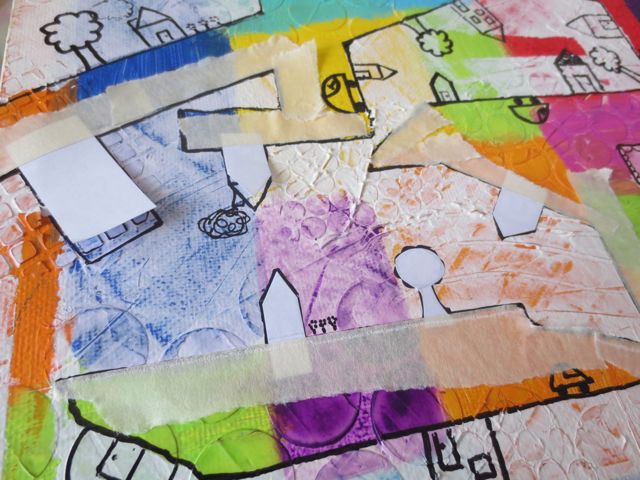
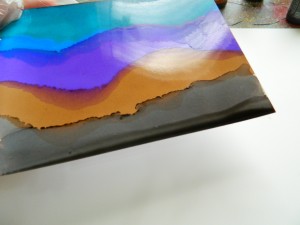 The next step is creating layered inks to achieve the look of a landscape. These can be in traditional colors or you can get creative and make something more abstract. Because the ink will dry fairly quick tilting the paper slightly forward or toward you will depend on where the ink will run. Apply the next color directly under the first. If the color runs, dip a corner of the paper onto some paper towel.
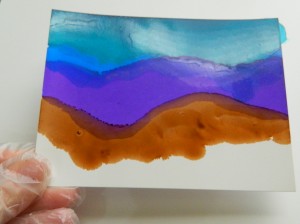
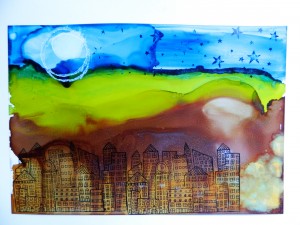
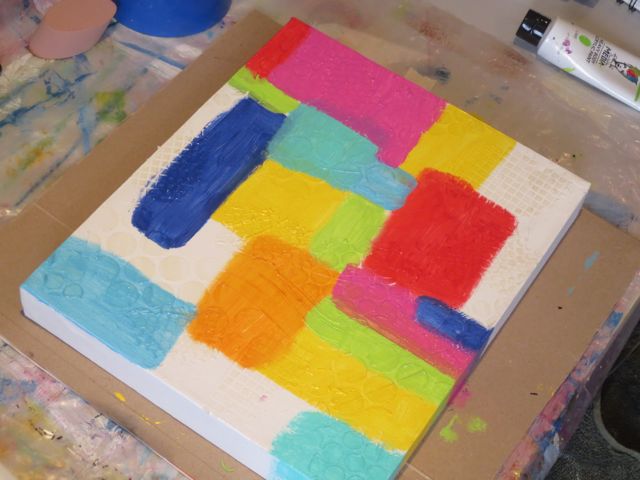
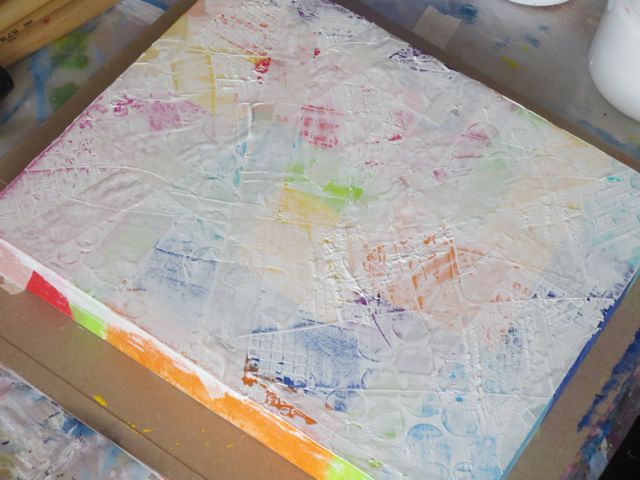
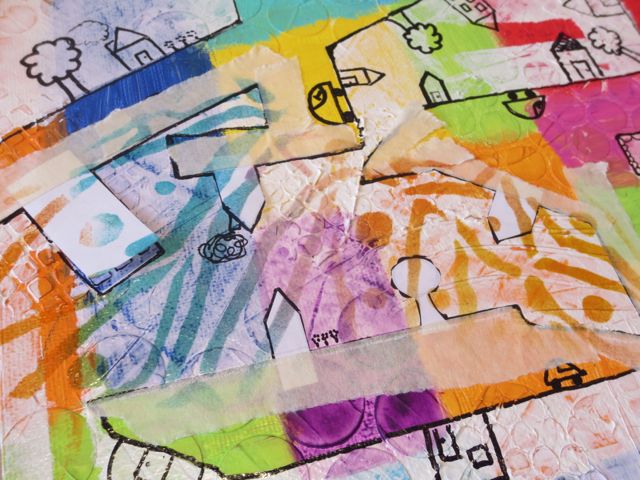
 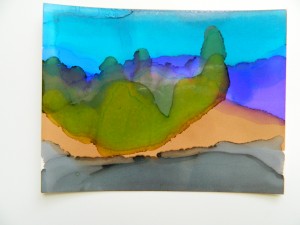 In this photo you’ll notice that I have gone into the background with a green and by tilting the card away from me and adding a few drops of ink, I then added the Alcohol blending solution to the dots of ink. This allows the ink to disperse and run down the card. This is how I made some abstract trees.
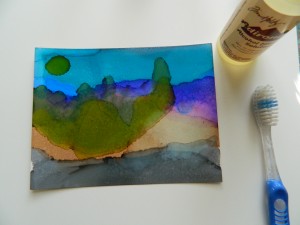
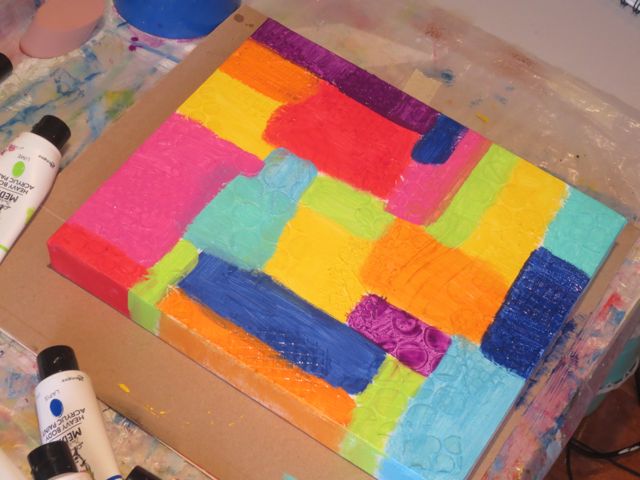
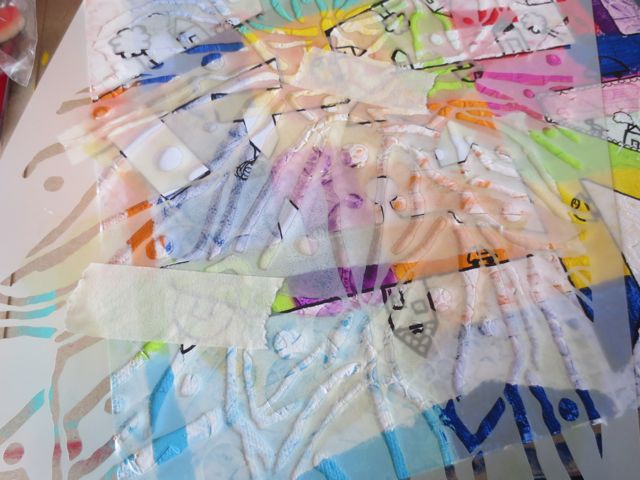
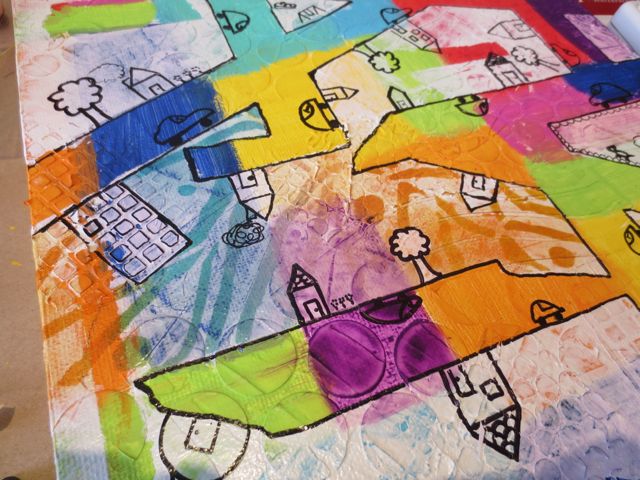
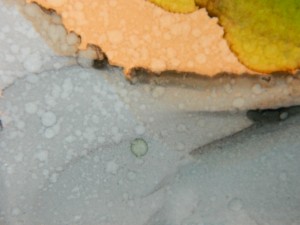 Adding splatters of paint to a painting can make for some interesting texture. Pour some Alcohol blending solution into a small glass dish and dip your toothbrush in. Holding the brush 2 inches away from your card surface run your finger and/or thumb along the bristles away from you to allow for the alcohol to spray the card surface. This gives you the same look as adding salt to watercolor paint.
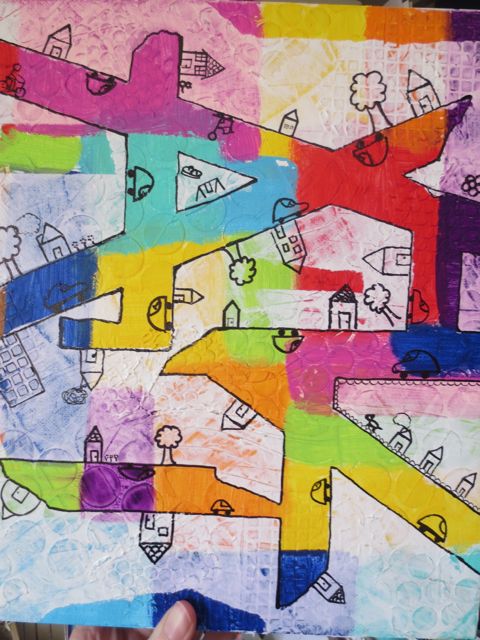
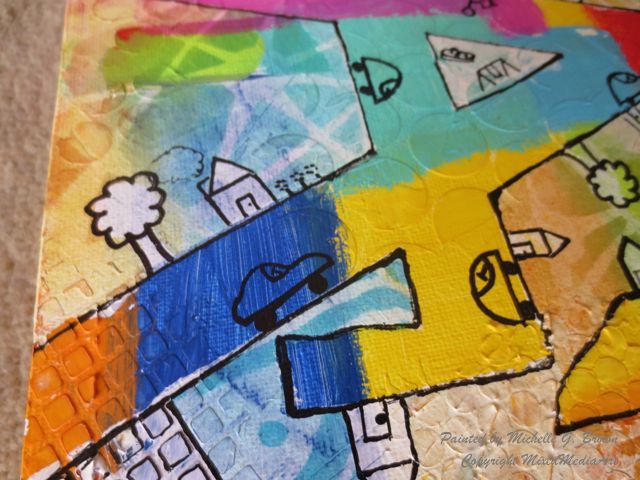
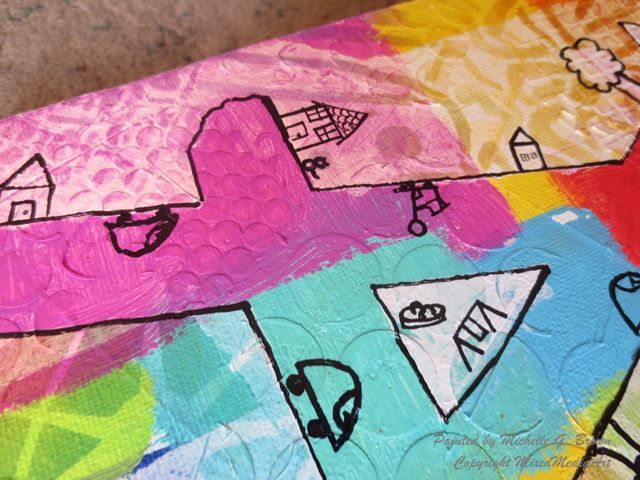
Originals and Stamping
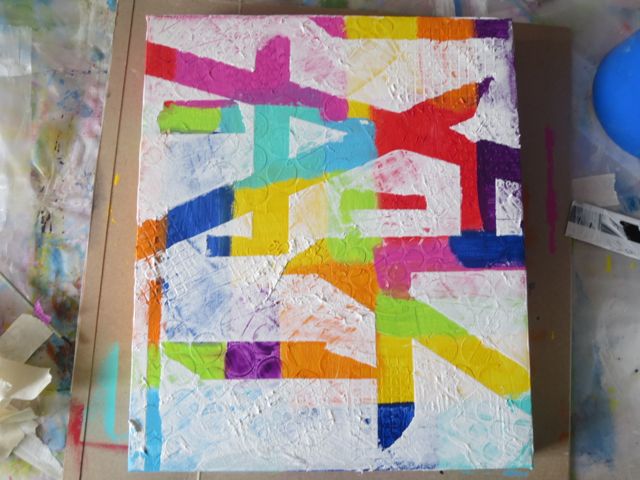
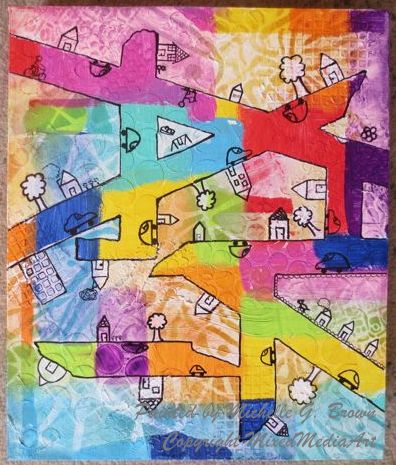
You can add more drops to make shapes and you can also go back into a spot on your paper and add more ink to make areas darker. I found using water proof ink pads and some of my favorite stamps I can add more to my background. Have fun and explore. 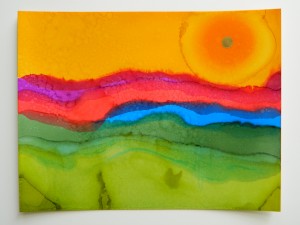
~*~*~*~*~*~*~*~*~*~*~*~*~*~*~*~*~*~*~*~*~*~*~*~*~
Melanie Statnick is a Canadian Mixed Media & Collage Artist out of North Carolina. Melanie creates art daily from her private studio. Her style is fun, whimsy and positive. She is also an Art Instructor at local venues and in community colleges to all ages. Her artwork can be found in art galleries and shops extensively in NC with international private collections.
~*~*~*~*~*~*~*~*~*~*~*~*~*~*~*~*~*~*~*~*~*~*~*~*~
.
.


Recent Comments