Handmade Greeting Cards with PanPastels

~ * ~

This article is written by Michelle G. Brown

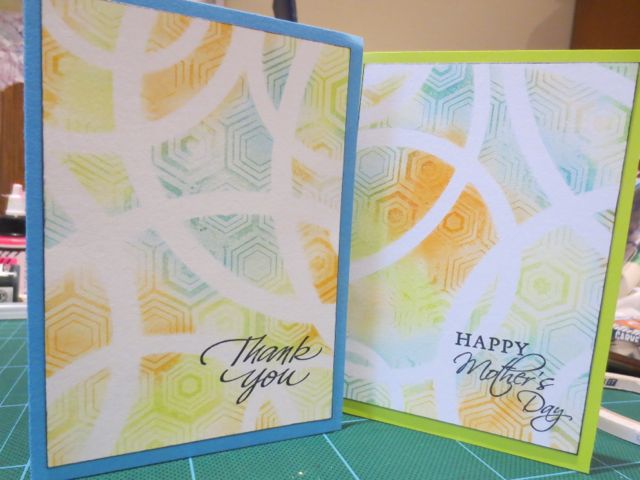
It’s the time of year again when I need to whip up some handmade greeting cards for Mothers Day. As I have such fun playing with this Versamark resist and PanPastels technique, I thought it would be prefect for this year’s cards.

Card background with Versamark ink and coloured with pan pastels

Materials for Handmade Greeting Cards
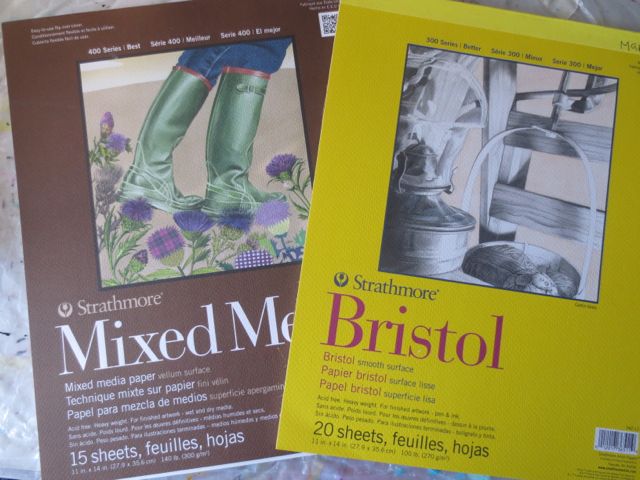
Strathmore Mixed Media or Bristol paper

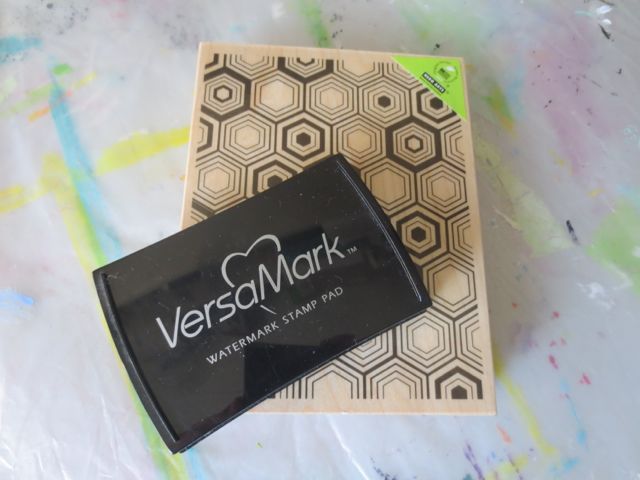
– Large stamp here I used Hero Arts Hexagons S5667

Versamark ink

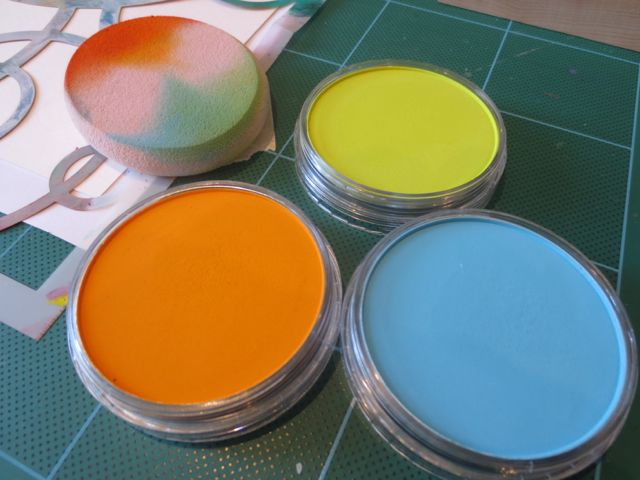
– Pan pastels 280.5 Orange , 680.5 Bright Yellow Green and 580.5 Turquoise

– Range of Sofft Art Sponges

– Stencil L238, designed by Michelle Ward, by Stencilgirl

Spray workable fixative

– matching coloured card

Archival ink Black

– 2-sided tape

Instructions for  Handmade Greeting Cards

1. Remove a sheet of Mixed media or Bristol paper from the pad

Versamark ink and pan pastels

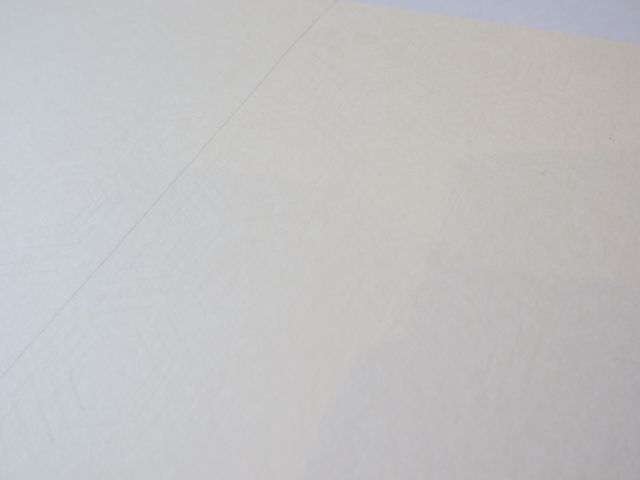
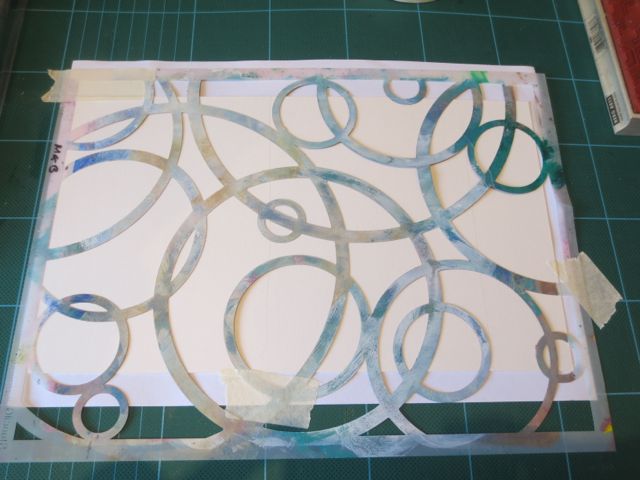
2. Using Versamark ink, stamp large stamp image around paper

Versamark ink and pan pastels

You can just see the design here

Versamark ink and pan pastels

3. Place the stencil over the stamped card and secure with masking tape

Versamark ink and pan pastels

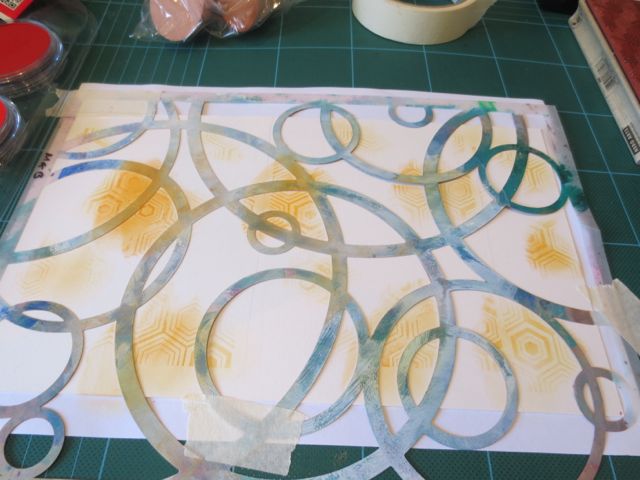
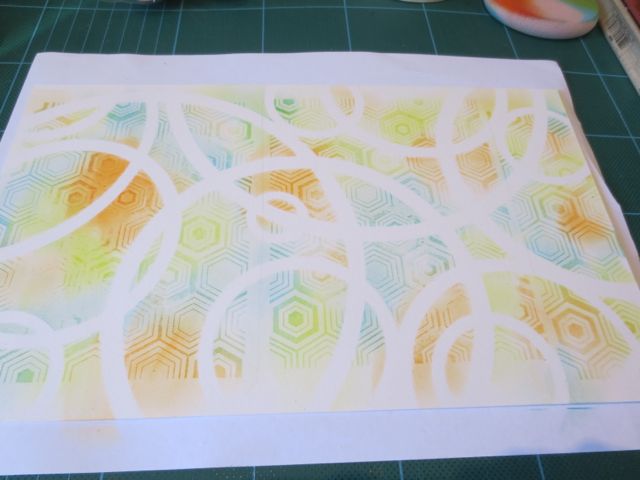
4. Using a light circular motion with the sponge, add a little orange PanPastel onto the card, going over the stencil.

Versamark ink and pan pastels

Then the magic happens – the stamped pattern appears!

Versamark ink and pan pastels

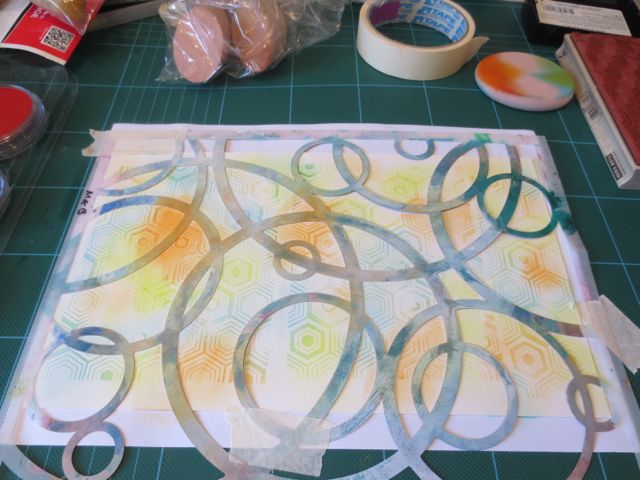
5. Add the green and blue. Keep adding color slowly until you are happy with the result. You can blend the edges between the colors to fade out any sharp lines. I like using the lighter color (the green here) to blend the transition between the colors.

Versamark ink and pan pastels

Versamark ink and pan pastels

6. Carefully remove the stencil

Versamark ink and pan pastels

7. Spray with a workable fixative.

Versamark ink and pan pastels

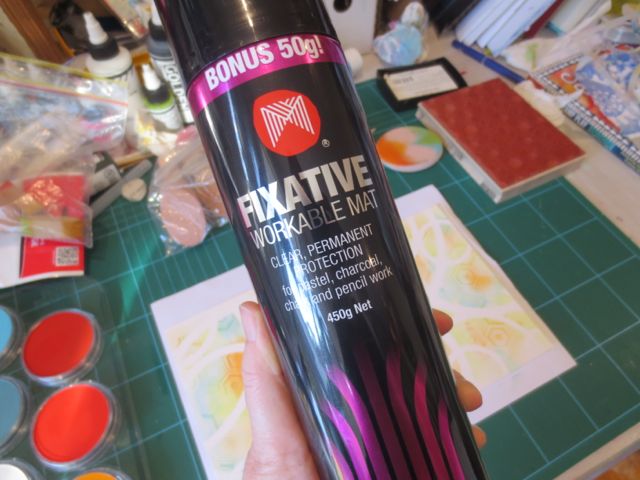
This step isn’t mandatory but I hate stuff rubbing off, so I live using this spray. It only takes a few minutes to dry.

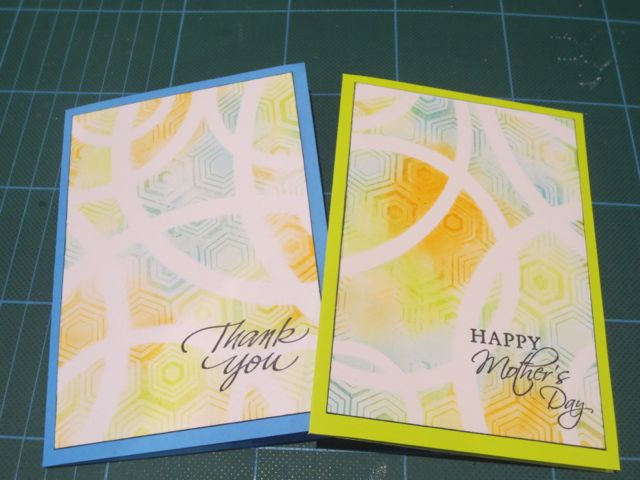
8. Find matching colour card to be the base of your card. Here I have chosen an orange, a green and a blue. This card is 210mm x 148mm, folded into A6 (148mm x 105mm)

Versamark ink and pan pastels

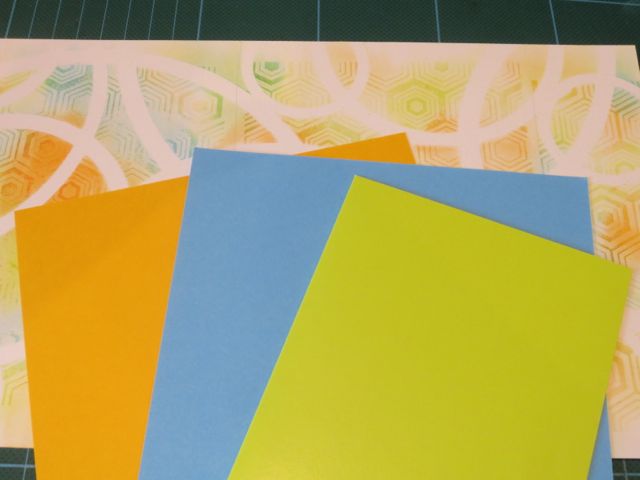
9. Using my paper guillotine, I cut the colours background to fit onto the card (138mm x 95mm)

Versamark ink and pan pastels

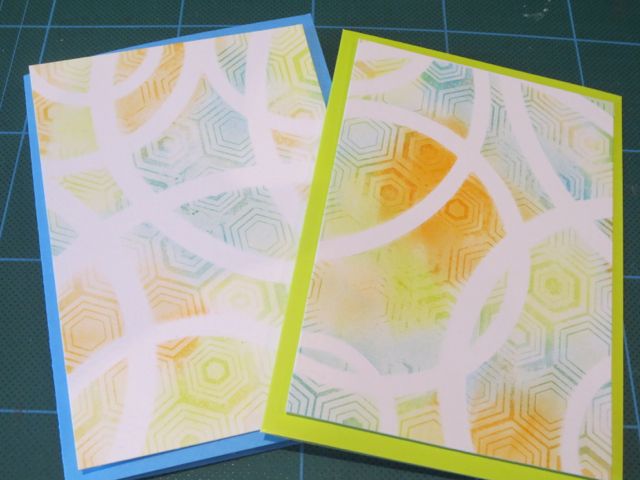
10. Stamp greeting with black ink and edge the background card. Set aside for a minute or two to dry.

Versamark ink and pan pastels

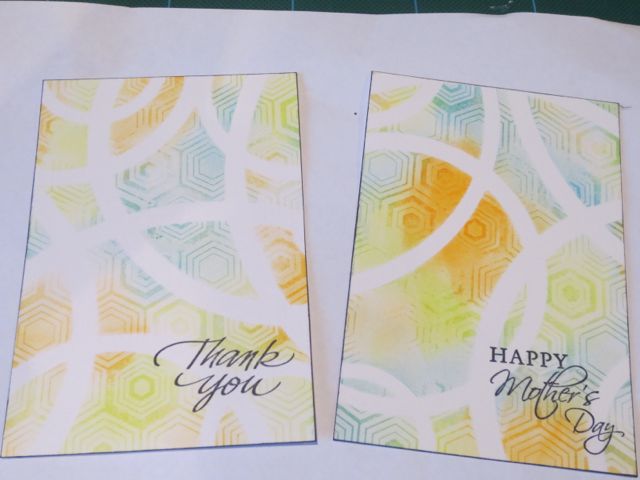
11. Use 2-sided tape to stick the two layers together.

Versamark ink and pan pastels

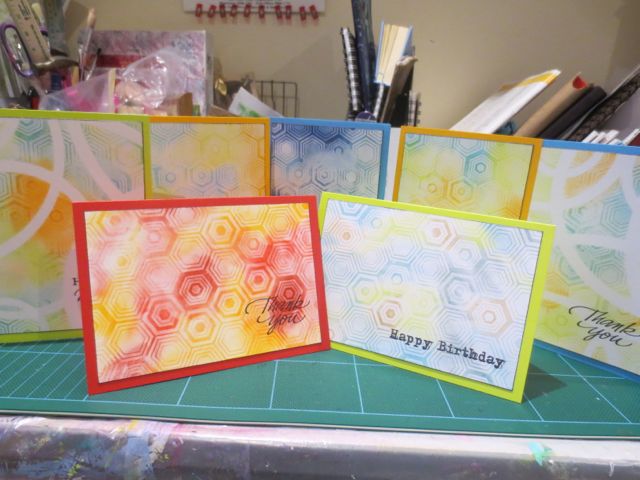
I also had a play with a few other colors and mixed and matched the greetings and background card.

Versamark ink and pan pastels

~*~*~*~*~*~*~*~*~*~*~*~*~*~*~*~*~*~*~*~*~*~*~*~*~

Michelle G. Brown is passionate about mixed media art and enjoys sharing her knowledge and techniques with you to allow you to express your own creativity. Michelle understands that many of us have an inner need to create. By learning a few basic techniques the amazing world of mixed media art is accessible to everyone!

Michelle lives with her husband and two boys in Melbourne, Australia. When she is not creating or on Facebook, she’s at karate training. Just to make sure she’s properly busy, she has also adopted the From Picture to Page Scrapbooking and Papercrafts Show

~*~*~*~*~*~*~*~*~*~*~*~*~*~*~*~*~*~*~*~*~*~*~*~*~

Disclosure: Some of these PanPastels were supplied by Colorfin and some were bought with our own money.  All opinions are that of the MixedMediaArt team. Some links on this page may be affiliate links and any purchases help to support the ongoing work by MixedMediaArt. 
.

.

Die Cut Articles

This article is written by Debbie Ward from Lucky Girl Paper Arts

I love die cuts…there I said it.  Like most people I started out with my Cricut to cut shapes from cardstock.  While I still use my electronic cutter, I find that I use my Cuttlebug more often.  The reason is that I have switched to using metal dies as opposed to cartridges.  For the longest time I was using the die cuts just the way they were when I cut them on my cards and scrapbook pages.  I decided to start altering my die cuts to “fit” what I needed as opposed to what I had.  I started doing this because of some smaller sentiment stamps I had just bought.  Here is one of the first cards I came up with:

You can see that the sentiment was stamped on a die cut that was cut in half.  If I were to use the sentiment stamp on the whole die cut, the sentiment would have been lost.

Since this first card I have experimented with more of the die cuts that I own.  One of the best things about this little experiment is that I may have just doubled the amount of dies that I have without spending additional money; and that makes any crafter happy.

This year I decided to make Mother’s Day cards for a few very special mothers in my life, I decided to challenge myself even more on these cards:

On the one card, I die cut the circle and then I stamped a script image on it and then used an impression plate to emboss it and give it a little texture.  The other die cut was a butterfly and I clipped it to the circle with a small clothespin…the clothespin also was used as the butterfly body.

The second card mirrors the first card that was shown above with a die cut that was cut in half and the sentiment stamped on it.  I didn’t just cut the die cut in half on this card…I also cut the doily in half as well and sprayed it with Glimmer Mist.

Another great way to get more mileage out of my die cuts is to layer them on a card together.  I used to be afraid of using too many of anything on my cards, now I know that if I use them the correct way together, they actually complement wach other as opposed to competing with each other for the focal point.  Here is a card that used four different dies:

The last card is using the metal die to cut a window into my card:

This technique works well when you want to draw attention to a special sentiment or image.

Debbie Ward has been paper crafting for many many years. She loves to create cards, scrapbook pages and altered items. She designs for a local scrapbook store, Hannah’s in Antioch Illinois.