Using Mod Podge in Making Trading Cards

~ * ~

This article is written by Kim Bailey

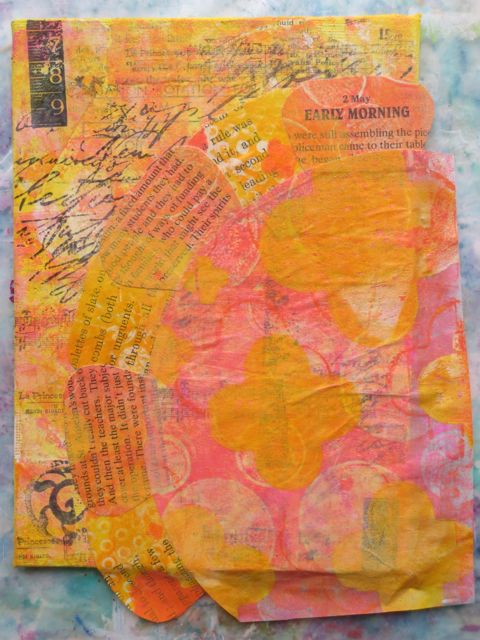
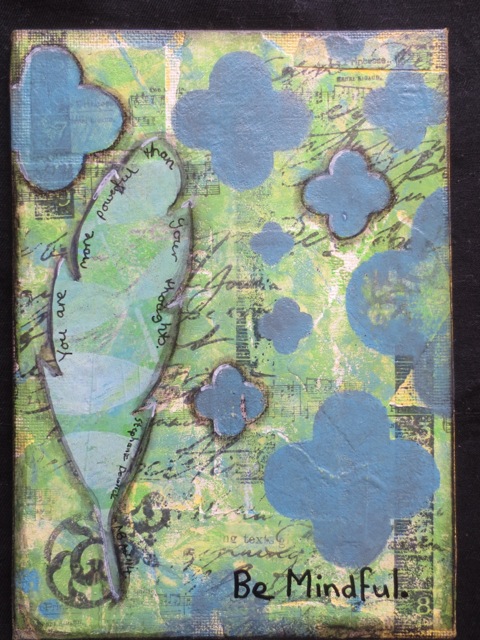
In May of last year I joined a 365 Day Challenge and for this challenge I decided to go on an art journaling journey. During my journey, I explored new ways of expressing my creativity. One of the ways I did this was making Mixed Media Art Trading Cards; bite sized pieces of art that you can trade or just keep for yourself. Below is what you will need to make your own.

Materials:

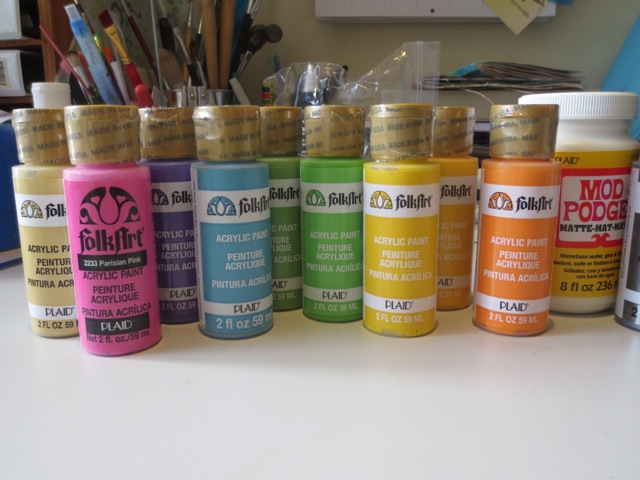
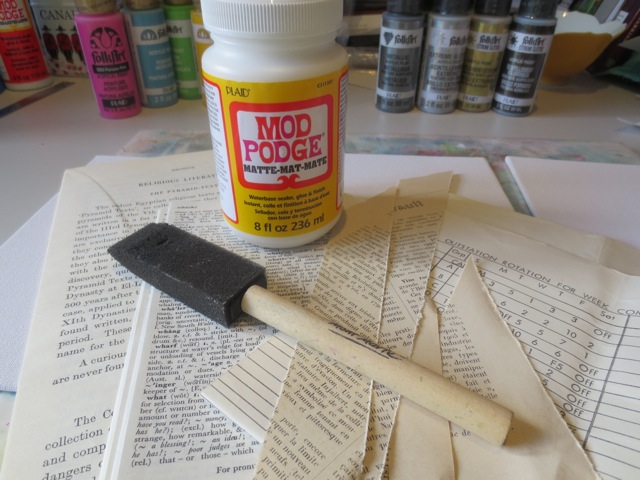
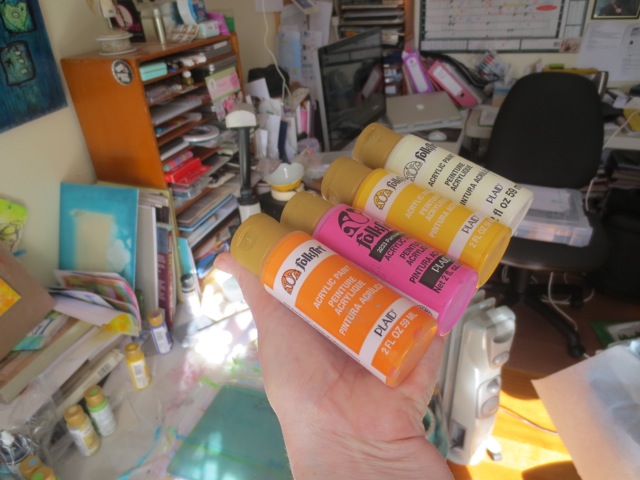
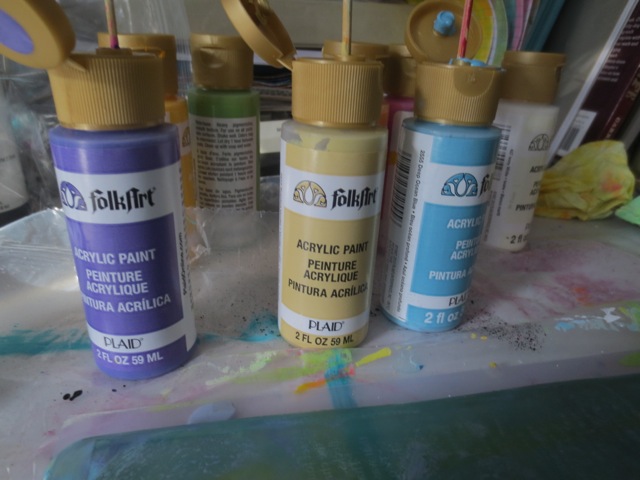
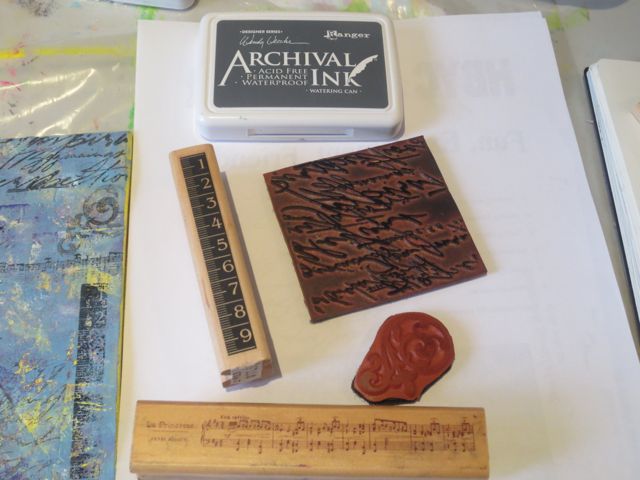
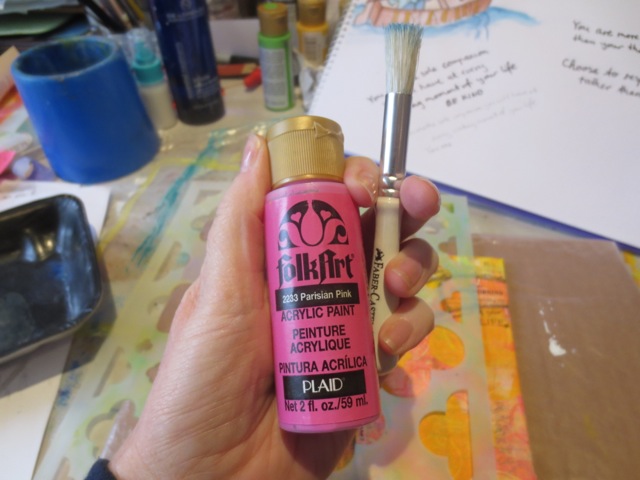
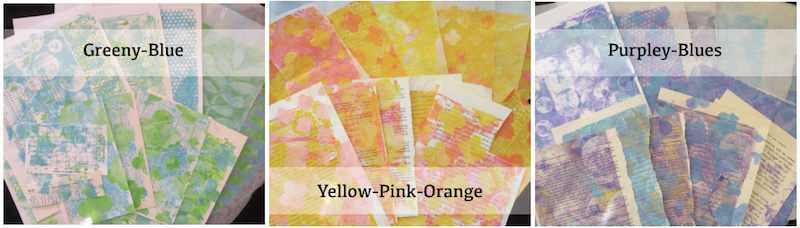
Card stock or junk mail post cards, magazine clippings, acrylic paints, markers, embellishments, (and your other favorite crafty/artsy materials), glue, foam brush and of course Mod Podge.

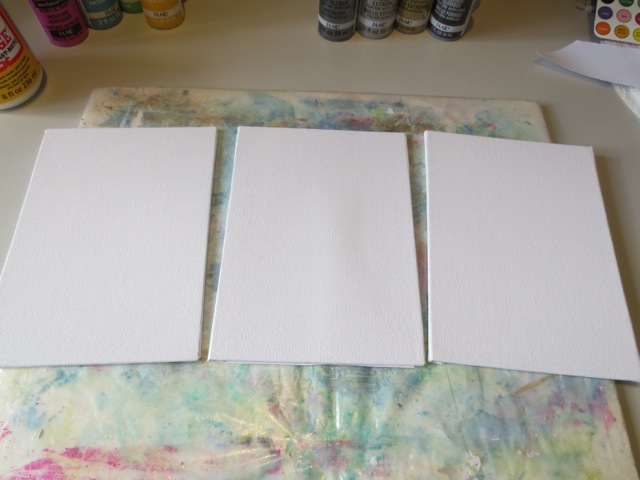
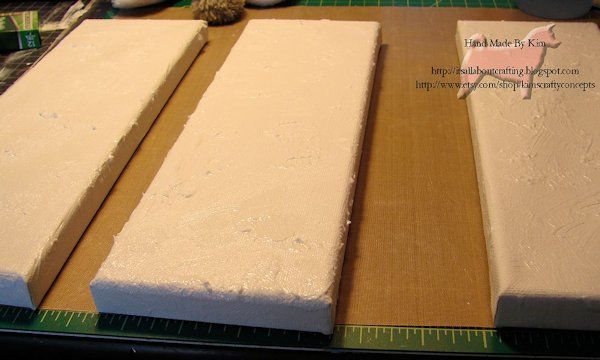
  1. Cut (2) 2 in. x 3 ½ in. pieces from your card stock or junk mail post cards.
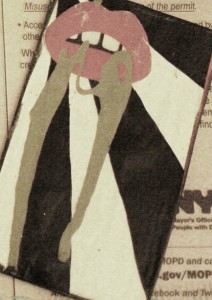
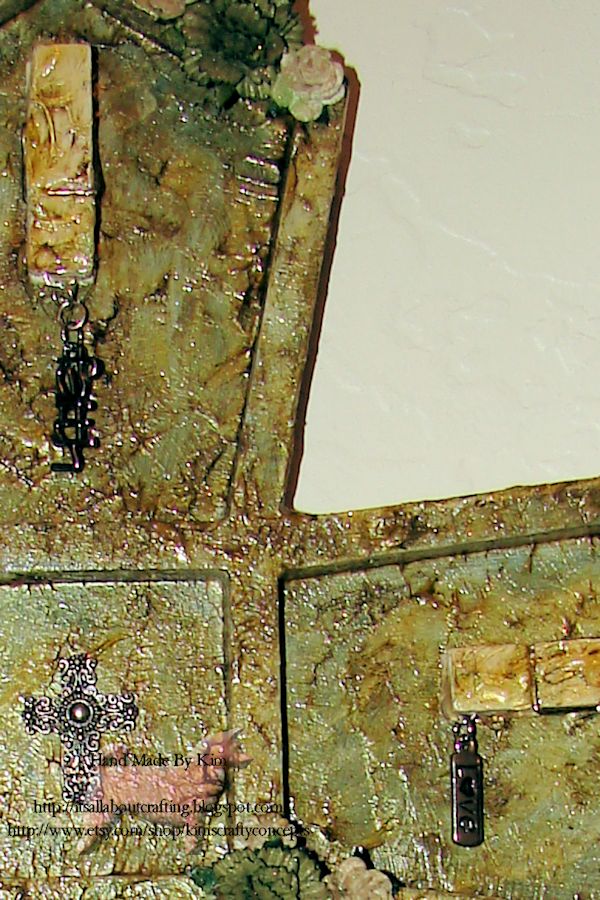
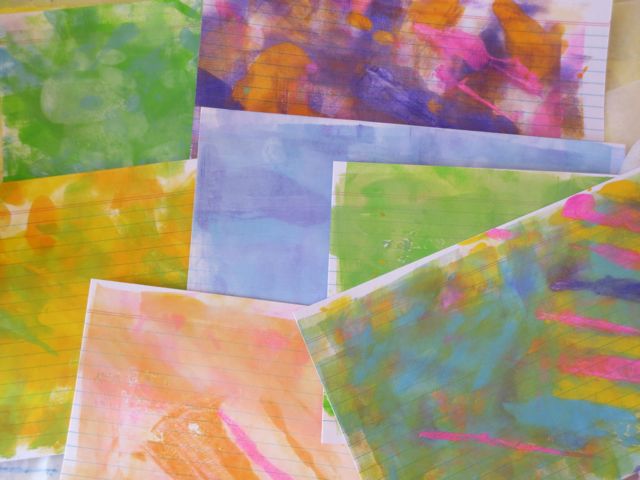
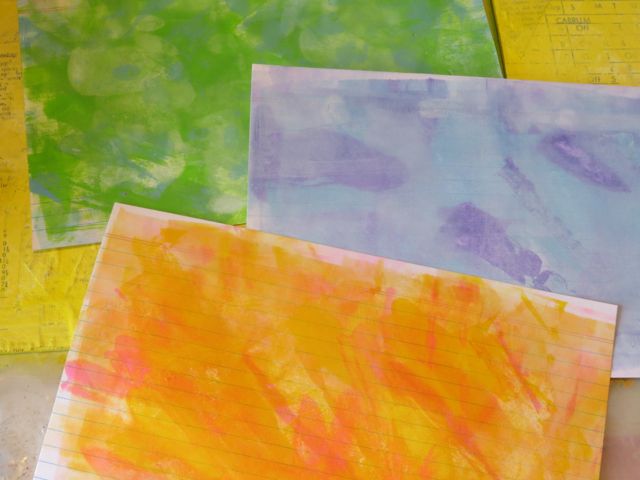
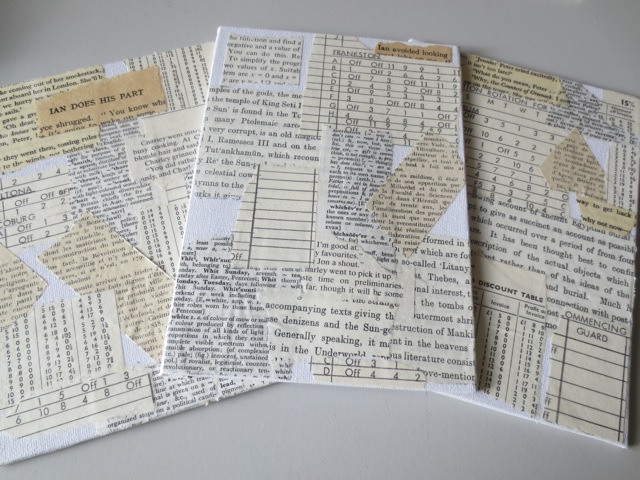
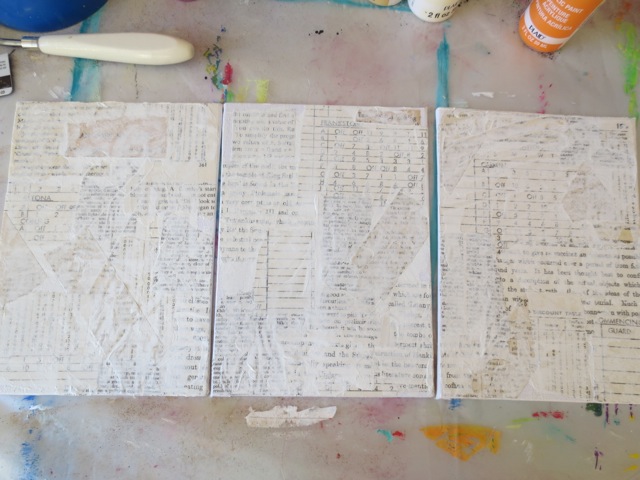
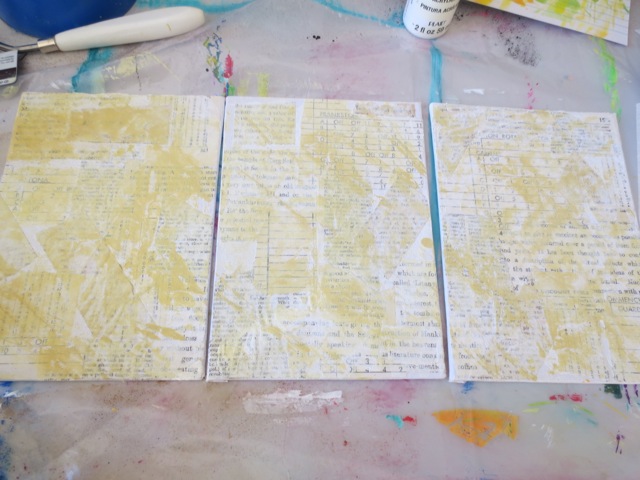
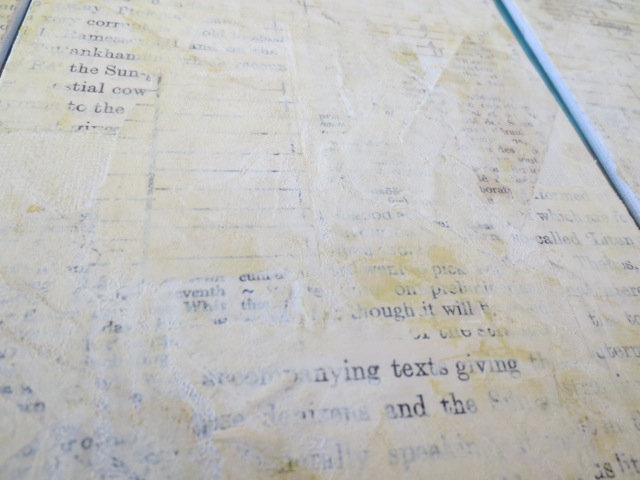
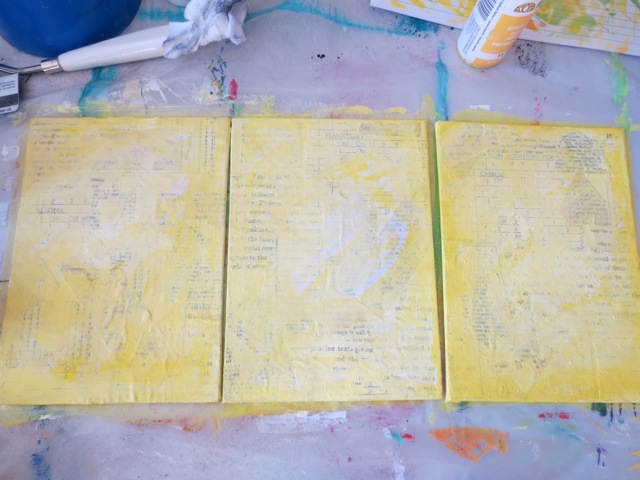
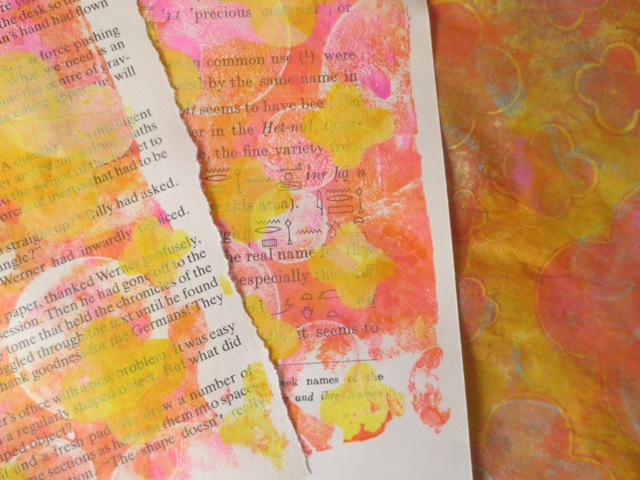
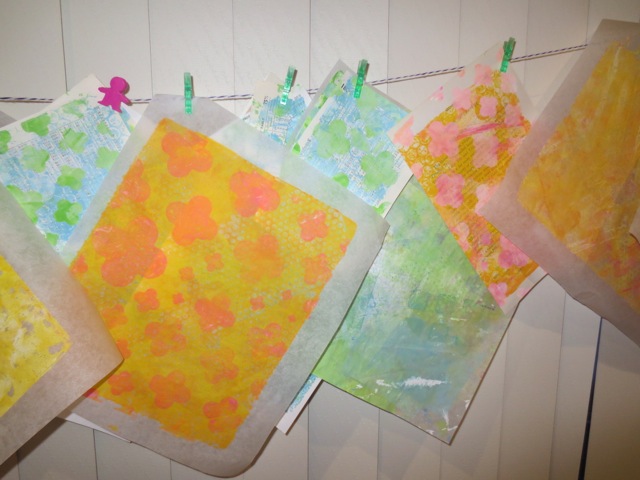
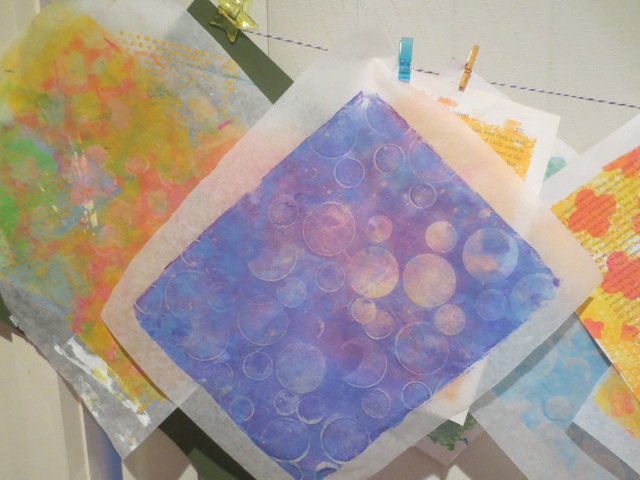
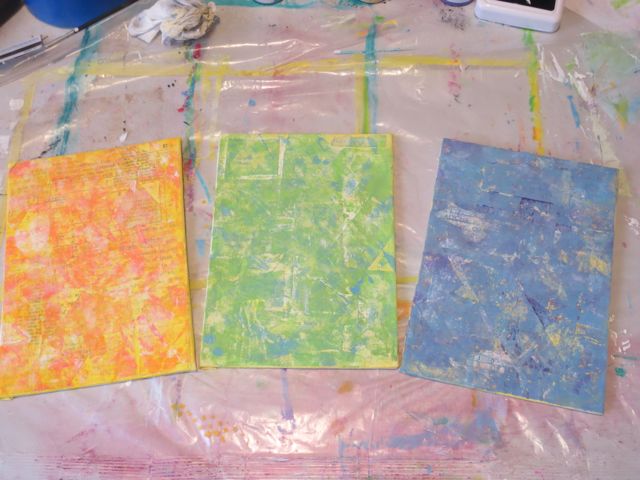
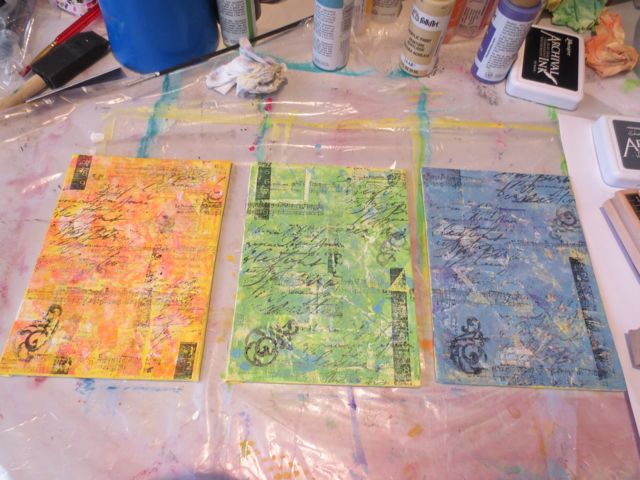
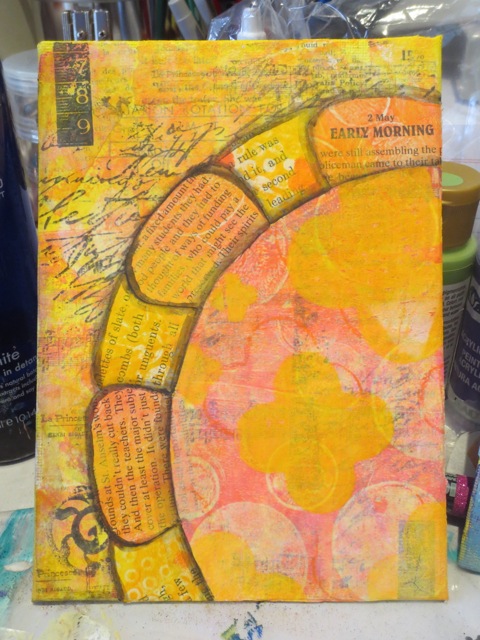
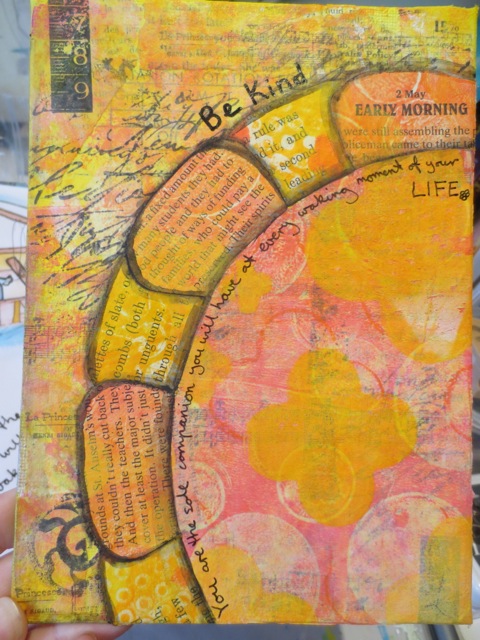
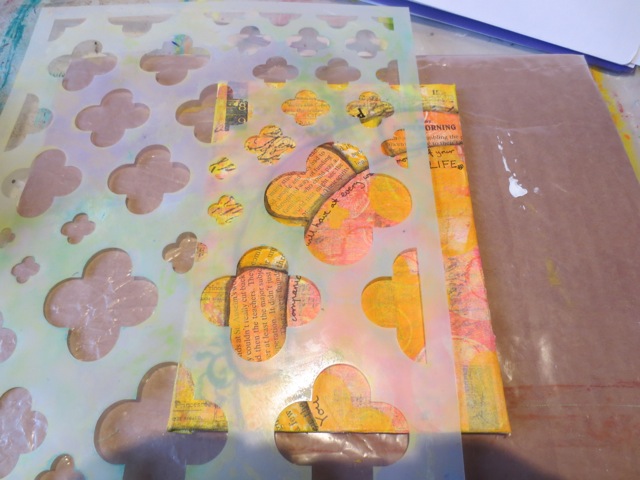
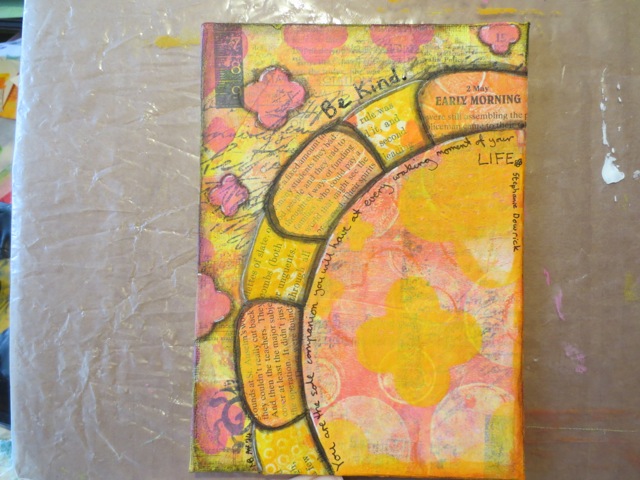
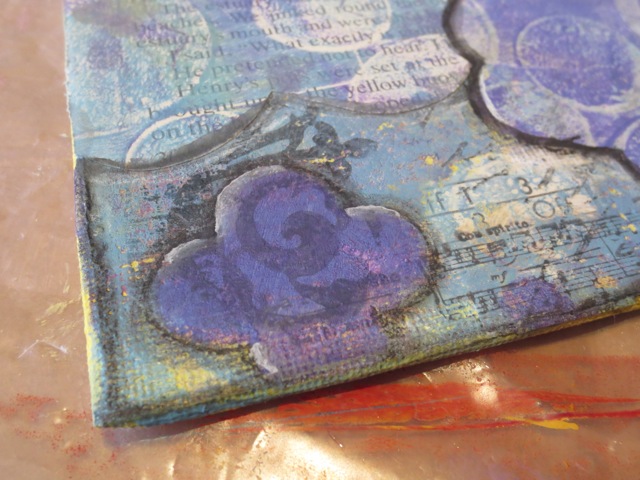
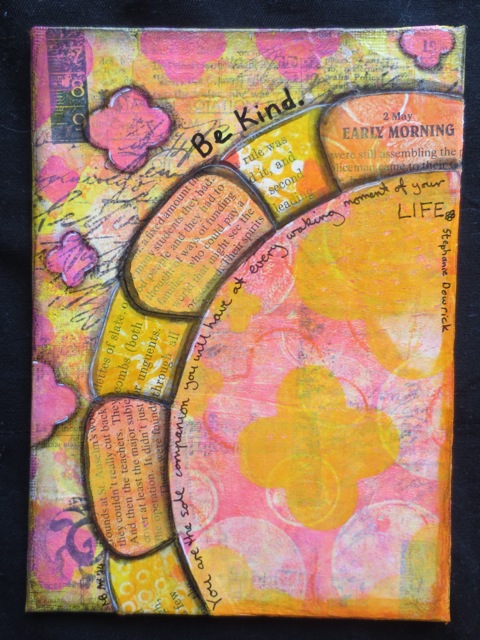
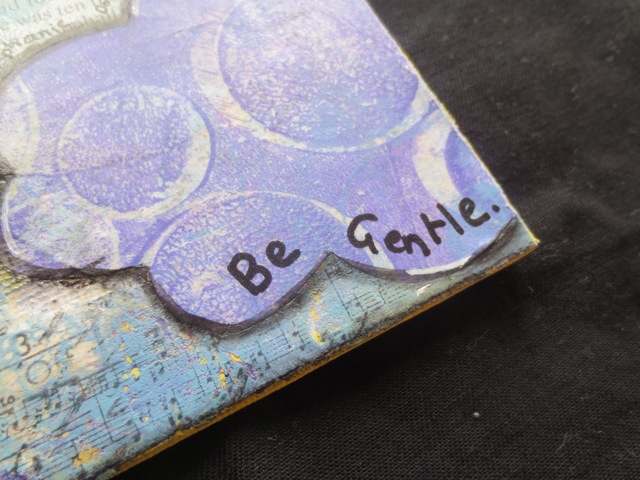
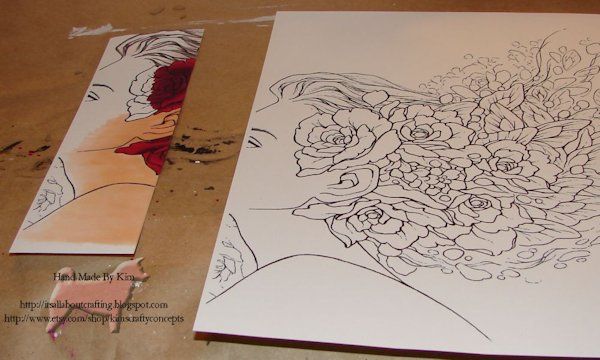
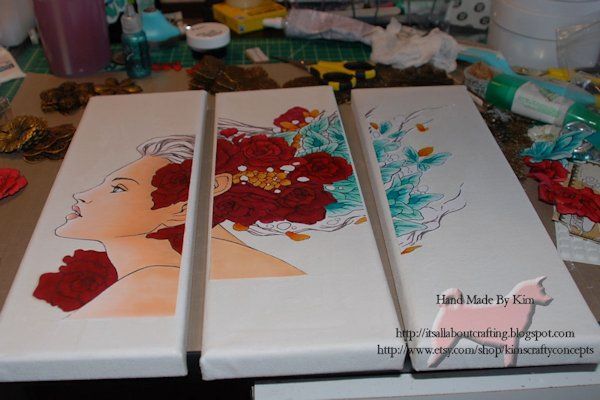
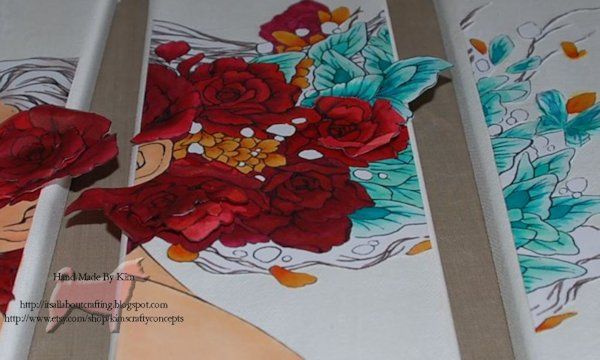
  2. Now it’s your time to be creative. Using the magazine clippings, acrylic paints, markers and embellishments create pieces of art on these 2 tiny canvases.
  3. Once you have created your 2 pieces of art, glue them together. You’re finished product should be one decorated card. (The card should actually be the size of a standard business card).
  4. The last step is to Mod Podge your card. To make this step easier and less messy, use your foam brush to apply the Mod Podge. I suggest doing one side at a time so that it dries evenly.

Trading Cards made from Mod Podge

Trading Cards made from Mod Podge

Trading Cards made from Mod Podge

Not only can you use this idea for trading cards, but if you’re really ambitious it’s also a great way to put a spin on your business cards for special events.

Happy Mod Podging!

~*~*~*~*~*~*~*~*~*~*~*~*~*~*~*~*~*~*~*~*~*~*~*~*~

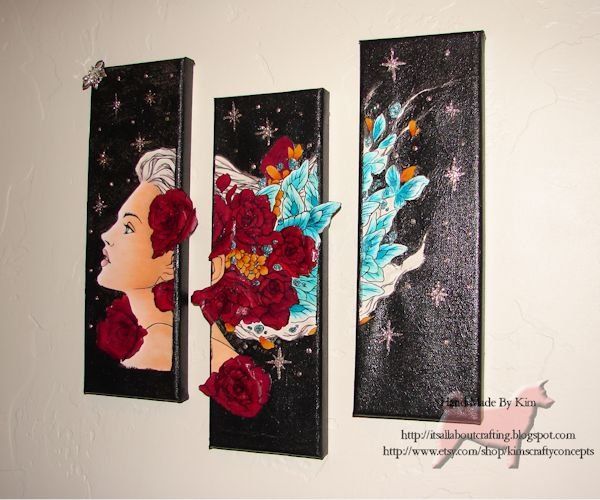
Hello Mixed Media Art Addicts! My name is Kim and I live and create in New York. As a lover of all things crafty and creative I decided to start a blog about 2 years ago to document my obsession. My blog was called The Creative Addiction Blog – it’s not around anymore (sorry!). Currently, I work as a Creative Art Photography Support Assistant within a retail store.  My job helps to fuel not only my creativity, but also my love for photography.

~*~*~*~*~*~*~*~*~*~*~*~*~*~*~*~*~*~*~*~*~*~*~*~*~
.

.

Mixed With Faith, Hope, and Love

~ * ~

This article is written by Kim Kelley

The holidays are over, the decorations are put away, time to get crafty and I don’t know about you, but it’s not a moment too soon for me.

This month I decided to make a memory tray that I purchased from Hobby Lobby. I have several and have always been a bit nervous to try one. So I chose the one in the shape of the cross, threw the nerves out the window and got to work.

Here is a list of what I used:

~ Cross Memory Tray by Paper Studio

~ White gesso by

~ Texture medium by Imagine Crafts: Original, Vintage and Shimmer

~ Spray mist by Lindy’s Ethereal Emerald and Maidenhair Fern Green

~ Miscellaneous charms, flowers and clothes pins from stash

~ Glue gun

~ Mod Podge

Most trays are basic black, but by using gesso and adding paint or texture and sprays; you can change the color real easy, all depending on what look you want to create.  Wanting a real light coating of gesso I added a bit of water, to thin it out, and brushed it on leaving areas where the black showed through.

altered art memory box tray

Cross Tray

altered art memory box tray

Cross Tray with Gesso

After letting it dry, with a little bit of help from my heat gun, I started to add my texture mediums. Here’s where it gets weird…I knew what I did not want it to turn out like: not clear, not one color, no flakes, grit or fibers. So I grabbed my “Creative Medium” in Vintage, Shimmer and Clear and started sponging it on, making sure to keep them somewhat separated so each shows through.

altered art memory box tray

Texture Medium

altered art memory box tray

Tray with Texture Medium

After letting the texture dry for about 2 hours I chose my sprays. This is probably one of the hardest parts of creating something, not knowing what the color will end up looking like. In my mind I had a soft patina color, but achieving that is half the battle. Looking through my spray bottles I decided to try Ethereal Emerald for the green hue and Maidenhair Fern Green to add that bit of brownish tone, hoping it will go well with the vintage color of the creative medium.  (Sorry the pictures did not turn out that great of the sprays before I added the embellishments.)

altered art memory box tray

Sprays

OK I said the hardest part of the creation process was choosing color…well I lied. The hardest part is the waiting, waiting for stuff to dry seems to take forever.  I usually end up having at least one other project going at the same time, sometimes more than one.

The next step was to determine what scripture I wanted…I chose to use I Corinthians13:13 “and now abide faith, hope, love these three; but the greatest of these is love”, deciding this would be a perfect choice to use some charms I had of “Faith”, “Hope” and “Love”. Wanting them to hang rather than lie flat I found some small, chunky clothes pins that would hold the charms perfectly. I did add some texture medium to the pins to make them blend in more. After adding all the embellishments I added more spray, covering the texture on the clothes pins.

altered art memory box tray

Scripture

altered art memory box tray

Clothes Pins

altered art memory box tray

Textured Clothes Pins

After texturing, gluing, and spraying I added some Mod Podge to seal it all up. I like using Mod Podge because I can go over any item with it; charms, texture, paper, whatever is on the project and it dries clear and FAST! Less waiting time for me.

Without further ado, here is the finished project:

altered art memory box tray

Finished Cross

(Again sorry for the photo, everyone I took came out with the scripture not as distinct)

Life is short, do something creative every day!

~*~*~*~*~*~*~*~*~*~*~*~*~*~*~*~*~*~*~*~*~*~*~*~*~

Kim Kelley is borderline obsessive about her crafting and her art. She loves mixed media art because you are free to go beyond your comfort zone, using your imagination and exploring an anything goes mind set. Kim loves to learn and explore new techniques and hopes that any art she creates leads someone to find their inner creative artist!

Sites: itsallaboutcrafting.blogspot.com and kimscraftyconcepts

~*~*~*~*~*~*~*~*~*~*~*~*~*~*~*~*~*~*~*~*~*~*~*~*~

.

.

Mixed Media Canvases with Plaid Folk Art Paints

~ * ~

This article is written by Michelle G. Brown

This week I got to play with some FolkArt paints, provided to us by Plaid, to see what I could do with them. I do love playing with paints; they are a relatively cheap materials, come in lots of wonderful colors and gives me the ability to coordinate all of the elements I need to create many types of mixed media art

Acrylic Paints Folk Art with mixed media collage

The colors looks all so nice together (I’m a real sucker for “Rainbow” colors) but I was worried about using so many colors on the one canvas, so I did some testing to find color combinations that I liked; remember that I’m not very brave when it comes to combining colors. These were the trials that I completed:

Acrylic Paints Folk Art

I actually liked most of them but only had three canvas panels so I narrowed it down to three combinations that used a variety of paint colors.

Acrylic Paints Folk Art

Top: Lime Green, Deep Ocean Blue and Ivory White

Middle:  Deep Ocean Blue, Perfect Purple and Toasted Vanilla

Bottom: Vivid Orange, Parisian Pink, Moon Yellow and Ivory White

With my color combinations selected, I was ready to get started.

Materials and Tools for the Mixed Media Canvases

– selection of acrylic paints: here I used Plaid FolkArt Paints

– 3 5”x7” canvas board panels

– collected ephemera; 5 different fonts

Matte Mod Podge and sponge applicator

Gesso and applicator

Gelli Plate 8”x12”

Brayer

– Deli paper, ephemera and copy paper in A4

– Stencils: here I used Stencil Girl L174 Ward Quatrefoil Mix

– Variety of rubber stamps and grey archival ink

– Watercolor pencils: black and white

– charcoal pencil and blender

– Markers and pens: I used Sharpie White, white gel pen, black Sakura Pigmento Micro 02 and Montana Extra fine Acrylic Marker filled with black Golden High Flow Acrylic in Carbon Black

Spray varnish

Creating the Background Layers

1. Lay out the canvas panels

Acrylic Paints Folk Art with mixed media collage

2. Collect a range of ephemera and tear into pieces. I like to use four to five different texts and fonts to make sure there is enough variety in the background. Get these ready before you start to get sticky.

Acrylic Paints Folk Art with mixed media collage

3. Adhere to the canvas panels, leaving some pale edges overlaying the edges

Acrylic Paints Folk Art with mixed media collage

4. Cut off the excess ephemera with a craft knife and use a sanding block to smooth the edges of the canvas

Acrylic Paints Folk Art with mixed media collage

5. Get out your Gesso and an old store card or spatula and roughly apply a layer of Gesso over the dried ephemera layer. Leave to dry.

Acrylic Paints Folk Art with mixed media collage

Acrylic Paints Folk Art with mixed media collage

6. Add a layer of bone coloured acrylic paint, then a little ivory white and then a layer of yellow as a wash

Acrylic Paints Folk Art with mixed media collage

Acrylic Paints Folk Art with mixed media collage

Acrylic Paints Folk Art with mixed media collage

Leave canvases to dry.

Creating Color Coordinated Papers with Gelli Plates

While the canvas panels are drying, get set up to create some color coordinated papers to add to the canvas panels. This is the advantage of using paints where we can make all of our bits and pieces match. Here I’ve used  a Gelli Arts Gelli plate, with the paints and stencils and a variety of ephemera.

creating prints with Acrylic Paints Folk Art

Firstly I used these colors to make a few pages

creating prints with Acrylic Paints Folk Art

creating prints with Acrylic Paints Folk Art

Then changed colors and created a range of prints with different patterns and color mixes. I created quite a few so I would have a range of prints to choose from when I completed the canvases.

creating prints with Acrylic Paints Folk Art

creating prints with Acrylic Paints Folk Art

Finishing off the Mixed Media Canvas

I lined up the three panels and added some stamping with grey Archival Ink

Plaid paints add color to mixed media collages

Plaid paints add color to mixed media collages

Plaid paints add color to mixed media collages

Then I decided to focus on one canvas at at time, starting with the orange and pink one.

I had created a few sketches in my art journal and transferred these images onto the printed papers to collage the image onto the canvas. For the brightly coloured canvas I used a bright flower, as well as clouds and a feather.

Plaid paints add color to mixed media collages

The flower was highlighted with water coloured pencils in black and white

Plaid paints add color to mixed media collages

A quote was added with the black Sakura Pigmento Micro 02 marker and Montana Extra Fine Acrylic marker filled with black Golden High Flow Acrylic Carbon Black

Plaid paints add color to mixed media collages

The stencil was used to add more Quatrefoil pattern into the pieces.

Plaid paints add color to mixed media collages

Here I used the pink paints with a stencil brush.

Plaid paints add color to mixed media collages

Plaid paints add color to mixed media collages

Then I highlighted a few of the shapes with charcoal pencil, smudged it a little and added highlights with white pen and marker, as well as adding more shading around the flower

Plaid paints add color to mixed media collages

I repeated these steps with the other two canvases. Here is a close up of the highlighted quatrefoil.

Plaid paints add color to mixed media collages

When all three were complete, I signed them and gave them a coat of spray gloss varnish to seal the charcoal and give them a nice, glossy finish.

Final mixed media canvas panels

Here are the finished canvas panels

Be Kind: Vivid Orange, Parisian Pink, Moon Yellow and Ivory White

Folk Art paints to add color to mixed media collages

The quote reads “ You are the sole companion you will have at every waking moment of your life”

Folk Art paints to add color to mixed media collages

Be Mindful: Lime Green, Deep Ocean Blue and Ivory White

Folk Art paints to add color to mixed media collages

With the quote “You are more powerful than your thoughts.”

Folk Art paints to add color to mixed media collages

Be Gentle: Deep Ocean Blue, Perfect Purple and Toasted Vanilla

Folk Art paints to add color to mixed media collages

Quote: “Choose to respond, rather than react”

Folk Art paints to add color to mixed media collages

All of the quotes are by Stephanie Dowrick and her book Choosing Happiness

Gelli Printed Papers Giveaway

Michelle has a HEAP of Gelli printed ephemera left over from this project and wants to give YOU a chance to put them to good use and create your own mixed media collage. We are giving away THREE EPHEMERA kits, one in each of the three color combinations.

Michelle G. Brown creates fun papers

The winners have been announced ~ See the Announcement “And the Winners are…”

~*~*~*~*~*~*~*~*~*~*~*~*~*~*~*~*~*~*~*~*~*~*~*~*~

Michelle G. Brown is passionate about mixed media art and enjoys sharing her knowledge and techniques with you to allow you to express your own creativity. Michelle understands that many of us have an inner need to create. By learning a few basic techniques the amazing world of mixed media art is accessible to everyone!

Michelle lives with her husband and two boys in Melbourne, Australia.

~*~*~*~*~*~*~*~*~*~*~*~*~*~*~*~*~*~*~*~*~*~*~*~*~

Disclosure: These paints and Mod Podge were provided by Plaid for the purpose of review. All opinions are that of the MixedMediaArt team. The links on this page may include affiliate links and any purchases help to support the ongoing work by MixedMediaArt.
.

.

Mixed Media Canvas With Copics

~ * ~

This article is written by Kim Kelley

Today I am going to show you a canvas I made using a digital image and Copic markers. I love to create a canvas that has not only texture but depth to it as well. Adding a digital image or a stamped image that has been “stamped” several times and layered allows me to do this.

Using Copic Markers with a mixed media canvas

I started with 3 3” x 12” canvas’ and applied some matte gel medium all over, including the sides.

Copic Markers add cold to a mixed media art canvas

Canvas with medium

I chose “Beloved” from Aurora Wings.  I chose a digital image that I could blow up enough and would not become pixelated. And one that was large enough to expand across the 3 pieces of canvas. I printed it 4 times so that I could have my layers. I colored the images with Copic markers trying to make sure each section was similar in coloring so that it would flow after I added it to the canvas.

Copic Markers add cold to a mixed media art canvas

Printed digital image

After figuring out I wanted the canvas pieces to be offset I laid my image across the canvas’ to get the right measurements and cut it. I adhered it to the canvas with more matte gel medium and let it dry for a few hours.

Copic Markers add cold to a mixed media art canvas

Image on canvas

After the drying process I started adding my extra layers. I chose to pop up some of the flowers and butterflies. And had some of the pieces even extend over the edge. I glued them on with Tombow glue.

Copic Markers add cold to a mixed media art canvas

I decided I wanted to have a big contrast between the background and the image, so I mixed some black acrylic paint, iridescent acrylic paint and matte gel medium together for my background. Using a sponge I added the mixture, even going over the edges of the image a bit, leaving some of it in peaks. After that dried I added some stars using Stickles and added a jewelled flower that I cut in half.  I felt that is needed a few more flowers so I cut a few more out and added them. Then using some Mod Podge I sealed the entire project, adding some glitter sprinkled around.

Using Copic Markers with a mixed media canvas

Finished project

Couple of tips:

  1. When doing layers, color the back of each layer as well.
  2. When adding an image you color the edges.
  3. With flowers, you can use a pen or stick to curl the petals.

Life is short, do something creative every day!

~*~*~*~*~*~*~*~*~*~*~*~*~*~*~*~*~*~*~*~*~*~*~*~*~

Kim Kelley is borderline obsessive about her crafting and her art. She loves mixed media art because you are free to go beyond your comfort zone, using your imagination and exploring an anything goes mind set. Kim loves to learn and explore new techniques and hopes that any art she creates leads someone to find their inner creative artist!

Sites: itsallaboutcrafting.blogspot.com and www.facebook.com/kimscraftyconcepts

~*~*~*~*~*~*~*~*~*~*~*~*~*~*~*~*~*~*~*~*~*~*~*~*~

.

.