Making Unique Photo Frames

~ * ~

This article was written by Cecilia Sanchez

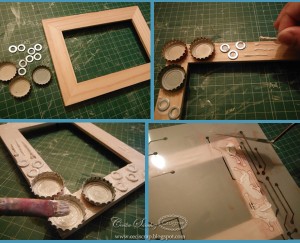
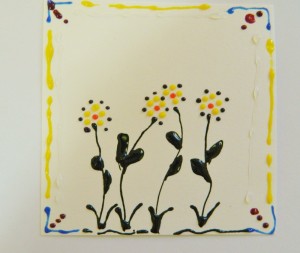
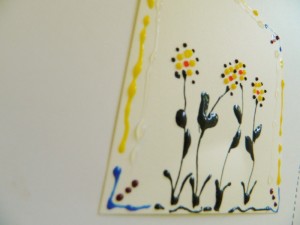
I have made a friendly and funny photo frame, thinking of putting pictures of my naughty children.  It’s pretty simple. They like to play with bottle caps, and so I wanted to include them in the frame.

Photo Frames

List of materials:

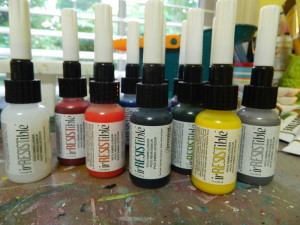
A wooden frame 
Bottle caps 
marbles 
metal washers 
glue 
stencil (Stencil girl products)
 gesso 
acrylic paint 
paper towels 
mod podge 
crakle paint 
Zig Painty FX

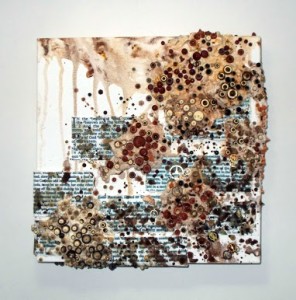
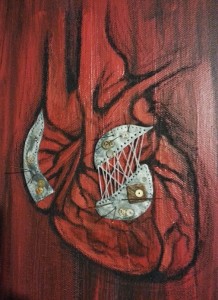
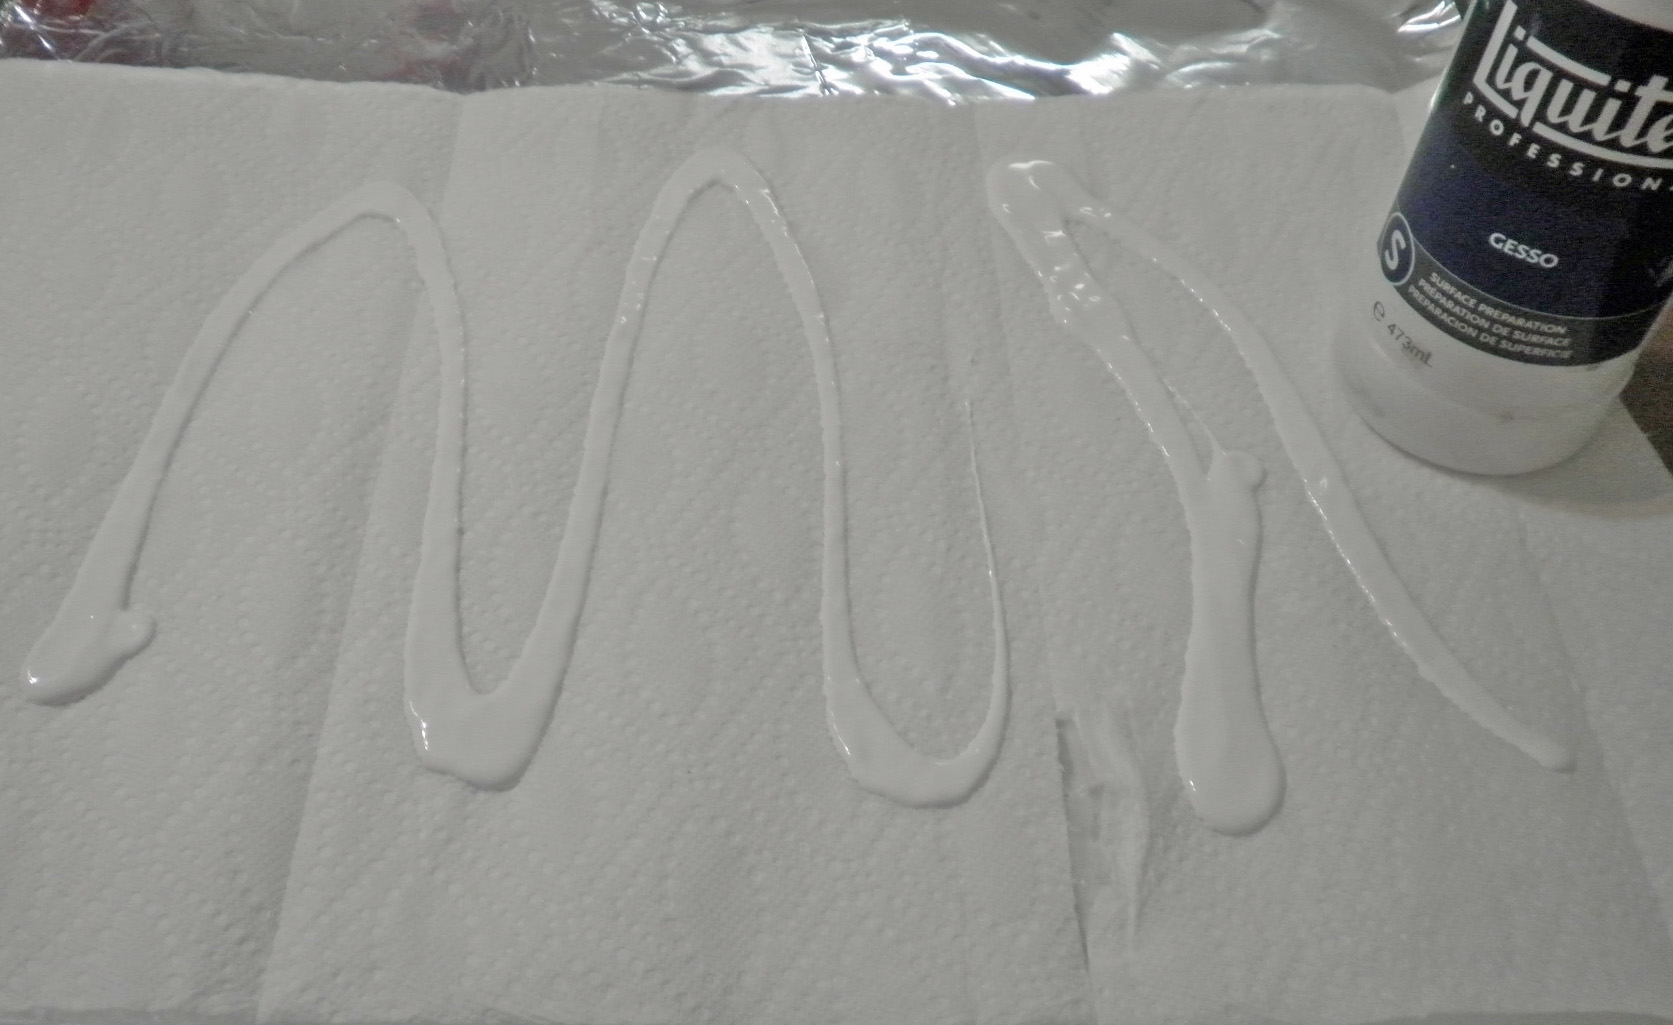
First, glue the metal elements or whatever we want. 
Then, cover with a coat of gesso.

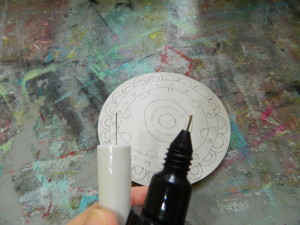
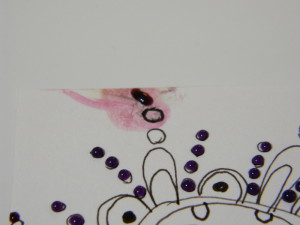
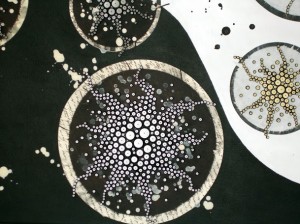
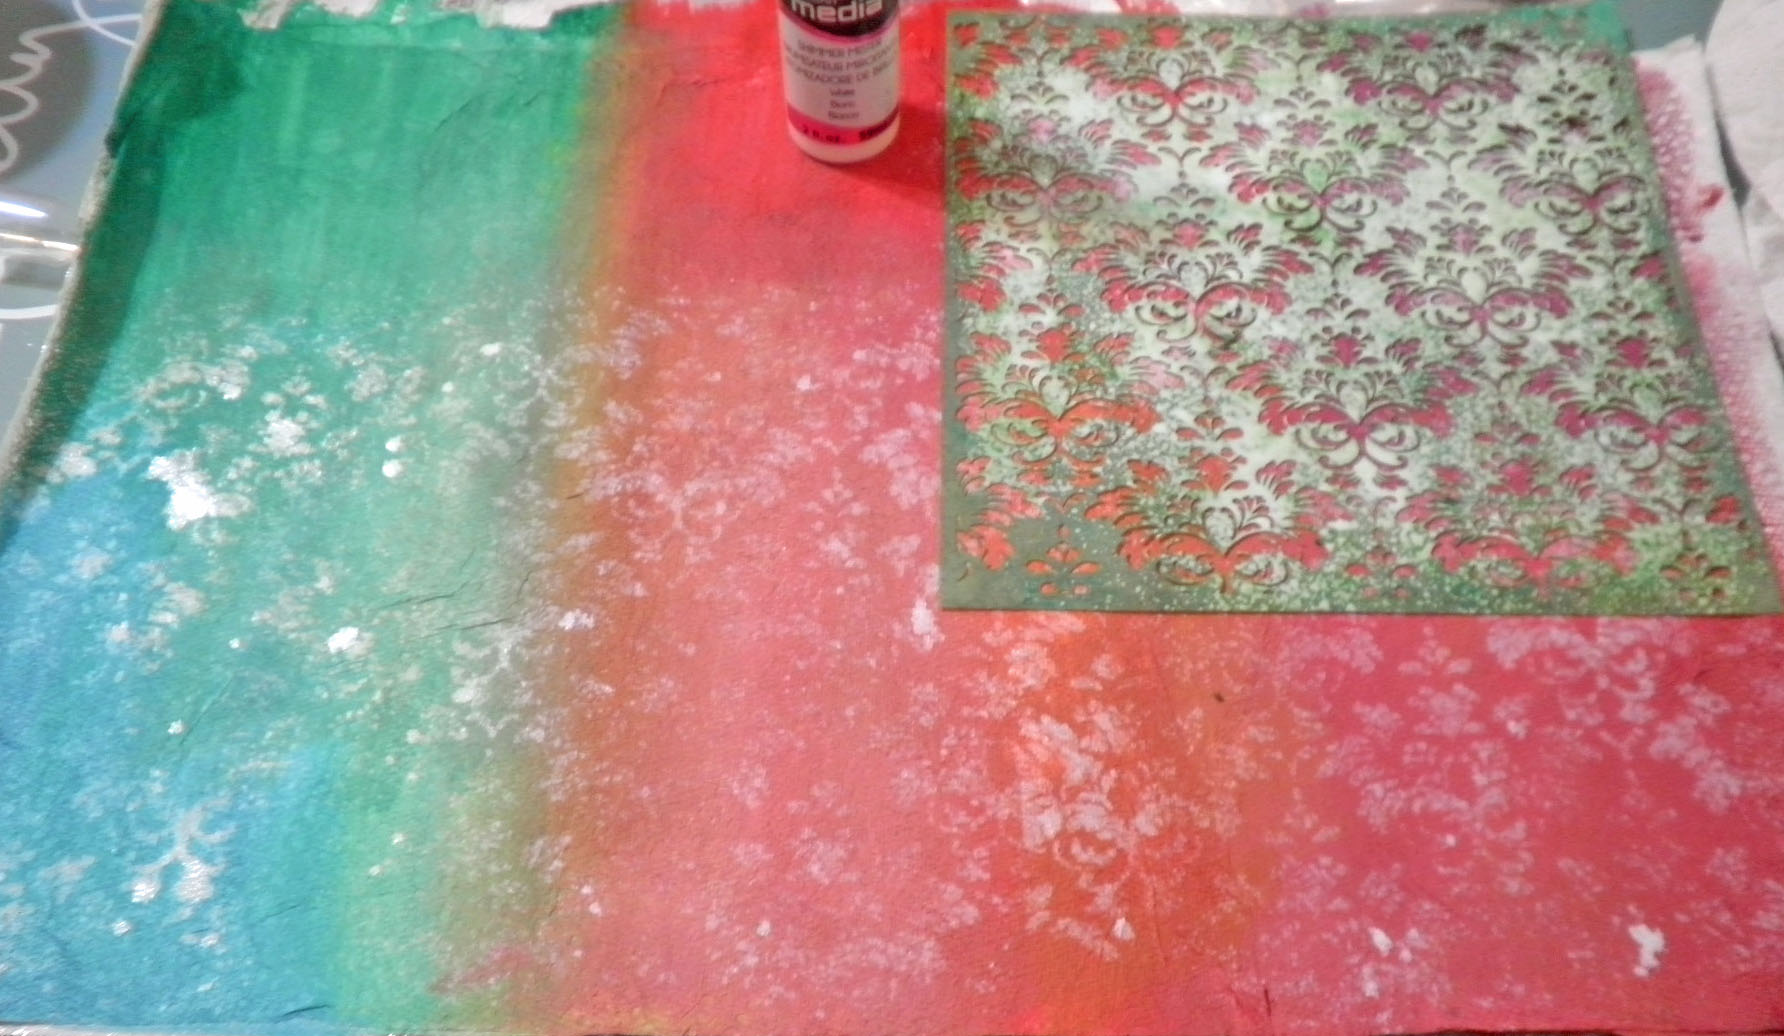
I used a stencil of electronic circuits with gesso to give more texture.

Photo Frames

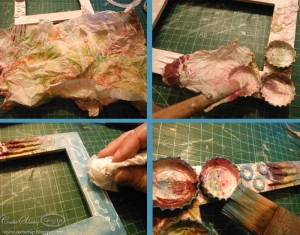
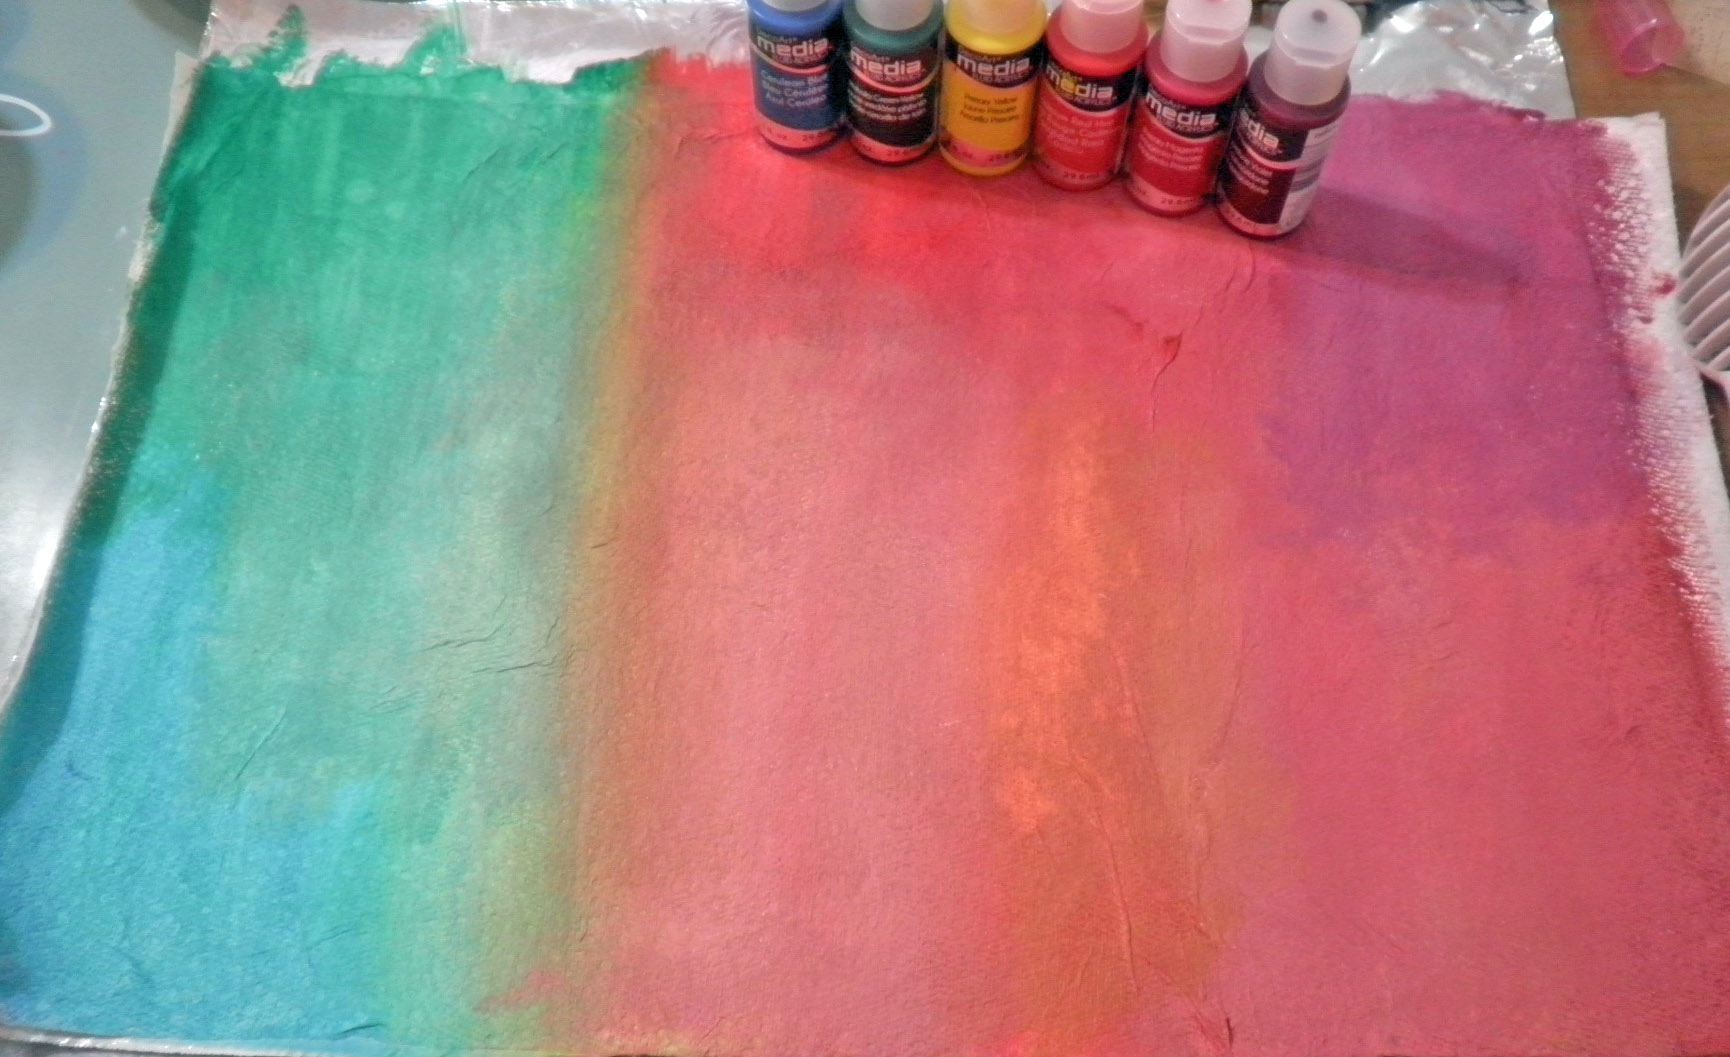
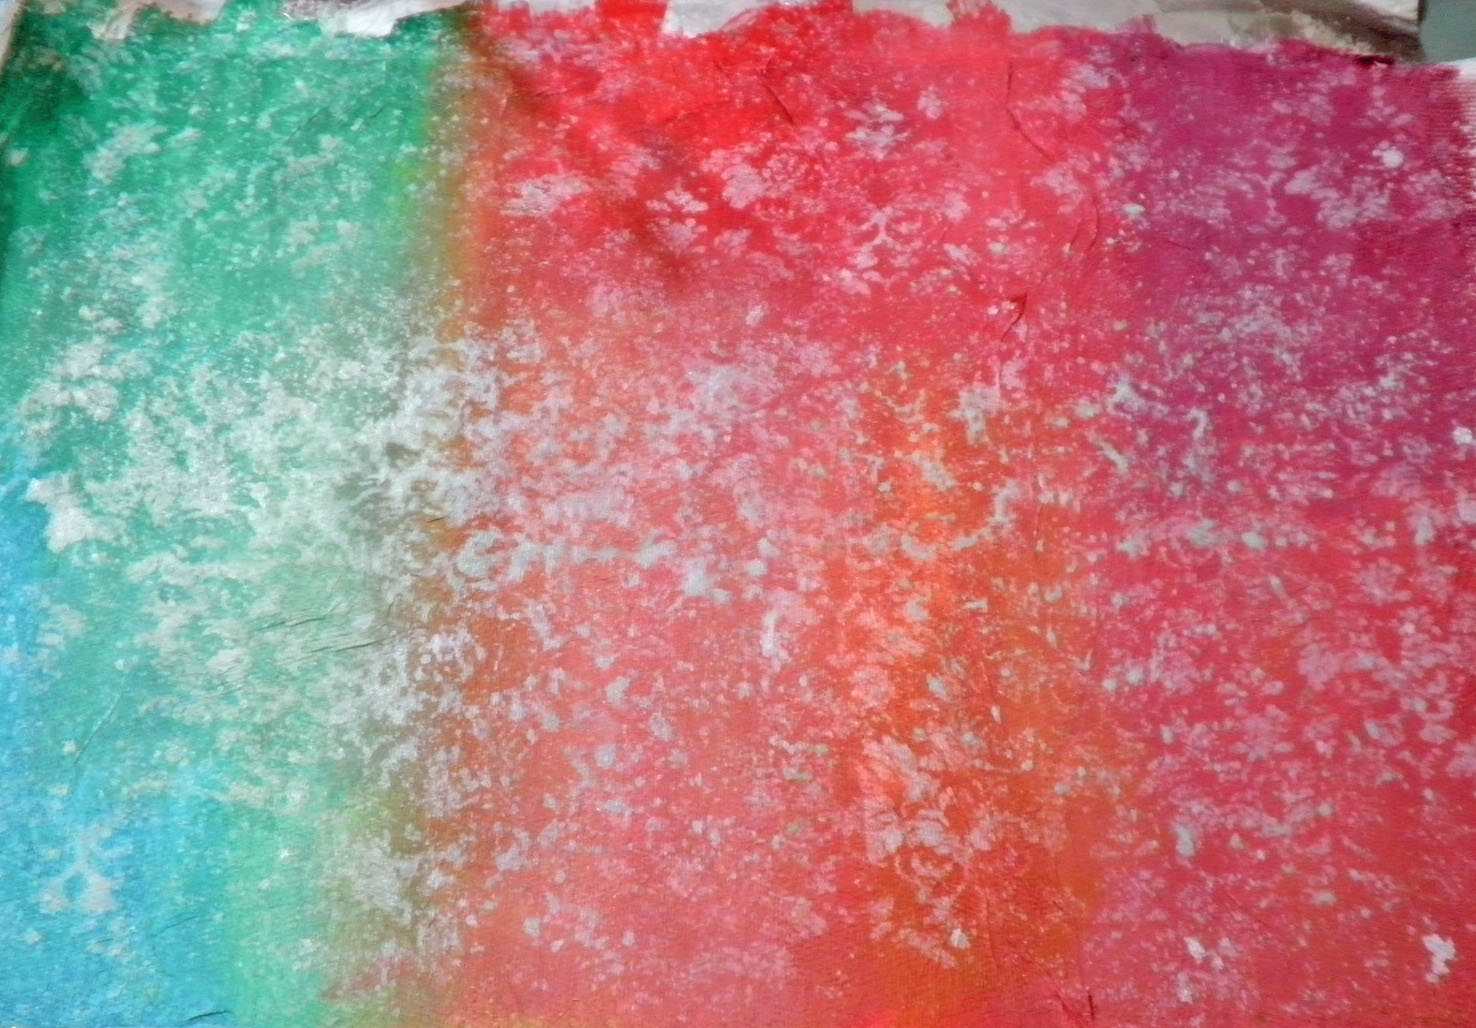
I like to use the paper towels used, and stained with paint.

I have fixed with Mod Podge.

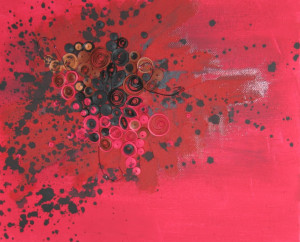
A layer of acrylic paint.

I remove some paint with a baby wipe.

Photo Frames

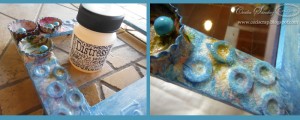
Finally, a layer of Distress Crackle paint, gives an interesting effect.

Photo Frames

~*~*~*~*~*~*~*~*~*~*~*~*~*~*~*~*~*~*~*~*~*~*~*~*~

My name is Cecilia Sanchez (CeciScrap) and I live in Málaga, Spain. I am married and we have three gorgeous sons. They inspire me every day with their crazy ideas.

Since my childhood I liked the photography, drawing, collage and make photo albums with cuts and travel souvenirs. I also love crafts in general. In 2006, a few months after birth my twins, I discovered scrapbooking, digital first and then the traditional. I love to do 30X30 pages, cards and mini albums, and for a while now I am fascinated with the Art Journal and Mixed Media, and I do not imagine scrapbooking without getting my hands dirty.
I am inspired by everyday things, feelings … The art journal is a real diary for me, because sometimes I need to express feelings with colors and shapes.

I love learning and discovering new techniques and materials.
I am part of the European design team of KURETAKE, and I am also designer for a monthly blog challenge Sweet Card Club. I contribute with some blogs and digital magazines and organized Scrapbooking workshops in Malaga.

You can see more of me at  www.facebook.com/ceciscrap

~*~*~*~*~*~*~*~*~*~*~*~*~*~*~*~*~*~*~*~*~*~*~*~*~

.

.

Using Irresistible Pico Embellisher for your Mixed Media Art Projects

~ * ~

This article was written by Melanie Statnick

Irresistible Pico Embellisher

I really enjoy working with a new product. When I saw the Imagine Craft irresistible Pico embellisher I wasn’t sure what to expect with its precise tip applicator and the needle that inserts into it. It was foreign and I wanted to try it.

Irresistible Pico Embellisher

As a visual artist I could see numerous ways to add this texture into art pieces. I love to add details into my art and the Pico embellisher tip is perfect for this. On a piece of Bristol paper I drew up a doodle and gave it a go.

Irresistible Pico Embellisher

Irresistible Pico Embellisher

There is allowance for control with the tip the embellisher has, making lines and dots thick or thin depending on the pressure of how you squeeze. I did notice that the embellisher will suck some air creating bubbles on the next release.

Irresistible Pico Embellisher

Irresistible Pico Embellisher

I dabbed the bubble with a napkin and it broke leaving a ring. Another time I wiped it away and it left a mess. Please take care cleaning up any bubbles that may happen. This could have been something that happens with a first time user. I also wanted to try the embellisher freehand. I think it gives the drawing a needle point look.

Irresistible Pico Embellisher

Irresistible Pico Embellisher

Overall I think the irresistible Pico embellisher by imagine craft is an excellent tool for texture and more. With the verity of colors who know what your imagination will create.

~*~*~*~*~*~*~*~*~*~*~*~*~*~*~*~*~*~*~*~*~*~*~*~*~

Author bio: Melanie Statnick is a published artist/writer out of North Carolina. Melanie creates art daily from her private studio. Her style is happy and whimsy. Statnick’s artwork can be found in art galleries and shops extensively in NC with international private collections. Learn more about Melanie view her website at: www.melaniestatnickart.com

~*~*~*~*~*~*~*~*~*~*~*~*~*~*~*~*~*~*~*~*~*~*~*~*~

Disclosure: These products have been provided by Imagine Crafts  for the purpose of review. All opinions are that of the MixedMediaArt team.

.

.

Are You Afraid of Mixed Media?

~ * ~

This article is written by Anjuli Johnson

How to overcome your Fear of Mixed Media

Having the courage to break into a new form of art can be tough.  I remember my scrapbooking days and being fascinated with other forms of mixed media I would see around me.  My scra’pbook pages were one thing- the altered books and art journals I would see in magazines were on a whole other level.  There are so many talented people who do amazing things with canvas, books, paint, beads, paper, and an infinite number of other mediums.

How to overcome your Fear of Mixed Media

I was inspired every time I turned around, it seemed.  But the idea of actually trying to do something that didn’t involve preserving my own memories was extremely intimidating. How could I, just an ordinary woman, find a way to create such unique mixed media pieces?  I wanted to learn these awesome techniques, but I didn’t want to just copy what everyone else created. The only thing I had that made my creative work unique were the photos I used in my scrapbooking.  So, I kept my mixed media dreams in the back of my mind and stuck with what I was comfortable with.

How to overcome your Fear of Mixed Media

Of course, then came 3 years of limbo.  I moved across the country and couldn’t afford to bring any of my things with me besides the bare necessities, and it was that long before I was able to access any of my art supplies.  To say I felt the absence of a creative outlet would be an understatement.  By the time I opened those boxes and started organizing everything, I was starving for my long lost supplies, most of which I’d forgotten I had.  There are few things better than unpacking boxes of art supplies.

How to overcome your Fear of Mixed Media

The creative ideas are like a flood.  It was during this period that I finally found the courage I needed to start experimenting in unknown artistic waters, and as a result was able to develop my signature abstract collection that has been featured in several galleries around Raleigh and has led to some of my first commissioned works.  I’ve have further in the last two years than I could have dreamed possible.

How to overcome your Fear of Mixed Media

Throughout those months I realized the work I was doing was something I hadn’t seen anyone else do. My pieces were unique, not just because of my individual style, but because I was using tools and supplies in ways I hadn’t seen anyone else use. It wasn’t until that moment that I realized the infinite possibilities that are available to those who work in mixed media.

How to overcome your Fear of Mixed Media

Most artists who work with quilling strips have a very different way of using them.  Some of the things they create are amazingly intricate, but are less abstract in nature- less accidental than my pieces.  It’s been interesting to see how my quilling is similar and yet different from most quillers out there, but that is an aspect of mixed media work that I love- the fact that artists can take different techniques and mediums and use them in brand new ways that people haven’t thought of before.

How to overcome your Fear of Mixed Media

I don’t know to what extent other artists have struggled with the false idea that anything they create will be derivative; simply a copy of another artists work.  In some ways, it almost felt like an excuse for me to not even try, despite being a legitimate fear.  I do know that all artists wrestle with fear in one form or another.  It is a daily struggle, but the more we create, the more we learn and the less fear becomes an obstacle.  What art supplies do you use in a unique way?  What pieces or collections have helped you overcome your fears?

How to overcome your Fear of Mixed Media

~*~*~*~*~*~*~*~*~*~*~*~*~*~*~*~*~*~*~*~*~*~*~*~*~

Author bio: Anjuli Johnson is a Mixed Media Artist from Raleigh, NC.  She began her art career as a scrapbooker, and it’s been an evolutionary process ever since.  She loves all things mixed media- paper, paint, pens, wire, gears, clay… the list goes on and on.  She is constantly trying to push through her fears to discover and develop her talents, meet new people, and learn from those around her.  To see more of Anjuli’s art and techniques, check out her website at www.thefarpavilion.com  and like her Facebook page TheFarPavilion

~*~*~*~*~*~*~*~*~*~*~*~*~*~*~*~*~*~*~*~*~*~*~*~*~

.

.

Mixed Media 3D Flowers

~ * ~

This article is written by Barbara Rankin

Barbara shows you how to make these beautiful 3D altered art flowers using simple household products.  All you will need is a roll of heavy duty aluminum foil and a roll of paper towels, along with some white gesso, acrylic paints, and flower dies or punches.  Barbara will also show you several ways to colorize and alter these beauties, and how to apply them in your art.

Spread some white gesso over the foil, lay paper towel on top and continue spreading gesso over the paper towel, ensuring the two adhere to each other well and there are no air bubbles.  You may find that you need to do this in sections before the gesso dries. Do not worry about wrinkles; they add texture.

applying gesso to paper towel and aluminum foil

Add DecoArt fluid acrylics in colors of your choice.  I used Phthalo Green-Yellow, Cerulean Blue, Titanium White Primary Yellow, Cadmium Red Hue, Primary Magenta, and Quinacridone Violet.

adding fluid acrylics to paper/aluminum foil

Spray DecoArt white mist through a damask stencil.  The white spray mist will pick up some of the color beneath it and give you a lighter shade of each color.  Perfection is not necessary because this is all going to be die cut into smaller pieces.

DecoArt white mist sprayed through damask stencil

As you can see, this disguises the separation of colors and makes it all cohesive.

photo of colored/stenciled sheet

Die cut flowers with any flower die.  I used the Tim Holtz Tattered Florals die.  You could also free-hand cut them.  You will have a nice selection of tattered floral pieces that all work well together.

die cut flowers from each colored section of paper/aluminum foil sheet

Use two sets of the flowers from the same or similar colors to make a single, fluffy flower. Before layering the petals, ink the edges with Vintage Photo distress ink. This will give some added depth and dimension.

Photo of the die cut petal shapes used to make a single flower

Layer the petals, largest to smallest. Make a hole in the center of each petal and add a decorative brad to keep them together.  Pinch and twist the petals to form a fluffy and full flower.  I used tweezers in one hand so I could grab each petal easier, while pinching them with my other hand.

Flower formed with help of tweezers

Here are all three flowers from this one sheet.

three finished flowers

Here are a couple of cards I made using two of the flowers.  I can think of many uses for these. I think they would look absolutely lovely in a mini album, scrapbook, page layout, or canvas.

two cards using two of the three flowers

two cards using two of the three flowers

~*~*~*~*~*~*~*~*~*~*~*~*~*~*~*~*~*~*~*~*~*~*~*~*~

Barbara is a mixed media artist who loves to teach.  She loves to learn new techniques and to share her knowledge with other artists.   She is a contributing artist in a book:  Make it in Minutes: Mini Albums, and has been published in several paper and online magazines.  She is currently on several design teams:  ColourArte, Sin City Stamps, Altered Pages, Gina’s DesignsLasercuts, House of Cards Monthly Challenge Blog, and Craft Hoarders Monthly Challenge Blog.  She has served as a design team member for The Robin’s Nest and Creative Paperclay®, as well as guest designer for Craftwell USA, Unruly Paper Arts, and Gina’s Designs.

She lives in the Memphis, Tennessee area with her very supportive husband of 32 years, and her two Yorkies, Chloe and Zoe.

You can see more of Barbara’s work on her blog at Black Hole Art Studio or via Facebook – Black Hole Art Studio

~*~*~*~*~*~*~*~*~*~*~*~*~*~*~*~*~*~*~*~*~*~*~*~*~

.

.