~*~
This article is written by Teresa Abajo
Hello! Teresa Abajo here and I will be reviewing Danielle Donaldson’s book Creative Girl – Mixed Media Techniques for an Artful Life. It was published in 2015 by North Light Books, who bring us a number of other wonderful art related titles.
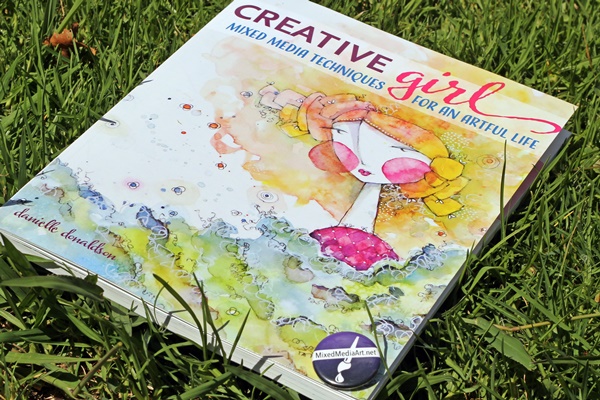
Danielle Donaldson is a graphic designer and has focused her artistic efforts on watercolour and graphite drawing techniques. Her work is wonderfully colourful, with lots of details she adds with pencils and markers.
The introduction invites us to discover our very own creative happy place by organising our time, personalising the process, creating stashes and sorting supplies. Throughout the book, the emphasis is on staying active creatively – never on productivity or creating to a particular standard.
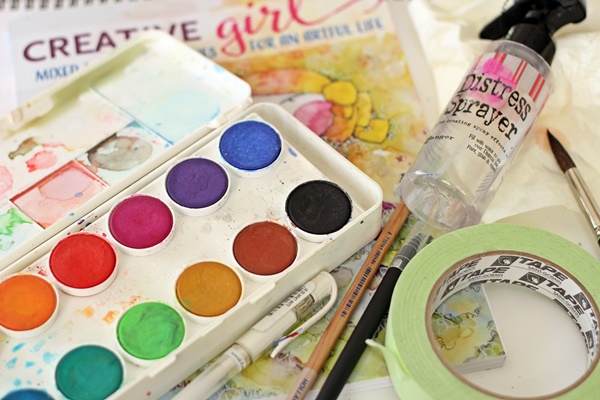
We start (as many art books do) with a list of all of the supplies Danielle uses to create. I’m happy to say there aren’t too many specialised materials required. In fact, you’ll likely find you already own most items, or can substitute with the brand you already use. There are many household items she uses too – things like glass jars, salt, pins and old books.
In the first chapter, Danielle talks about where much of her crafting takes place – on her couch surrounded by distractions I for one would find too much to bear! She puts together handy little stash stations containing creative tools and materials and she indulges in small snippets of creative time throughout the day. Again, the emphasis is on crafting often, rather than crafting for long periods of time. I found I could very much relate to that – I certainly find it easier to steal moments from my day rather that schedule a huge block of time for crafting. Organisation is key, and Danielle explains how she uses and collates Inspiration Folders.
The next couple of chapters focus on watercolour specific techniques and contain lots of ideas for mini projects and art exercises.
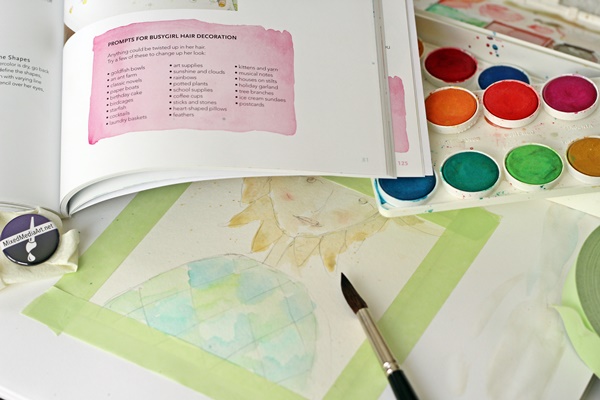
In Chapter 5 Danielle covers developing your own signature style – putting ‘you’ into your art work. She walks us through the creation of various girl figures in very simple, well photographed steps. Here’s where I am with these lessons:
The next part of the book gives us lots of examples of “hot mess solutions” or how Danielle fixes components of her work with which she isn’t happy. Cover ups, work arounds, walk aways, let it go – simple self explanatory terminology.
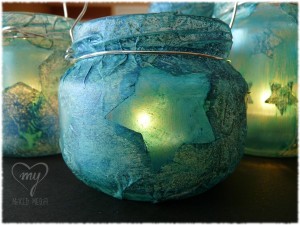
The last part of the book has a beautiful gallery of Danielle’s work. Now that I’ve read her book I feel inspired to deconstruct a piece and have a go at replicating the components that appeal to me.
Creative Girl – Mixed Media Techniques for an Artful Life is part drawing and watercolour play manual and part realistic guide for those of use wanting to inject a little more art into our daily lives. It’s a beautifully presented book, written in simple and encouraging language and I’m sure you’ll be as thrilled as I was to add it to your craft library.
.
.


Recent Comments