~ * ~
This article is written by Michelle G. Brown
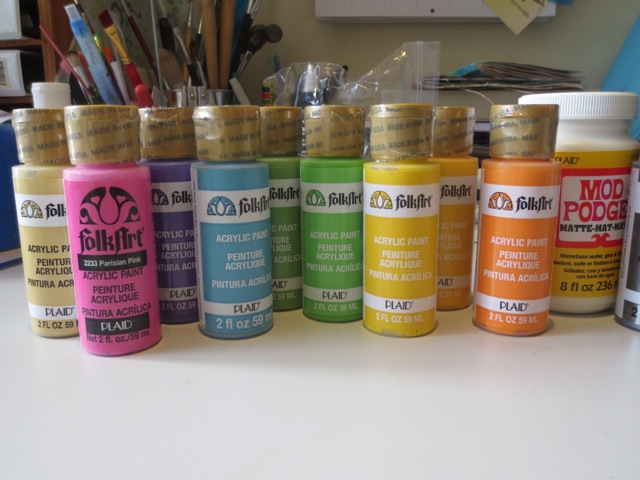
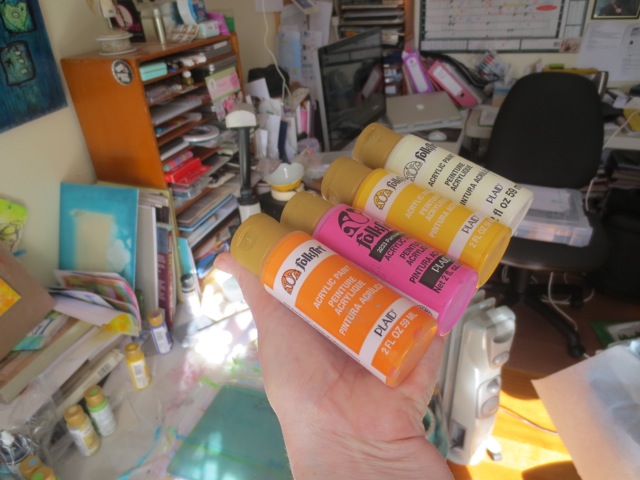
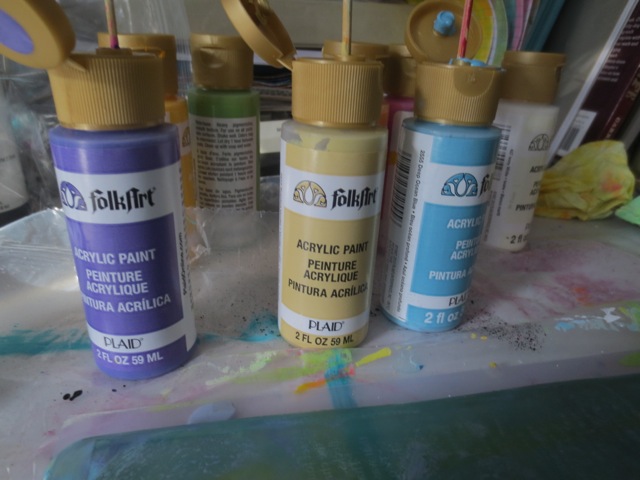
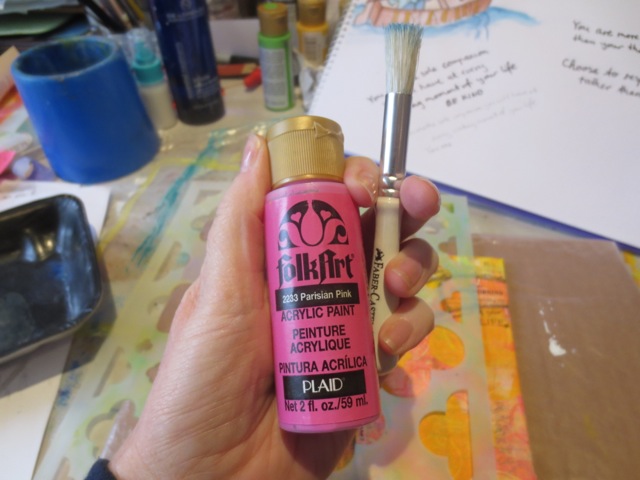
This week I got to play with some FolkArt paints, provided to us by Plaid, to see what I could do with them. I do love playing with paints; they are a relatively cheap materials, come in lots of wonderful colors and gives me the ability to coordinate all of the elements I need to create many types of mixed media art
The colors looks all so nice together (I’m a real sucker for “Rainbow” colors) but I was worried about using so many colors on the one canvas, so I did some testing to find color combinations that I liked; remember that I’m not very brave when it comes to combining colors. These were the trials that I completed:
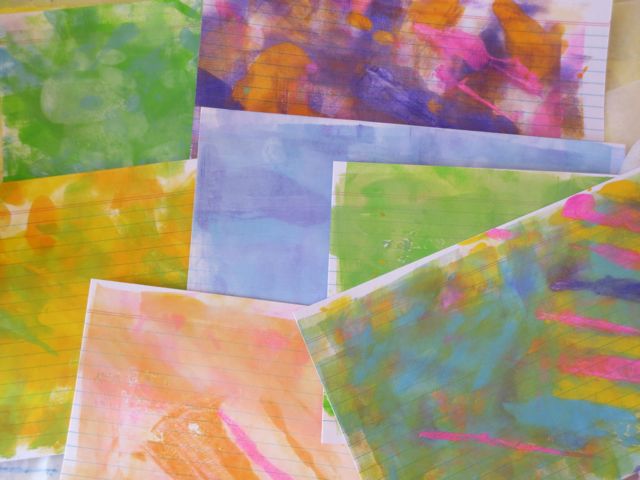
I actually liked most of them but only had three canvas panels so I narrowed it down to three combinations that used a variety of paint colors.
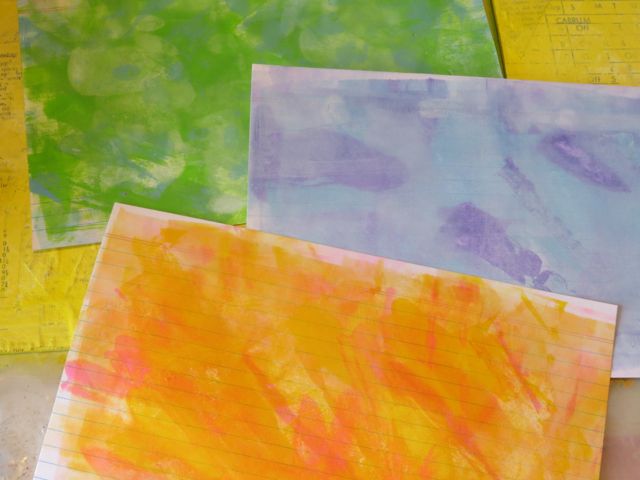
Top: Lime Green, Deep Ocean Blue and Ivory White
Middle: Deep Ocean Blue, Perfect Purple and Toasted Vanilla
Bottom: Vivid Orange, Parisian Pink, Moon Yellow and Ivory White
With my color combinations selected, I was ready to get started.
Materials and Tools for the Mixed Media Canvases
– selection of acrylic paints: here I used Plaid FolkArt Paints
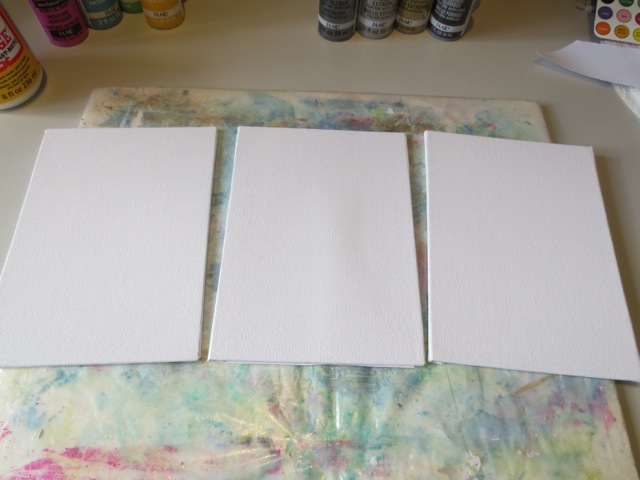
– 3 5”x7” canvas board panels
– collected ephemera; 5 different fonts
– Matte Mod Podge and sponge applicator
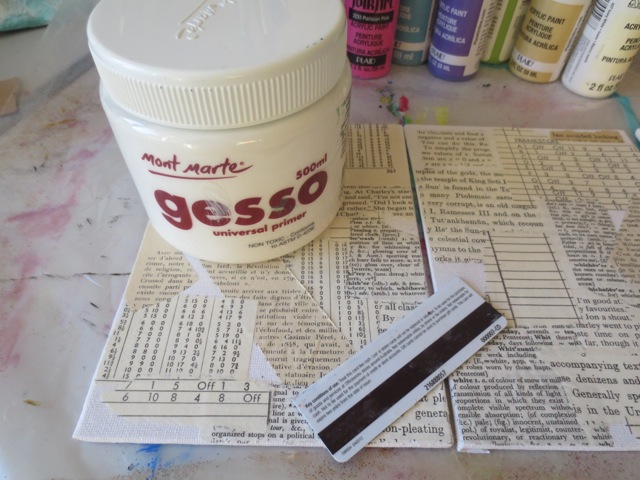
– Gesso and applicator
– Gelli Plate 8”x12”
– Brayer
– Deli paper, ephemera and copy paper in A4
– Stencils: here I used Stencil Girl L174 Ward Quatrefoil Mix
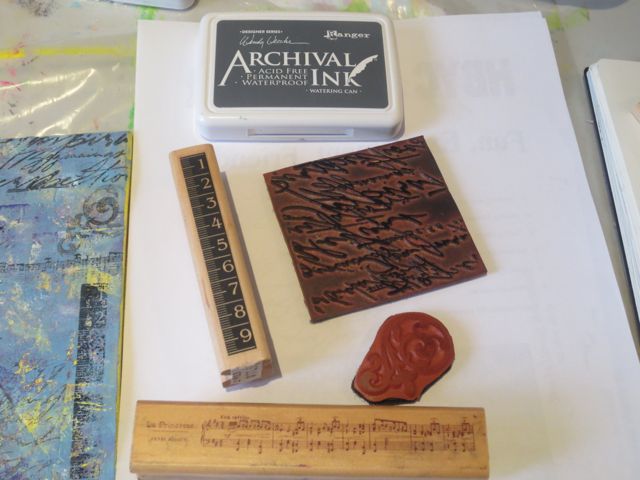
– Variety of rubber stamps and grey archival ink
– Watercolor pencils: black and white
– charcoal pencil and blender
– Markers and pens: I used Sharpie White, white gel pen, black Sakura Pigmento Micro 02 and Montana Extra fine Acrylic Marker filled with black Golden High Flow Acrylic in Carbon Black
Creating the Background Layers
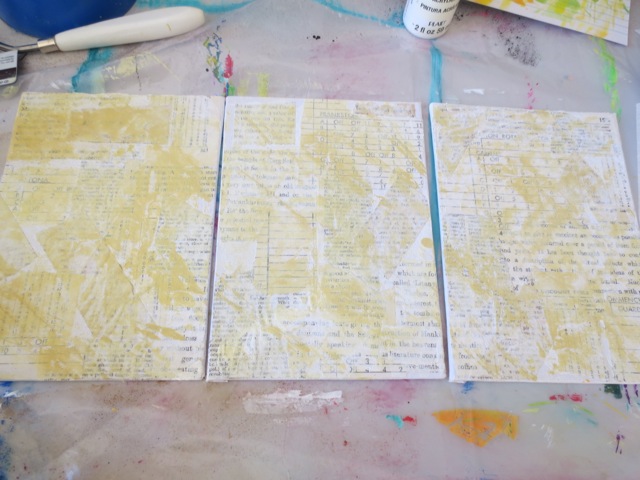
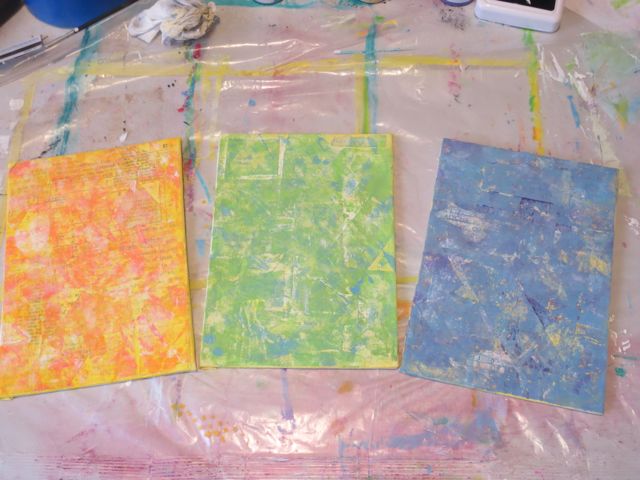
1. Lay out the canvas panels
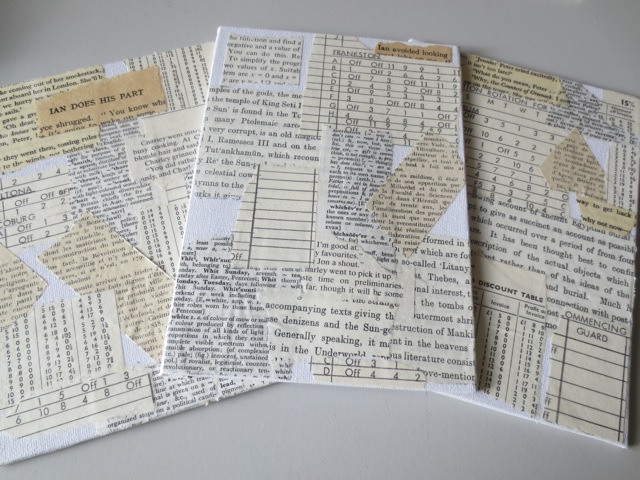
2. Collect a range of ephemera and tear into pieces. I like to use four to five different texts and fonts to make sure there is enough variety in the background. Get these ready before you start to get sticky.
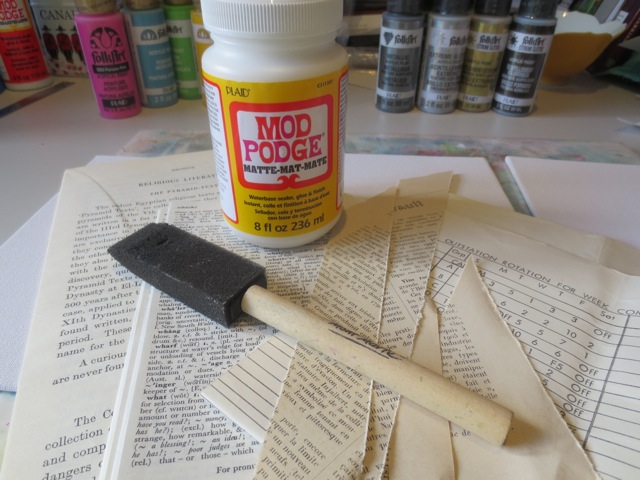
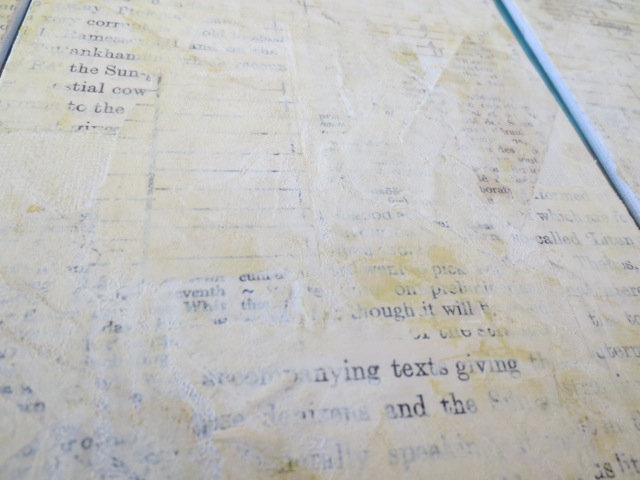
3. Adhere to the canvas panels, leaving some pale edges overlaying the edges

4. Cut off the excess ephemera with a craft knife and use a sanding block to smooth the edges of the canvas
5. Get out your Gesso and an old store card or spatula and roughly apply a layer of Gesso over the dried ephemera layer. Leave to dry.
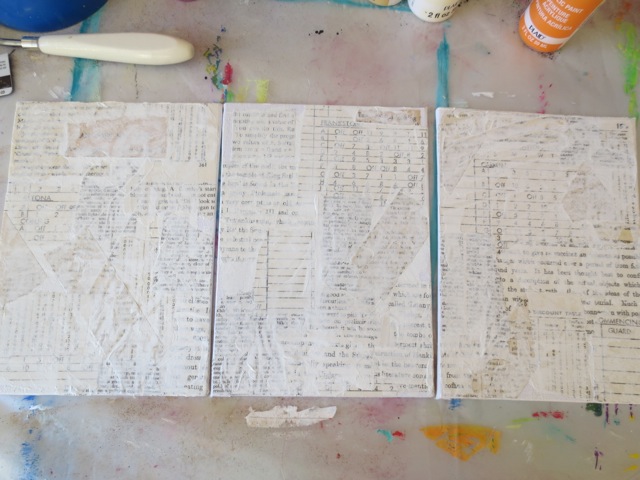
6. Add a layer of bone coloured acrylic paint, then a little ivory white and then a layer of yellow as a wash
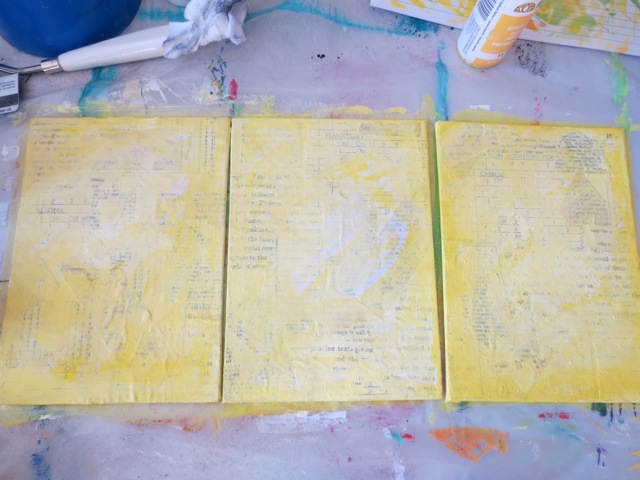
Leave canvases to dry.
Creating Color Coordinated Papers with Gelli Plates
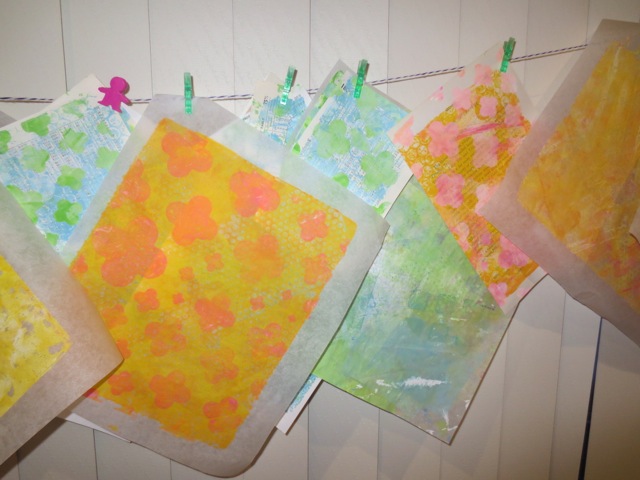
While the canvas panels are drying, get set up to create some color coordinated papers to add to the canvas panels. This is the advantage of using paints where we can make all of our bits and pieces match. Here I’ve used a Gelli Arts Gelli plate, with the paints and stencils and a variety of ephemera.
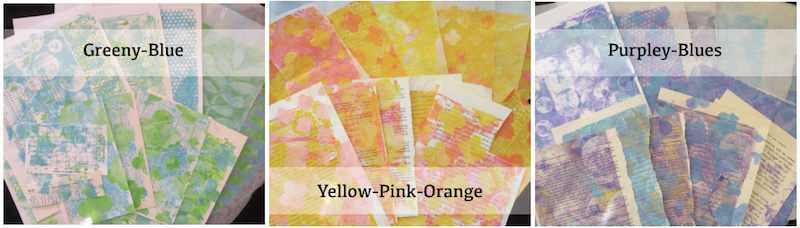
Firstly I used these colors to make a few pages
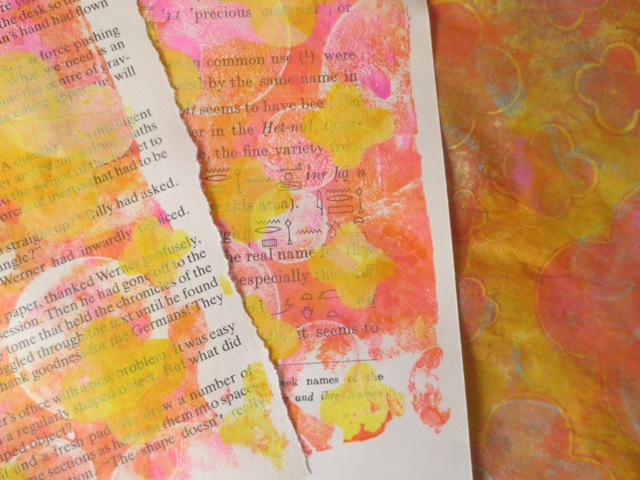
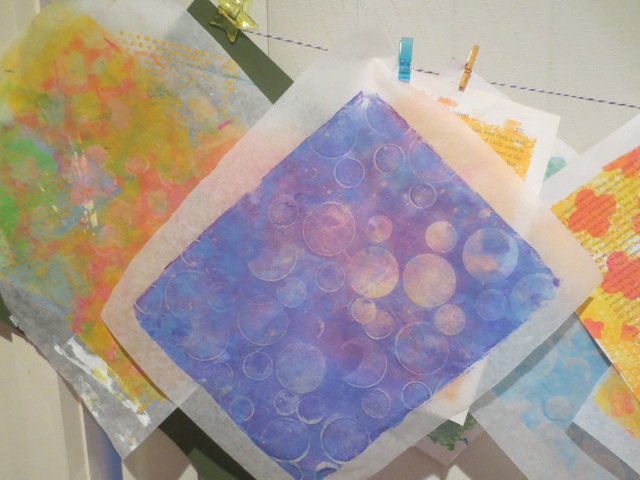
Then changed colors and created a range of prints with different patterns and color mixes. I created quite a few so I would have a range of prints to choose from when I completed the canvases.
Finishing off the Mixed Media Canvas
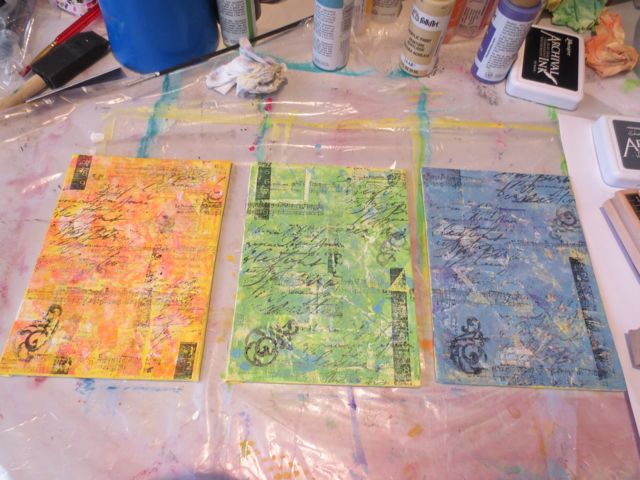
I lined up the three panels and added some stamping with grey Archival Ink
Then I decided to focus on one canvas at at time, starting with the orange and pink one.
I had created a few sketches in my art journal and transferred these images onto the printed papers to collage the image onto the canvas. For the brightly coloured canvas I used a bright flower, as well as clouds and a feather.
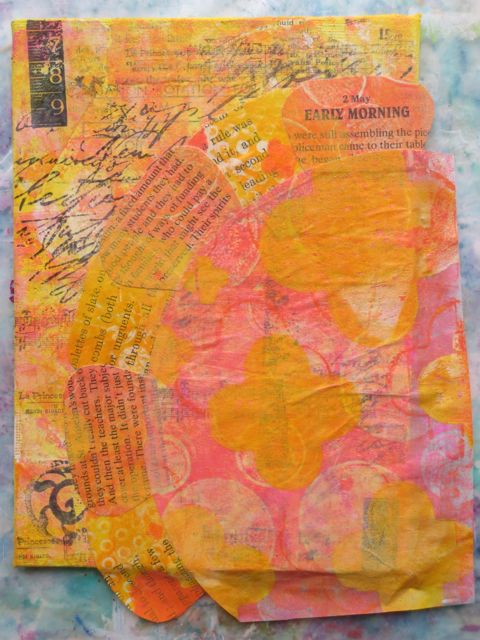
The flower was highlighted with water coloured pencils in black and white
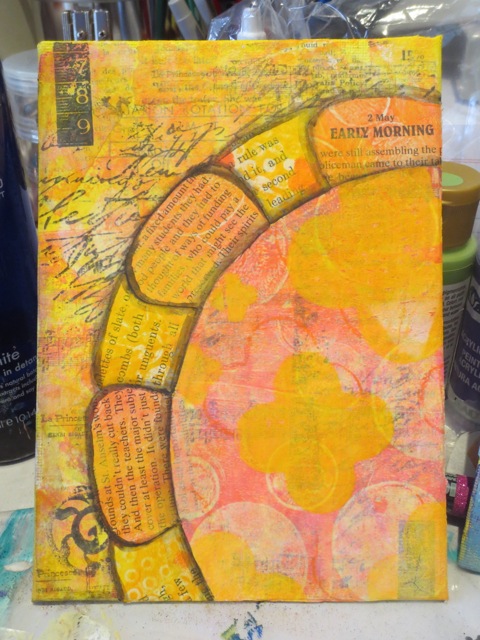
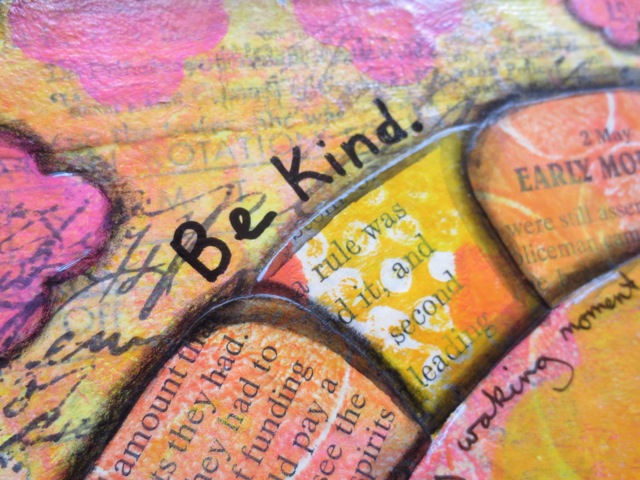
A quote was added with the black Sakura Pigmento Micro 02 marker and Montana Extra Fine Acrylic marker filled with black Golden High Flow Acrylic Carbon Black
The stencil was used to add more Quatrefoil pattern into the pieces.
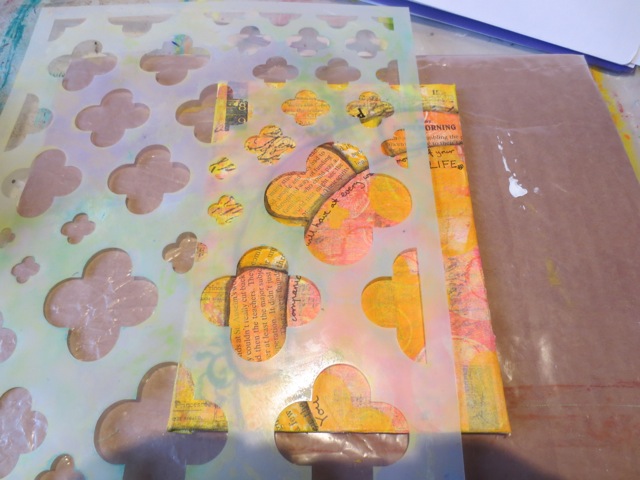
Here I used the pink paints with a stencil brush.

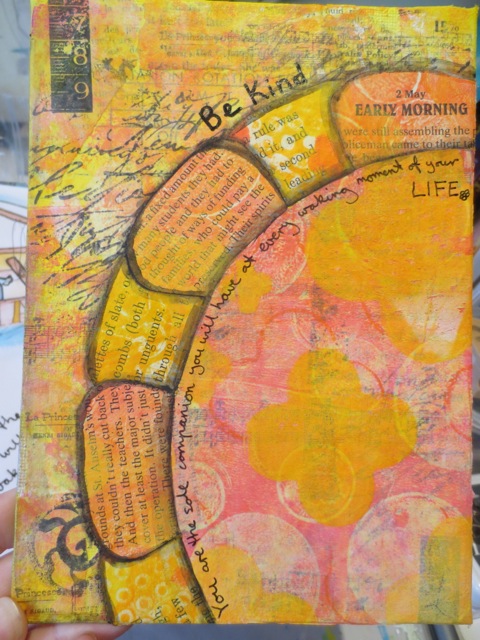
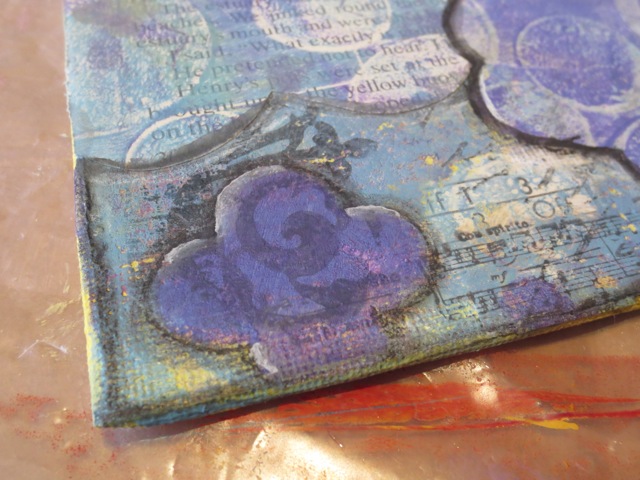
Then I highlighted a few of the shapes with charcoal pencil, smudged it a little and added highlights with white pen and marker, as well as adding more shading around the flower
I repeated these steps with the other two canvases. Here is a close up of the highlighted quatrefoil.
When all three were complete, I signed them and gave them a coat of spray gloss varnish to seal the charcoal and give them a nice, glossy finish.
Final mixed media canvas panels
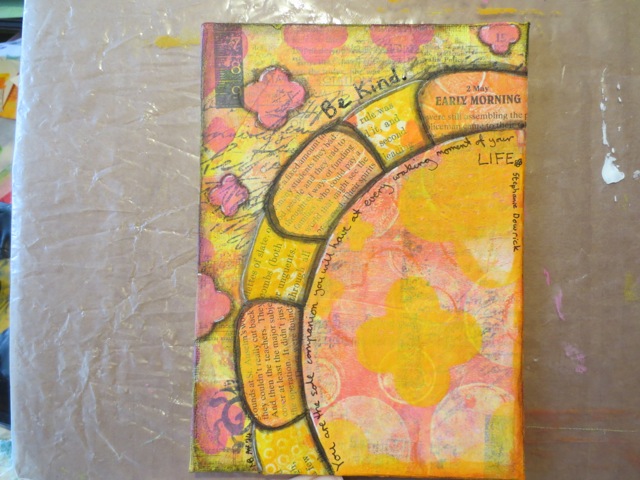
Here are the finished canvas panels
Be Kind: Vivid Orange, Parisian Pink, Moon Yellow and Ivory White
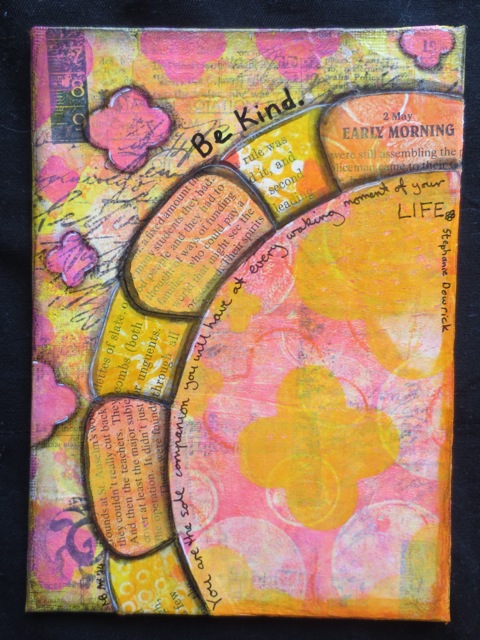
The quote reads “ You are the sole companion you will have at every waking moment of your life”
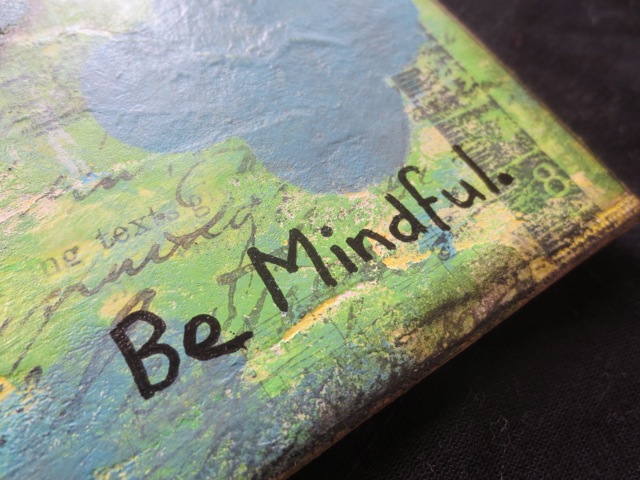
Be Mindful: Lime Green, Deep Ocean Blue and Ivory White
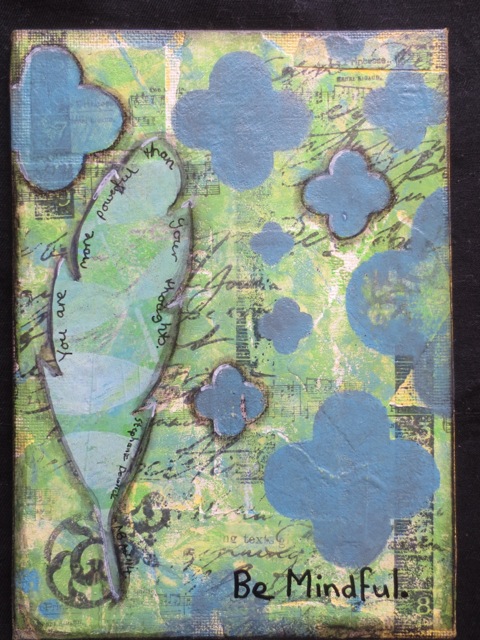
With the quote “You are more powerful than your thoughts.”
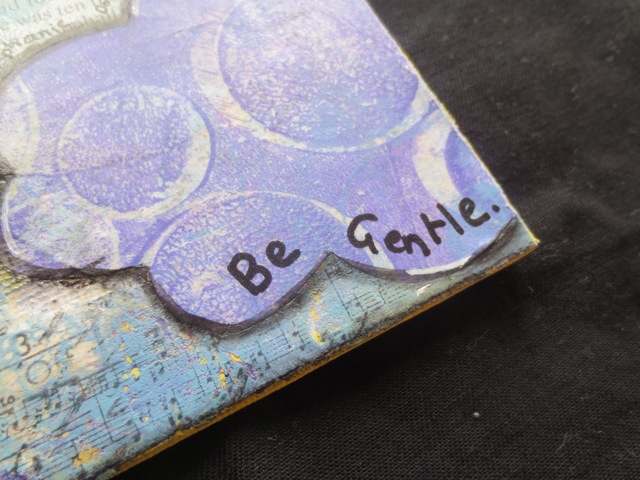
Be Gentle: Deep Ocean Blue, Perfect Purple and Toasted Vanilla

Quote: “Choose to respond, rather than react”
All of the quotes are by Stephanie Dowrick and her book Choosing Happiness
Gelli Printed Papers Giveaway
Michelle has a HEAP of Gelli printed ephemera left over from this project and wants to give YOU a chance to put them to good use and create your own mixed media collage. We are giving away THREE EPHEMERA kits, one in each of the three color combinations.
The winners have been announced ~ See the Announcement “And the Winners are…”
~*~*~*~*~*~*~*~*~*~*~*~*~*~*~*~*~*~*~*~*~*~*~*~*~
Michelle G. Brown is passionate about mixed media art and enjoys sharing her knowledge and techniques with you to allow you to express your own creativity. Michelle understands that many of us have an inner need to create. By learning a few basic techniques the amazing world of mixed media art is accessible to everyone!
Michelle lives with her husband and two boys in Melbourne, Australia.
~*~*~*~*~*~*~*~*~*~*~*~*~*~*~*~*~*~*~*~*~*~*~*~*~
Disclosure: These paints and Mod Podge were provided by Plaid for the purpose of review. All opinions are that of the MixedMediaArt team. The links on this page may include affiliate links and any purchases help to support the ongoing work by MixedMediaArt.
.
.


Recent Comments