Access All Areas @ MMA Studio in June 2022

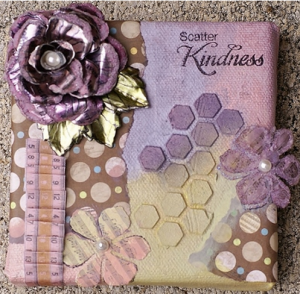
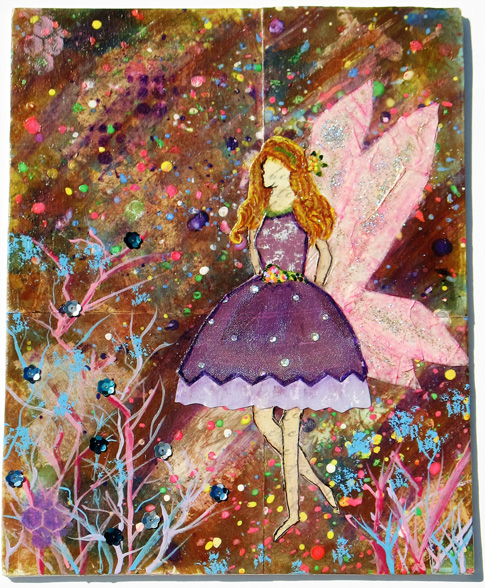
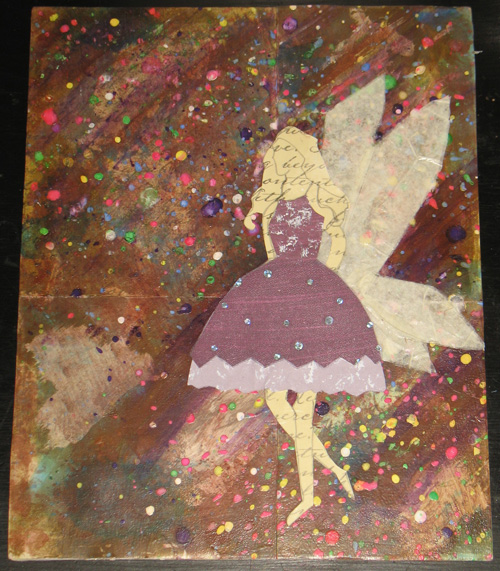
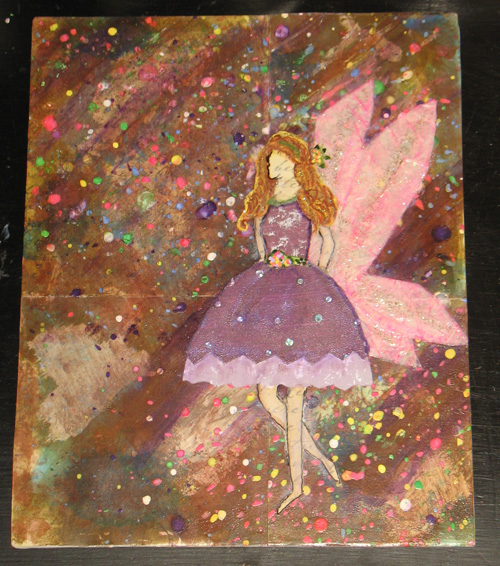
It’s the ULTIMATE crafter’s day out! ACCESS ALL AREAS  give you access to all of Mixed Media Art Studio supplies PLUS guidance from our talented resident artist Michelle Brown.

With your Access All Areas studio pass, you get:

  • access all of the Mixed Media Art studio supplies, including paints, stamps, stencils, ephemera, inks, mediums, foils, gel plates, journal dies, cutting dies, die cutting machines and more
    (bring your own art journals, cardstock and canvases, or purchase them from the store)
  • access one-on-one tuition with Michelle, covering gel printing, art journaling, making an handmade journal and more
  • create in a wonderfully supporting atmosphere
  • small group and fantastic facilities (max 6 people)
  • plus a $10 voucher to spend in the MMA store on the day (min spend $30)
  • a relaxed creative Saturday 10am to 4pm

CLICK HERE for details and to book – places limited

Magical Forest Canvas Class with Shirley Dougan

Join Shirley Dougan as she leads you through a fun workshop to create a magical Forest canvas, highlighting your own style and colour preferences. The workshop includes detailed step-by-step instructions to create a start-to-finish canvas, with a processor that you can replicate again and again.

Skill level: beginners to advanced.
The class is run in -person, at the light-filled Mixed Media Arts Studio, in Mt Waverley (see here for details) Melbourne, Victoria, Australia. Click here to see full details and to book in.

Creating a Mini Mixed Media Canvas

~*~

Kina, from The Stamp Room, has made this cute little mixed media collage on a 4″ x 4″ canvas. She shares her process with us.

This little 4×4 canvas was gessoed, I then took my new Hexagon 6×6 stencil from the Crafters Workshop and a little embossing paste.

While this was all drying, my Prickley Pear Rubber Stamp large Hibiscus die came out. I punched out 4 flowers in metal, used Copic RV93 and RV95 to color them, and made the large flower by cutting and gluing it.

Next I stamped with Archival ink, I used both of the PPRS Hibiscus Clear Stamp sets. I also used the smaller Hibiscus die and cut out 3 paper flowers using BoBunny’s “C’est La Vie” paper pad.

Time to paint!! I used my new Art Anthology Inc. Colorations Vineyard Spray as well as Distress Victorian Velvet and Bundled Sage. Glued down paper, again from BoBunny’s  C’est La Vie paper collection, and a strip of folded washi tape from Prima’s Sunrise Sunset collection.

My big metal flower and one of the little ones got tiny orchid colored glassbeads glued to the edges and I added a white “pearl” to the middle of each flower, glued the big flower in place and stamped my Sentiment from the PPRS Hibiscus Set 2 in Archival ink.

Mini Mixed Media Canvas by Kina

I sure hope you enjoy it as much as I enjoyed making it!

~*~*~*~*~*~*~*~*~*~*~*~*~*~*~*~*~*~*~*~*~*~*~*~*~

Kina can be found, hanging out in her Stamp Room in Florida, USA.

~*~*~*~*~*~*~*~*~*~*~*~*~*~*~*~*~*~*~*~*~*~*~*~*~

.

.

Janelle Nichol’s Online Class: Glow-Paint Using Watercolors and Acrylics for a Fantasy-like atmosphere

~ * ~

This article is written by Peg Rounds

All of the details have been added & the project is now finished

The “Glow” class by Janelle Nichol is perfect for the beginner who wants to learn how to do a mixed media canvas to the advanced person who would love to have some more creative ideas to use.  The class is an online class and is easy to sign up using the Skillshare website.  I found the site really easy to use and get around on to find the videos every time I signed into it.  The class is broken down into 14 videos which is helpful in going through it step by step and you are able to go back to a video and view it again if needed.  The only downside I found was at times the sound was really low and I would have to turn my speakers way up to hear.

Janelle does an awesome job walking you through the supplies you will need and what you can use if you don’t have the same things.  She has a dedicated video just on the supplies, but be sure to also look below the video for a print list as not everything is covered in the video.  There were a couple of things she used in later videos that weren’t mentioned in the supply video or on the list such as magenta paint and chunky glitter so if you can watch through the videos before starting that is very helpful to make sure you have everything.  I didn’t have the glitter and couldn’t get it so I substituted for a glitter I hand on hand.  I, also, could not find locally the same types of materials she suggested for the dress so I have a different type and color for mine.  By using the list and video she has created, you will find that you have many things on hand already and for those that you don’t, you will be able to readily get from your local craft stores.

One of the beginning steps is to create color and texture using Distress Stains and Mod Podge on the patterned paper.  It is fun to watch how these beginning steps help lay the foundation for the rest of the piece.  The heart in the corner of mine was not knowingly created and I found it after the piece had dried.  It was fun to see what happened with it as the layers were added.

Scripted Paper with Inked with Blue & Brown Distress Stain

After several more layers of paint and Mod Podge, you will really start seeing the canvas taking shape.  Again, Janelle does a wonderful job at showing you how to create the fairy to attach to the project.  If you don’t think you can draw a fairy, don’t worry she’s got it covered with the addition of printable pieces to help you create your own.  She, also, helps you with creating the wings which are really easy to do, too.

The fairy & her wings have been attached and the painting of the waistband and hairband are done

You will learn how to finish the fairy and then move on to how to paint the details such as her hair, the waistband and headband.  You will, also, find out how to add shading to her dress, skin and wings.

The trees have been painted and the another layer using sequins have been added to the piece

I found this to be an excellent class to take and the finished project is well worth the time and effort put into it. The videos are easy to follow and the items used are already on hand for most mixed media artists or are easily obtainable.   I would recommend it highly for everyone who enjoys creating mixed media pieces from the beginner to the advanced.

You can jump straight into Janelle’s Glow; Create a Mixed Media Fairy here

~*~*~*~*~*~*~*~*~*~*~*~*~*~*~*~*~*~*~*~*~*~*~*~*~

Peg Rounds has been seriously creating many types of art since 2007.  Her focus has become mixed media, card making and jewelry making.  She is often found on social media sites Pegs Crafting Corner where she enjoys sharing all that she has created.

~*~*~*~*~*~*~*~*~*~*~*~*~*~*~*~*~*~*~*~*~*~*~*~*~

Disclosure: Access to this course was supplied by Janelle Nichols for the purpose of review. All opinions are that of the MixedMediaArt team. Some links on this page may be affiliate links and any purchases help to support the ongoing work by MixedMediaArt. 

.