“Under Glass” Mixed Media Steampunk Canvas

~ * ~

This aricle is written by Anjuli Johnson

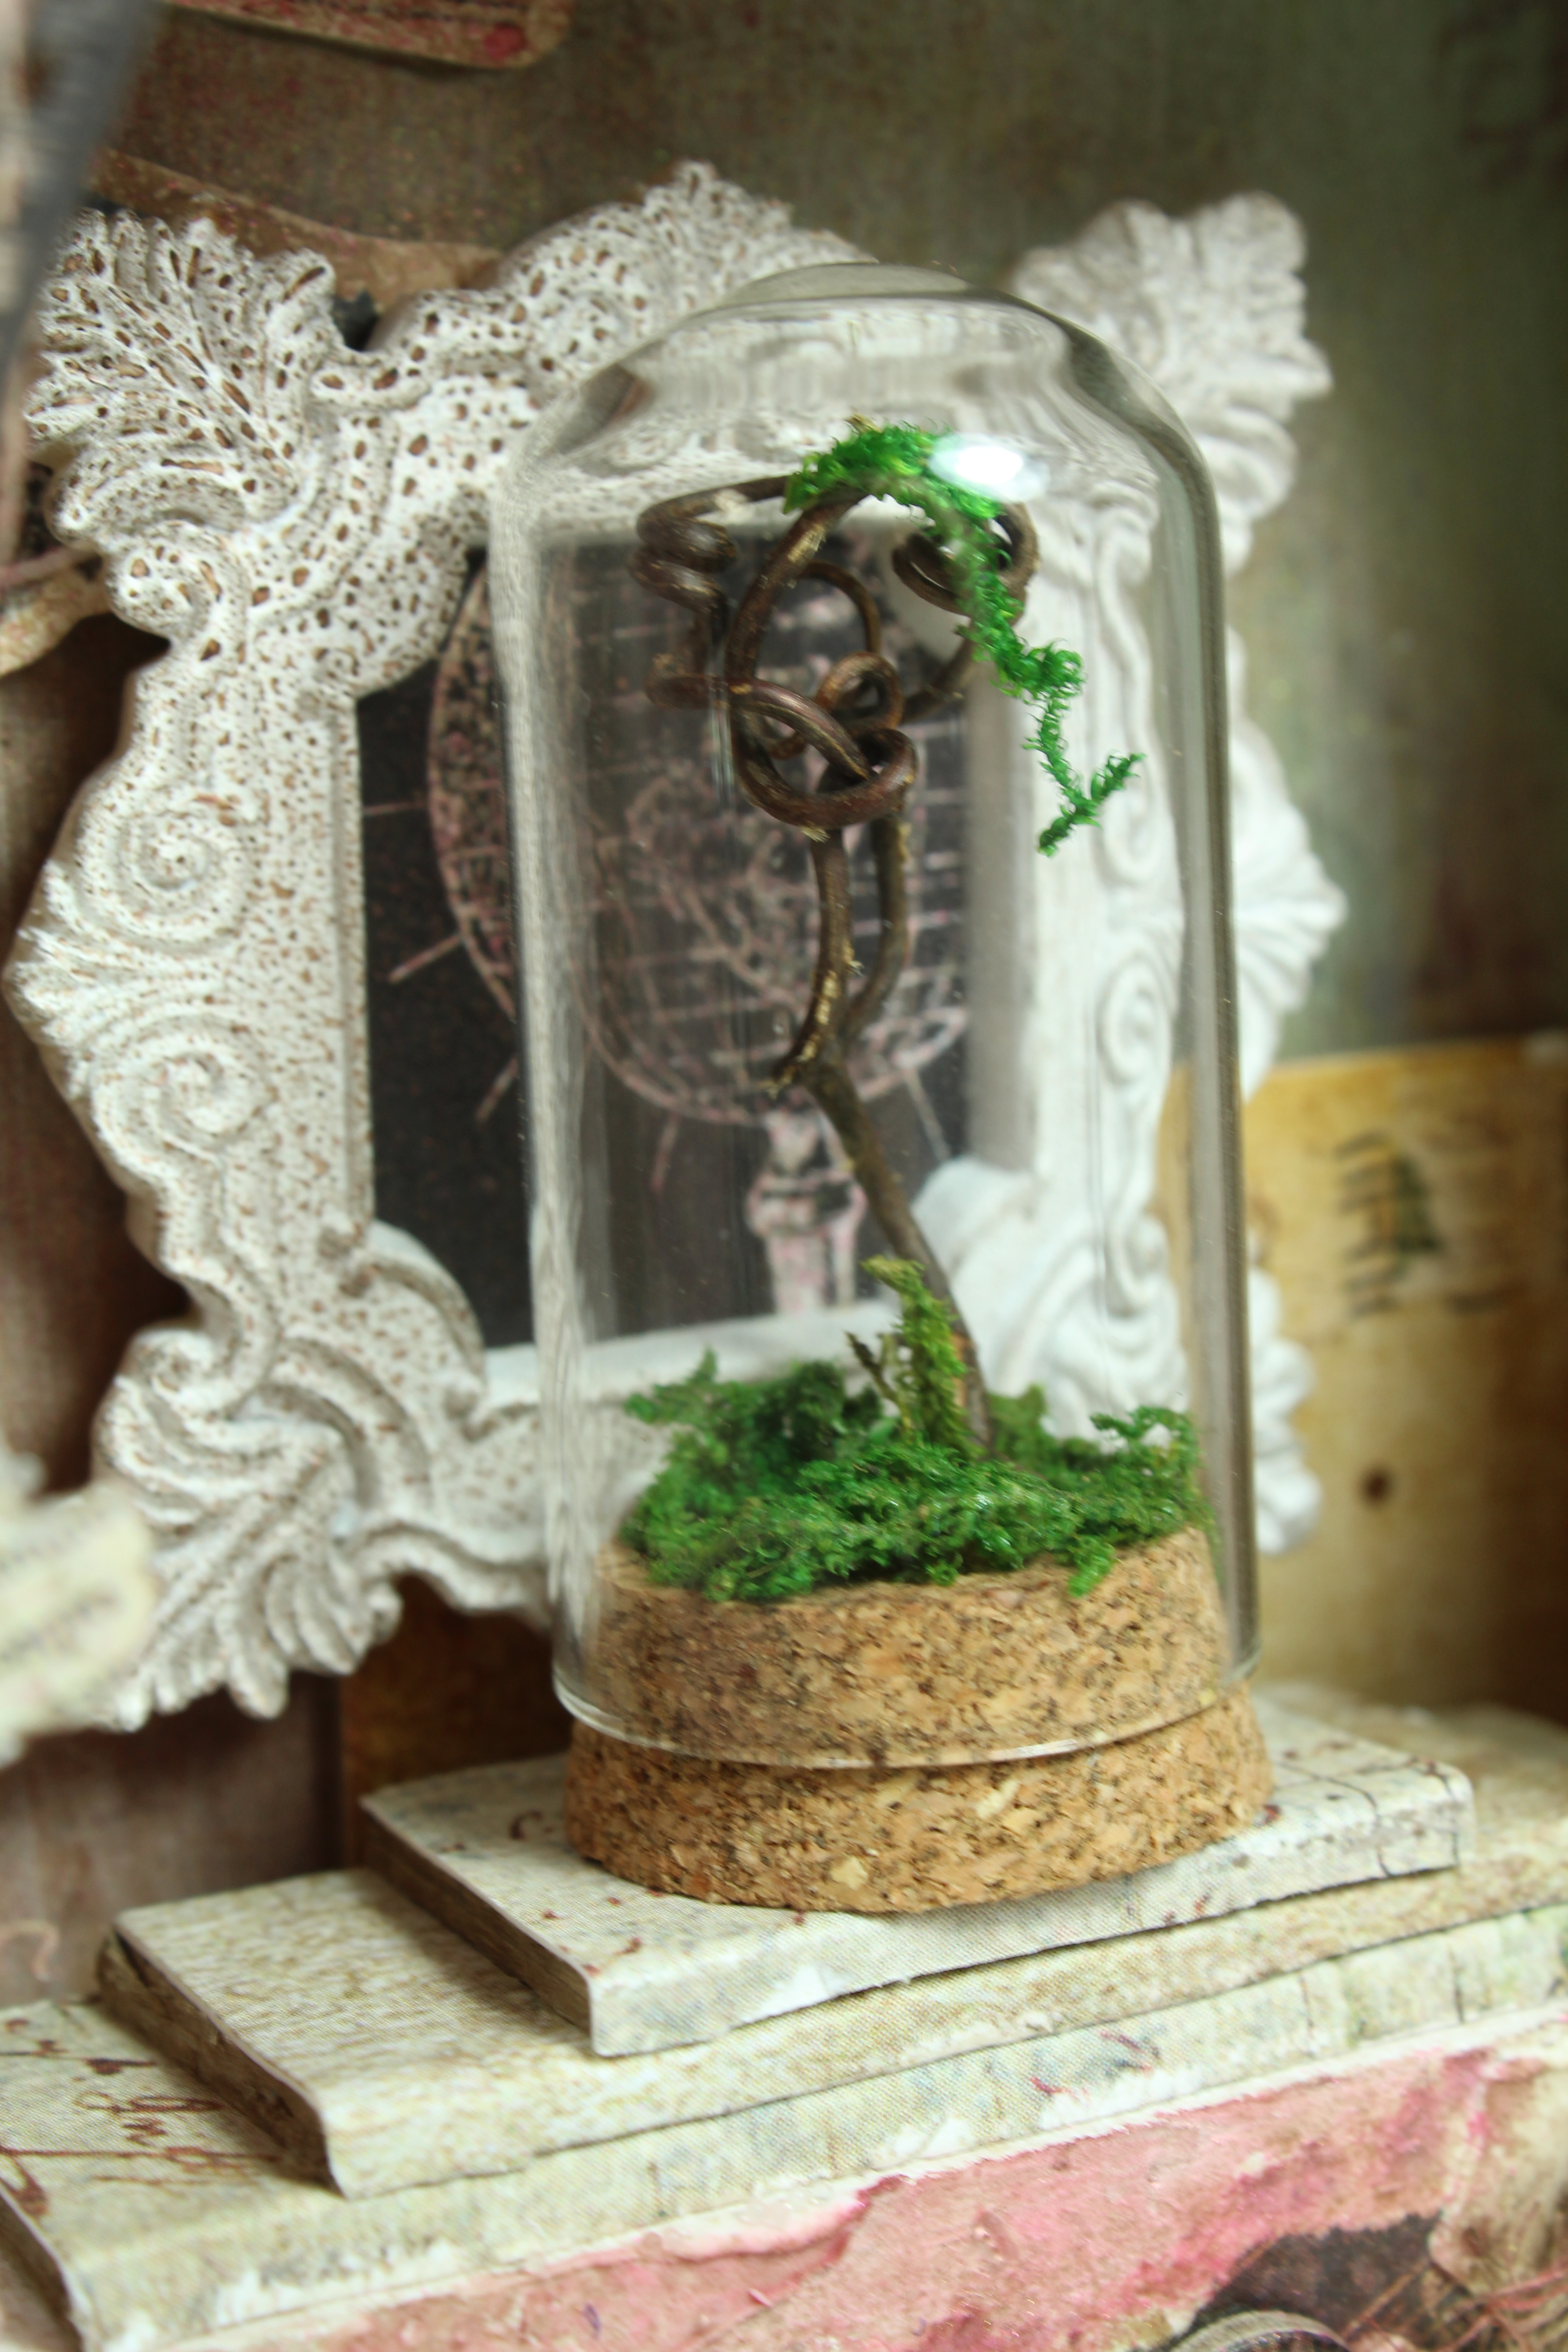
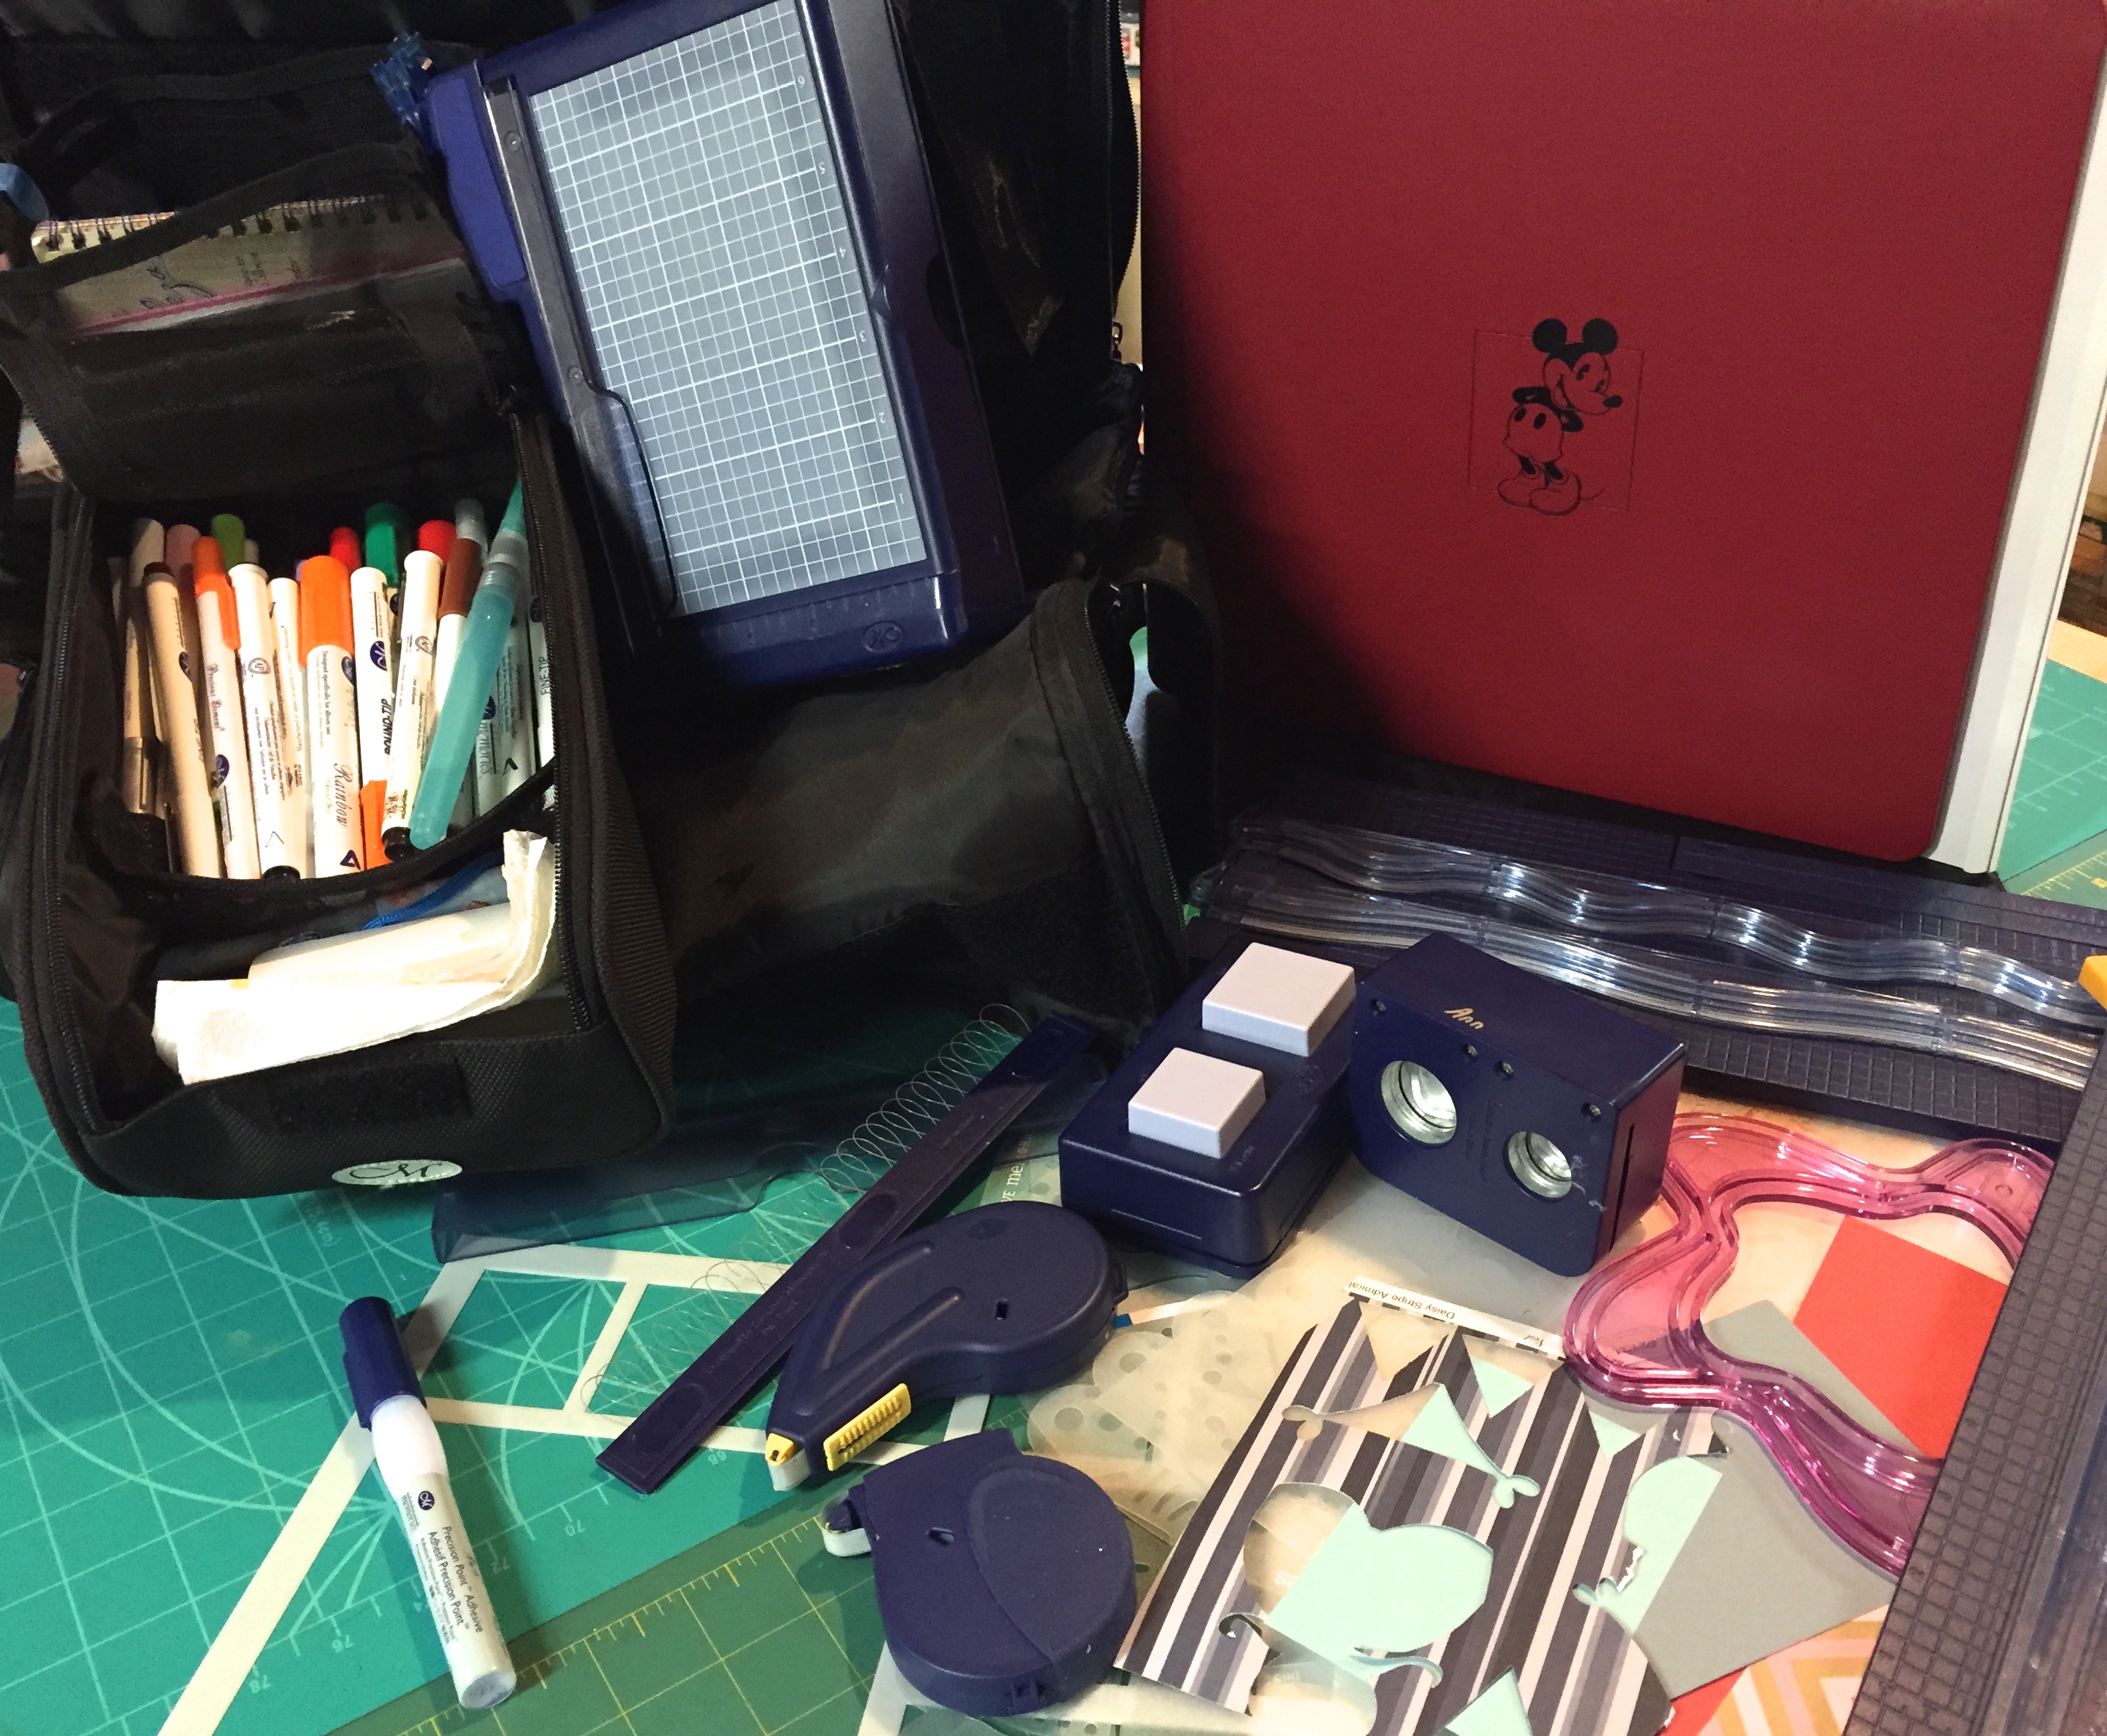
I have become rather obsessed with cloche’s and bell jars.  I’ve started collecting them and using them to display books and things around my house.  I love the vintage, sophisticated feel they bring to any room.  Not to mention, they make me feel like part of a fairy tale (I’m thinking Disney’s Beauty and the Beast here, in case you were wondering).  So when I found that Tim Holtz had some mini bell jars in his Idea-ology collection, I couldn’t resist bringing home a package.

Under Glass- mixed media steampunk art

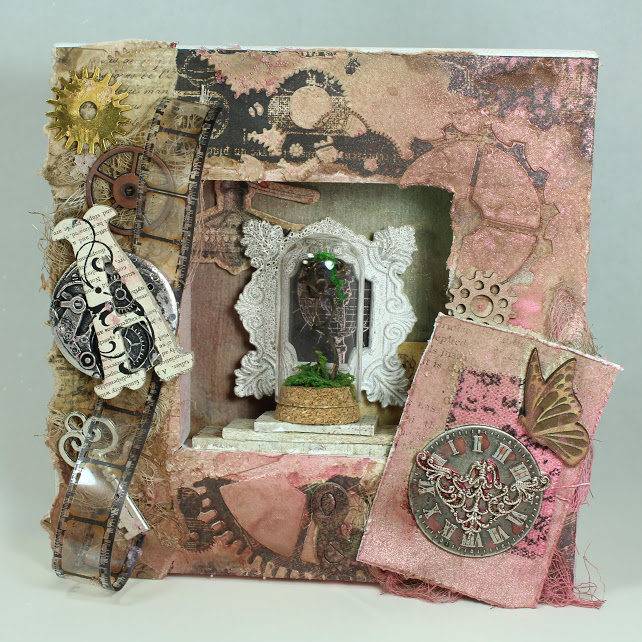
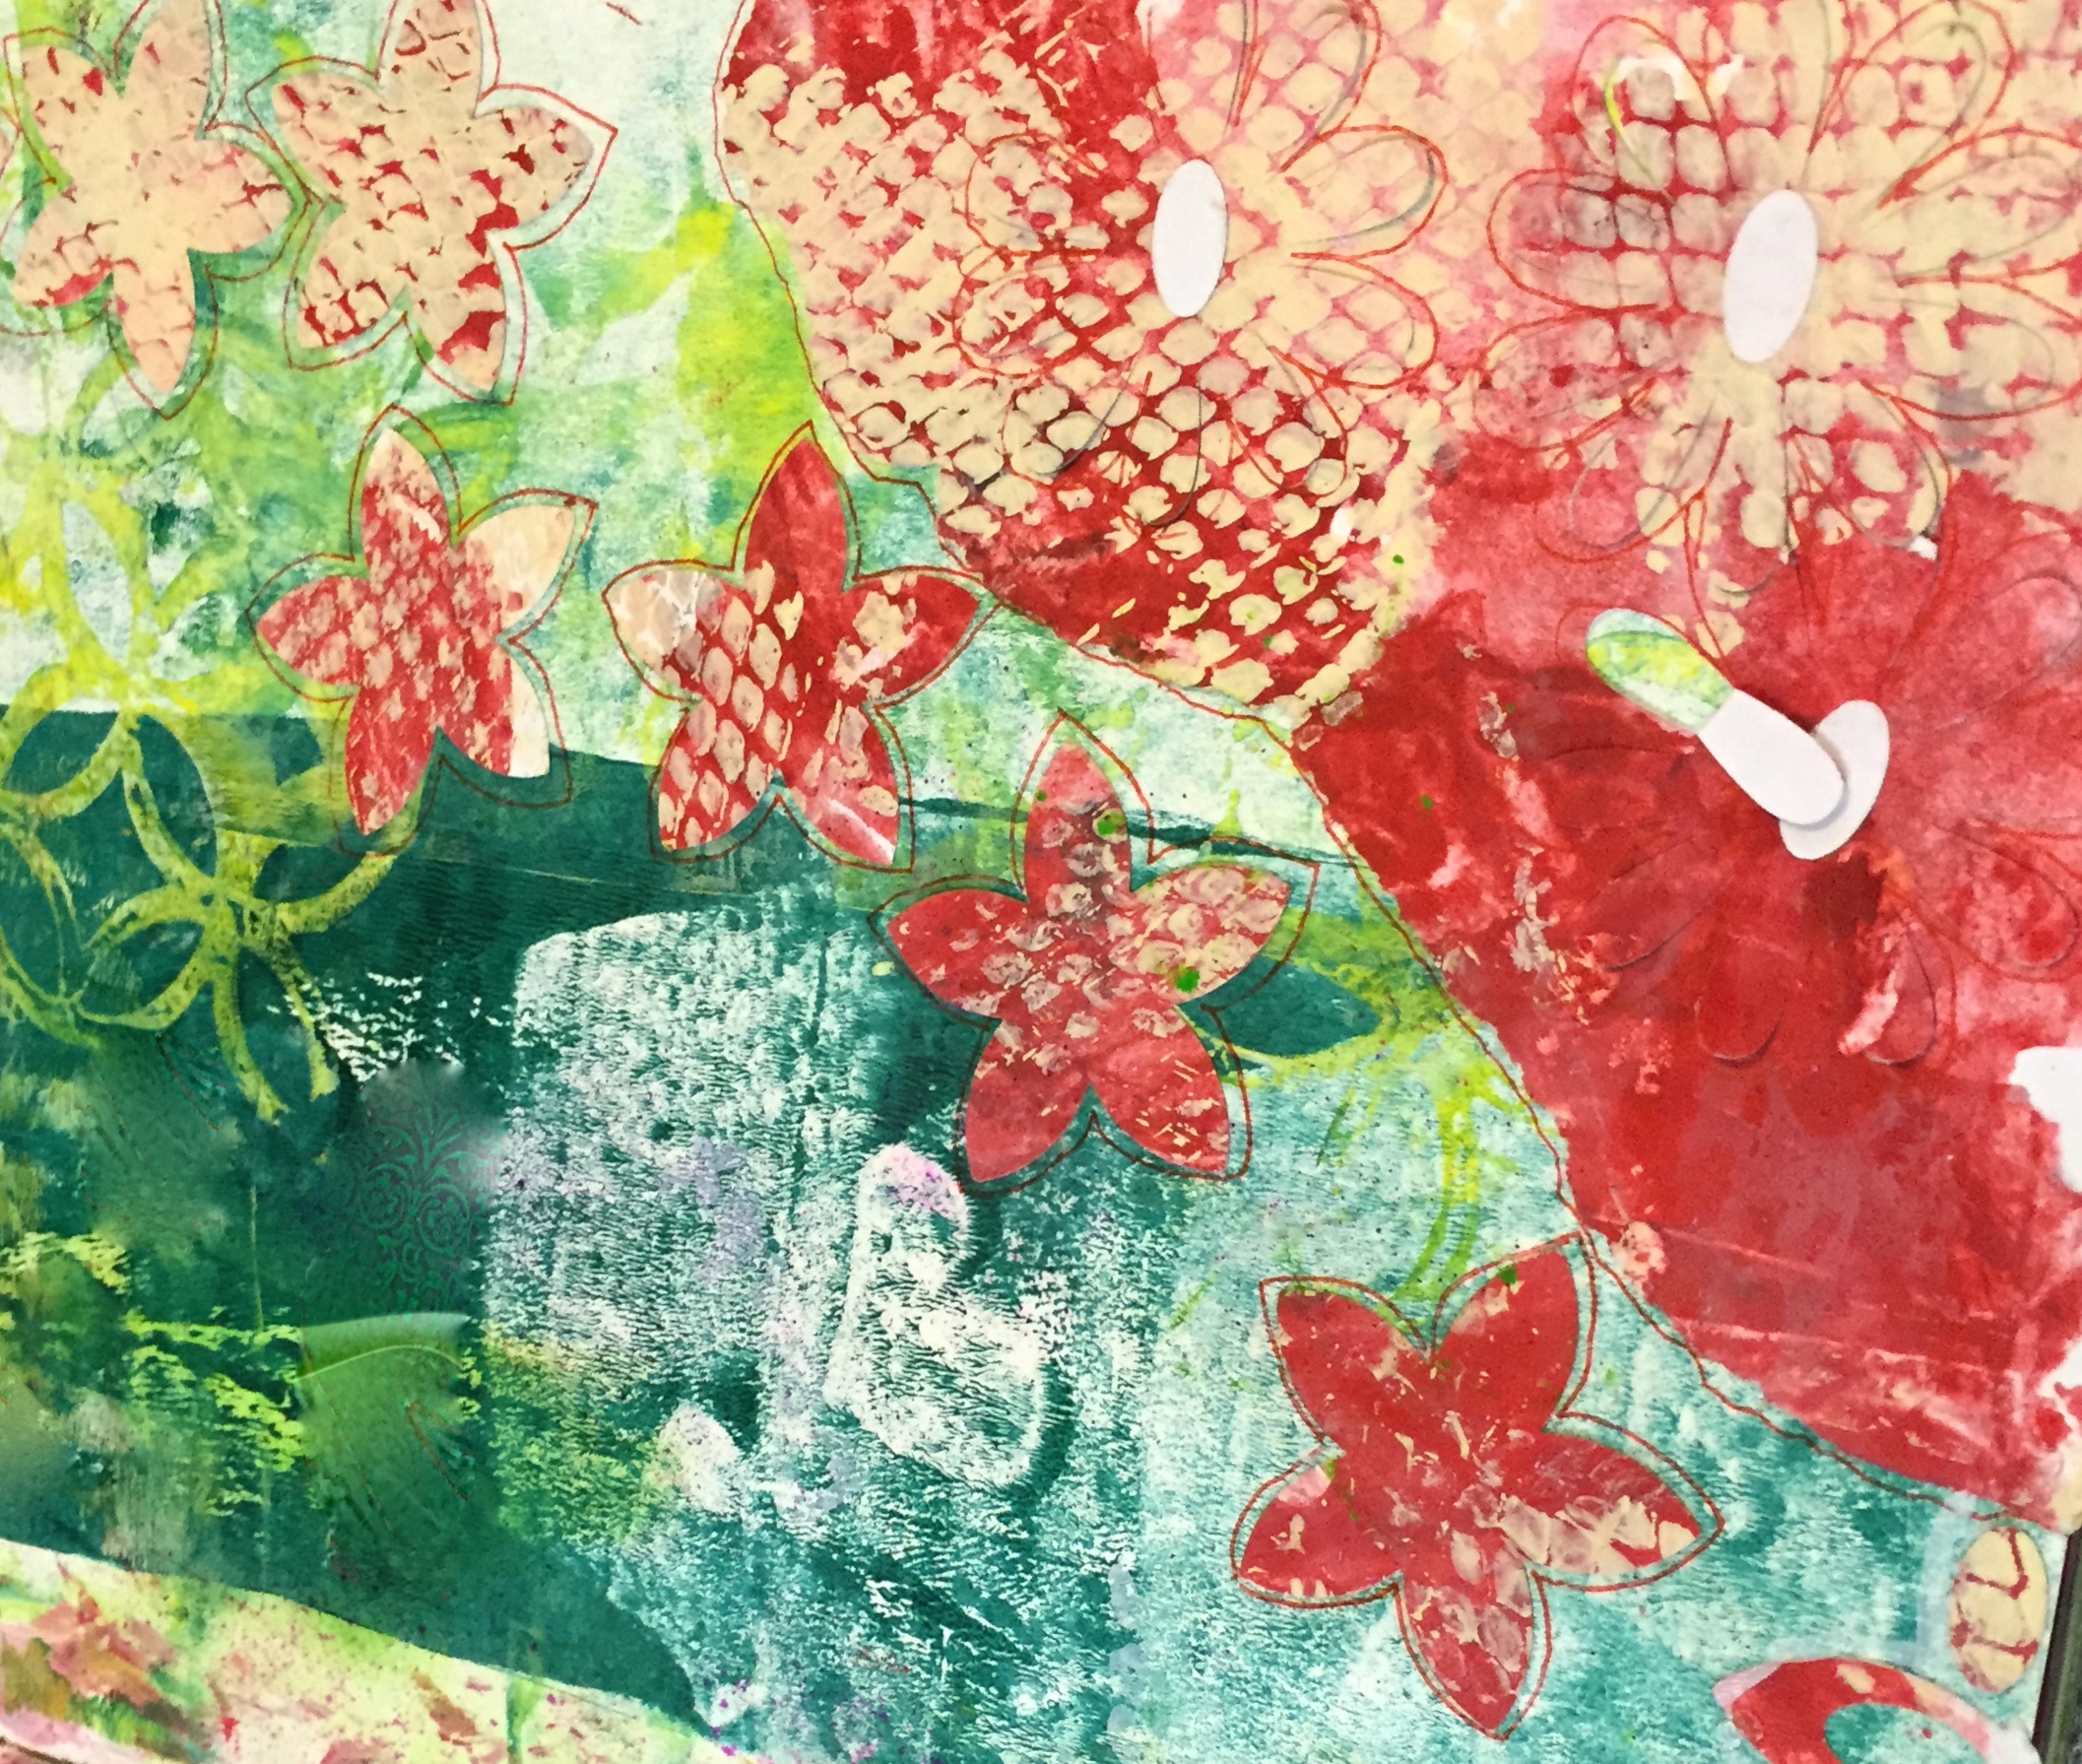
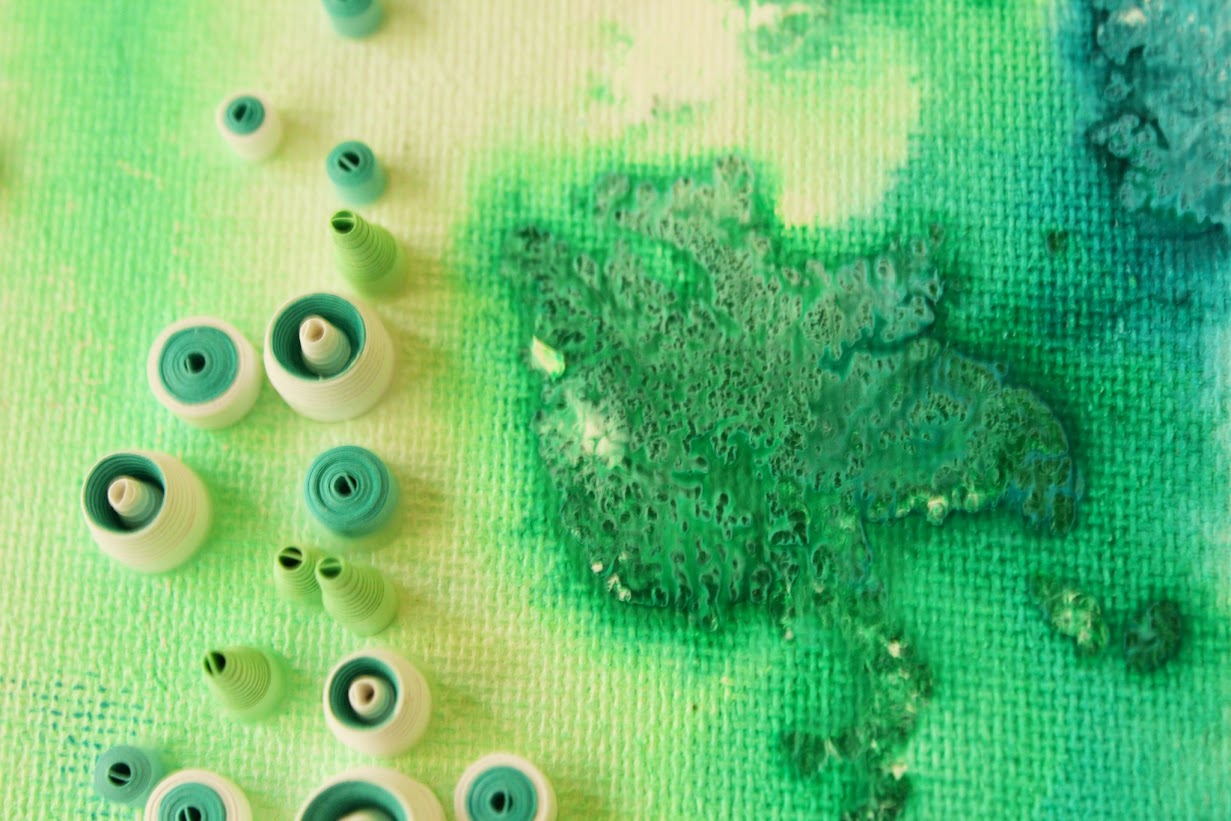
I grabbed a 6*6*1 ½ inch canvas, and turned it around so that I could use the center hole in the back as the display for the cloche.  I wasn’t sure exactly how this project was going to come together, so I covered everything with acrylic gesso to prepare the surface and help cover the staples and the transition from the wood to the canvas.  The rest of the process was a step by step decision of which elements to use and where.  To decorate the cloche, I knew I wanted a natural plant type of look, so I went to Michael’s to find some moss and maybe some small branches or twigs that would be made for models.  Well, I did find some moss and some small branches of grapevine- they were scattered on the ground, about to swept up and thrown away.  So I grabbed a small handful and asked if I could save them from the depths of the abyss- I didn’t even have to ask.  J  And now my mini cloche shimmers with a touch of green and a tiny swirling branch with a hint of moss hanging down.  Perfect!

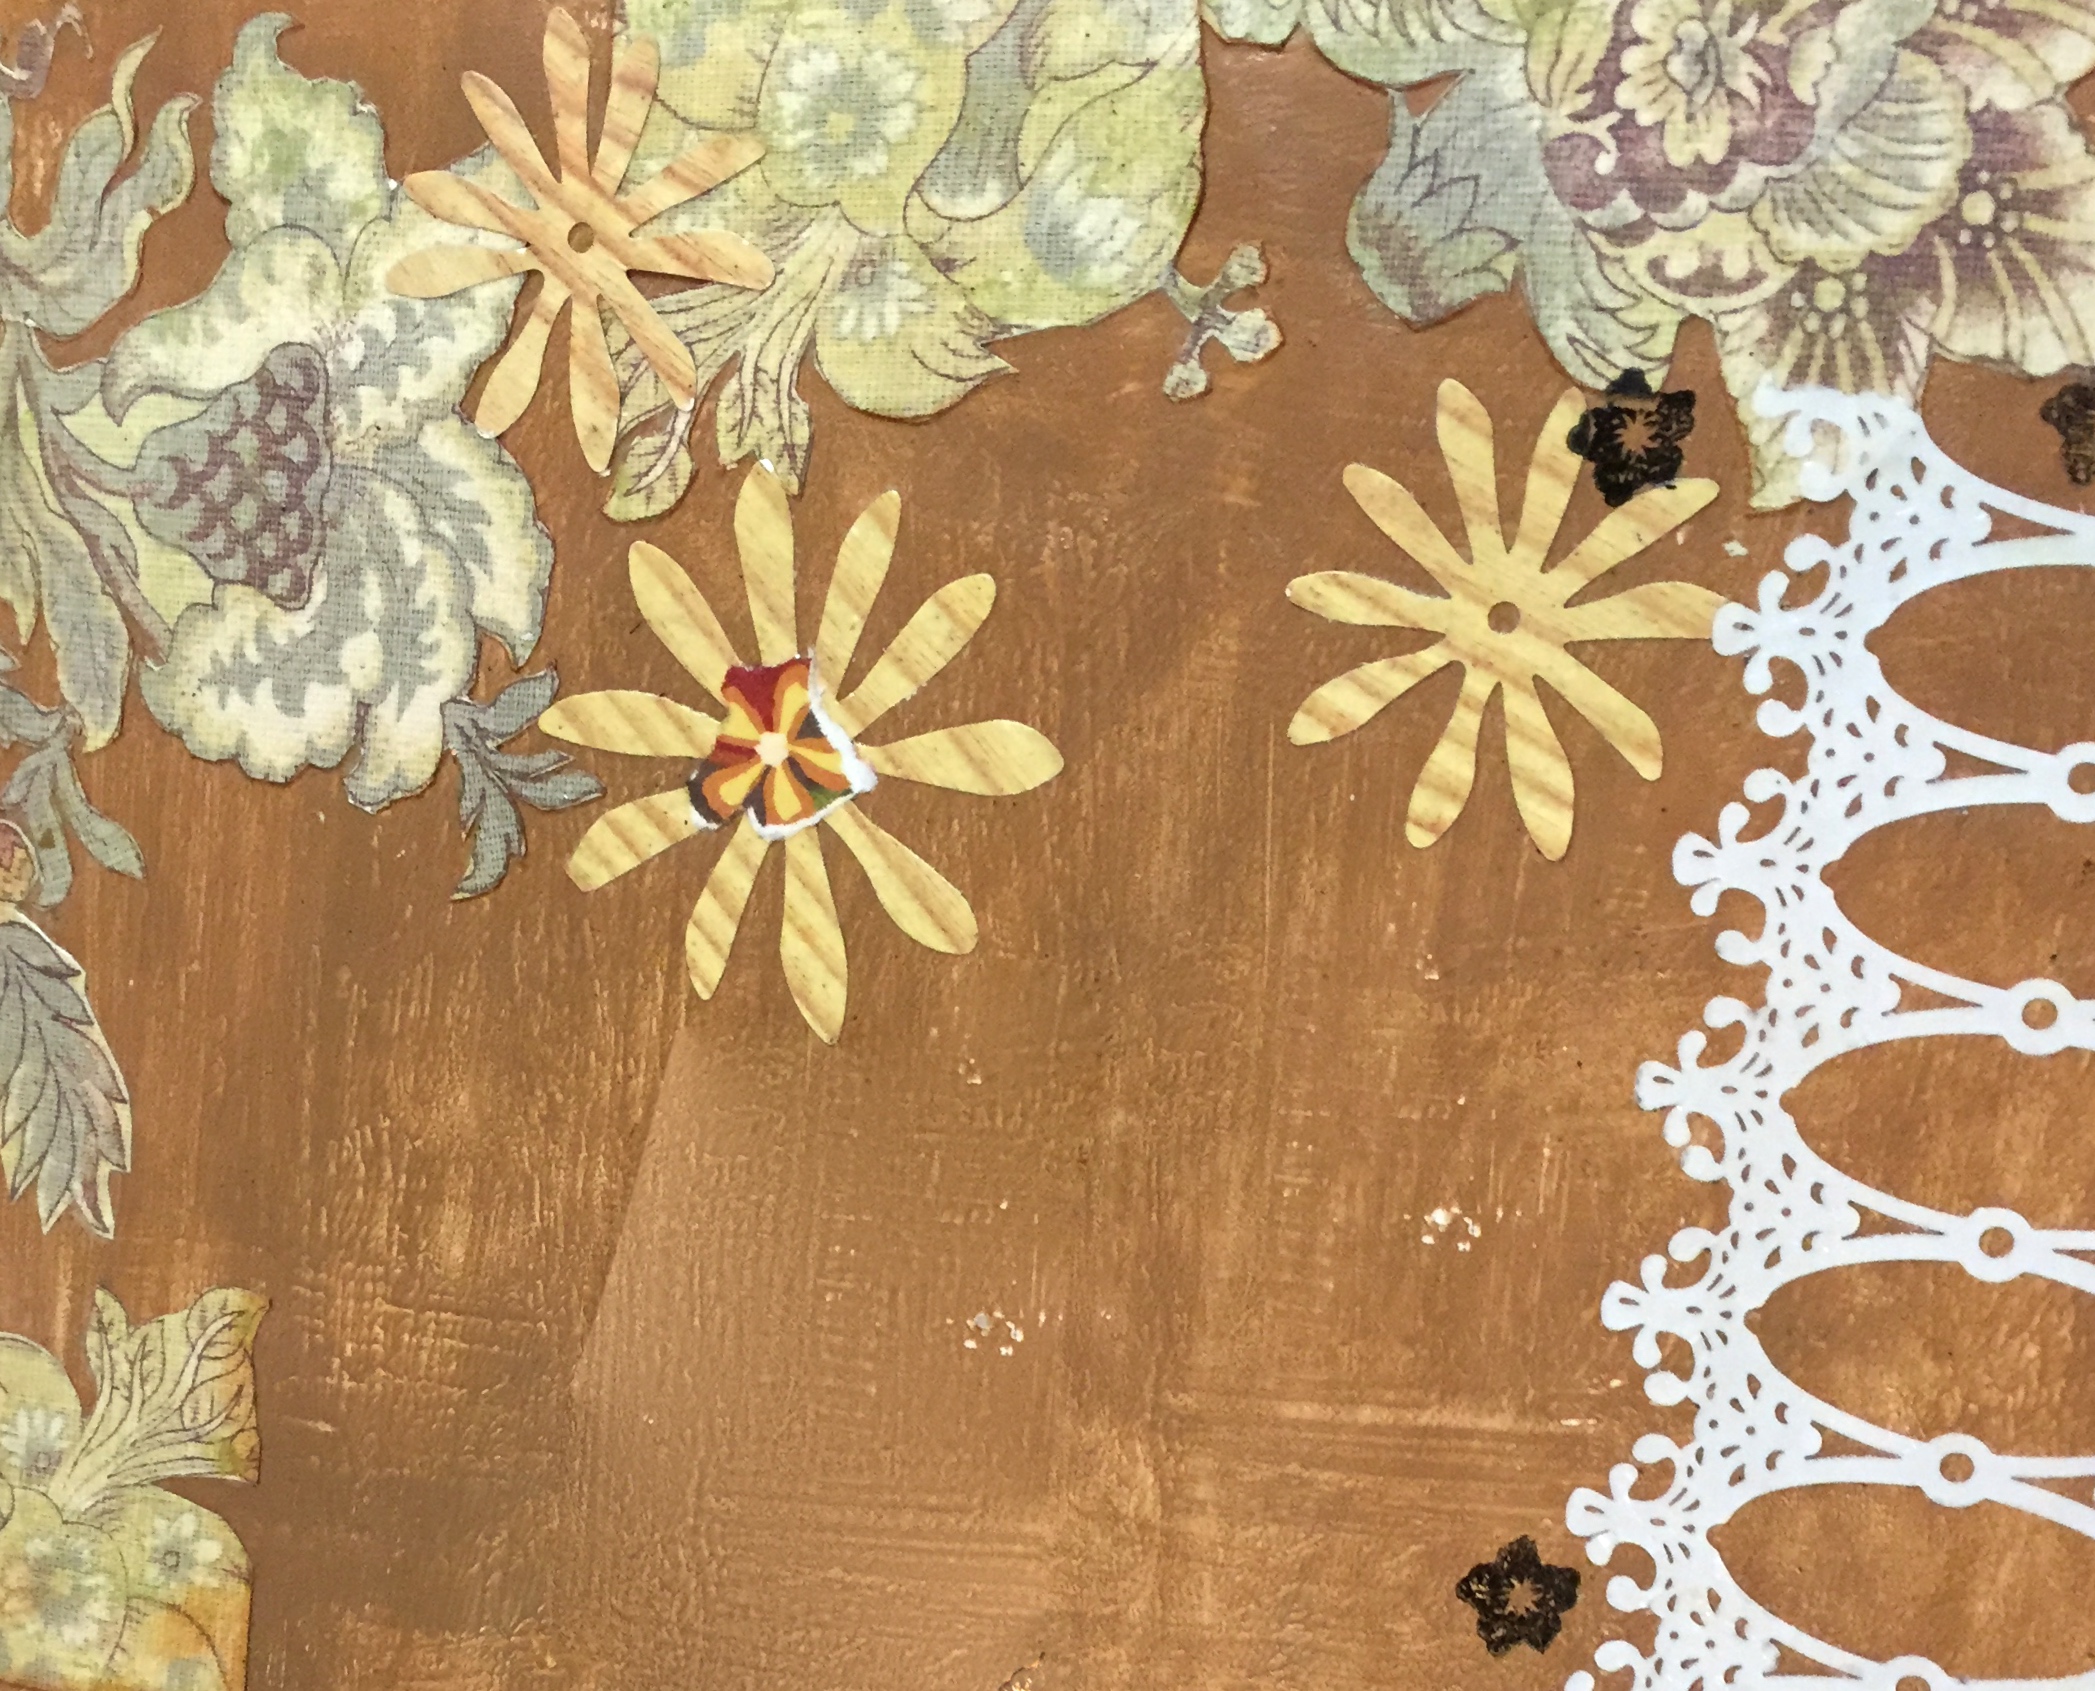
I love the chipboard lamp and frame in the background that add a dollhouse type of look, especially as the background for the cloche.  Just seeing all these elements come together is giving me lots of ideas for how to use the rest of these mini cloche’s to create different types of assemblage pieces. I haven’t done much assemblage art, but I’m pretty excited to try some new techniques that could really stretch me as a mixed media artist.

Close up of mixed media steampunk art

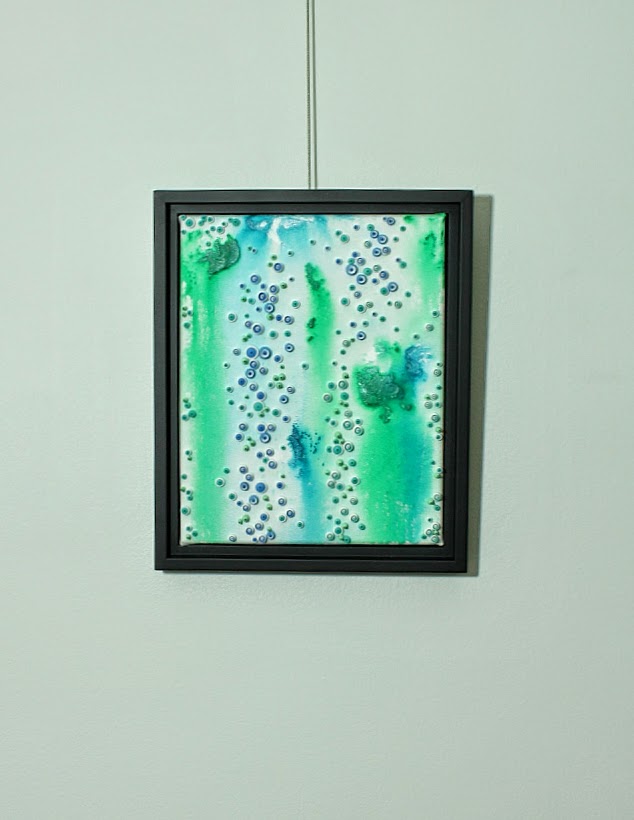
I do plan on framing this with a floating frame to give it a more finished look.  Then it’s just a matter of deciding where to display it!

I made a video to showcase the whole process, and I’d love to hear your thoughts!  Feel free to leave comments and links to your own projects with Tim Holtz mini bell jars.

~*~*~*~*~*~*~*~*~*~*~*~*~*~*~*~*~*~*~*~*~*~*~*~*~

Anjuli Johnson is a Mixed Media Artist from Raleigh, NC.  She began her art career as a scrapbooker, and it’s been an evolutionary process every since.  She loves all things mixed media- paper, glue, paint, canvas, pens, wire, gears… the list goes on and on.  She is constantly trying to push through her fears to discover and develop her talents, meet new people, and learn from those around her. For more of her projects and techniques check out her blog at www.thefarpavilion.com.

~*~*~*~*~*~*~*~*~*~*~*~*~*~*~*~*~*~*~*~*~*~*~*~*~

.

.

ATC Holder

~ * ~

This article is written by Anjuli Johnson

My youngest sister begins high school next year.  Part of her curriculum as a member of our church will be what’s called early morning seminary.  It’s a religious class where high schoolers study the scriptures for about an hour before school.  Intense, I know, but it’s actually pretty fun, too.  One thing they’ll be doing is memorizing 25 specially chosen scriptures throughout the year.  It’s called scripture mastery, and all the students are encouraged to reach this goal.  As I was thinking about my last sister joining the ranks of early morning seminary students, I thought I’d mark this milestone by making her something extra special to help her with her scripture mastery.  An ATC card holder, with 25 separate slots for 25 scripture cards seemed the perfect idea.

ATC Holder made with Prima’s Archivist paper line.

I have been working on the cards gradually and have a few completed, but I knew the holder would be the most important part.  If I’m successful and she ends up really liking it, she might carry it with her to seminary on a daily basis, so I knew it couldn’t be too fancy.  It had to be sturdy and easy to work with, and hold the cards well so nothing would fall out or get lost.  I found this tutorial on pinterest, and after tweaking the size and measurements, I made the perfect size holder for 25 cards.

I began by making the individual envelopes.  I knew I’d be using thick paper (prima’s archivist line of patterned paper- love it!!) and that I’d have more envelopes than the tutorial called for, so I wanted to see how thick the envelopes together would be so I would make the cover the right depth to fit them all.  Using my paper trimmer, I cut strips of paper 9” by 4 ½”  and scored them at 3” and 6”. Folded and glued each envelope was 3” by 4 ½”.  I did this 25 times.  I also used a circle punch to put a half circle cut into the top of each envelope.

Each envelope will hold one ATC card or tag.

My cover is also a bit different than the original tutorial.  She says you can use cereal box cardboard- I knew that wasn’t going to be thick enough if I wanted my sister to be able to use this every day, so I decided to use thick box cardboard.  I needed my cover to be able to hold more than the original, too- after seeing all my envelopes together, I knew I needed the cover to be 2 inches thick to comfortably fit them all.  My modified cover measurements ended up being 14” long and 3 ¼” wide, with scored lines at 2”, 4” 8 ¾”, 10 ¾”.  This is the point to decorate the cover, before anything goes into it.  I painted the cardboard black and added some paper and tissue tape for a cool but clean and simple look.

Next, add in the envelopes.  I glued them in one at a time, starting at the back of the cover and then one on top of the other.  When you open the holder the envelopes fan out like an accordion, so I only glued the bottom half of each envelope, to make sure there was some slack when the holder is open.

The latch for the cover was the trickiest part- I didn’t want the long string wrapped around a button like in the original tutorial, so I used some metal findings to create a knob for a loop of elastic to fit around.  A bit of metal glue later, and it’s a great closure that will keep all my cards snug and secure.

So there you have it!  A perfect little hide away for any special ATC’s you have or want to make- flashcards, memory cards, picture cards, tags- the possibilities are endless.  And I would love to hear all your ideas!!  Please share in the comments what kind of cards you would stock your ATC holder with.

Measurements and components of this ATC Holder

~*~*~*~*~*~*~*~*~*~*~*~*~*~*~*~*~*~*~*~*~*~*~*~*~

Author bio: Anjuli Johnson is a Mixed Media Artist from Raleigh, NC.  She began her art career as a scrapbooker, and it’s been an evolutionary process ever since.  She loves all things mixed media- paper, paint, pens, wire, gears, clay… the list goes on and on.  She is constantly trying to push through her fears to discover and develop her talents, meet new people, and learn from those around her.  To see more of Anjuli’s art and techniques, check out her website at www.thefarpavilion.com  and like her Facebook page TheFarPavilion   Follow her on Instagram and Twitter as well.

~*~*~*~*~*~*~*~*~*~*~*~*~*~*~*~*~*~*~*~*~*~*~*~*~

.

.

What if Scrapbooking is dead? Other uses for Tools and Supplies

~ * ~

This article is written by  Ann Strecko Koeman

While I attended the last Craft and Hobby Association Conference and Trade Show in Anaheim, California in the United States, I often heard the following phrase:  “Scrapbooking is dead.”  Now, I also heard several people bemoan that statement and even express complete denial, while others nodded in agreement and expressed their own agreement.

Crop bag with Scrapbooking tools and supplies now used as Mixed Media tool kit

Although I do believe that the commercial and retail aspects of selling scrapbooking supplies has reached its peak and is quickly declining as so many fads do, I don’t believe it will completely disappear.  After all the concept of collecting and cataloguing memories in paper form has been around since the invention of paper, it also continues to be essential to our existence and to the history of our future generations.  Although the accumulation and collection of memories is done differently these days and appears to be the wave of the future.  We take a lot more digital images now and record a lot more of our experiences, we just do it differently.

So what are we to do with all of those tools and supplies we have invested in over the decades?  I say, keep them and use them.  If however you have chosen to completely give up on anything handmade then please send your unwanted tools to another loving home.  But if you are reading this, I gather that you still have a love for the handmade process.  Mixed Media artists now is the time to take advantage of all those clearance sales and cast offs of unwanted scrapbooking tools.  Just because a tool or supply is marketed to be sold in one market does not mean it cannot be used in another.  Over the years I have collected a variety of skills and thus a vast collection of tools including an overpriced collection of intended for scrapbooking tools.  I am keeping my best tools for my Mixed Media work.  As a Mixed media artist any supply is game and any tool is game.  I will use my straight edge 12 inch trimmers, my punches, and even my page layout guides in my art.  I still need to cut things, make shapes, and those plastic page layout guides, well they make great stencils!

Mixed Media Art background made with the help of Scrapbook doodles templates and punches

As for all those 12 x 12 papers I have collected, they are great in mixed media making, especially in making my own books.   so are those stickers they make great masks.  All those embellishments are just that, embellishments.  I am also hanging on to my old scrapbooking supplies and tools because I am way behind in my memory album keeping.  For example I have yet to finish my now 18 year old son’s baby album!  In the mean time I am having fun collecting more of my neighbours unwanted  out of date scrapbook papers, and buying out lots of discontinued embossing folders at low prices.  Scrapbooking may be a dying fad but Mixed media art making is very much alive.

Art journal page with layer of scrapbook paper fussy cut images and die cuts

~*~*~*~*~*~*~*~*~*~*~*~*~*~*~*~*~*~*~*~*~*~*~*~*~

Ann loves to collect and organize as many tools and supplies as possible because she is always making things.  Incredibly she finds a use for most of her collections.  She enjoys making Mixed Media Art because it allows her to use all her skills and collections.

~*~*~*~*~*~*~*~*~*~*~*~*~*~*~*~*~*~*~*~*~*~*~*~*~

.

.

Creating Acrylic Backgrounds with Water


~ * ~

This article is written by Anjuli Johnson

As a self taught artist, I would say that I’ve experimented with a lot of paint.  Watercolor, oil, gouache- but I always come back to acrylic.  There’s so much to love about acrylic paint- how different brands react so differently to certain techniques, the fact that it dries fairly quickly, and especially how it reacts to water.  My spray bottle is one of the most used tools in my studio because of how often I use water and paint to create acrylic backgrounds for my mixed media paintings.  I have 3 paintings to show you, and I’ll outline how I created the backgrounds for each one.

Texture paste and quilled paper pieces on an acrylic background

Magnetism- For this piece, I began with a dry canvas.  I used red paint on one corner, orange on the other.  I brushed the paint closer to the center without the two colors touching, and then used my spray bottle over the entire canvas.  The water is what brought the two colors together in the center of the canvas, and I tilted the canvas a little each way until I was satisfied with how the colors were blending.  If you start with a dry canvas, it may take some extra effort to get rid of any brushstrokes, which may or may not be a concern for you.  I don’t usually like to see my brushstrokes, so I’ll continue working until the water has blended the paint smoothly into the canvas.  One tip- this brand of acrylic paint is Liquitex Basics, which was an essential factor in achieving the lightning type blending you see here.  Other brands do not react the same way, which I find incredibly fascinating.

Close up of the point of blending colors orange and red

True North, mixed media painting with an acrylic background

True North- With this piece, I misted the canvas slightly before I began.  As you can see below, I used greater concentrations of paint in certain areas and worked until, once again, all the brushstrokes have disappeared.  I added some splatters of white and blue paint to add more color, which react with the water to blend slightly with the paint around it.  Super cool!

True North mixed media painting with acrylic background

True North progress shot of acrylic background

Mixed Media painting with acrylic background, Pacific Reef

Pacific Reef- For this piece I didn’t use a brush at all.  I started with a dry canvas, and added thick spots of paint in random places, many times overlapping, especially with the white.  I used my fingers to flatten and spread the paint as I sprayed the canvas with water. Make sure you’ve tipped it up so the water will draw the color down the canvas to create that flowing effect, and if you want the colors blended smoothly, make sure you wet the entire canvas.  I have mixed the brands I used with this piece- the craft brands usually spread very smoothly over the canvas, whereas the liquitex or winsor newton brands will spread in different ways.  I love it!

Mixed media Pacific Reef with acrylic background

So many awesome ways to use water with acrylic paint to create amazing colored backgrounds!  I’d love to hear how you create your acrylic backgrounds and if you come up with any new techniques for using acrylic paint and water together.

~*~*~*~*~*~*~*~*~*~*~*~*~*~*~*~*~*~*~*~*~*~*~*~*~

Author bio: Author bio:  Anjuli Johnson  is a Mixed Media Artist from Raleigh, NC.  She began her art career as a scrapbooker, and it’s been an evolutionary process every since.  She loves all things mixed media- paper, glue, paint, canvas, pens, wire, gears… the list goes on and on.  She is constantly trying to push through her fears to discover and develop her talents, meet new people, and learn from those around her. TheFarPavilion

~*~*~*~*~*~*~*~*~*~*~*~*~*~*~*~*~*~*~*~*~*~*~*~*~

.

.