~ * ~
This article is written by Anjuli Johnson

As a self taught artist, constant learning and experimentation are a necessity for me to become the accomplished artist I dream of becoming. It’s not enough for me to stick to one or two tried and true techniques- I feel the need to try nearly everything I see. I’m sure I’m not the only one who would confess to a room full of craft supplies, waiting to be used for the first time. There are even more supplies I have used in certain ways, that are just begging for a new technique to revamp their usefulness.
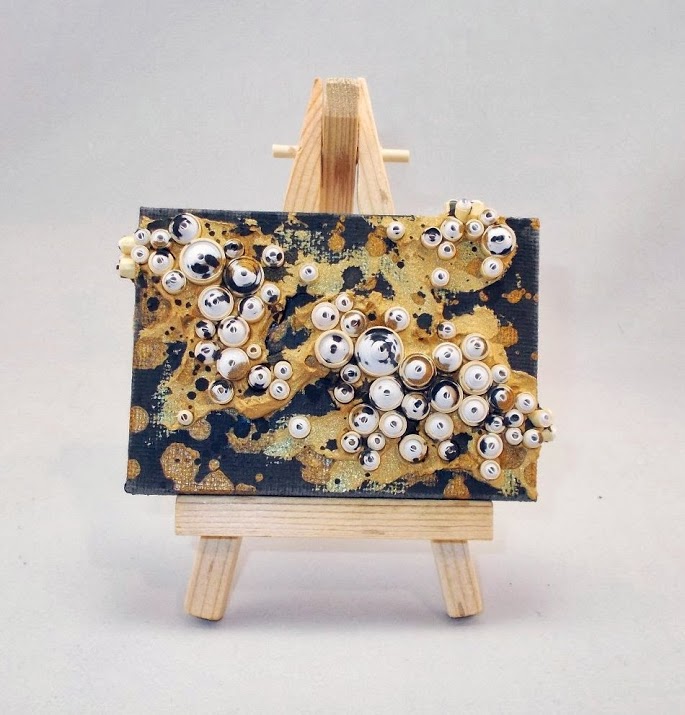
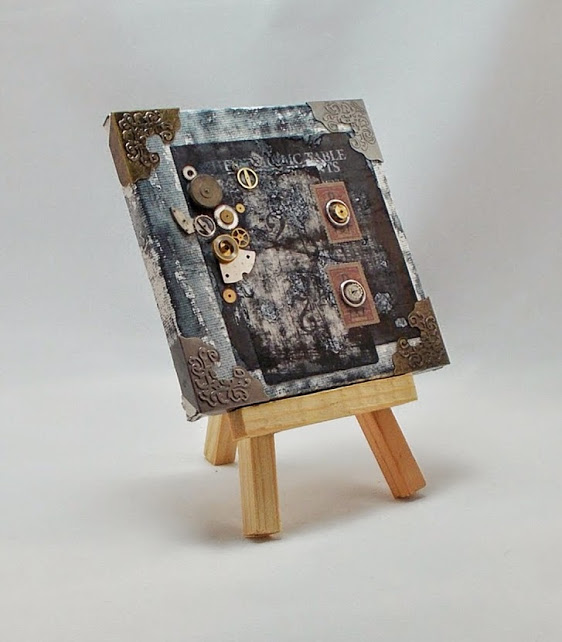
Working on a big project to figure out the best way to use these things is not usually the best approach, however. At least, it’s not for me, an artist who frantically moves from one medium to the next in a mad rush to try and learn as much as possible. One day at AC Moore, I found packages of tiny little canvases and easels- 2-3 inches, rectangular and square, and from that moment my ability to experiment with new supplies quickly and artfully was increased by 10.
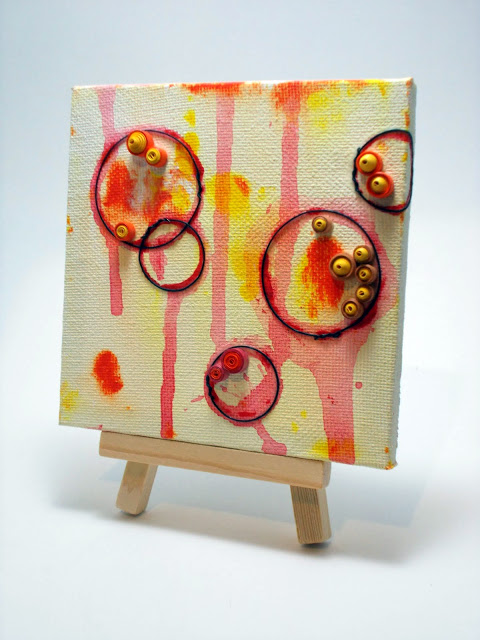
I’ve learned things about so many mediums by working on my mini’s first- paper clay, ink, multiple ways to paint with acrylics, collage, modeling paste, gel medium, and lots of other things. Not every art experiment would be good on a mini canvas, but they have been such a great thing for me in almost every aspect of my art. They are tiny and it doesn’t take me days to finish a piece- no matter what I try, I can have several done in a single evening. Because they are tiny, I don’t sweat too much if what I try turns out to be terrible. I’ll recycle it if I can, or just move on- no sweat. I don’t waste expensive materials on a piece that I might ruin through my inexperience. They are easy to store in my tiny apartment- they don’t take up tons of already used wall space, which is a big plus.
So the up side to my experiments on mini mixed media canvases is pretty limitless… and they are so fun when they turn out well.
Of course, I would love to hear how you learn to work with new materials. What processes/routines do you have that help you grow as an artist?
~*~*~*~*~*~*~*~*~*~*~*~*~*~*~*~*~*~*~*~*~*~*~*~*~
Author bio: Anjuli Johnson is a Mixed Media Artist form Raleigh, NC. She began her art career as a scrapbooker, and it’s been an evolutionary process ever since. She loves all things mixed media- paper, paint, pens, wire, gears, clay… the list goes on and on. She is constantly trying to push through her fears to discover and develop her talents, meet new people, and learn from those around her. To see more of Anjuli’s art and techniques, check out her website at www.thefarpavilion.com and like her Facebook page.
~*~*~*~*~*~*~*~*~*~*~*~*~*~*~*~*~*~*~*~*~*~*~*~*~
.
.


Recent Comments