~ * ~
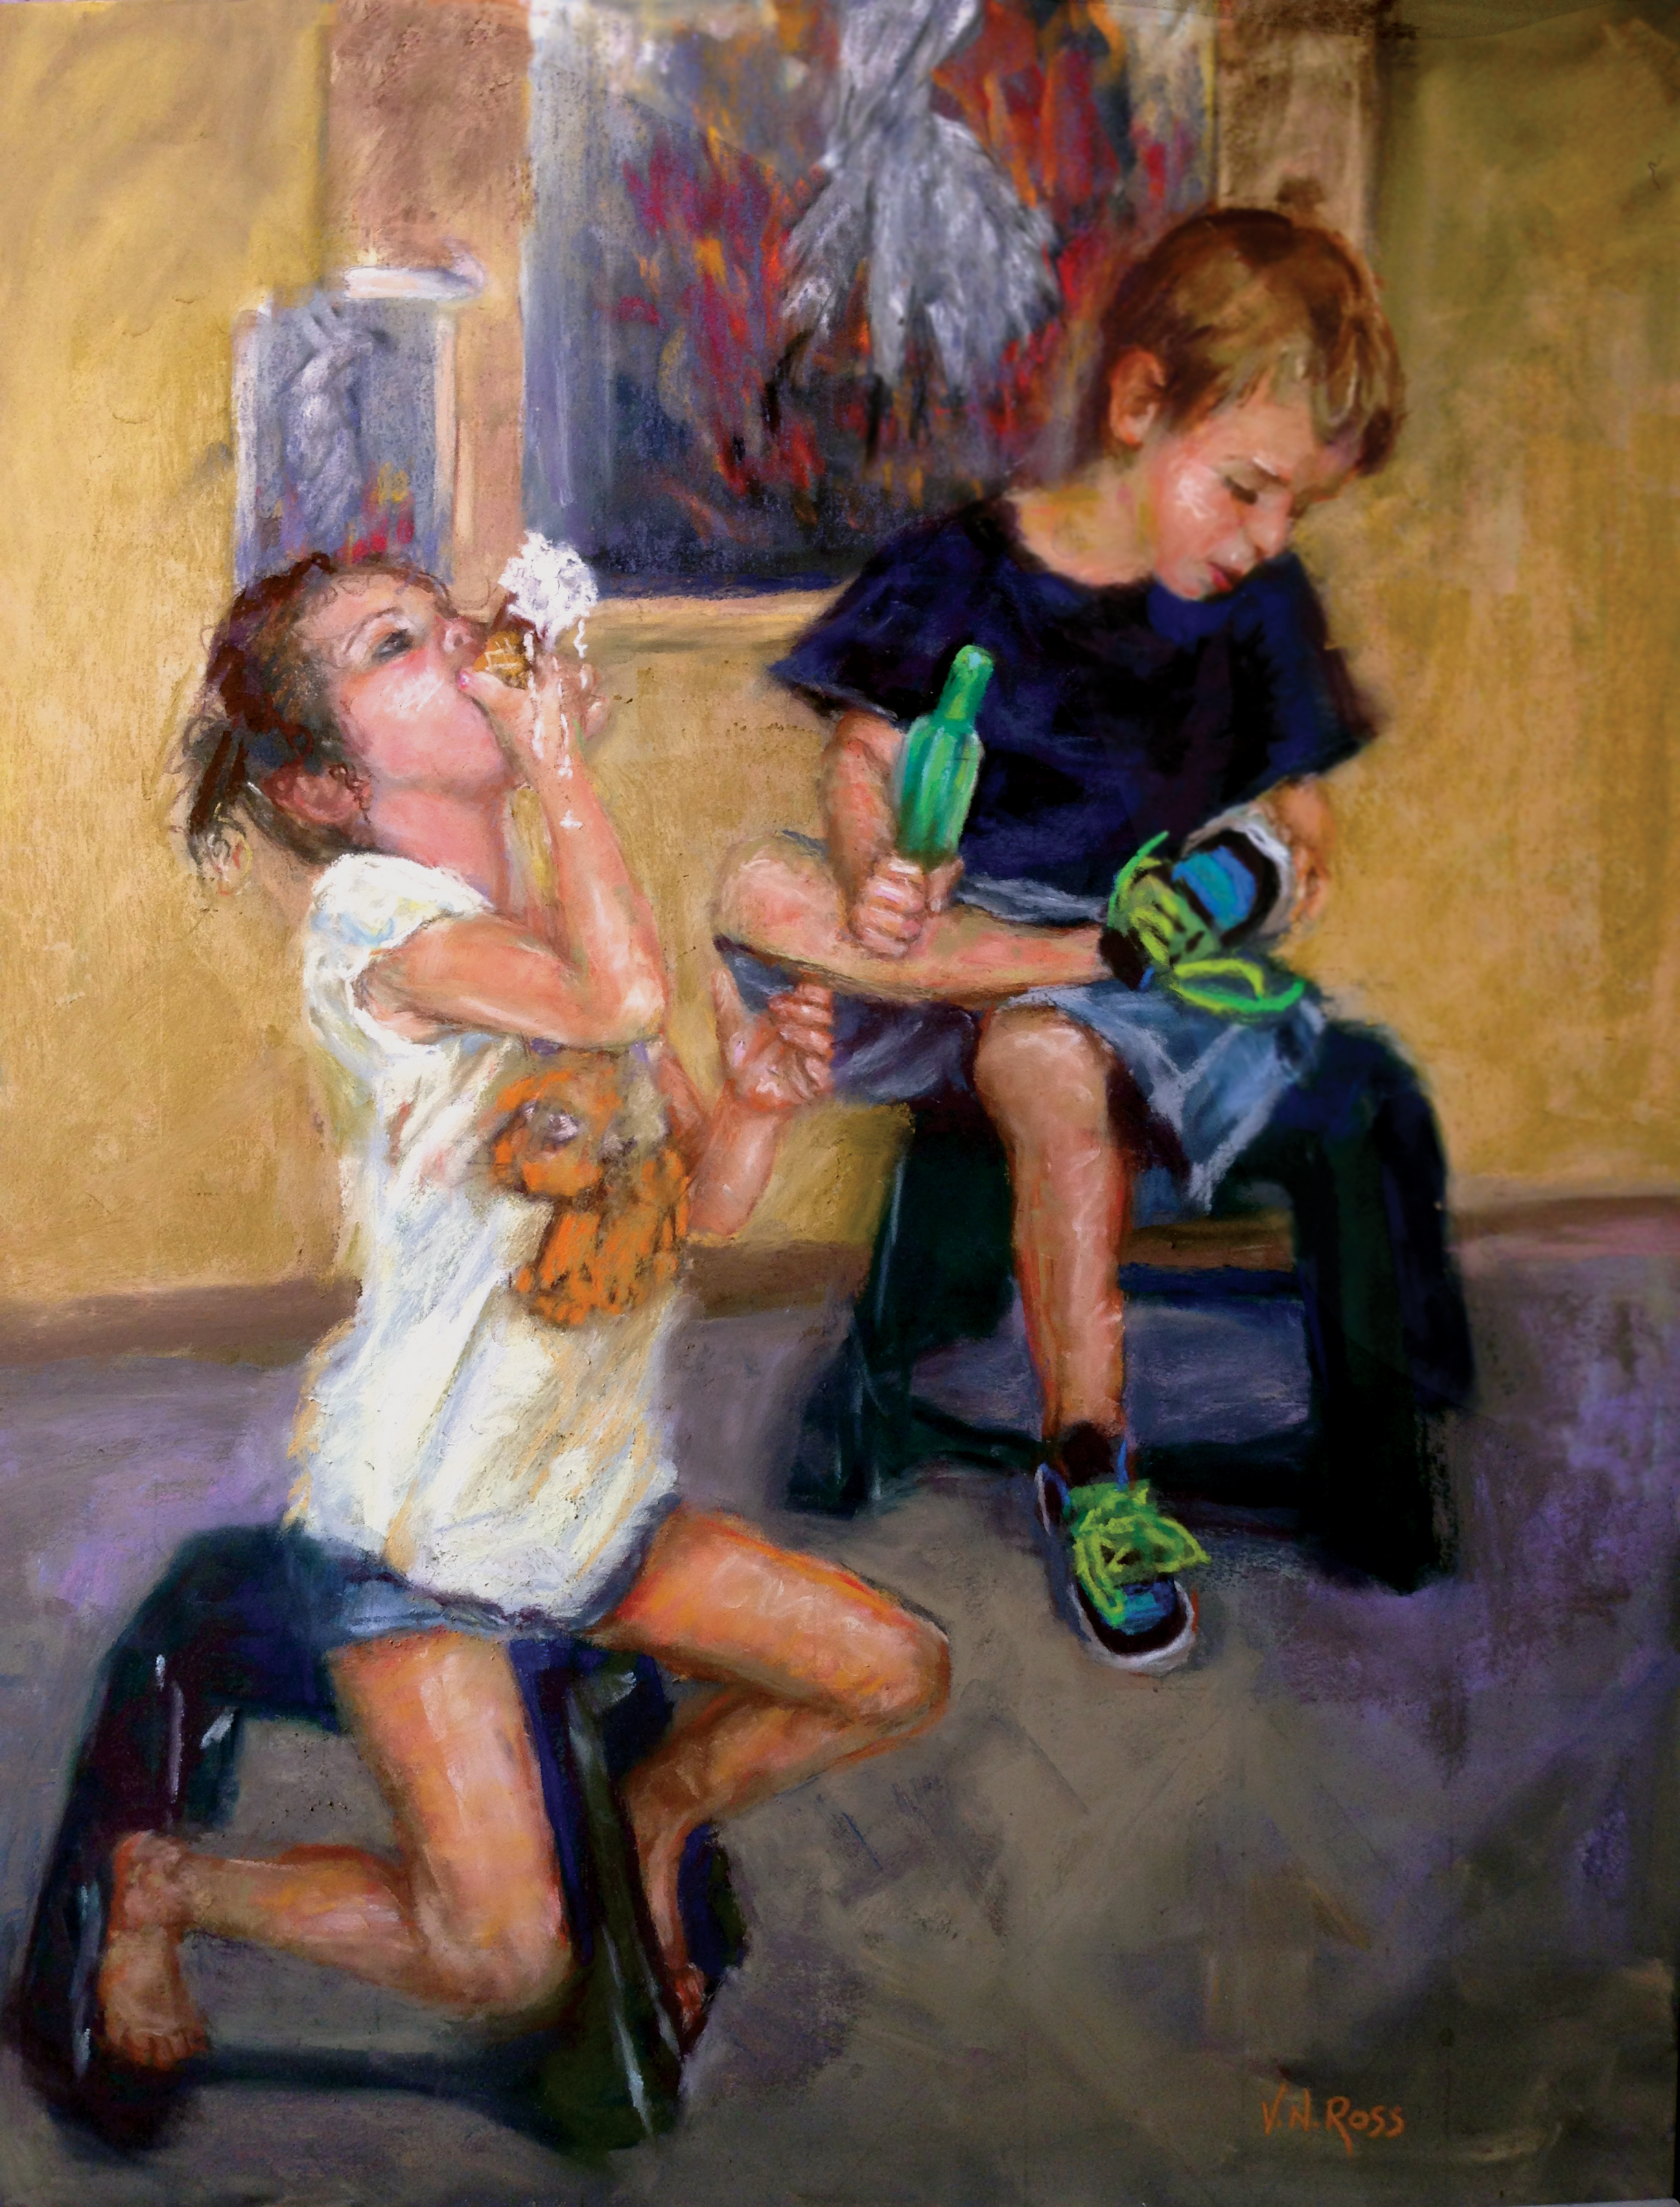
This article is written by Vicki Ross
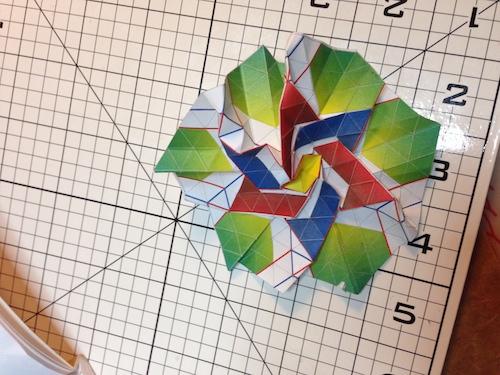
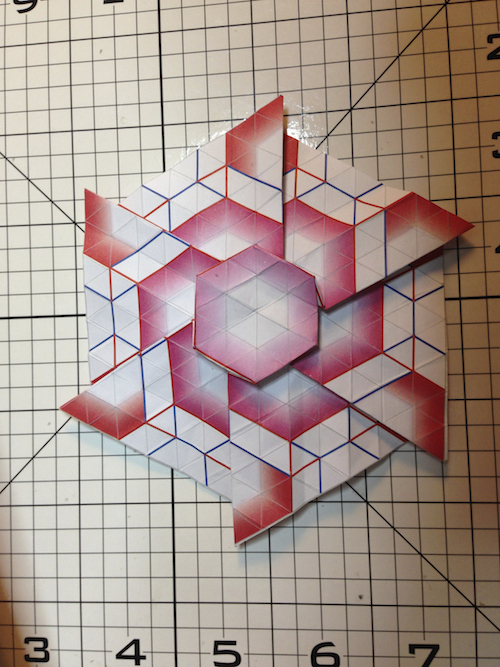
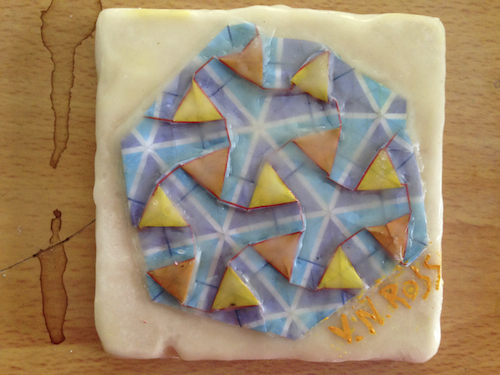
Love our local thrift store, Helping Hands in Bentonville, AR. Found an origami kit that followed me home. Since I like to see how I can incorporate these types of treasures into my regular art (I think that’s an oxymoron…my regular art 🙂
Anyway, I tried folding paper. MUCH harder than it looks. And, of course instructions were not the best. I had to fudge a few folds.

Next, I took 4″ square tumbled marble tiles and coated them with a couple coats of plain encaustic medium (beeswax and damar resin, I make my own). Yup, visit all those flowers and bring the pollen home to my web. Shoot, my colony. Then, off to Madagascar to drain sap out of the damar tree. (I made that up, FYI)
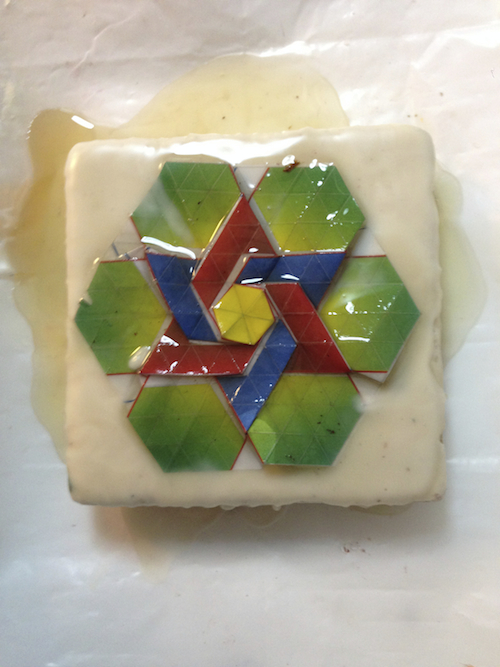
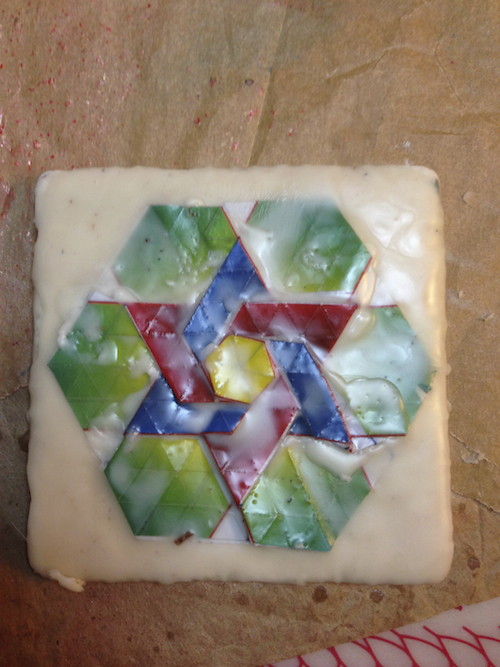
Each gets a pour because I wanted to keep the three dimensional look of the folded paper. After two pours, fusing, I took a brush and made sure all crevices were filled. When cool, I scraped back as far as I could, again maintaining the 3-D look.
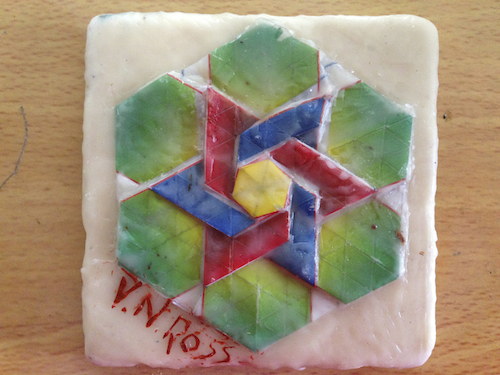
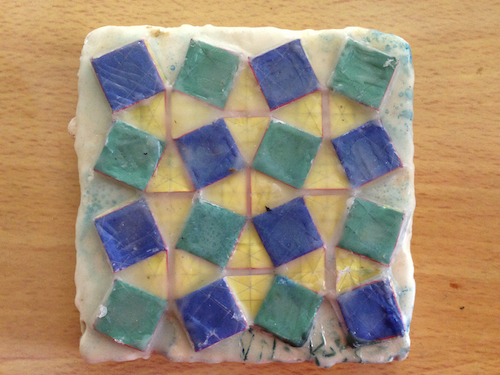
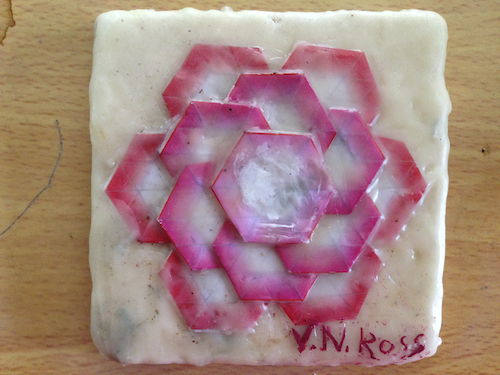
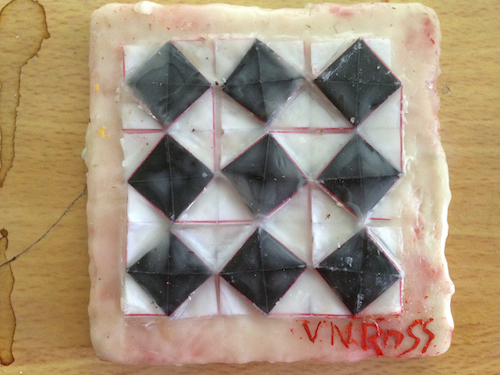
When I declared victory, each was signed…not an easy process on such smalls. Here is the group.
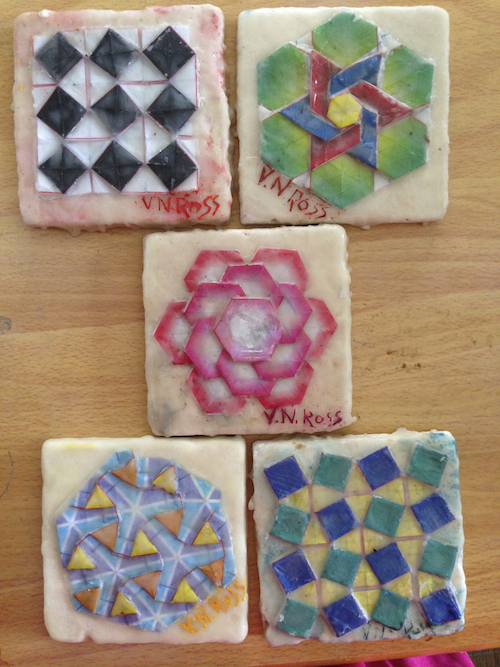
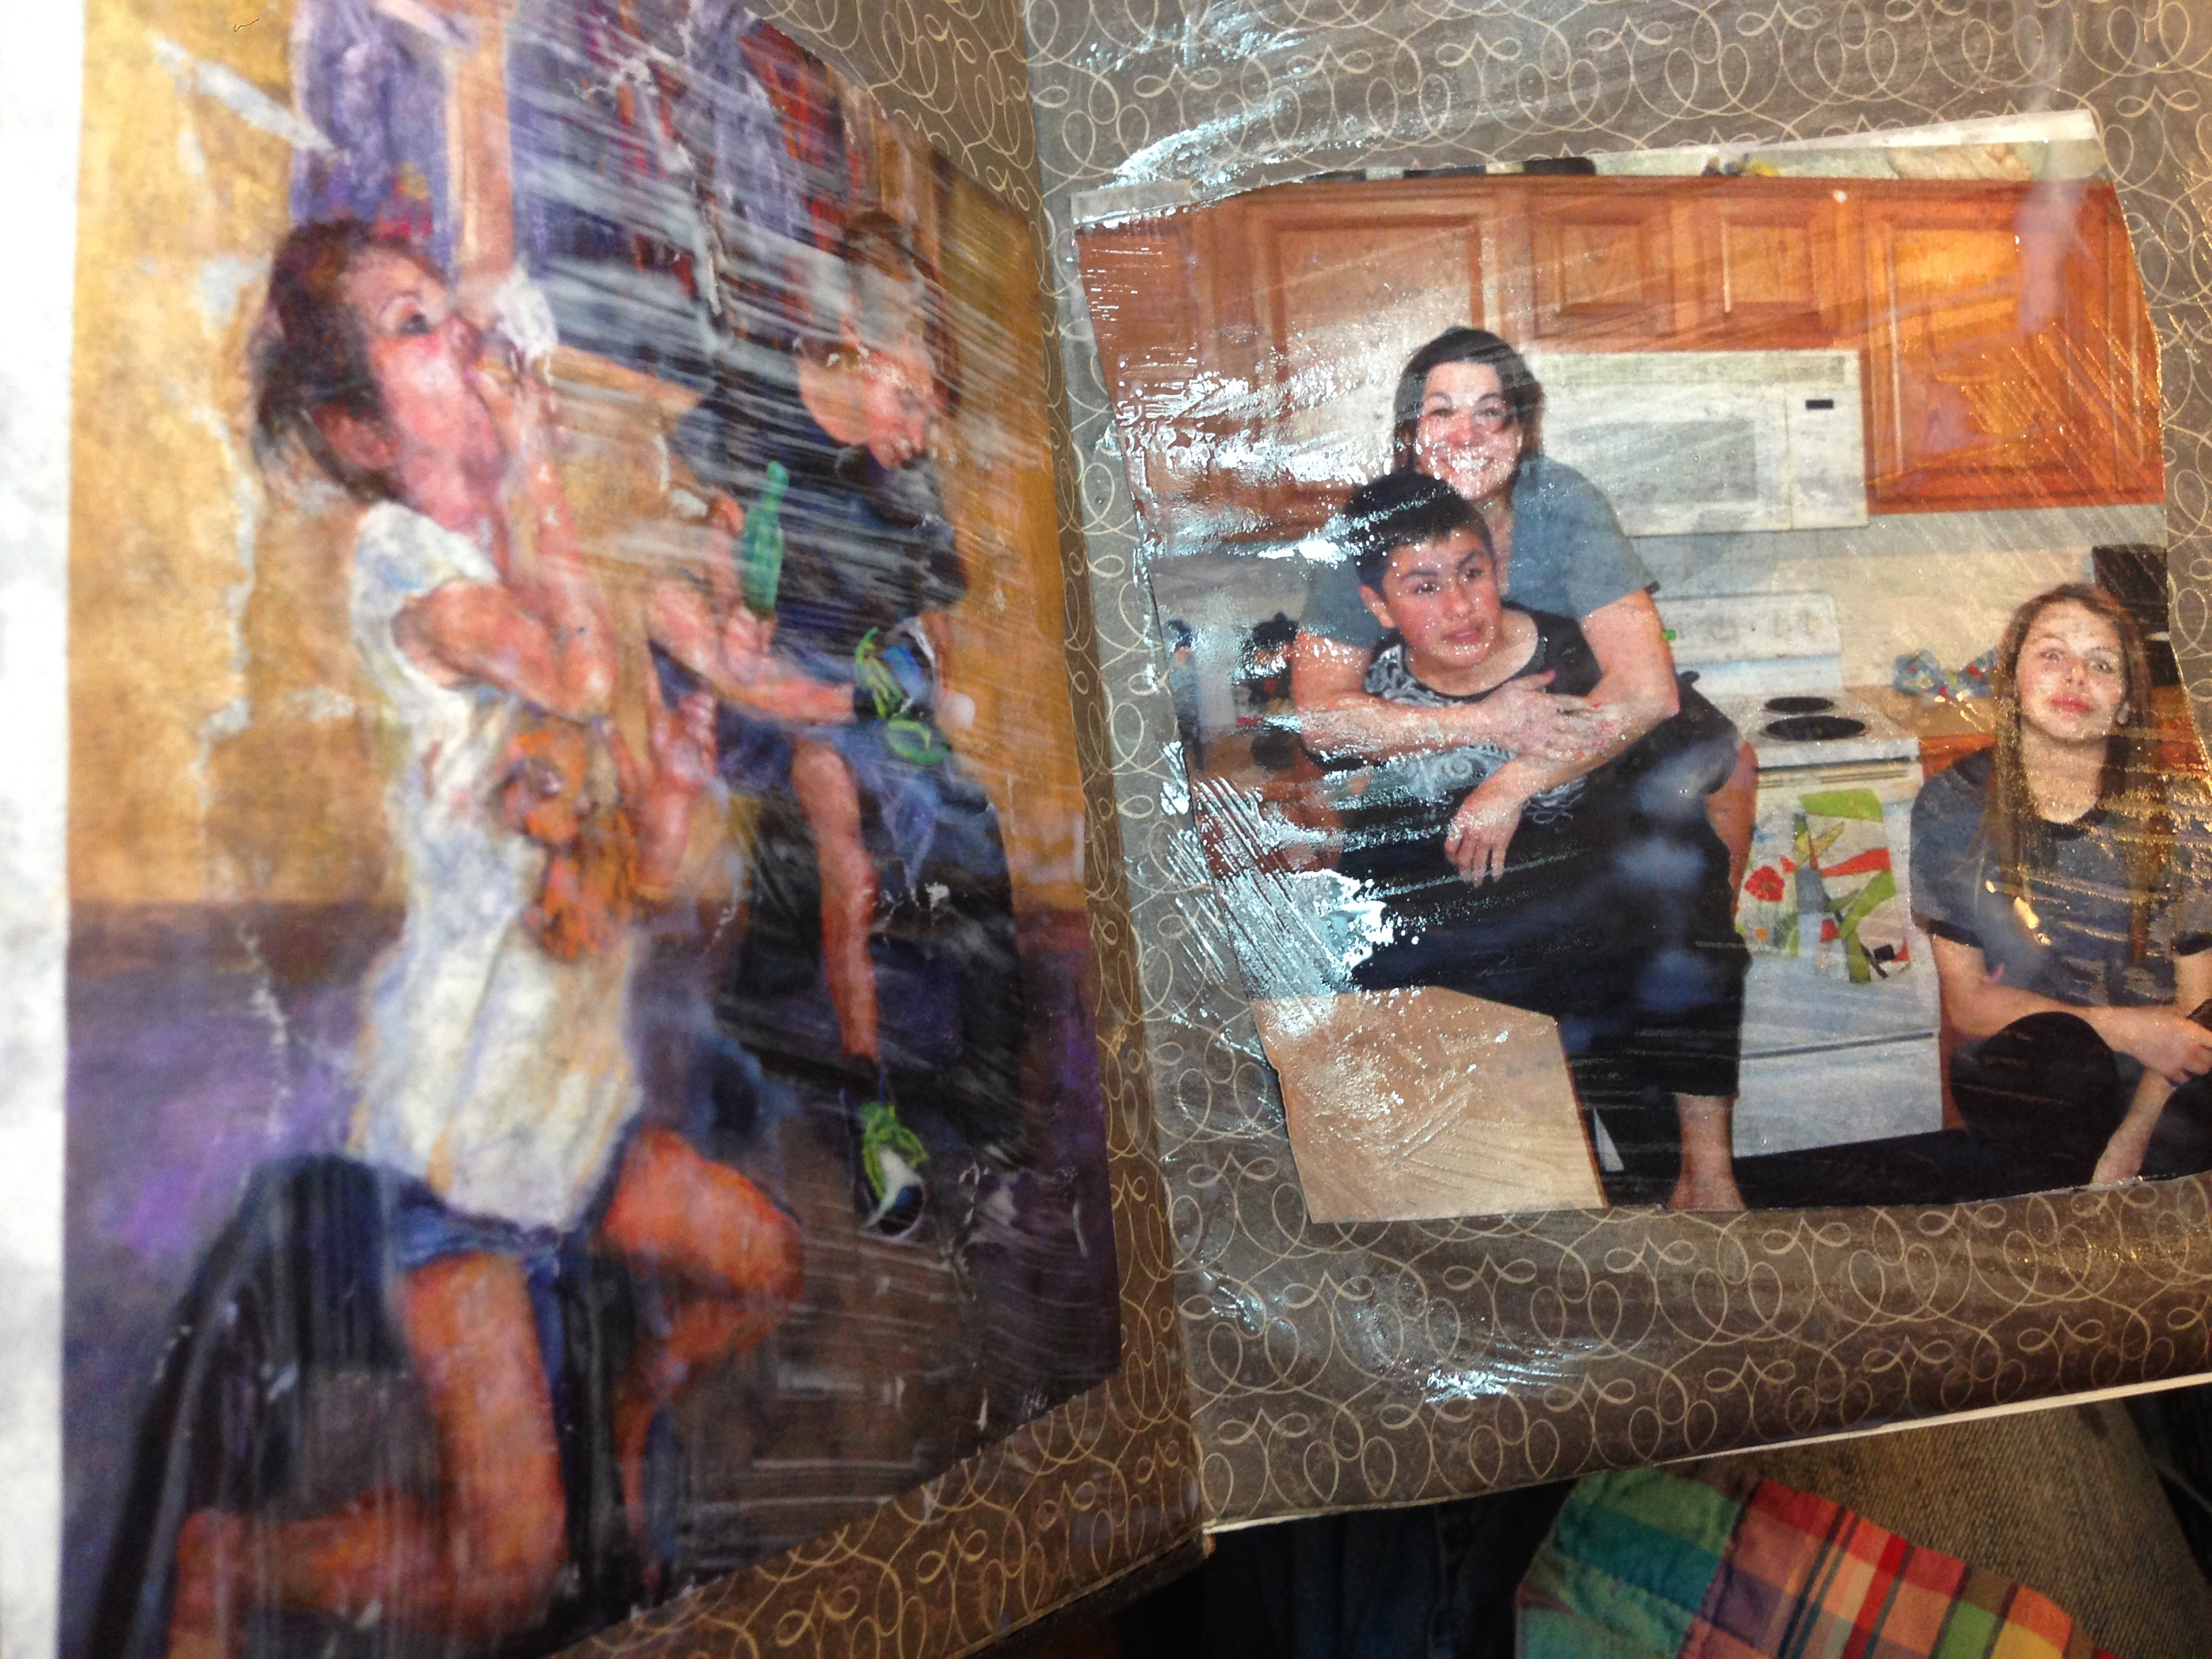
all images © V.N.Ross
~*~*~*~*~*~*~*~*~*~*~*~*~*~*~*~*~*~*~*~*~*~*~*~*~
Vicki Ross is focused on sharing her journey to art and how life events can shape us through creativity www.Axully.com. Vicki has always been involved deeply in the creative arts, from professional soft crafts publications (knitting/crochet/needlework) to French Hand-sewing, stenciling to macramé, oil painting to encaustics. Whatever your leaning, she believes in the healing power of creating.
You can see more of Vicki’s work at VickiRossArt or via blog posts at Axully – Solid. Useful. Beautiful
~*~*~*~*~*~*~*~*~*~*~*~*~*~*~*~*~*~*~*~*~*~*~*~*~
.
.


Recent Comments