This project was created by Joanne Hughes with products supplied by Mixed Media Art, as part of the Mixed Media Art Design Team 2021.
This project is my latest in a series of “designer” journals, honouring designers and artists whose work I love.
Joanne Hughes
Materials List
- Gel plate 8×10
- Dina Wakley gloss sprays in Rouge, Tangelo and Magenta
- Dina Wakley heavyweight watercolour paper
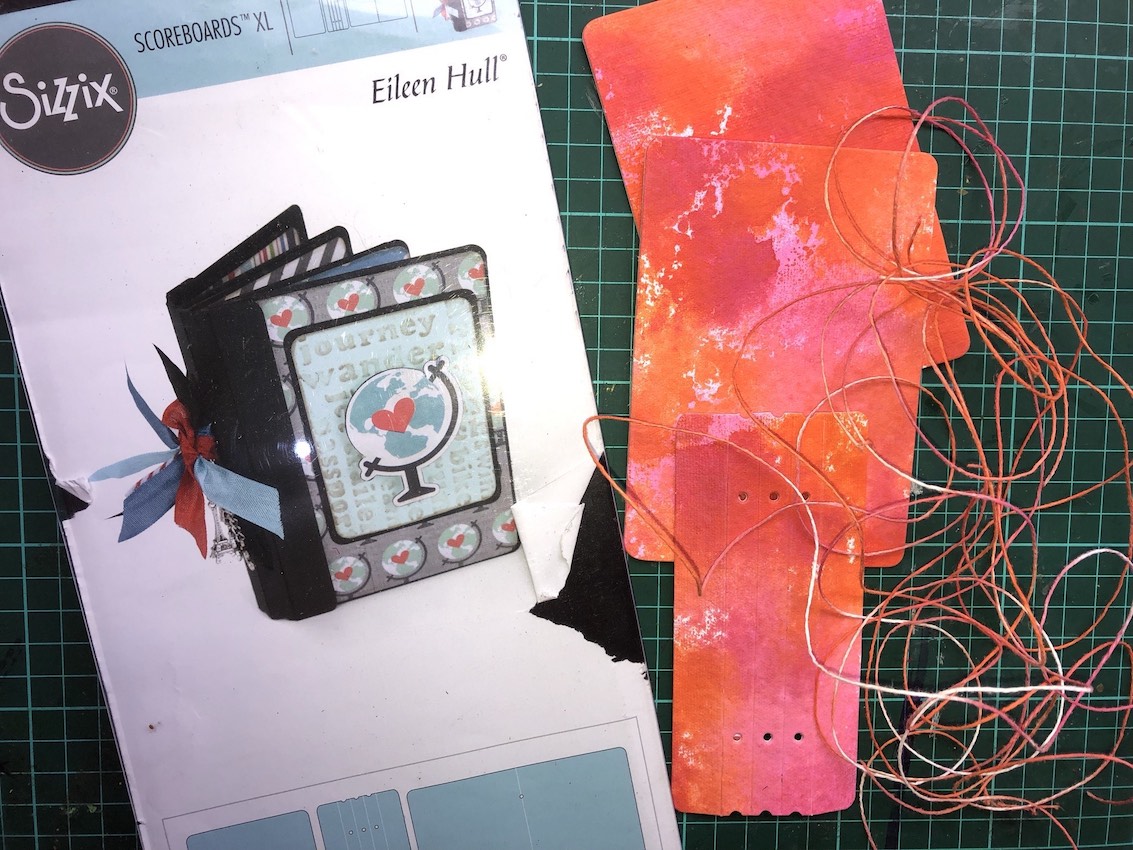
- String
- Eileen Hull Passport Book Journal Die
- Dina Wakley Collage Papers MDA63827 and MDA61076
- Dina Wakley Scribble Sticks
- Dina Wakley Stamp sets Face in the crowd MDR41313 and Scribbly Girlies MDR57814
To create your passport journal
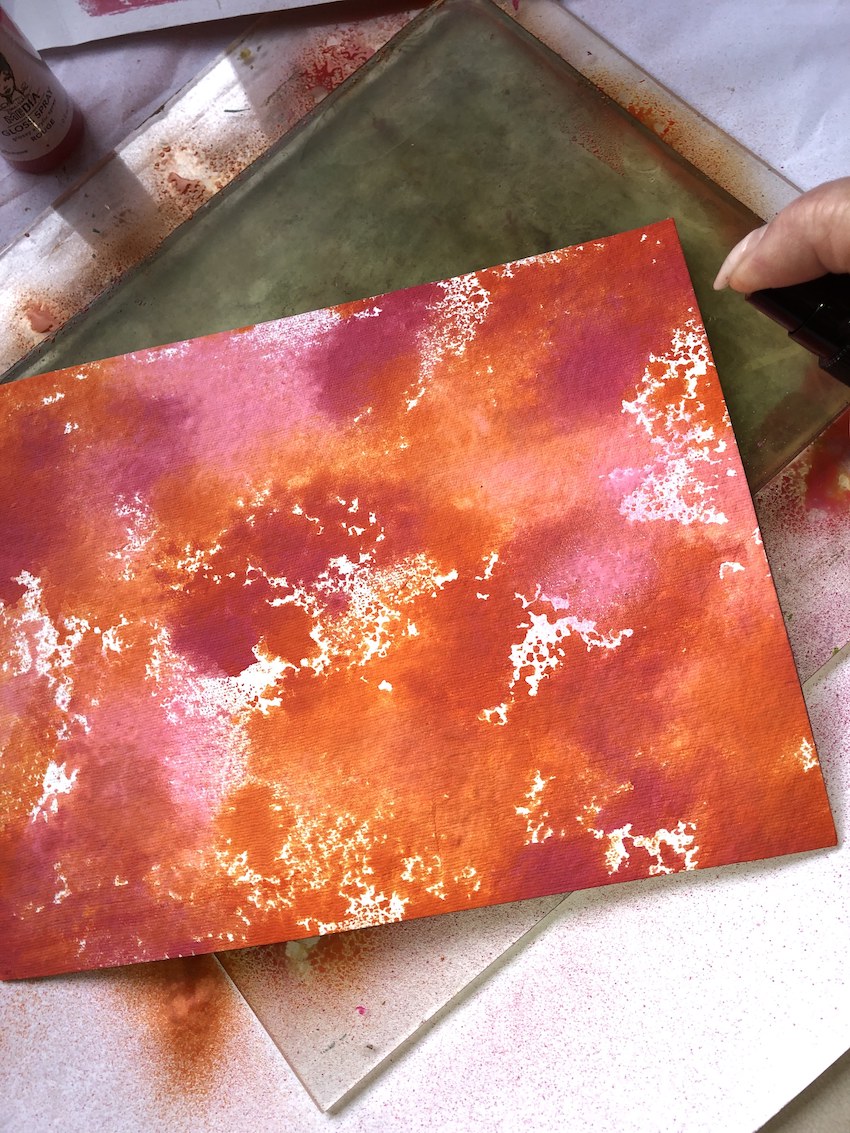
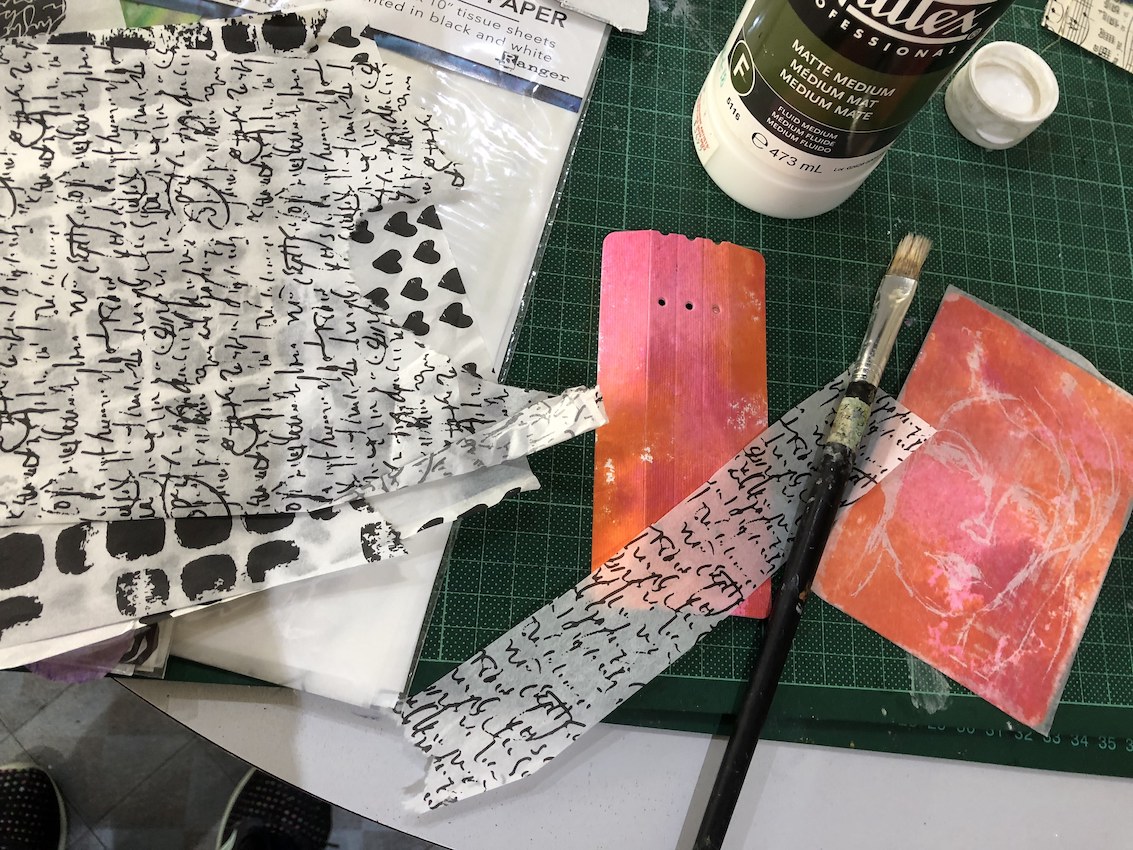
Begin by randomly spraying gloss sprays direct to the gel plate. The paint pools and runs and makes great prints.
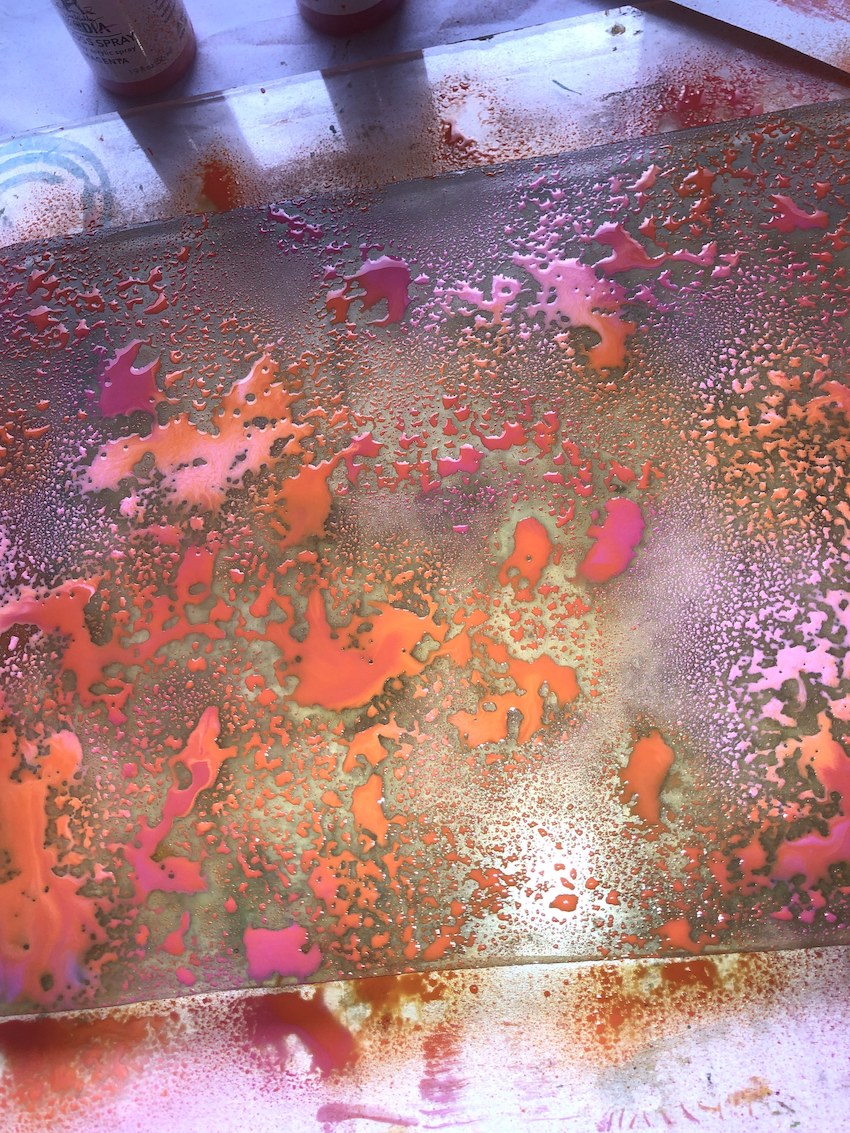
Press one side of the watercolour paper onto the plate for a print. Drying time is really quick so it doesn’t take long to do these steps.
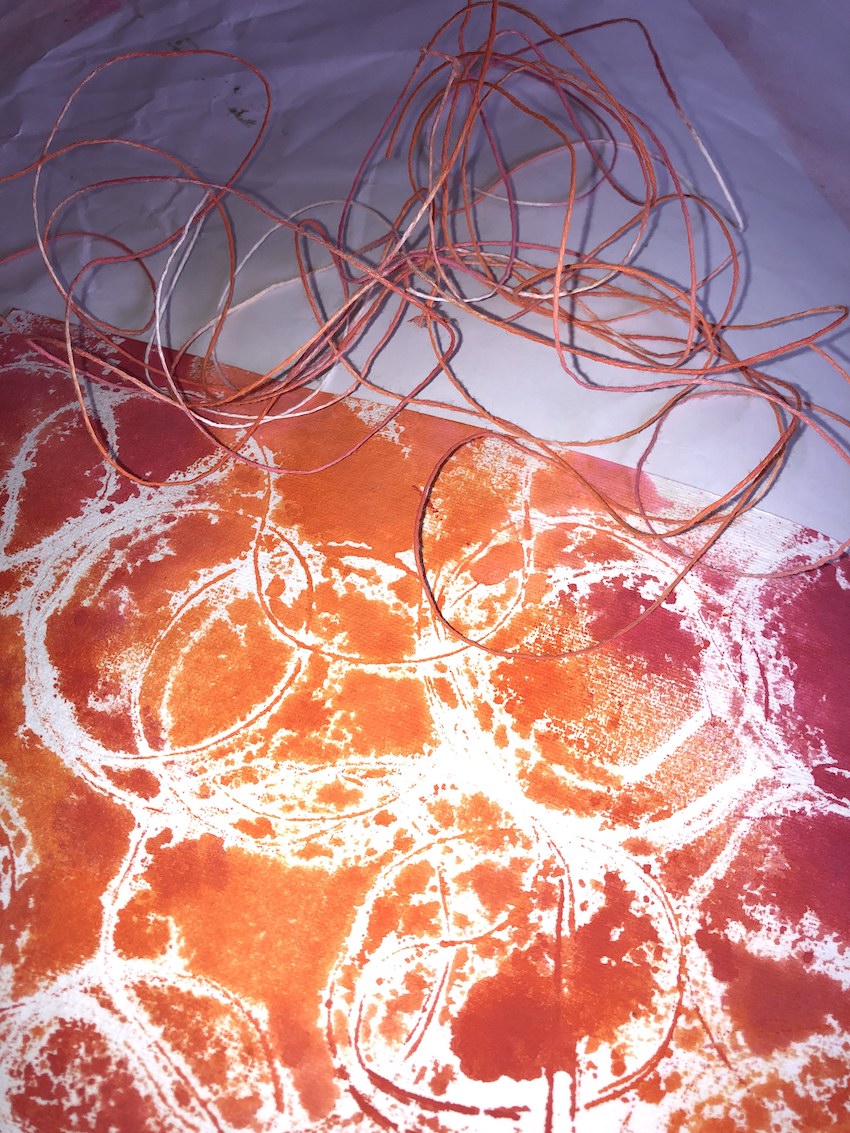
Grab some string, arrange on the gel plate and spray again over the top. As a bonus your string matches your cardstock, perfect for bookmarking.
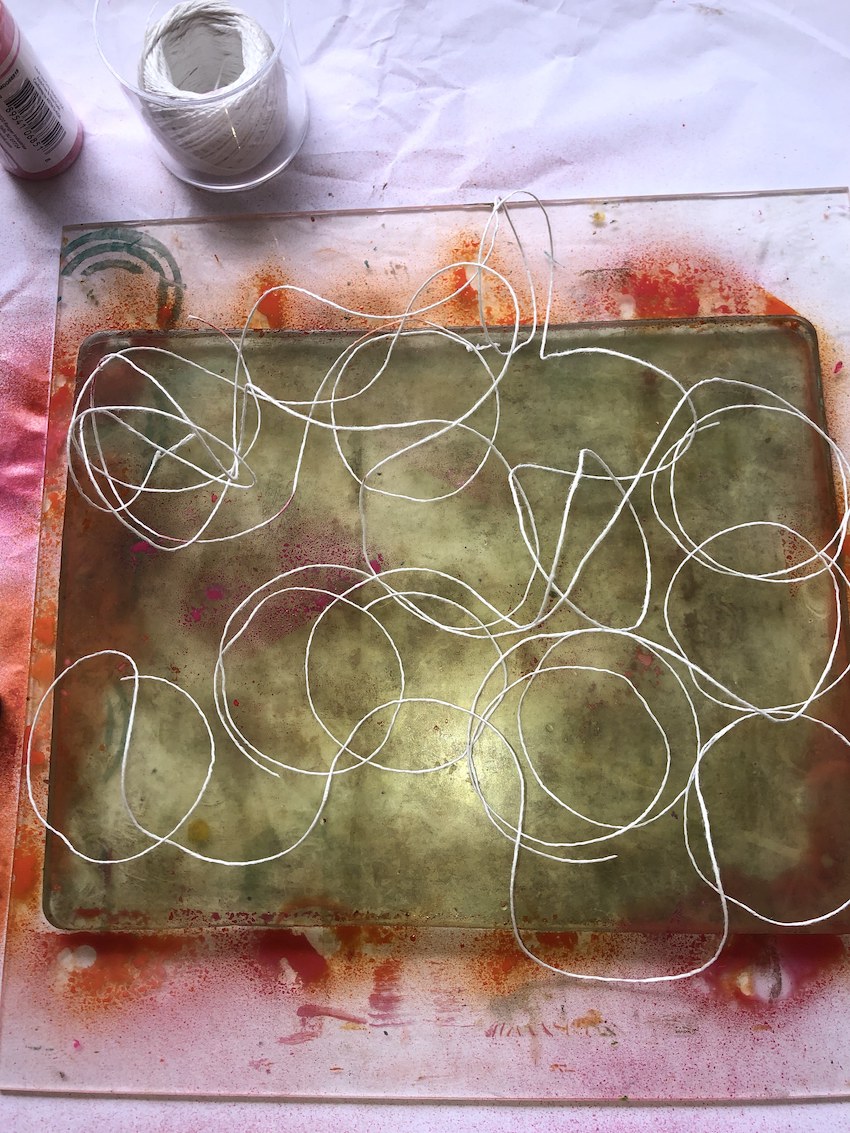
Turn watercolour paper over to print the reverse size pushing into the gaps in and around the string.
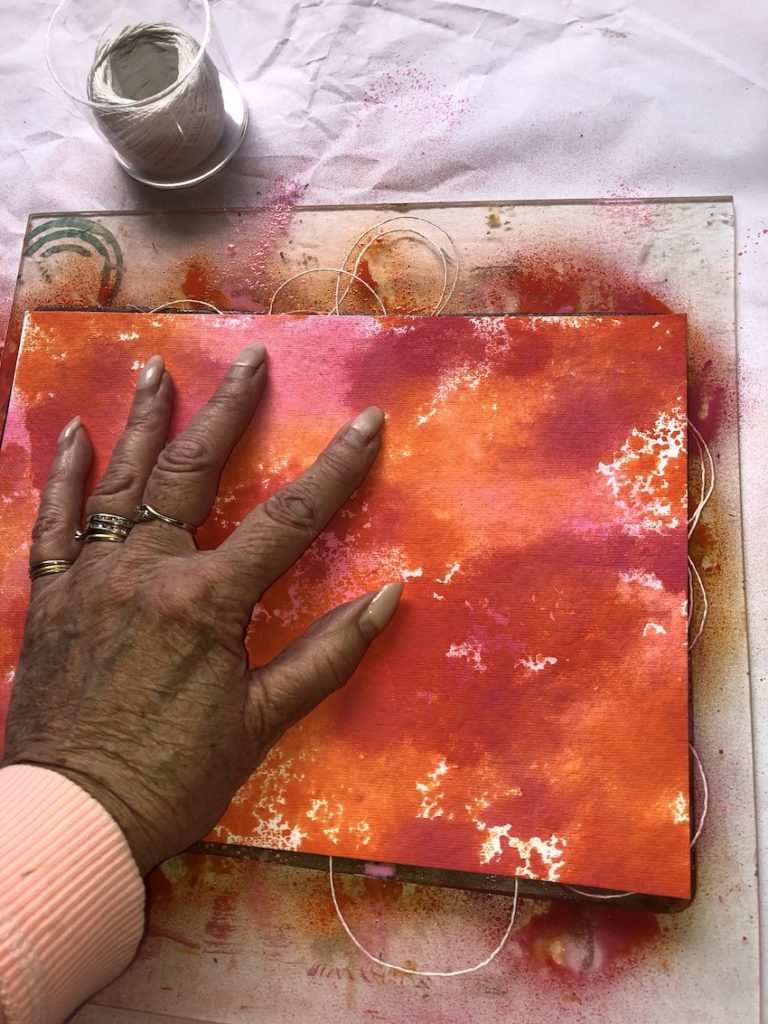
If you have any white space you don’t like you can spray direct to the paper to fill in.
Don’t forget to use a tag or card to mop up excess paint before cleaning and putting the gel plate away.
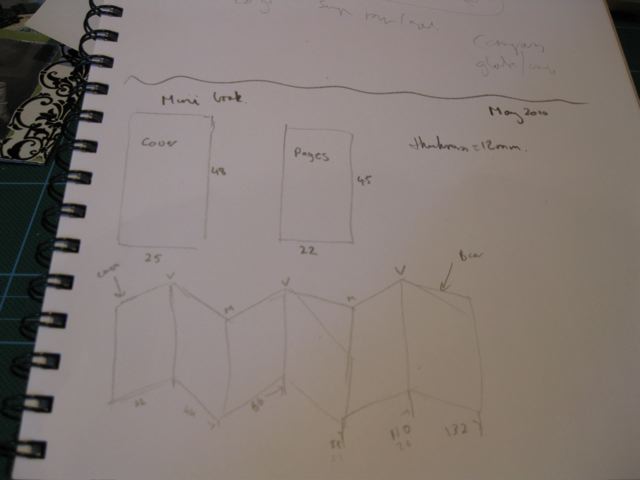
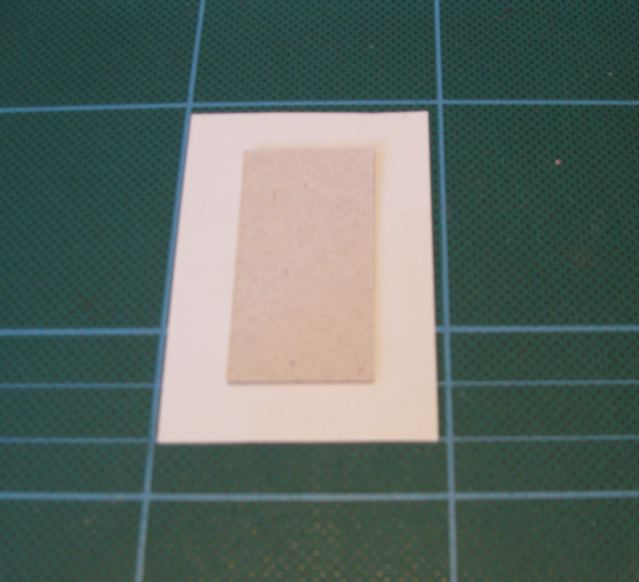
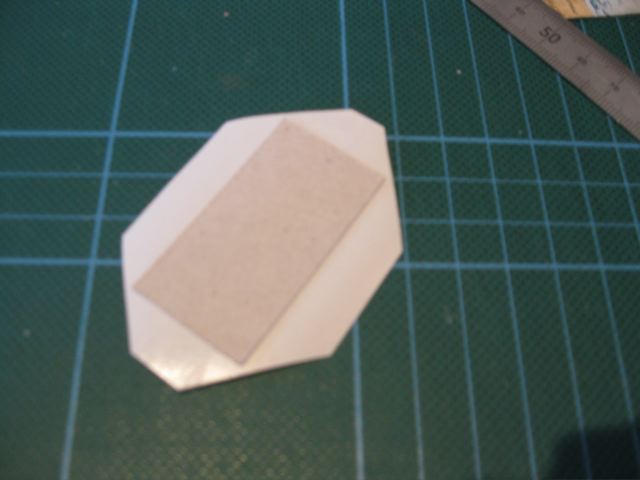
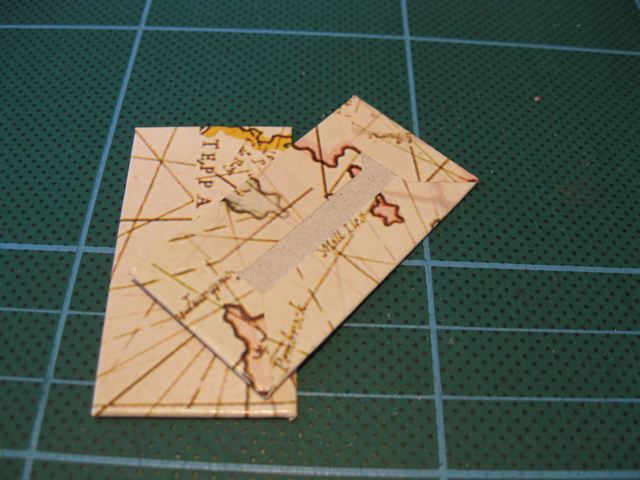
Using the Passport book die with your cutting machine, cut two covers and a spine. The hard part is deciding which side of the print is your favourite.
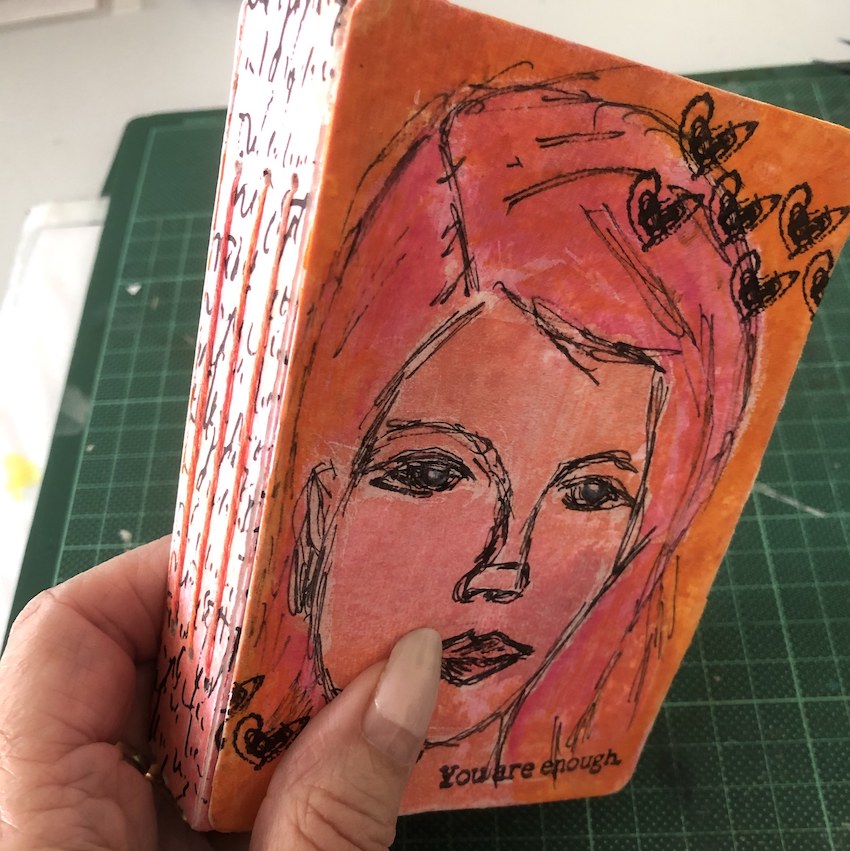
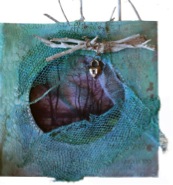
I have always wanted to use the white print from Dina’s collage paper, instead of my usual choice of black. Choose an image and glue with gel medium to the front cover. I was disappointed with the result, silly me, it’s collage paper NOT tissue! It dulled the bright colours so out came the Scribble Sticks.
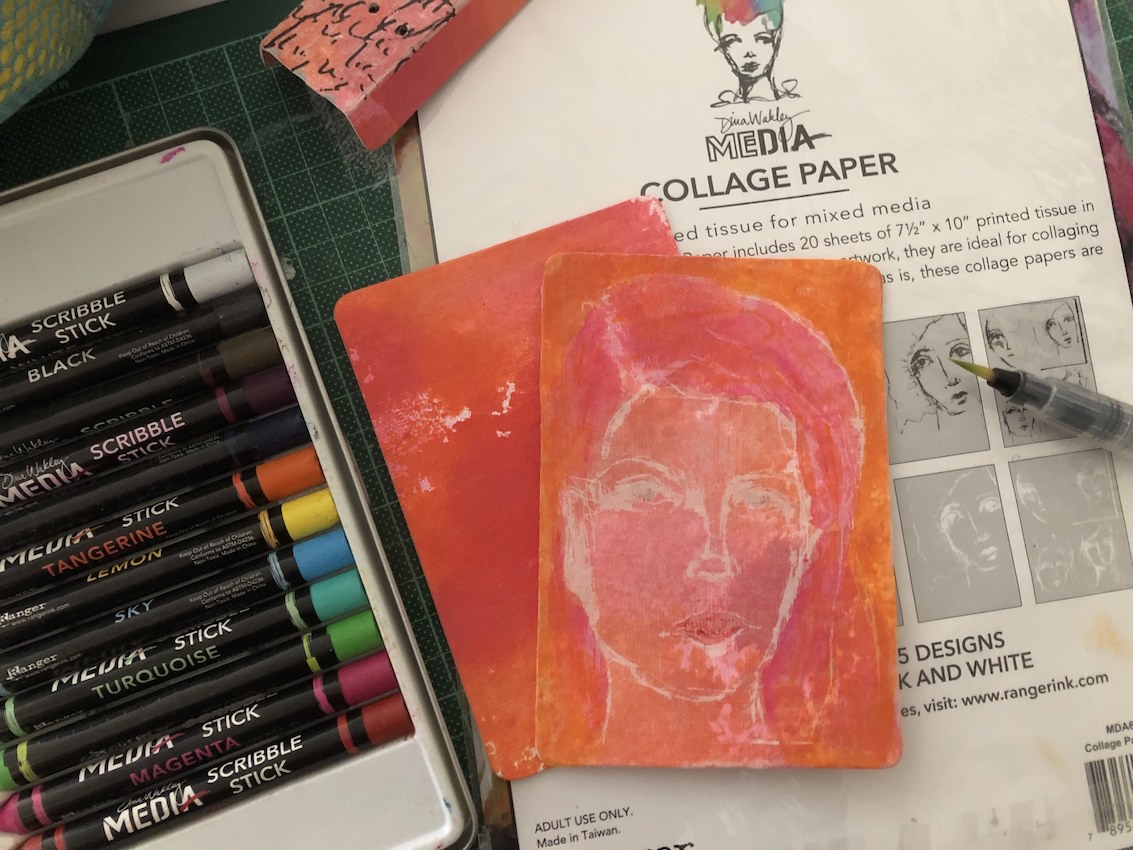
I left the face and coloured the hair and around the head, adding colour until I was happy. Then I added a bit of colour to the eyes and lips. I still wasn’t happy. It just didn’t “pop” for me so I grabbed a fine black marker to outline the printed image. I was trying not to alter the image too much but kept going until I was happy with a dark outline. And even happier when I used Black Archival Ink to stamp Scribble Hearts around the image. “You are enough “ was very appropriate to finish the cover!
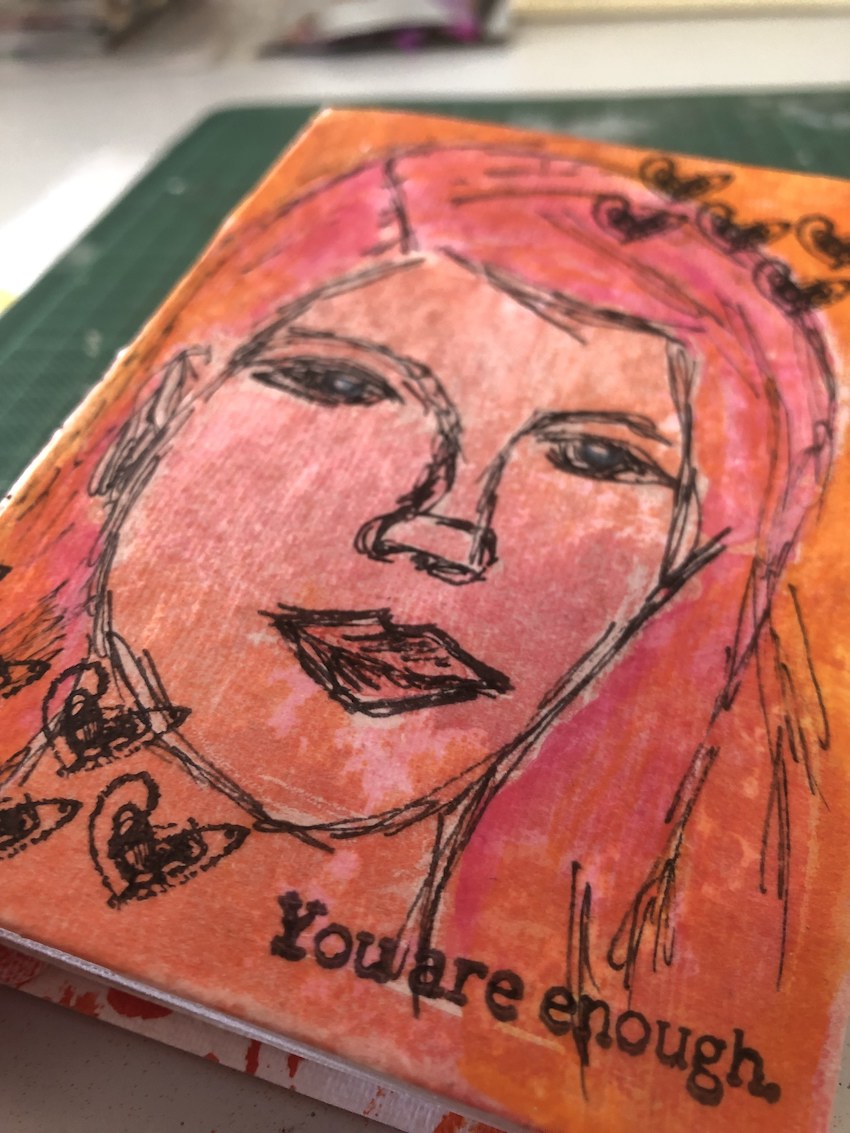
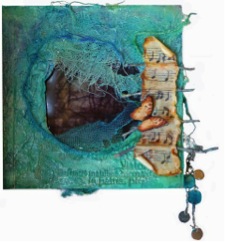
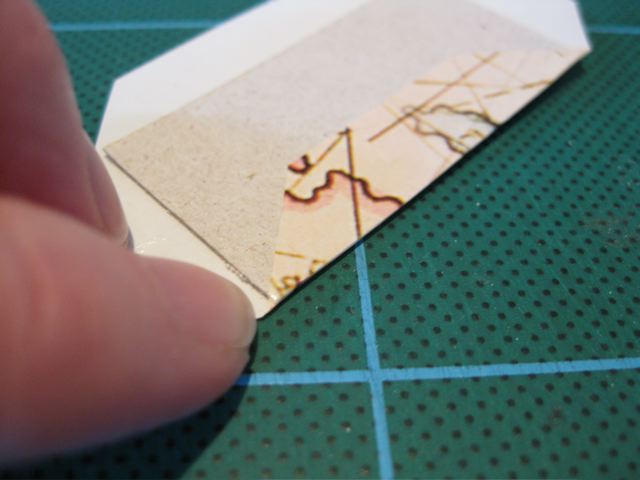
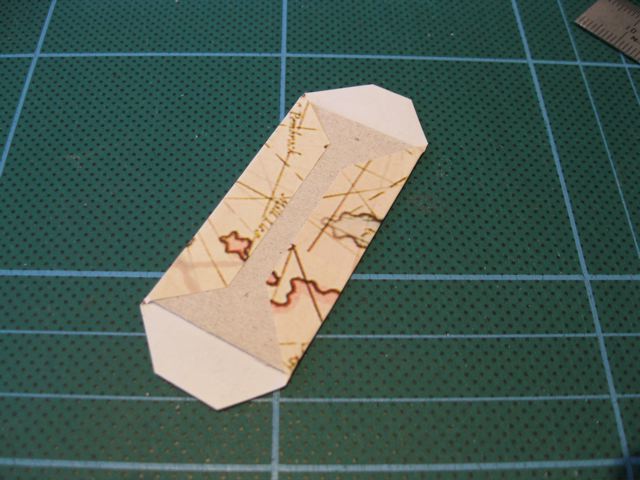
I used black print collage paper for the spine!
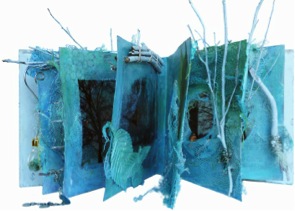
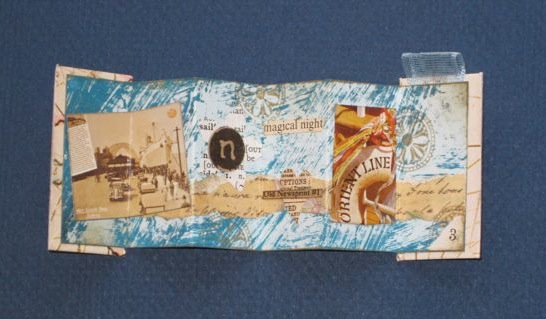
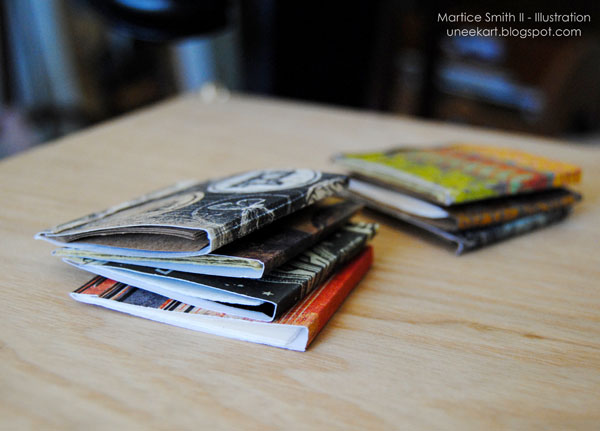
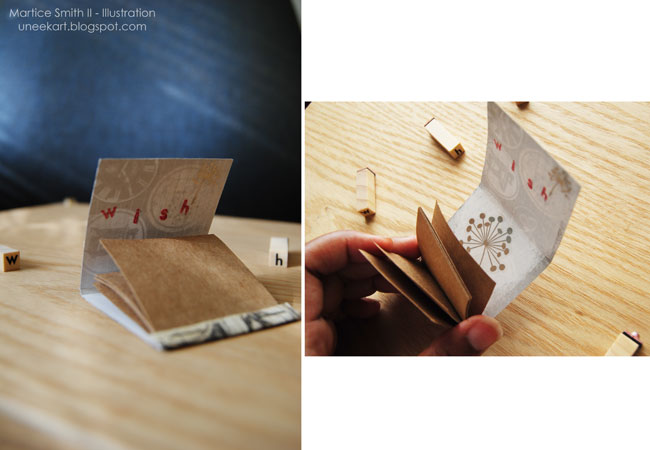
Make up the journal following Eileen Hull’s instructions. You can choose to feature the spine or cover it with your front and back covers. I made my signatures, using the passport die, to cut a variety of pages. In the style of Dina Wakley’s Media Journals, I included Kraft paper, vellum, lined paper, water colour paper and canvas.
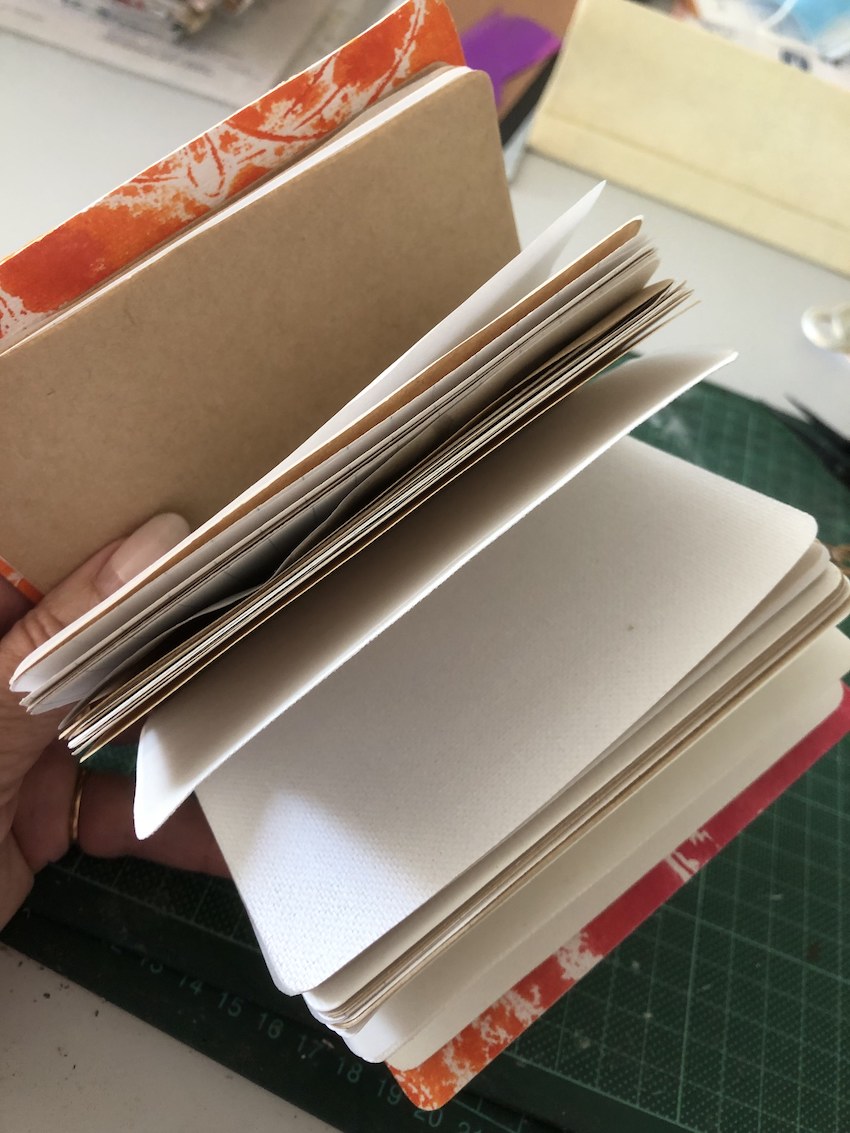
The cut pages line up perfectly and the string that was coloured on the gel plate easily threads though the holes in the papers and spine to tie the signatures in.
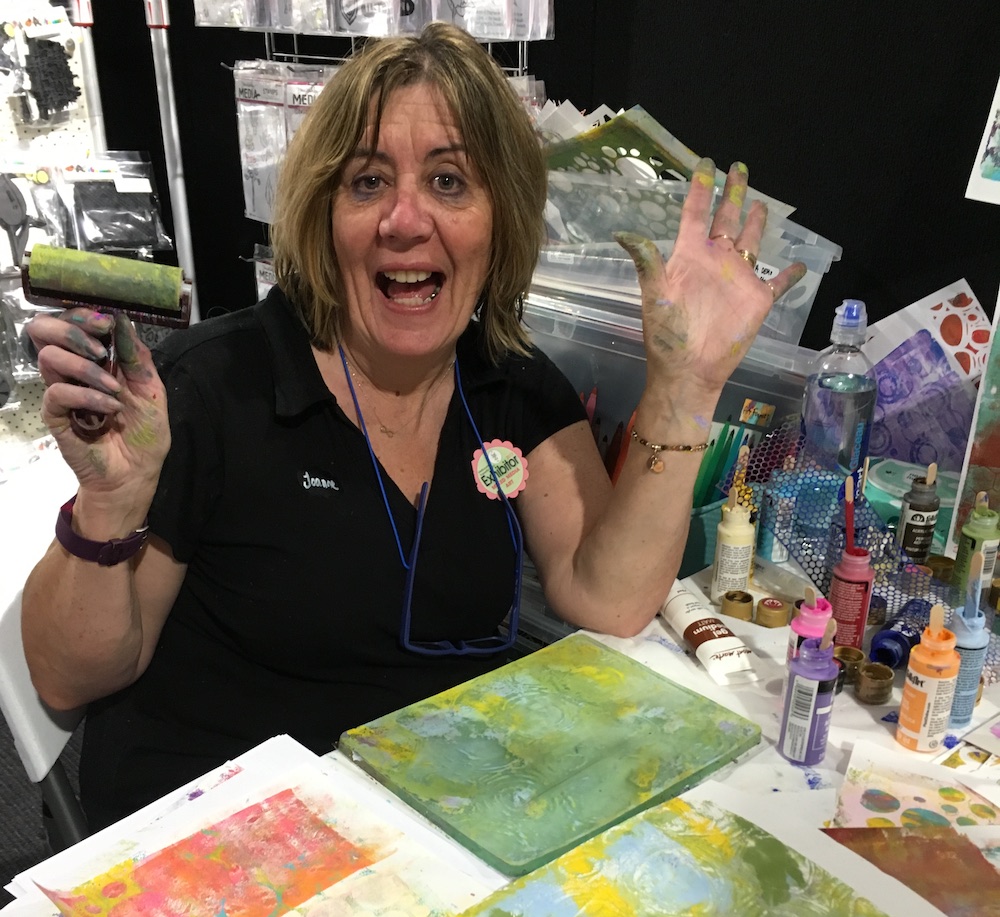
Joanne Hughes loves to share her knowledge and ideas with anyone who will listen, and has worked with Michelle and Mixed Media Art at the Picture to Page shows for many years, demonstrating and behind the make’N’take table. She is thrilled and honoured to kick start the Mixed Media Art Design Team 2021. There is a story behind each of her pieces and she is only too happy to share with you.
Joanne is mum to three adult children and lives in the same house she and her husband bought in 1982 and has been craft making in various forms for as long as she can remember – from macrame in the 70’s to considering herself a Mixed Media Artist, Joanne is a “Jill” of all trades, focussing on her love of stationery and everything that goes with it – paper, pens, inks, paints and stickers, along with the tools and techniques of the creative process. When she is not making a book, she is thinking of the next one, be it a journal, letter journal, hand made or altered book. She is a hands on crafter, loving messy play with glues, inks and paints.


Recent Comments