This article was written by Martice Smith II

Who says small details don’t matter?! Not us mixed-media artists! As a mixed-media collage artist, I love building upon several layers of paint, doodles and various mark-making techniques to set my work apart from the rest.
If you’re looking to develop your own approach, try these ideas to create your own, personalized gift tags. There’s no need to spend a fortune on commercially made products when you can add a unique touch of your own- using what you already have. Just the extra spark needed for a one-of-a-kind gift!
Here are a few supplies to help get you started:
- Gelli plate
- acrylic paints
- paintbrush
- brayer
- white ink pen (for doodling)
- cardstock / kraft paper
- stencils (I used Tags & Labels stencil from DecoArt)
- metal eyelets
- embroidery floss / twine
Personalized Gift Tags – on the Gelli Plate
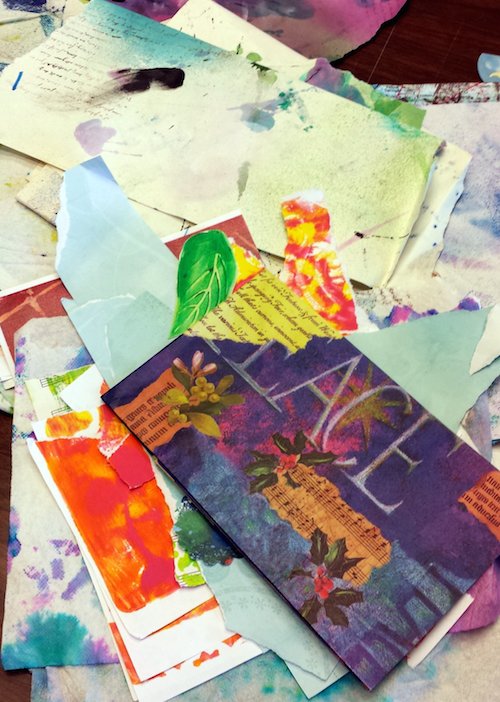
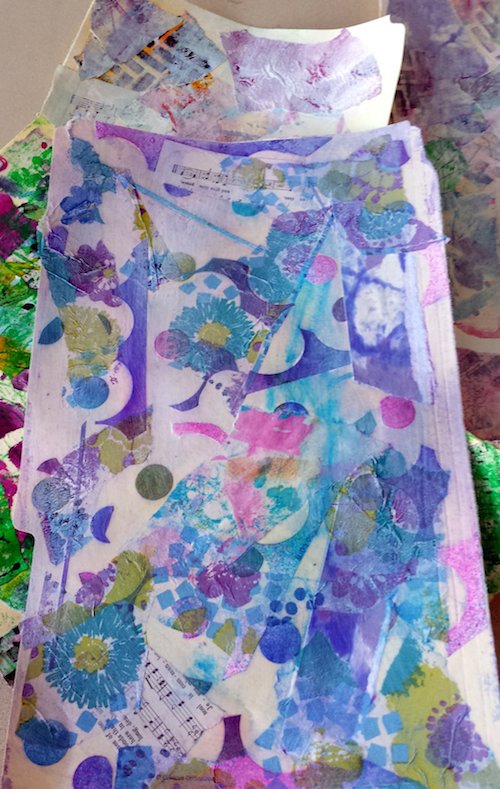
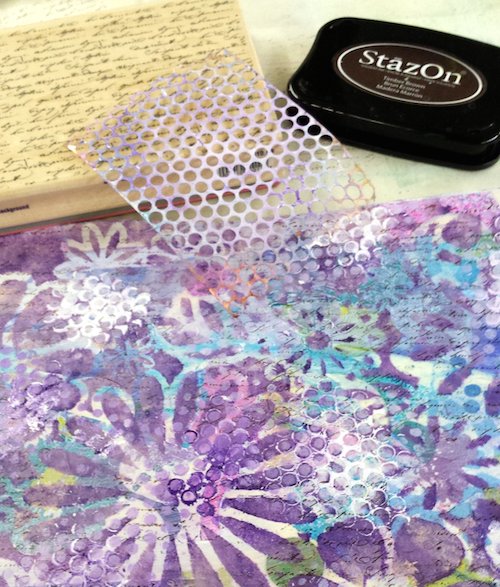
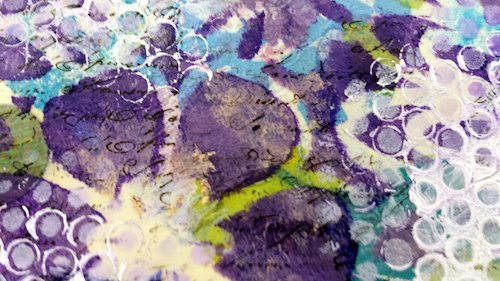
1. Create the gelli prints, use prints from your stash, or paint directly onto paper.
Using acrylic paints, use a brayer and roll an even, smooth layer to the Gelli plate. You can also use a round tip paintbrush and paint directly on top of the Gelli plate. Make sure to paint loose brushstrokes, going in various directions. This will give you visual interest.
2. Next, lay down a sheet of cardstock (or your choice of paper) and pull a print.
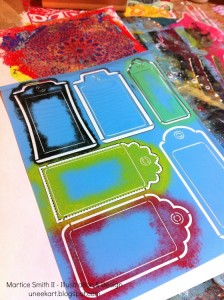
3. Use stencils.
Create a large tag template to use or trace through and cut out the Tags & Labels stencil from DecoArt.
4. Preserve your work!
It’s important to seal the paintings on your tags, especially if there’s any water soluble media. I like to use a spray varnish first. (Remember to do this in a well-ventilated area, to avoid any irritation.)
For one of my tags, I’ve brushed on a thin layer of Crackle Glaze to give a cracked, eggshell appearance.
After drying for several minutes, I brushed on a layer of Triple Thick Gloss Glaze to keep my colors intensely vibrant and shiny. (Both products are from DecoArt.)
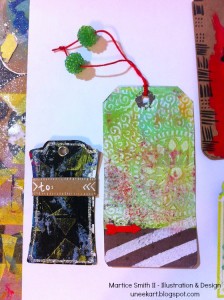
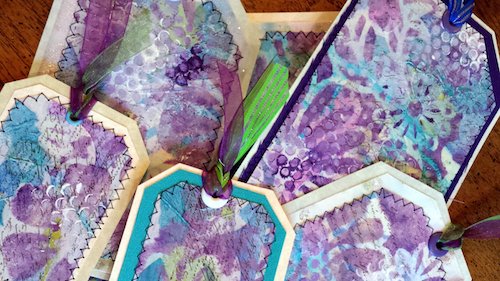
5. Add the finishing touches.
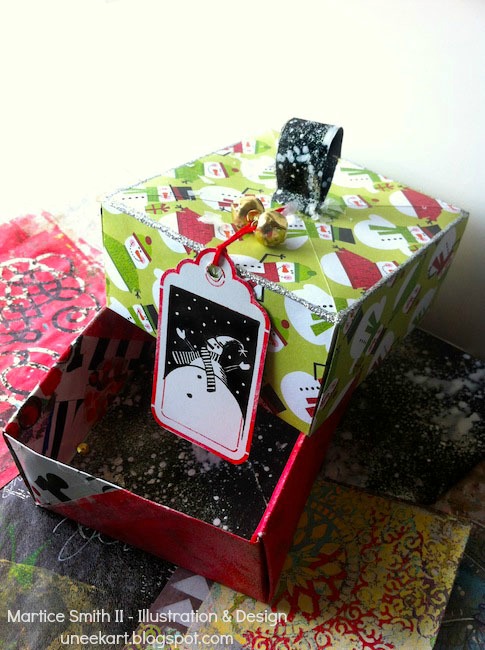
Eyelets, embroidery floss and twine makes these tags look more polished and really sets the tone for the special gift inside. I love things that twinkle, so I used Sheer Shimmer Spritz in Sparkle (from Imagine Crafts) for some drama.
Add other embellishments to underscore the theme of your tags and you’re done!
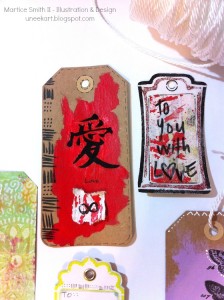
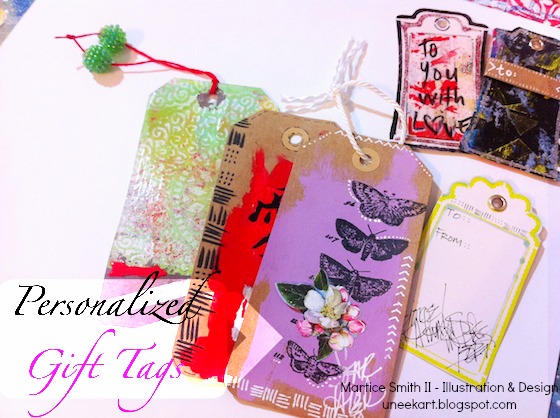
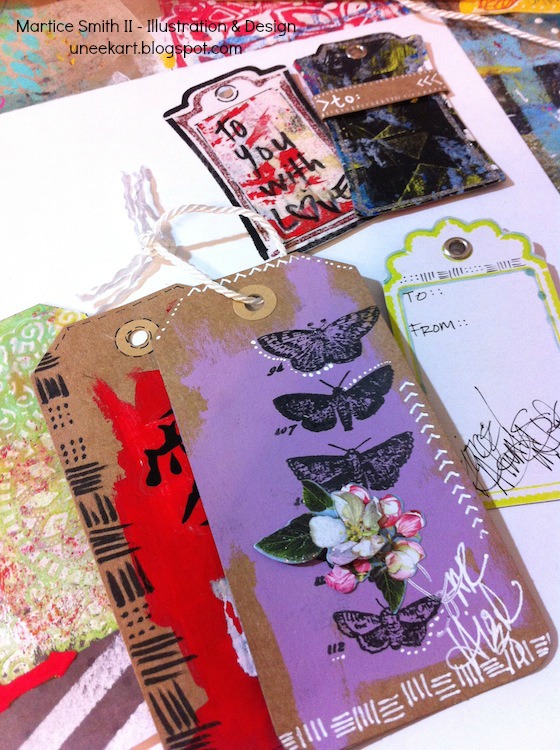
Check out these one-of-a-kind gift tags!


I’ve used a combination of different elements and techniques, such as:
Acrylic paints and rub-on stickers on Kraft paper, DecoArt’s chalky finish paint (Remembrance), gelli paper scraps on foam dots, threading glass beads, faux stitching, and a cute snowman stamp from RubberMoon
Other ideas to try:
▪ Think about how the tag ‘feels’ in your hands. You may want your tags to have a smooth, velvety feel to them. If so, try Dura Clear – Soft Touch Varnish (from DecoArt). This stuff is really impressive!
▪ Incorporate symbols and doodles.
There’s nothing like the repetition of shapes to add dimension and rhythm to your tags. I’ll be sharing more doodling and intuitive painting techniques in my online, art course ‘Cultivate Your Symbology.
Check out sneak peeks of the lesson I’ll be teaching in the ‘My Color is Beautiful Art’ workshop HERE and HERE
Do you include gift tags on your presents? If so, do you prefer making them yourself or spending a little extra money for the pre-made ones?
Happy creating!
.
.


Recent Comments