~*~
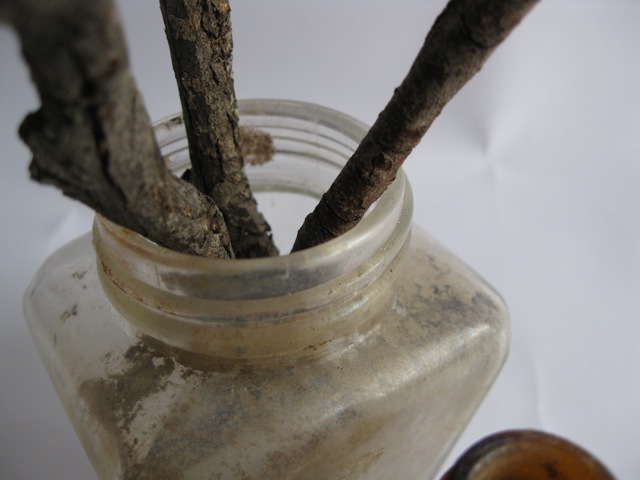
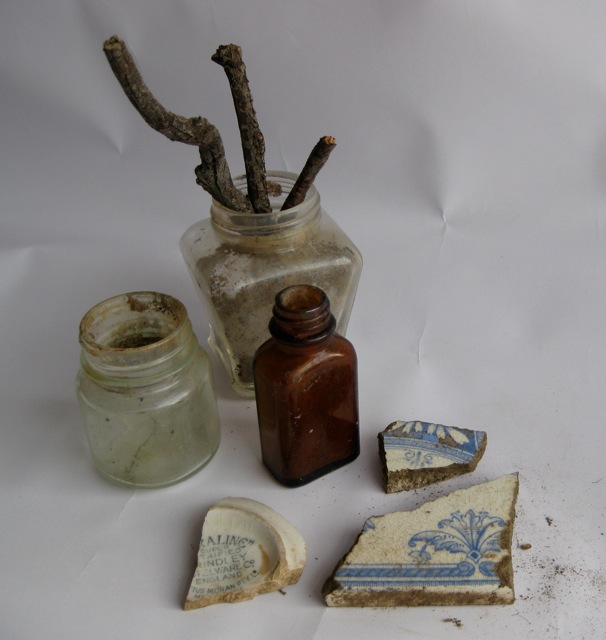
You can never have too much stuff in your collection, ready and at hand for your next Mixed Media Art project. But you don’t need to purchase special, shop made embellishments. I am always on the lookout for odd pieces of paper, sticks, colourful feathers, rusty pieces of metal and bottle caps that have been run over. All of these items can be used to add detail into your artwork.
My obsession with collecting found objects began after starting down the mixed media path. In my blogging travels, I found fantastic artwork with old keys and bottle caps. I was drawn into the beauty of adding antique objects into artwork; taking an everyday item and creating a story in the piece of mixed media art. I am now embarrassed to admit that I have even bought these items from craft stores which had been repackaged and sold to unsuspecting artists.
After several purchases I realised that some of this stuff was things I could find around my own house or in my Grandma’s bottom drawer. I didn’t need to buy repackaged items from a craft store when I could find these items around me. I needed to put my “art stuff” glasses on. Once I had changed my mindset, it was amazing at the things I could find around me that can be used in my art.
On a recent foray into country Victoria, we were walking around the local lake and found an area that must have been an old dump. While many of the pieces were broken, there were a few pieces worth saving. I’m not quite convinced I have found any antique pieces but they will clean up nicely.
As you expand your creativity in the Mixed Media Art field, make sure you are wearing your “found object” glasses when you are out on a walk, tidying up an old drawer or slinking through an antique shop. You never know what you may find. And you will be surprised when that bolt of inspiration hits while you are creating and you remember those found objects you have hidden away.
Happy Creating!
~*~*~*~*~*~*~*~*~*~*~*~*~*~*~*~*~*~*~*~*~*~*~*~
.
.


Recent Comments