Creating your own handmade book is one of the most exciting mixed media art techniques. This is a simple process once you have mastered the basics. When you can make your own book covers, you then have the option to create anything from little booklets to full size books.
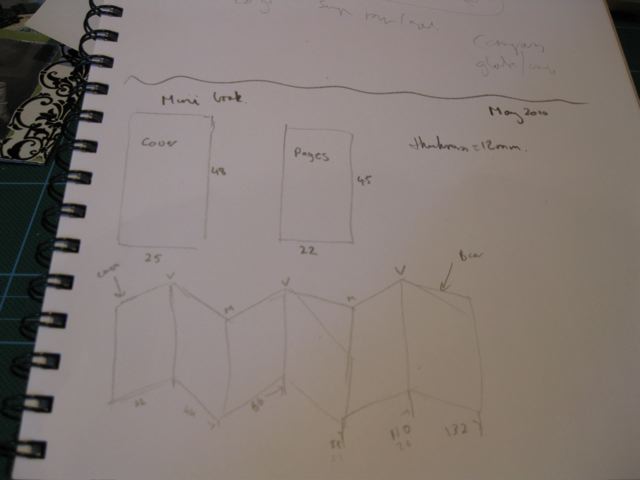
Step 1. Determine the sizes
When creating a book, the cover is usually a little larger that the pages, but the spine needs to align. I use my art sketchbook to draw a sketch and write down the size of the pages, the size of the covers and any notes as to colours, layout thoughts or items to use.
Step 2. Cut the covers
Using a medium weight board (or chipboard) cut out two covers the same size. Lightly sand the outer edges with an emery board or scotchbrite. This removed the sharp edge off the cover giving it better durability once it is covered.
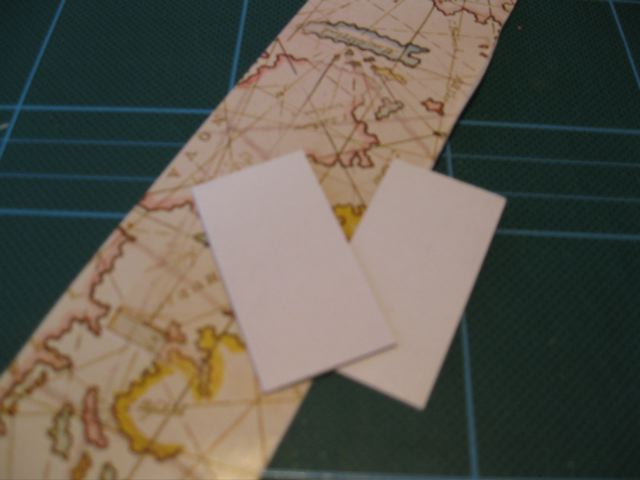
Step 3. Cut the covering paper
The paper used to cover the covers needs to be a sturdy paper. If it is too thin, it will tear when glue and pressure is applied. If it is too thick, it makes it harder to fold over the edges and makes the covers too thick.
Cut this paper 10mm larger than the board cover on each side – this makes it 20mm bigger in length and 20mm bigger in width.
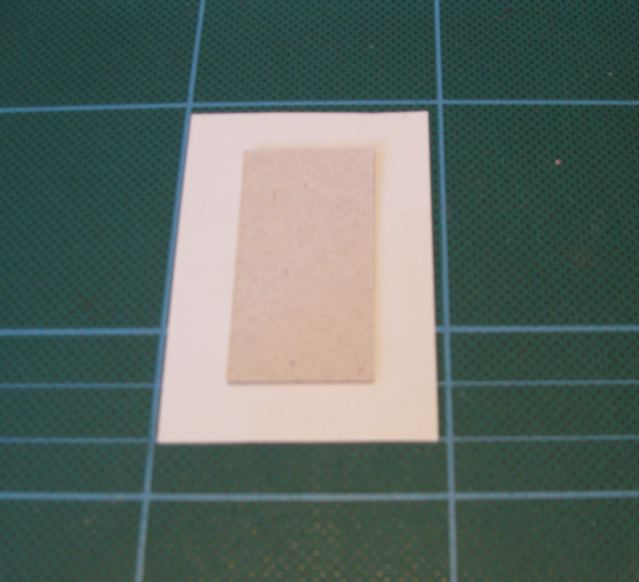
Step 4. Cover the cover with the covering paper
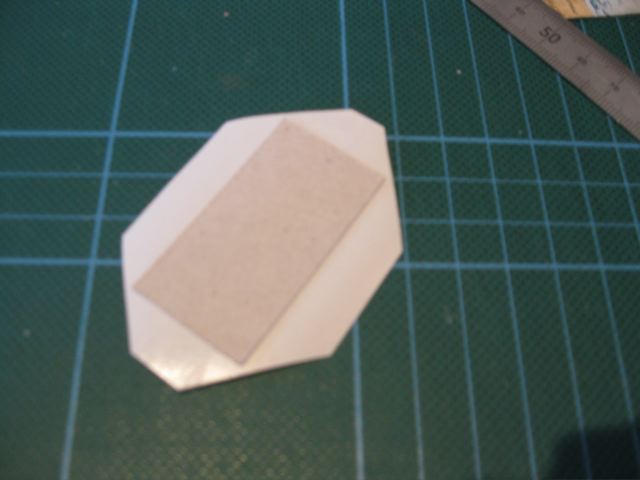
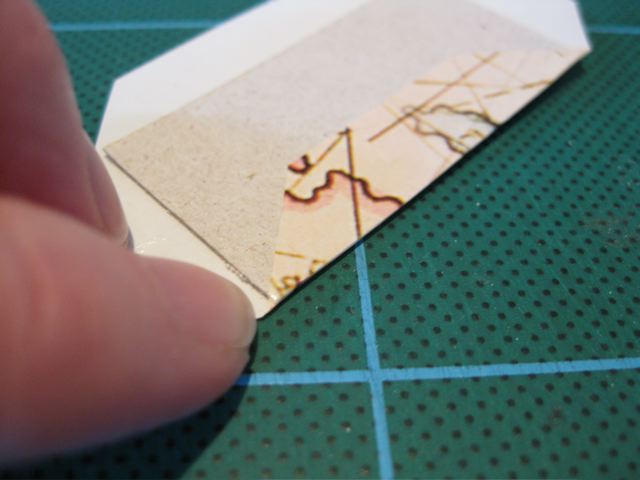
Do each cover separately. Cover the covering paper with glue. Most times a glue stick is adequate. Make sure you have an even layer, right up to the edges. Place the cover board in the middle and press out any bubbles. Cut each corner at a 45 degree angle, leaving enough to completely cover the board.
Fold one side up and over the back of the board. Use your finger nail to press it firmly and to fold in the little corner that will fold under other edge. Fold up the opposite edge. Then fold in the two ends.
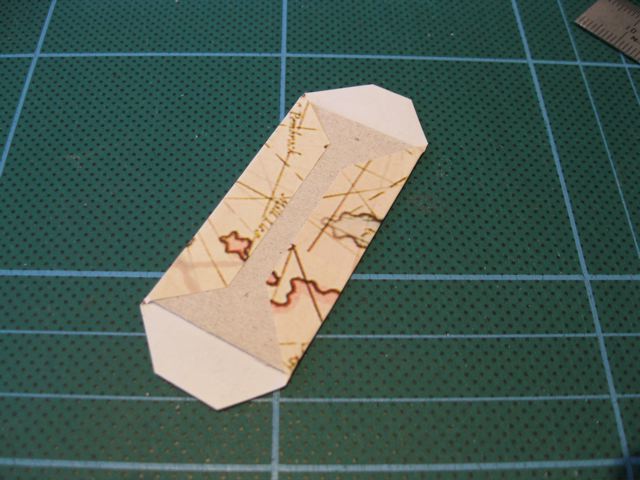
Repeat this process with the second cover.
Check there is no excess glue oozing out. Sit them under a heavy book and leave overnight to dry.
Step 5. Attach covers to book pages
As the covers are slightly bigger that the inner pages, apply the glue to the pages then carefully attach the first cover. To ensure the two covers are lined up, close the book, apply the glue to the back page stick down the back cover, then carefully align the cover, checking that they two covers with sit neatly when closed.
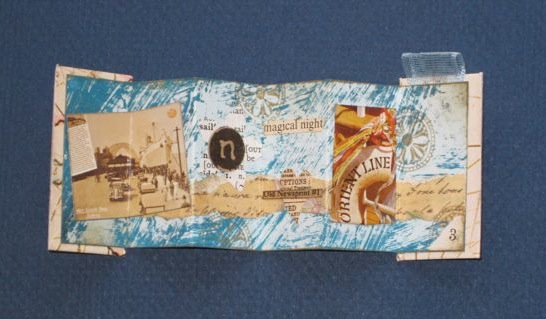
Once you have mastered making your own handmade book covers, you can easily make your own books, ready to decorate into any style. They are easily personalised to make the perfect gift.
Happy creating!
*~*~*~*~*~*~*~*~*~*~*~*~*~*~*~*~*~*~*~*~*~*~*~*~*~*~*~*~*~*~*~*~*~*~


Recent Comments