The Courage to Start

This article was written by Martice Smith II

The Courage to Start 

It’s something we all experience: the crippling plague of self-doubt and anxiety. (And, of course, it comes in varying degrees of intensity.) When starting a new illustration or painting, even I have caught myself saying “What if I mess up” or “How can I do that when I can’t even do this?!”

It’s easy to run away from what threatens us but at some point, we must push ourselves forward and beyond this low-level of self-criticism. It does not serve our higher purpose of becoming the artist we envision ourselves to be.

Here are a few nuggets of wisdom that I’d love to share with you. These tips have helped me tremendously in times where that nasty inner critic pops up and tries to flip every positive thing upside down.

1. First, we must allow ourselves to become immersed in positive thinking and effective affirmations.

Instead of saying “I’ll never be that good. I should stop right now and try something else”, elevate your thinking by saying this instead, “I can do anything I put my mind to…watch me!”.

Set your intention, empower your thinking, and express your thoughts into SPOKEN words. Yes, go ahead and say them out loud, so that you can hear them yourself. Listen to the way you speak to YOU. Are you gentle? Do you smile when you hear your words?

"Never Compromise", illustration by artist Martice Smith II

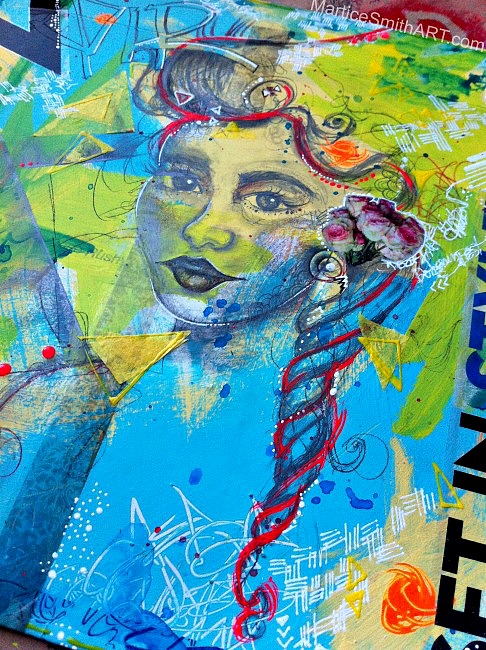
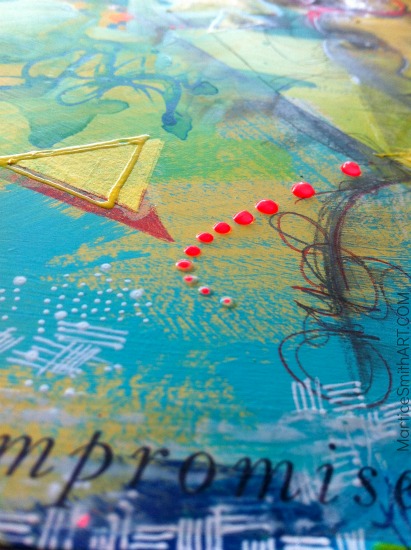
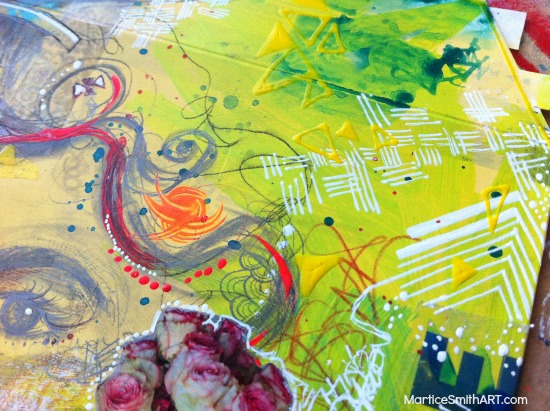
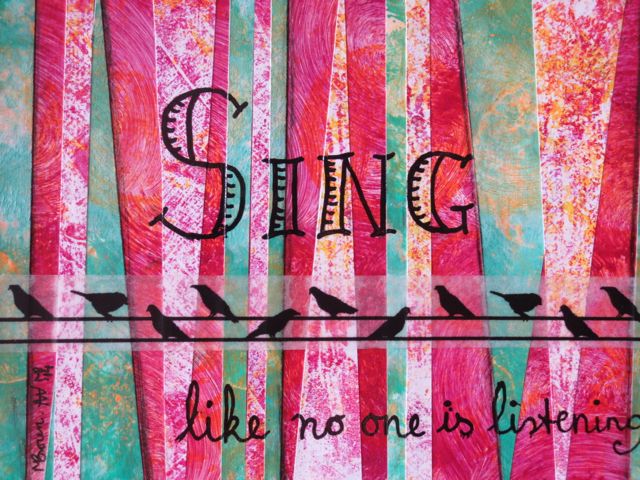
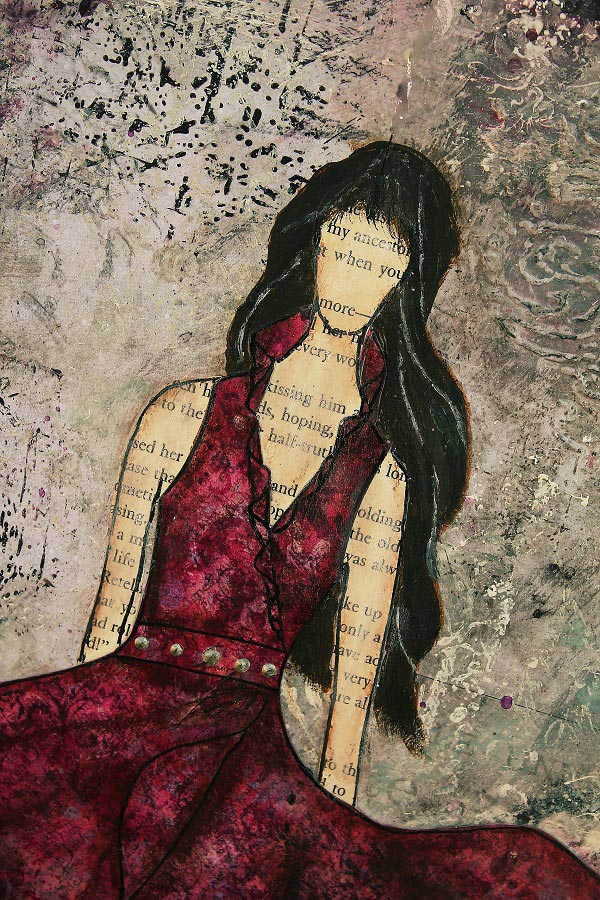
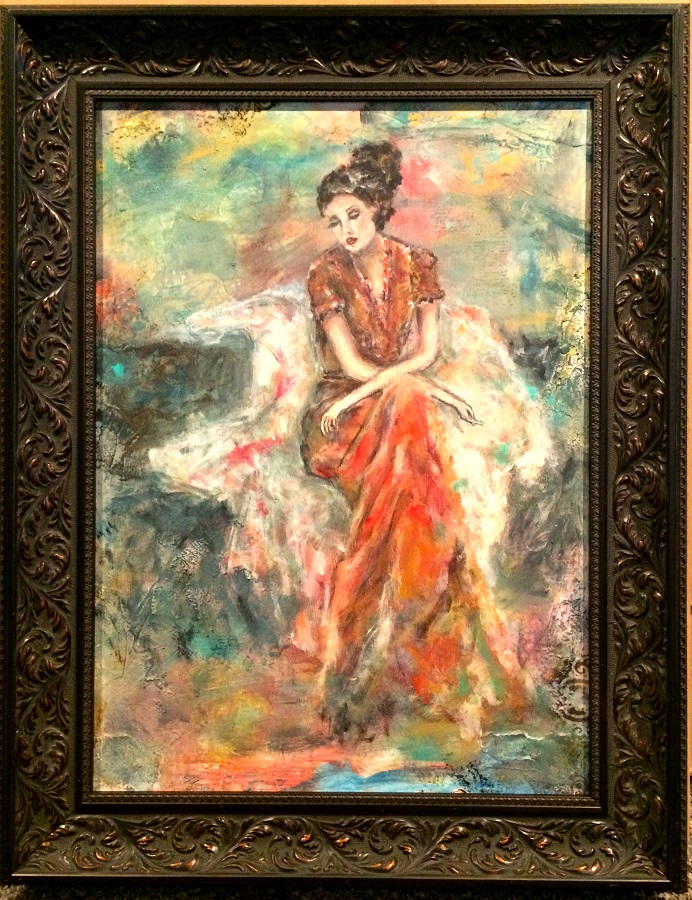
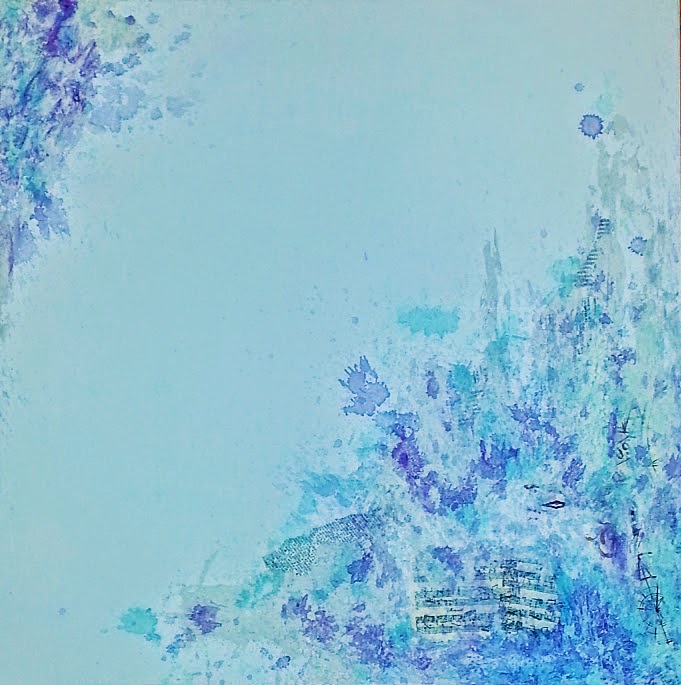
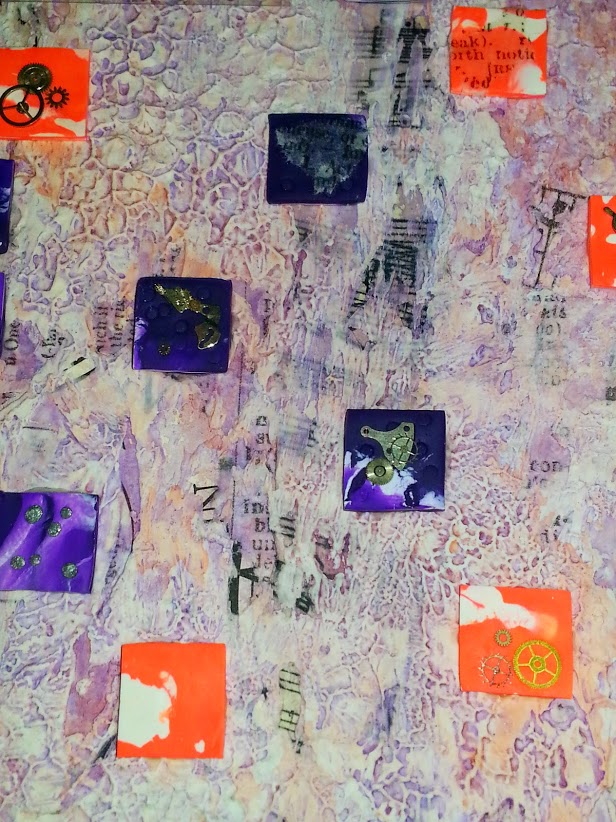
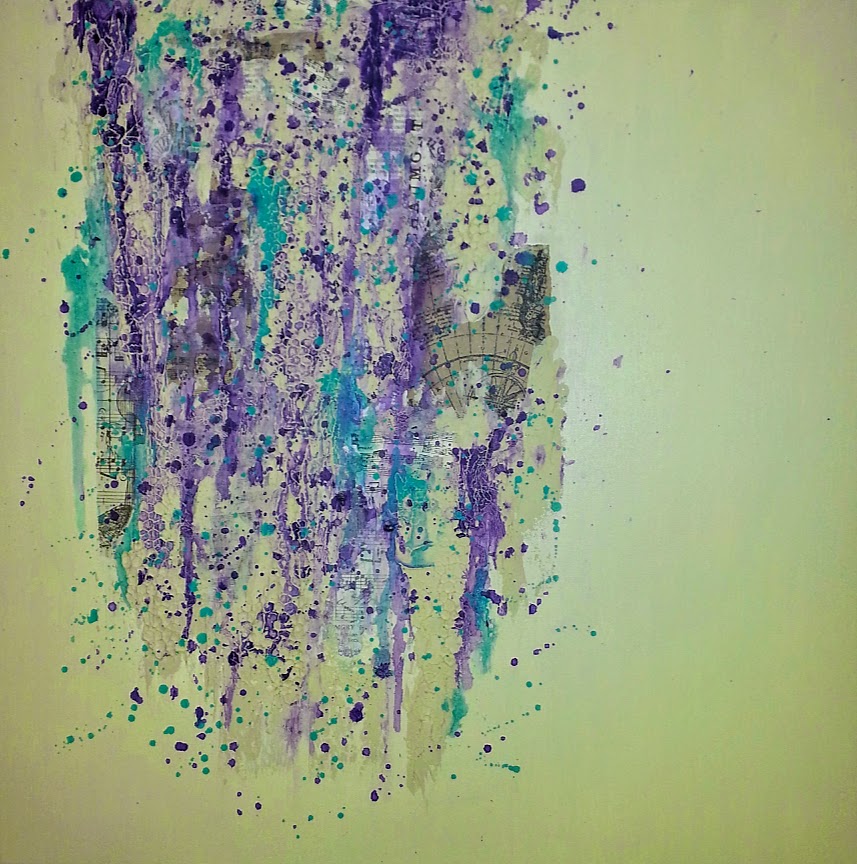
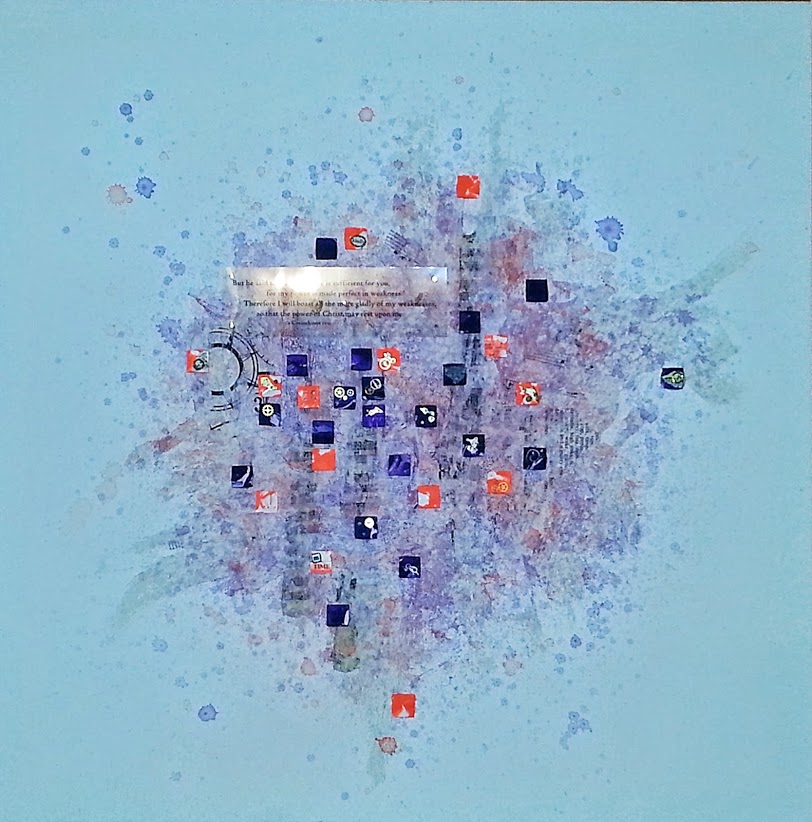
“Never Compromise”, mixed media illustration by artist Martice Smith II

Repeat your words until you are fully confident in them. It is YOUR belief in them that makes them come alive.

Now, as you build your courage on stable ground, remember to:

2. Allow yourself time to develop.

It takes time to learn and experiment with new techniques. Set aside, at least 15 minutes a day for creative exploration.

Break things down into manageable chunks and celebrate the small things, too. Show your enthusiasm and others will catch on and celebrate with you!

Every time you draw something, know that you will get better. You’re making progress and that surely puts those negative thoughts in their place, right?

You have to be willing to put the work in to get the results you’re looking for. Your first drawing may not look all that great to you; maybe the eyes are crooked, the composition doesn’t feel intentional, or there’s an unsightly knot in the middle row of your hand-woven basket…all of these “mess ups” can stop us in our tracks. Defy the urge to quit!

detail of "Never Compromise", illustration by artist Martice Smith II

3. Ask for help.

You are not on this great art journey all by yourself. There is always someone else you can reach out to. Be brave and write down a list of people you admire and reach out to, at least, one of them.

You can also participate in online art groups and connect with many individuals who are more than happy to give advice and share resources with you.

detail of "Never Compromise", illustration by artist Martice Smith II

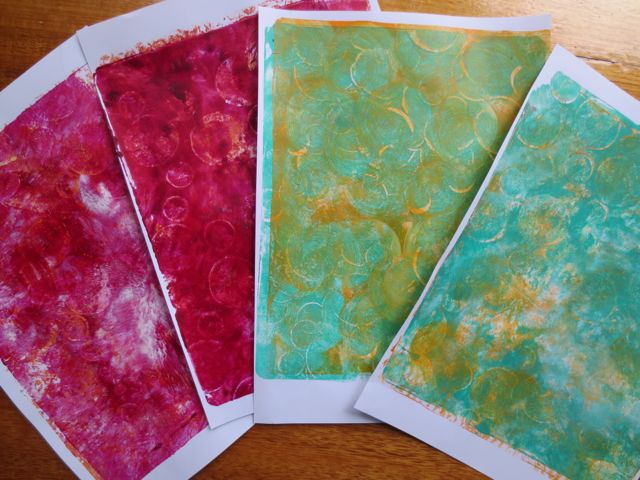
Supplies used for the illustration: 

  • Large envelope – Size 12.5 x 9.5 inches (I used one from my local Postal Service)
  • collection of image transfers (from magazines)
  • Graphite
  • White ink pen (Uni-ball Signo)
  • Colored tissue paper
  • Spray varnish (matte finish)

DecoArt Products:

  • DecoArt Media Fluid Acrylics, Americana and Fluorescent Acrylics
  • Decou-Page – Napkin sealer
  • 3D Gloss Enamels Transparent Glass Writer – Yellow
  • Liquid Glass

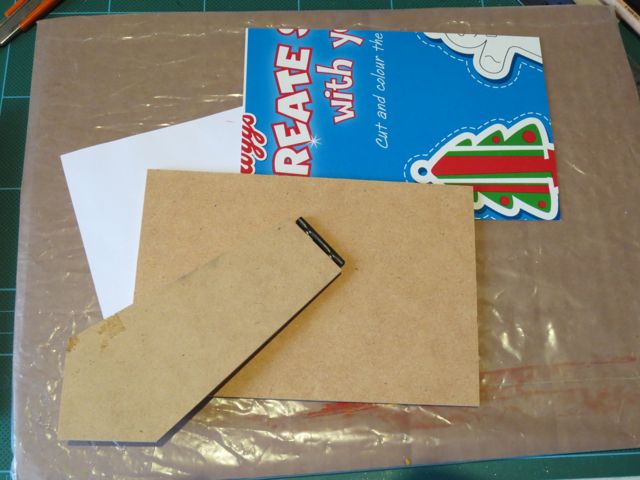
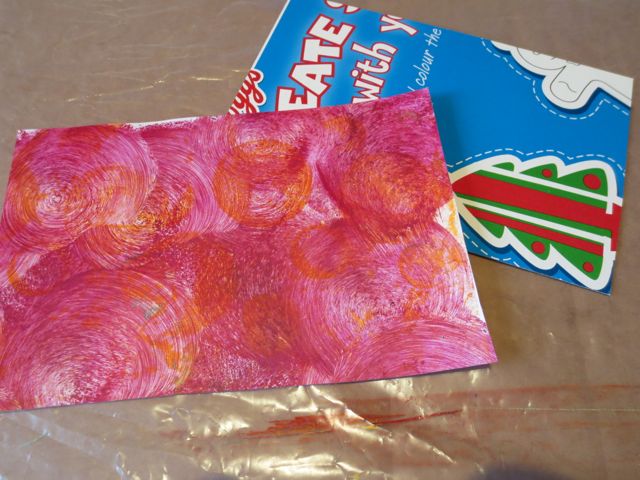
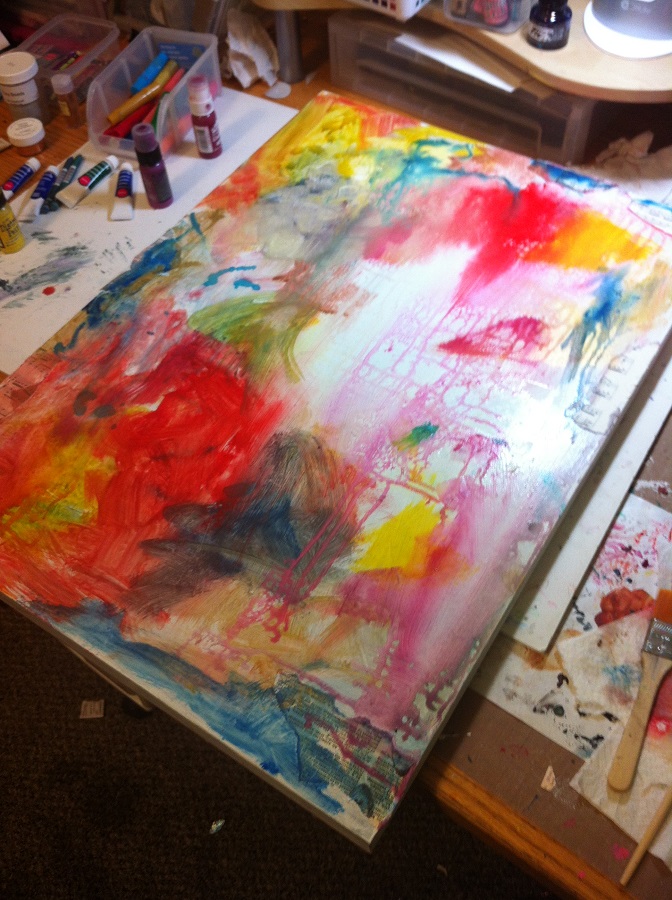
Using acrylic paints, paint directly onto the large envelope with bold, expressive strokes. Let paint drip and splatter!

Create dots with the handle end of a paintbrush. Determine where your image transfers will go. Cut out words and letters and arrange them into graphic elements that make bold statements. Embellish with collage and mark-making techniques, your personal symbology, patterns and doodles. Spray entire surface with a light coating of matte varnish.

Now, you can bravely and confidently declare that you have the courage to start.

Cheers to your success!

~*~*~*~*~*~*~*~*~*~*~*~*~*~*~*~*~*~*~*~*~*~*~*~*~

Photo of artist Martice Smith II

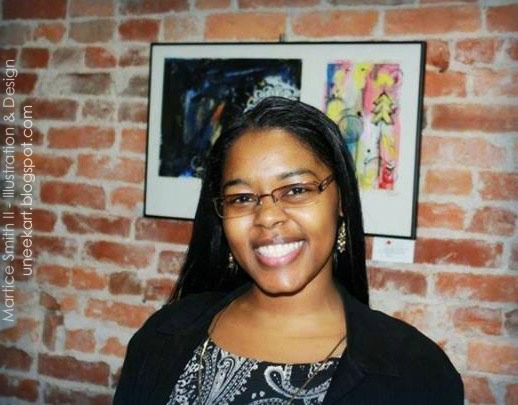
Martice Smith II is creative director of Martice Smith II – Illustration & Design Studio, based in Missouri and owner of Uneek Art Boutique. She established herself as a freelance Illustrator and graphic designer after receiving her Bachelor of Arts Degree. Her stunning illustrations reveals her love for fashion, typography and wildlife- using a combination of traditional and digital techniques.

You can see more of her work via her Facebook page or The Uneek Art blog.

Be sure to join the Uneek Art Letter, -Martice’s monthly newsletter- that offers art biz tips, advice and more digital goodness that will keep you inspired to be the artist you envision yourself to be!

~*~*~*~*~*~*~*~*~*~*~*~*~*~*~*~*~*~*~*~*~*~*~*~*~

.

.

Turn your Gelli Prints into Inspiring Framed Gifts

~ * ~

This article is written by Michelle G. Brown

Mono-printing with GelliArts Gelli Plates has become one of my favourite mixed media art techniques for creating backgrounds (you can see some of my first attempts and step-by-step guide here and once you get into the swing of things, the prints pile up quickly! So I decided to take a second-hand photo frame and up-cycle it into an inspiring piece of mixed media art.

Use background papers into a handmade gift

Materials

– Background papers or Gelli prints

– Photo frame; here I used a 5” x 7” frame

– piece of cardboard to fit frame

– glue; PVA or Gel Medium

– Washi tape

– Black Marker; here I’ve used my Golden Black pen Montana Marker with Golden Fluid Acrylic

Create your Framed Gift

1. Gather your materials and a few pieces of background paper in colors that work well together

Using Gelli prints to make handmade gifts

2. Take the back off your photo frame and use it to cut a piece of cardboard to size so it will fit into the frame. I used a piece of cereal box cardboard. Check that it does fit into the frame and trim if needed.

Gelli prints to create mixed media gifts

3. Use the cardboard to cut a piece of background paper to size.

Gelli prints to create mixed media gifts

4. Use a piece of scotch brite or sandpaper to rough up the cereal box cardboard. Then stick the background paper to the cardboard. Flatten out any wrinkles.

Gelli prints to create mixed media gifts

5. Cut two contrasting background papers into strips and thin triangles. Stick these to the background piece. Leave to dry and trim the ends to size.

Gelli prints to create mixed media gifts

6. Add a strip of Washi tape and write in your inspiring quote with the black marker. Seal with Gel medium or varnish. Leave to dry.

Gelli prints to create mixed media gifts

7. Place your mixed media art into the frame, replace the back and your gift is ready to give!

(I forgot to take a final photo of my piece in the frame but here it is finished!)

Gelli prints to create mixed media gifts

I hope this has inspired you to get out those Gelli prints or dive into your stash of background papers and put them to good use!

Happy creating,

Michelle

~*~*~*~*~*~*~*~*~*~*~*~*~*~*~*~*~*~*~*~*~*~*~*~*~

Michelle G. Brown is passionate about mixed media art and enjoys sharing her knowledge and techniques with you to allow you to express your own creativity. Michelle understands that many of us have an inner need to create. By learning a few basic techniques the amazing world of mixed media art is accessible to everyone!

Michelle lives with her husband and two boys in Melbourne, Australia. When she is not creating or on Facebook, she’s at karate training. Just to make sure she’s properly busy, she has also adopted the From Picture to Page Scrapbooking and Papercrafts Show

~*~*~*~*~*~*~*~*~*~*~*~*~*~*~*~*~*~*~*~*~*~*~*~*~

.

.

Mixed Media Artist Janelle Nichol

~ * ~

This article is written by Michelle G. Brown

When I first came across the work of Janelle Nichol work, somewhere on the Internet, I wanted to know more about her. I loved her pieces that I saw; they were delicate and feminine, and with a distinctive look that combines mixed media with fine art painting. I had a chance to catch up with Janelle via Skype so we could chat about her work.

Janelle lives in Alberta, Canada with her family, and I was delighted to discover that Janelle is actually a self-taught artist. While she has always been creative, and also has a previous career in music teaching, she has only been painting and collaging for about five years, and as what she considers “seriously” for three years. Her style includes collage and paints, and she just loves trying things, which fits perfectly under the “mixed media” genre.

mixed media painting by Janelle Nichol

With a focal point around women and children, Janelle’s style has been described as abstract folk art. Her work shows a strength and softness in the same piece. One of her favourite comments from an art show customer was that her work “celebrates women for who they are”!

Janelle’s go-to materials include the full range of mixed media materials, with gesso, paints, tissue paper, gelato’s, intense blocks, sprays, Distressed inks and stains all being part of her collection. Anything that adds texture also features; moulding paste, sequins, glass beads and all sorts of unexpected ephemera can be seen when looking closely at her pieces.

When I asked about Janelle’s mixed media process, she tells me she will often start with a sketch and a vision that includes the images and the mood, feelings and colours of the piece.

Then she creates the background, which can take on a life of it’s own but will stick to the colours and feel in her vision. This maintains the mood Janelle is trying to achieve with each piece. Tracing her sketch onto the mixed media background adds the focal point and Janelle then paints in her figure. Here we can see these steps as this piece “A Meditation” progresses:

mixed media background by Janelle NicholCreating a background

mixed media painting by Janelle NicholSketching in the main figure

mixed media painting by Janelle NicholPainting in the figure

mixed media painting by Janelle NicholDetail hidden in the finished piece

mixed media painting by Janelle NicholThe final piece “A Meditation

Once Janelle has finished a mixed media painting, she will take high quality photos which allows her to turn her paintings into cards and prints. Then Janelle changes to her “business” hat, where her images are added to her website. Janelle does all of the work herself and she likes the balance that being an artist and business women provides. While the paint is drying, Janelle promotes her work through her website and Facebook page, and prepares for the numerous shows she does.

There are a number of shows that Janelle regularly exhibits at and it gives her a chance to engage with the public, as well as meet other artists. The show customers love seeing her work in “real life” as all of the depth and texture always looks better to see a piece of art in person. The shows also give Janelle a chance to put her face to her work and helps the sales process. It has taken a few years to build up to the number of shows Janelle is currently doing.

Our discussion then turned to the future for Janelle. She is currently working on the 2014 Fall shows, along with a book that will include her work with inspiring quotes, “like a coffee table book”, which is currently planned for a Fall 2015 release. Janelle’s head is full of ideas for new mixed media paintings and calendars and so many projects and opportunities, including looking into teaching online classes, as well as a secret “new thing” that is in process but now quite ready to reveal to the world, just yet (she promises we will be amongst the first to know when it’s ready to go!)

Whatever Janelle turns her hands to next, we will certainly be following along.

You can see more of Janelle’s work on her website: JanelleNichol.com or her Facebook page.

~ * ~ * ~ * ~ * ~ * ~ * ~ * ~ * ~ * ~ * ~ * ~ * ~ * ~ * ~ * ~

Janelle loves sharing her mixed media process and in this video you can watch her create at least four different backgrounds, with different sized canvases using a variety of mixed media techniques! I lost count of the number of media she uses: gelatos, sprays, inktense blocks, distress inks and stains, paints, tissue paper, markers, gesso, stencils – a that’s just for the backgrounds!!

~*~*~*~*~*~*~*~*~*~*~*~*~*~*~*~*~*~*~*~*~*~*~*~*~

Michelle G. Brown is passionate about mixed media art and enjoys sharing her knowledge and techniques with you to allow you to express your own creativity. Michelle understands that many of us have an inner need to create. By learning a few basic techniques the amazing world of mixed media art is accessible to everyone!

Michelle lives with her husband and two boys in Melbourne, Australia. When she is not creating or on Facebook, she’s at karate training.

~*~*~*~*~*~*~*~*~*~*~*~*~*~*~*~*~*~*~*~*~*~*~*~*~

.

.

Meaningful Mixed Media Collages

~ * ~

This article is written by Anjuli Johnson

The term collage comes from the French word “coller”, meaning “to glue”.  Though it had been a technique for many years, the first mention of the term was around 1913 when Pablo Picasso and Georges Braque drew serious attention to collage as an art form.

Splashes of purple and turquoise against bright white

Now, collage can be found everywhere- in elementary classrooms, photo albums, crafting and fine art.  It is used for many reasons- practicing motor skills, preserving memories, home décor, etc. In fine art, collage can be used to express different ideas through the different materials used- newspaper and magazine clippings to make political statements, blocks of color to suggest violence or the randomness of life, or even sections of old paintings and drawings cut up and reformed into something new.

I myself have been fascinated with a new collage technique I’ve been experimenting with- using modeling paste as a means to hide certain collage elements while keeping others visible.

Polymer Clay tiles add the finishing touches to this collage.

I’ve been fascinated lately with the idea of hidden things, things lurking just below the surface, specifically in a person’s character.  We all have things that we try to hide from other people- weaknesses and vices that are embarrassing or compromising, or even accomplishments that we are anxious or unsure of for some reason- talents we hold back because of fear.  Whatever the nature of our hidden parts, they affect our outward natures, as well.  I believe that, however good we may be at hiding certain things about ourselves (good or bad), there are hints to be found for those who look closely enough.

In my recent collages, this is exactly the idea I’ve been working to convey.  I begin with a layer of cut and torn papers, then I cover certain areas with modeling paste- sometimes thick, sometimes thin.  Once it dries, I sand certain areas (I love that I can do this so easily with modeling paste), and then I add some color and another layer of patterned papers.  More modeling paste is stenciled over to give it more texture and dimension, and a final layer of color.  Of course, I could completely mix up these steps- add some more or take away a few and use different elements for some new inspiration.

Bright Purple and Turquoise against a cream background.

Collage is such a versatile medium with infinite possibilities.  I’m grateful when I look back on my initial attitudes toward collage- all I could see was bits of paper and fabric pasted together in random ways.  I didn’t see the meaning, the purpose beneath the surface.  Now, though I can’t say I fully understand the meaning behind every piece by every artist, I do see the purpose and the value.  Let’s go find some new ways of putting ourselves into our collages.

Orange and Purple Collage with square tiles and acetate quote.

~*~*~*~*~*~*~*~*~*~*~*~*~*~*~*~*~*~*~*~*~*~*~*~*~

Anjuli Johnson  is a Mixed Media Artist from Raleigh, NC.  She began her art career as a scrapbooker, and it’s been an evolutionary process every since.  She loves all things mixed media- paper, glue, paint, canvas, pens, wire, gears… the list goes on and on.  She is constantly trying to push through her fears to discover and develop her talents, meet new people, and learn from those around her.  To see more of Anjuli’s art and techniques, check out her website at www.thefarpavilion.com  and like her Facebook page.

~*~*~*~*~*~*~*~*~*~*~*~*~*~*~*~*~*~*~*~*~*~*~*~*~

.

.