Quick Handmade Mothers Day Gift

If you are in need for a quick Mothers Day gift, here is a simple project to give your Mother, and other significant women in your life, a handmade gift from the heart. If you need to pop it into the mail, this bookmark can be easily added to your handmade greeting card. Your Mom will love you for it!

Quick and simple mixed media handmade gifts

Materials & Tools

Instructions

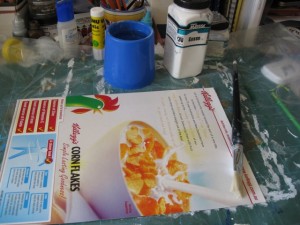
1. Cut our your sheet of cardboard

Using cereal box cardboard to make handmade gifts

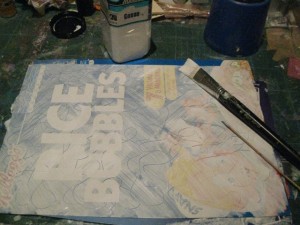
2. Add a layer of gesso and use a skewer to draw shapes or words into the wet gesso. Leave to dry.

use gesso to create a good base

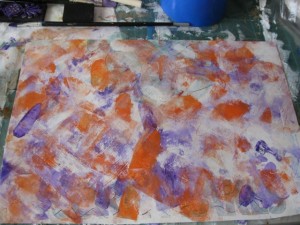
3. Choose acrylic paints in two colour and splash around some paint onto the gesso’d cardboard

Use two coloured acrylic paints

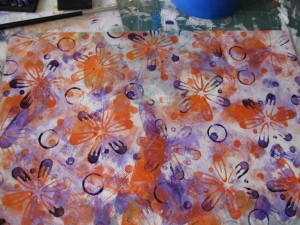
4. Use your found objects and foam stamps to add interesting shapes to your background. Apply the paint with a paintbrush and don’t worry about mixing colour – this all adds interest.

add interest with these patterns

5. Cut into shapes; you can use this background to create many different items:

  • Artist Trading Cards (ATCs) – 2 1/2″ x 3 1/2″
  • Postcards – 4″ x 6″
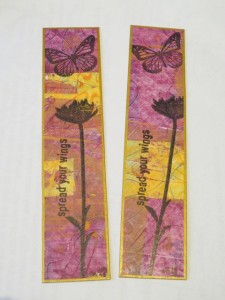
  • Bookmarks – 1 1/4″ x 5 1/2″

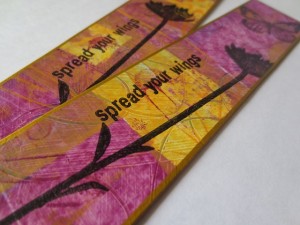
5. Stamp onto your chosen item. I like using black ink so that the coloured background isn’t over-shadowed by the images. Here I have used the Wildflower set by Darkroom Door. Edge with gold pen and seal with spray varnish.

Simple bookmarks to pop in with any card

Happy creating!


Mixed Media Artist ~ Carmen Sanchez

~ * ~

Our Mixed Media Art community is a diverse bunch; from all around the world, with different interests, reasons why we create and a wide range of skills.  Over the next few weeks we will be featuring a range of mixed media artists to tell their stories and share their artwork.

This week we are heading to Madrid to see what Carmen (aka Cuchy) is doing with her mixed media art.

~*~*~*~*~*~*~*~*~*~*~*~*~*~*~*~*~*~*~*~*~*~*~

M. Carmen, from Madrid (Spain), is also known as Cuchy across the web.  She is 42 years old, has been married for almost 20 years and has 2 children (15 and 7) who also like the crafty side of life  As far as she can remember, Carmen has always been interested in any kind of arts and crafts.

“Mainly self-taught, I do not miss the chance to attend as many workshops, either online or on-site I can, being always in ongoing training”, Carmen says. “My works have evolved from “clean and simple” to mixed media layers and layers. I love to try, experiment and learn new techniques with paint, papers, textures and everything within reach.”

As a contributor and guest designer in various Spanish and international blogs, Carmen has taught several workshops in Madrid and Barcelona and loves to teach from her own experiences, and encourage the students to think outside the box and put their inner self in everything they create, to achieve a personal and unique result.

Carmen tries to balance her family life and work with mixed media, scrapbooking, music and her blog [http://la-almohada.blogspot.com], where you can see her latest projects.  In addition to all of this, Carmen also hosts an online crop every other Friday while chatting with some of her crafty friends.

~*~*~*~*~*~*~*~*~*~*~*~*~*~*~*~*~*~*~*~*~*~*~

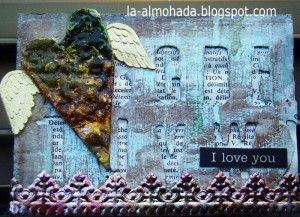
Carmen has included one of her latest ATCs to show us.

Mixed Media artist trading card

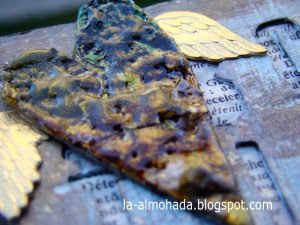
It’s a grungeboard piece which she painted with acrylics and crackle paints. To achieve that grungy and rusty look on the heart, Carmen used the heat gun until the paint made bubbles. To finish it, a layer of clear UTEE was added.  The background of the ATC is a “negative” cardboard piece from an alphabet die cut. It’s misted with glimmer, distress inks and has a piece of dictionary paper on the back that shows through the “empty letters”.

Mixed Media art heart

The border is a piece of german scrap coloured with alcohol inks.

~*~*~*~*~*~*~*~*~*~*~*~*~*~*~*~*~*~*~*~*~*~*~

Thank you so much for sharing your story and your wonderful ATC with us, Carmen.

.

.

.

Making LOTs of ATCs

Artist Trading Cards (ATCs) are wonderful little pieces of art that are traded between crafters. For a crafting show, ATCs are often traded between other attendees as a memento of the occasion. Sometimes there may be a theme to guide the participants. The challenge of making lots of ATCs for these shows is to keep the design simple and one you can easily replicate many times.

What is an ATC?

Artist Trading Cards are small pieces of art made with the intent to be traded between fellow crafters. There are all manner of groups on the internet that have swaps and challenges based around these cards.

An ATC must be the set size of 2 1/2″ by 3 1/2″ . They are usually in portrait orientation but don’t have to be. Besides the size, there are no other rules to ATCs – you can make them from cardboard or fabric or any other thin material. And you can decorate them with paints or stamping or collage or quilting or any other craft you like.

The back of the ATC is to contain your details, like a business card would. Your name and e-mail address (or postal address, if you wish) is  a minimum. Sometimes the title of the ATC, or theme or occasion, and it’s number or edition is also included.

There is one other rule regarding ATCs – I have been always told that ATCs are only ever for trading and never to be bought or sold. Some crafters will create what are called ACEOs (Art Card, Editions and Originals), which are ATCs to sell. I believe that is against the spirit in which ATCs are created.

Key points to making lots of ATCs

– Start with large sheets of card (12″ x 12″ or A4) which can easily be decorated to make the background and then cut to size
– Stamping allows you to reproduce the same image many times
– Consider embellishments like punches or cutter dies that can create lots of the same in a short amount of time and for little cost
– They don’t all have to be exactly the same; if making cards to a theme, you can still alter the colour or type of some elements
– Instead of written your details on the back of many ATCs, use your computer to type out your main details (name and e-mail address) then cut and stick these to the back of your ATC. You can then sign it.

How I make lots of ATCs
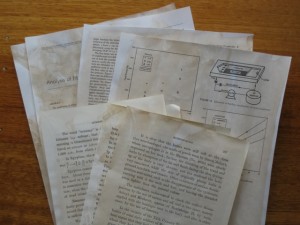
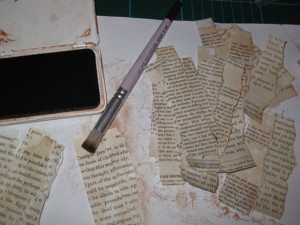
1. Use walnut ink or tea or coffee stain to antique many sheets of card for the background. Use the same method to antique sheets of text from an old book or conference proceedings (if the sheets curl, place thereunder a heavy book to flatten, after they are dry)


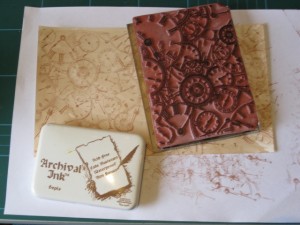
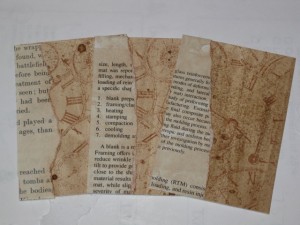
2. Using a large background stamp, cover the background card (lots of small stamps will also create the same effect)

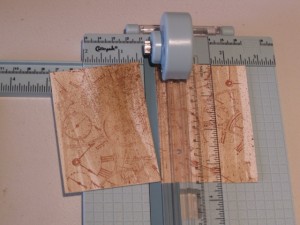
3. Cut background card into 2 1/2″ by 3 1/2″ piece

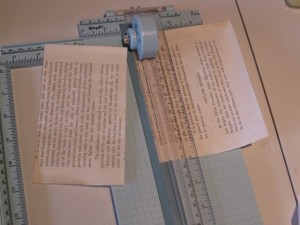
4. Cut the text pages into 3 1/2″ strips. Then tear them into smaller strips at about 1/3 of ATC width. Use a brown or sepia ink to sponge the torn edge of each piece.

5. Glue text strip to backgrounds using a glue stick

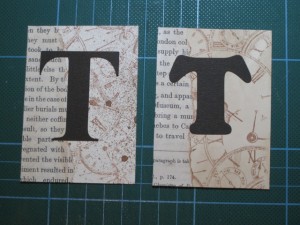
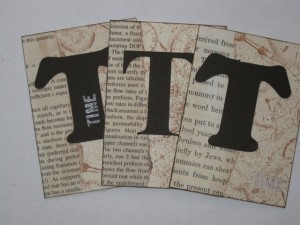
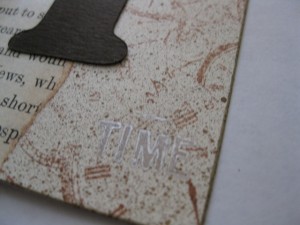
6. Add image or embellishments: I cut these T’s using  a puzzles cutter.

7. To finish the ATC, edge the entire card, using the inked directly onto the edges and stamp “time” using alphabet stamps in a lighter colour.

8. Don’t forget to add your details onto the back. This can be done my hand, using a ATC template stamp or using your computer.

The final part of ATCs is to go and swap them freely. I will always remember one of my first craft shows I ever attended and I didn’t know anything about this swapping thing. Many ladies were very generous and happy to give me an ATC when I had nothing to give in return. And this is the spirit in which I attend craft shows today.

If you are a little shy, place your ATCs in a plastic bag and use a safety pin to attach them to your carry bag or jacket, then anyone else who has ATCs can see you have some and you can start a conversation. Some craft shows will have a time and place that people can meet up to swap.

And remember the spirit of ATCs – if you are going to a show where you are going to meet people you know, you can make some special ATCs for those people, but keep them separate, so they are easy to find and you don’t accidentally hurt someone elses feelings. I have heard of occasions of some people refusing to swap their ATCs when they see the other persons ATCs and it didn’t meet their standard. Thankfully these incidents are few and between but remember that we all had to start somewhere, so be generous with your ATCs.

Happy Creating,
Michelle

.

.

.

MMAT05 – Edging and Sponging

Edging and Sponging are the focus of the Mixed Media Art Technique tutorial.

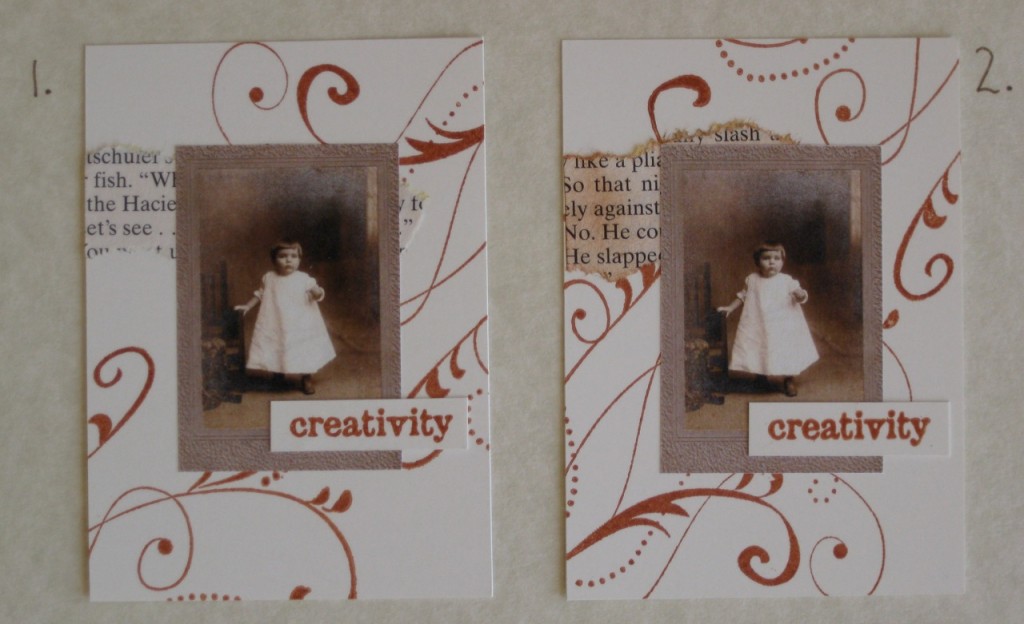
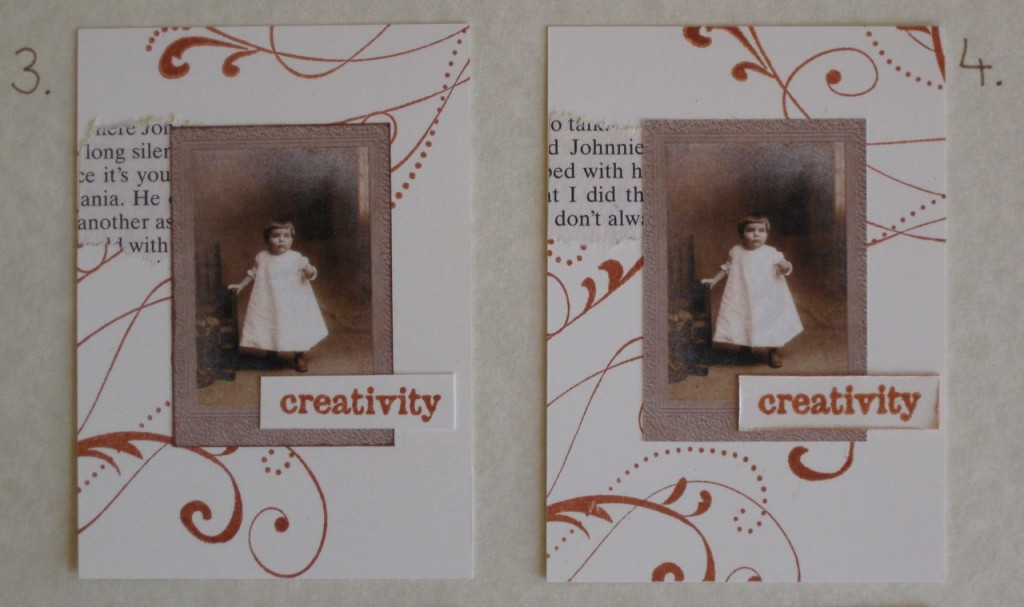
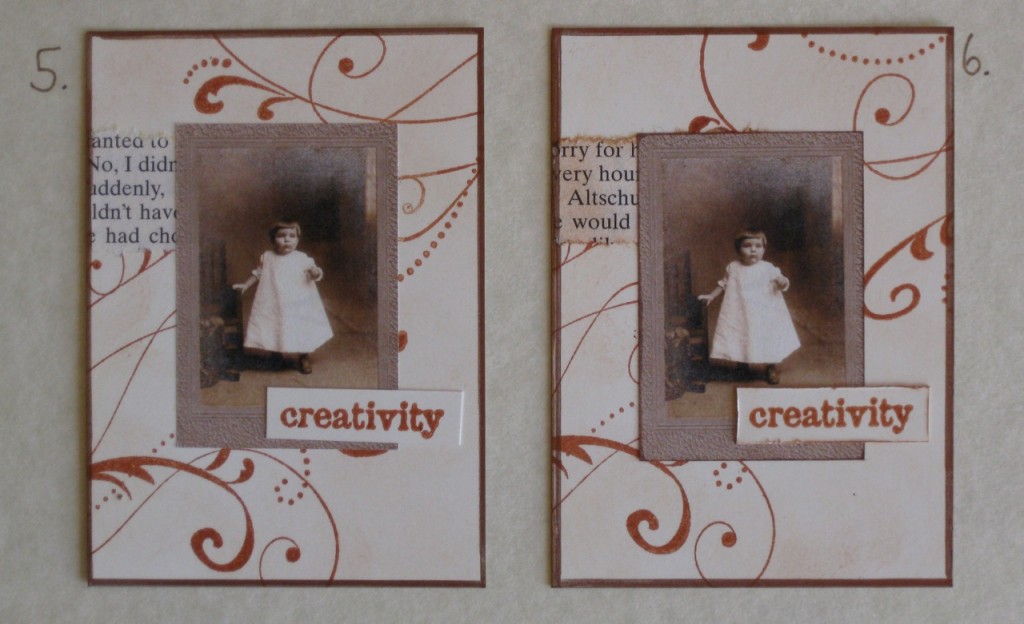
The Pop Quiz invited you to study the 6 ATCs and determine which technique was used with which element.

ATC 1 was assembled without any of the edging or sponging techniques being used.

ATC 2 has had the background scrap of text sponged, using the stippling brush and Sepia ink.

ATC 3 has the image edged with the direct-to-paper technique.

ATC 4 has the word “creativity” distressed with a craft knife and had a little sepia ink added to highlight the edges and lift it up from the background.

ATC 5 has been sponged around across the top of the card (it is very faint and hard to see in this photo). The edge has also been framed using a Kryon Copper leafing pen.

ATC 6 has had all of these techniques used, as outlined above for each element. Bringing together a combination of these edging and sponging techniques gives the ATC added character and finish.

~*~*~*~*~*~*~*~*~*~*~*~*~*~*~*~*~*~*~*~*~*~*~*~*~*~*~*~*~*~*~

I hope you have enjoyed revising these simple but very effective techniques.

Happy Creating!

~*~*~*~*~*~*~*~*~*~*~*~*~*~*~*~*~*~*~*~*~*~*~*~*~*~*~*~*~*~*~

.

.