Mixed Media Canvas – “Be Brave” Girl

~ * ~

This article and mixed media canvas was created by Melanie Statnick

1. Start with a blank canvas. I’ll be using a hard board canvas for more support. Cover the entire service with decorative tissue paper of your choice using Gel Medium. The paper creates great texture for this piece.

Printed tissue for canvas layering

2. After you’ve dried the tissue paper start covering the surface with white acrylic paint. Dry between layers of paint.

Printed tissue is covered with bright paints

3. Start layering your background starting with the lightest paint colors first. Apply paint in a diagonal fashion using back and forth strokes with a med size brush.

Add more colours with diagonal strokes

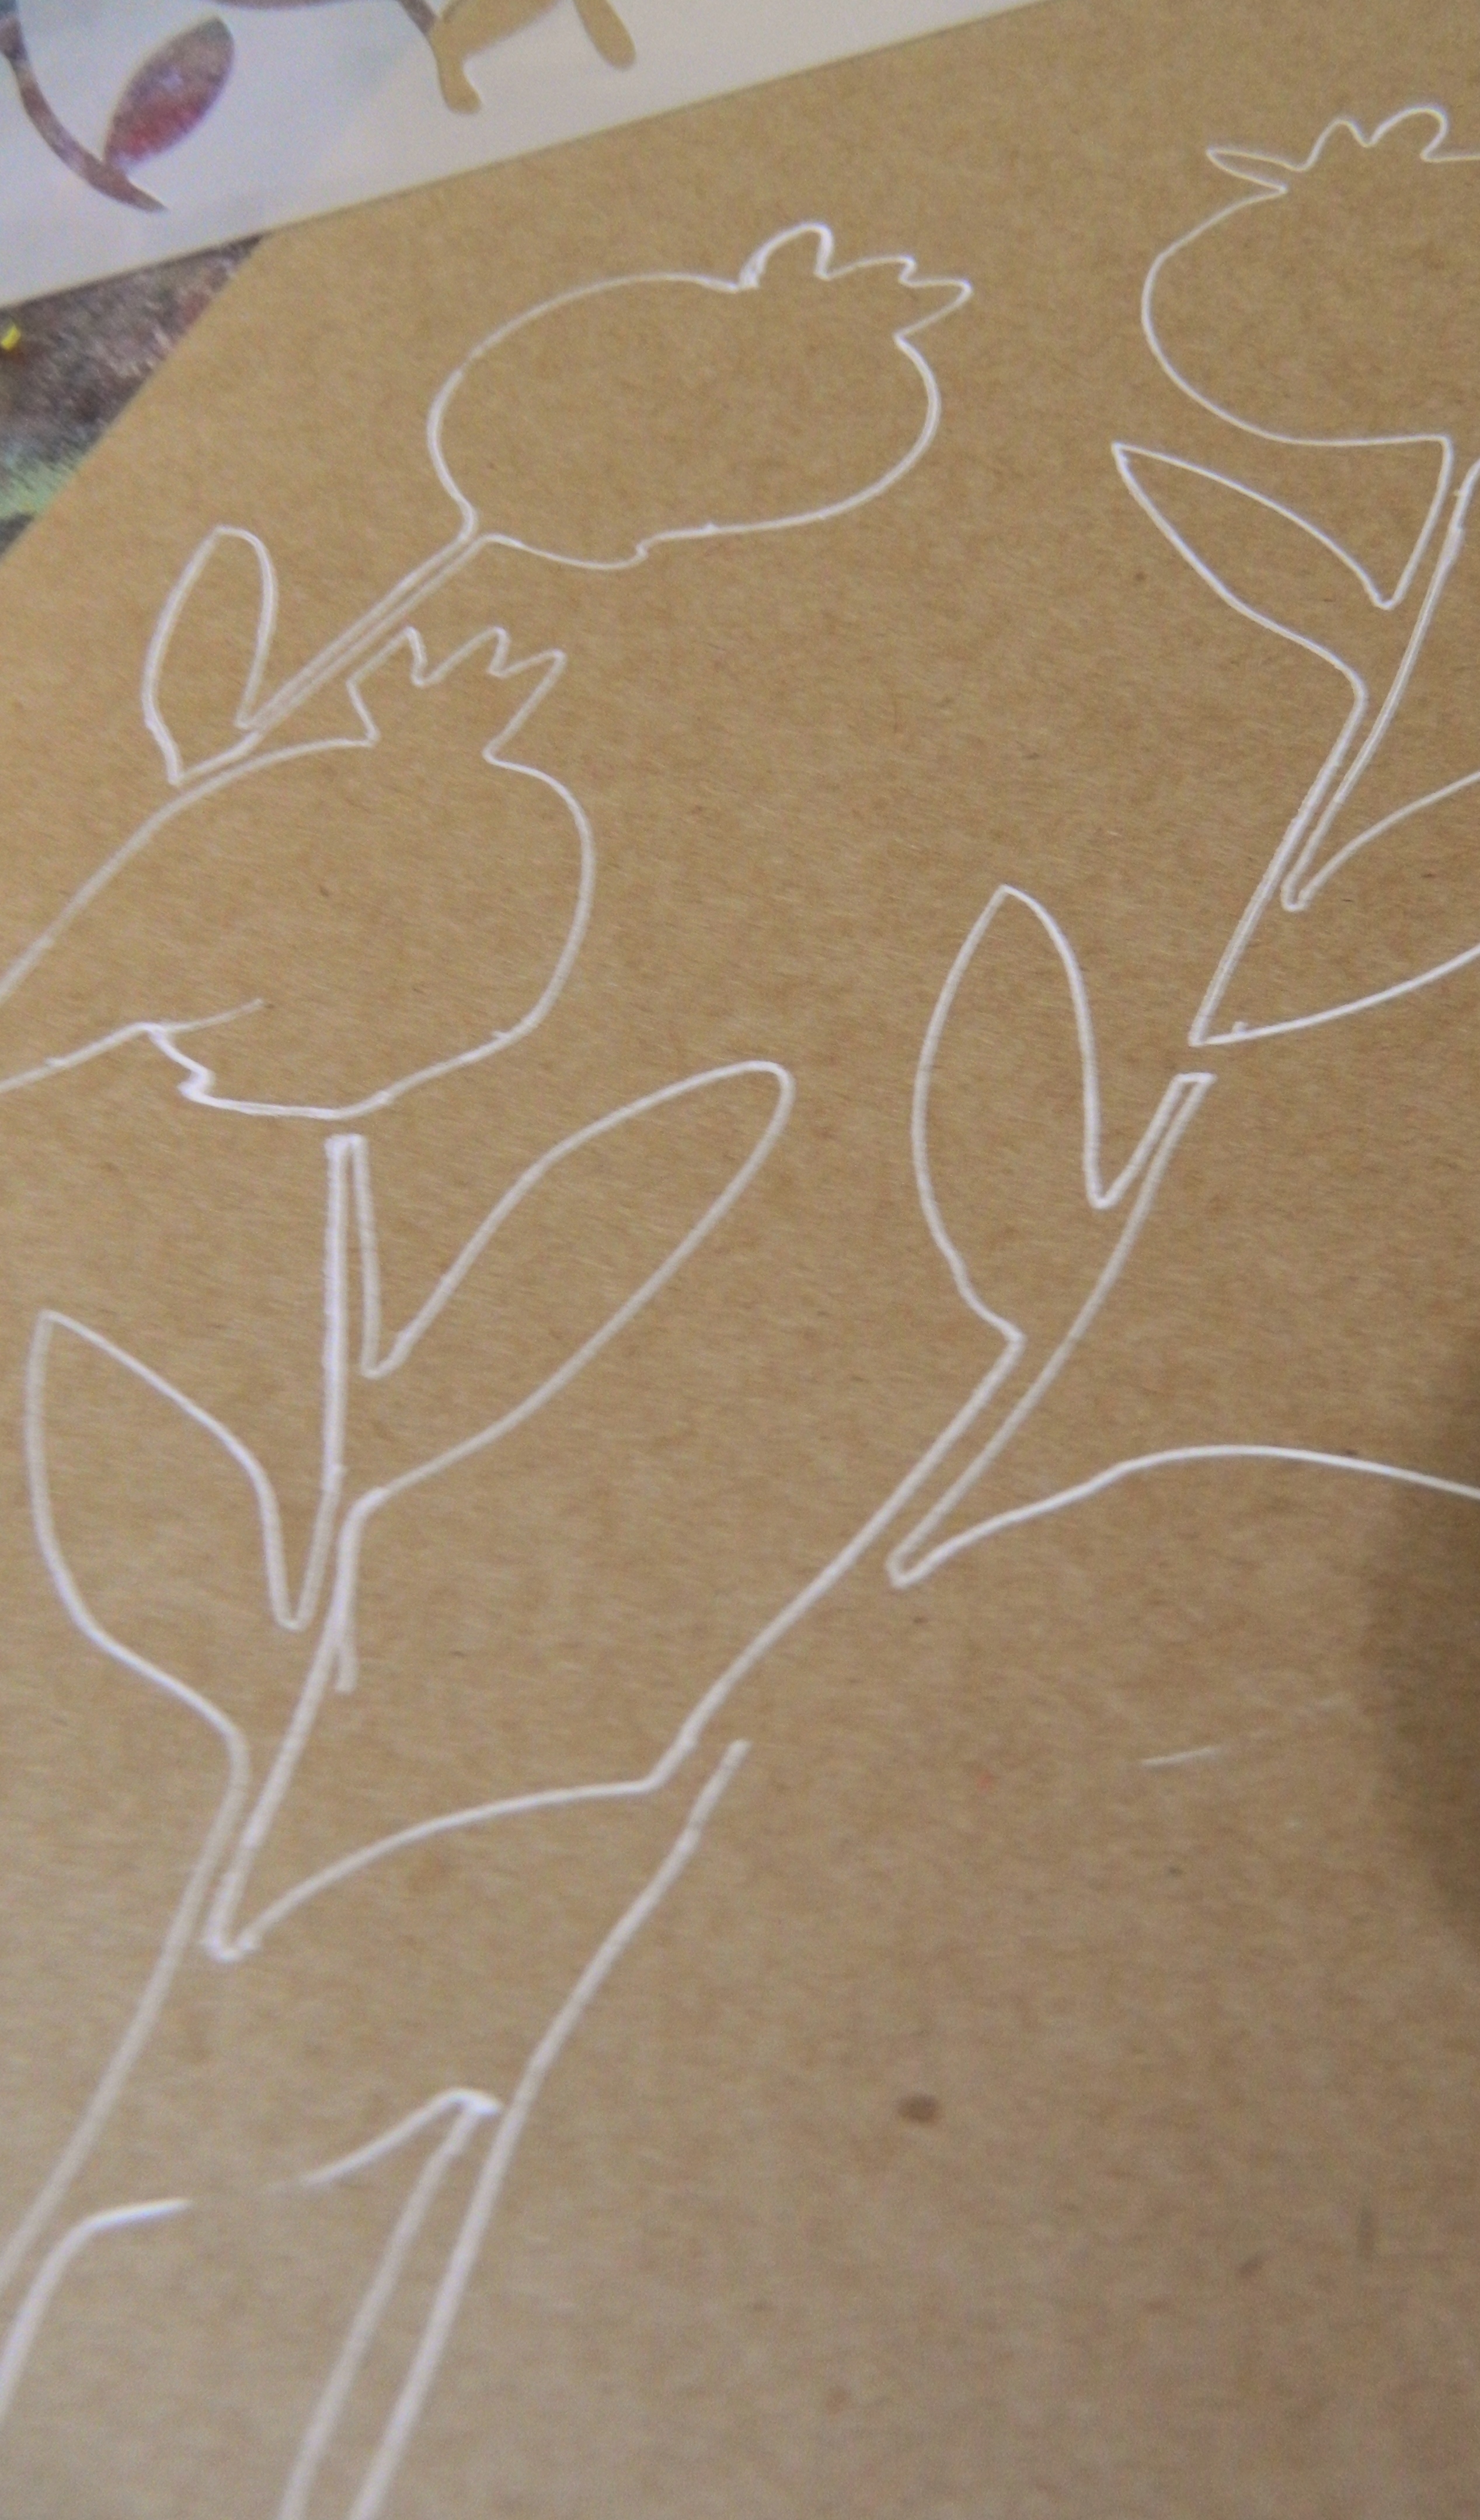
4. After your layers of paint have built a foundation as your background you’ll want to use an 8B graphite pencil to free hand sketch a character anywhere on your canvas.

Lightly sketch with graphite pencil

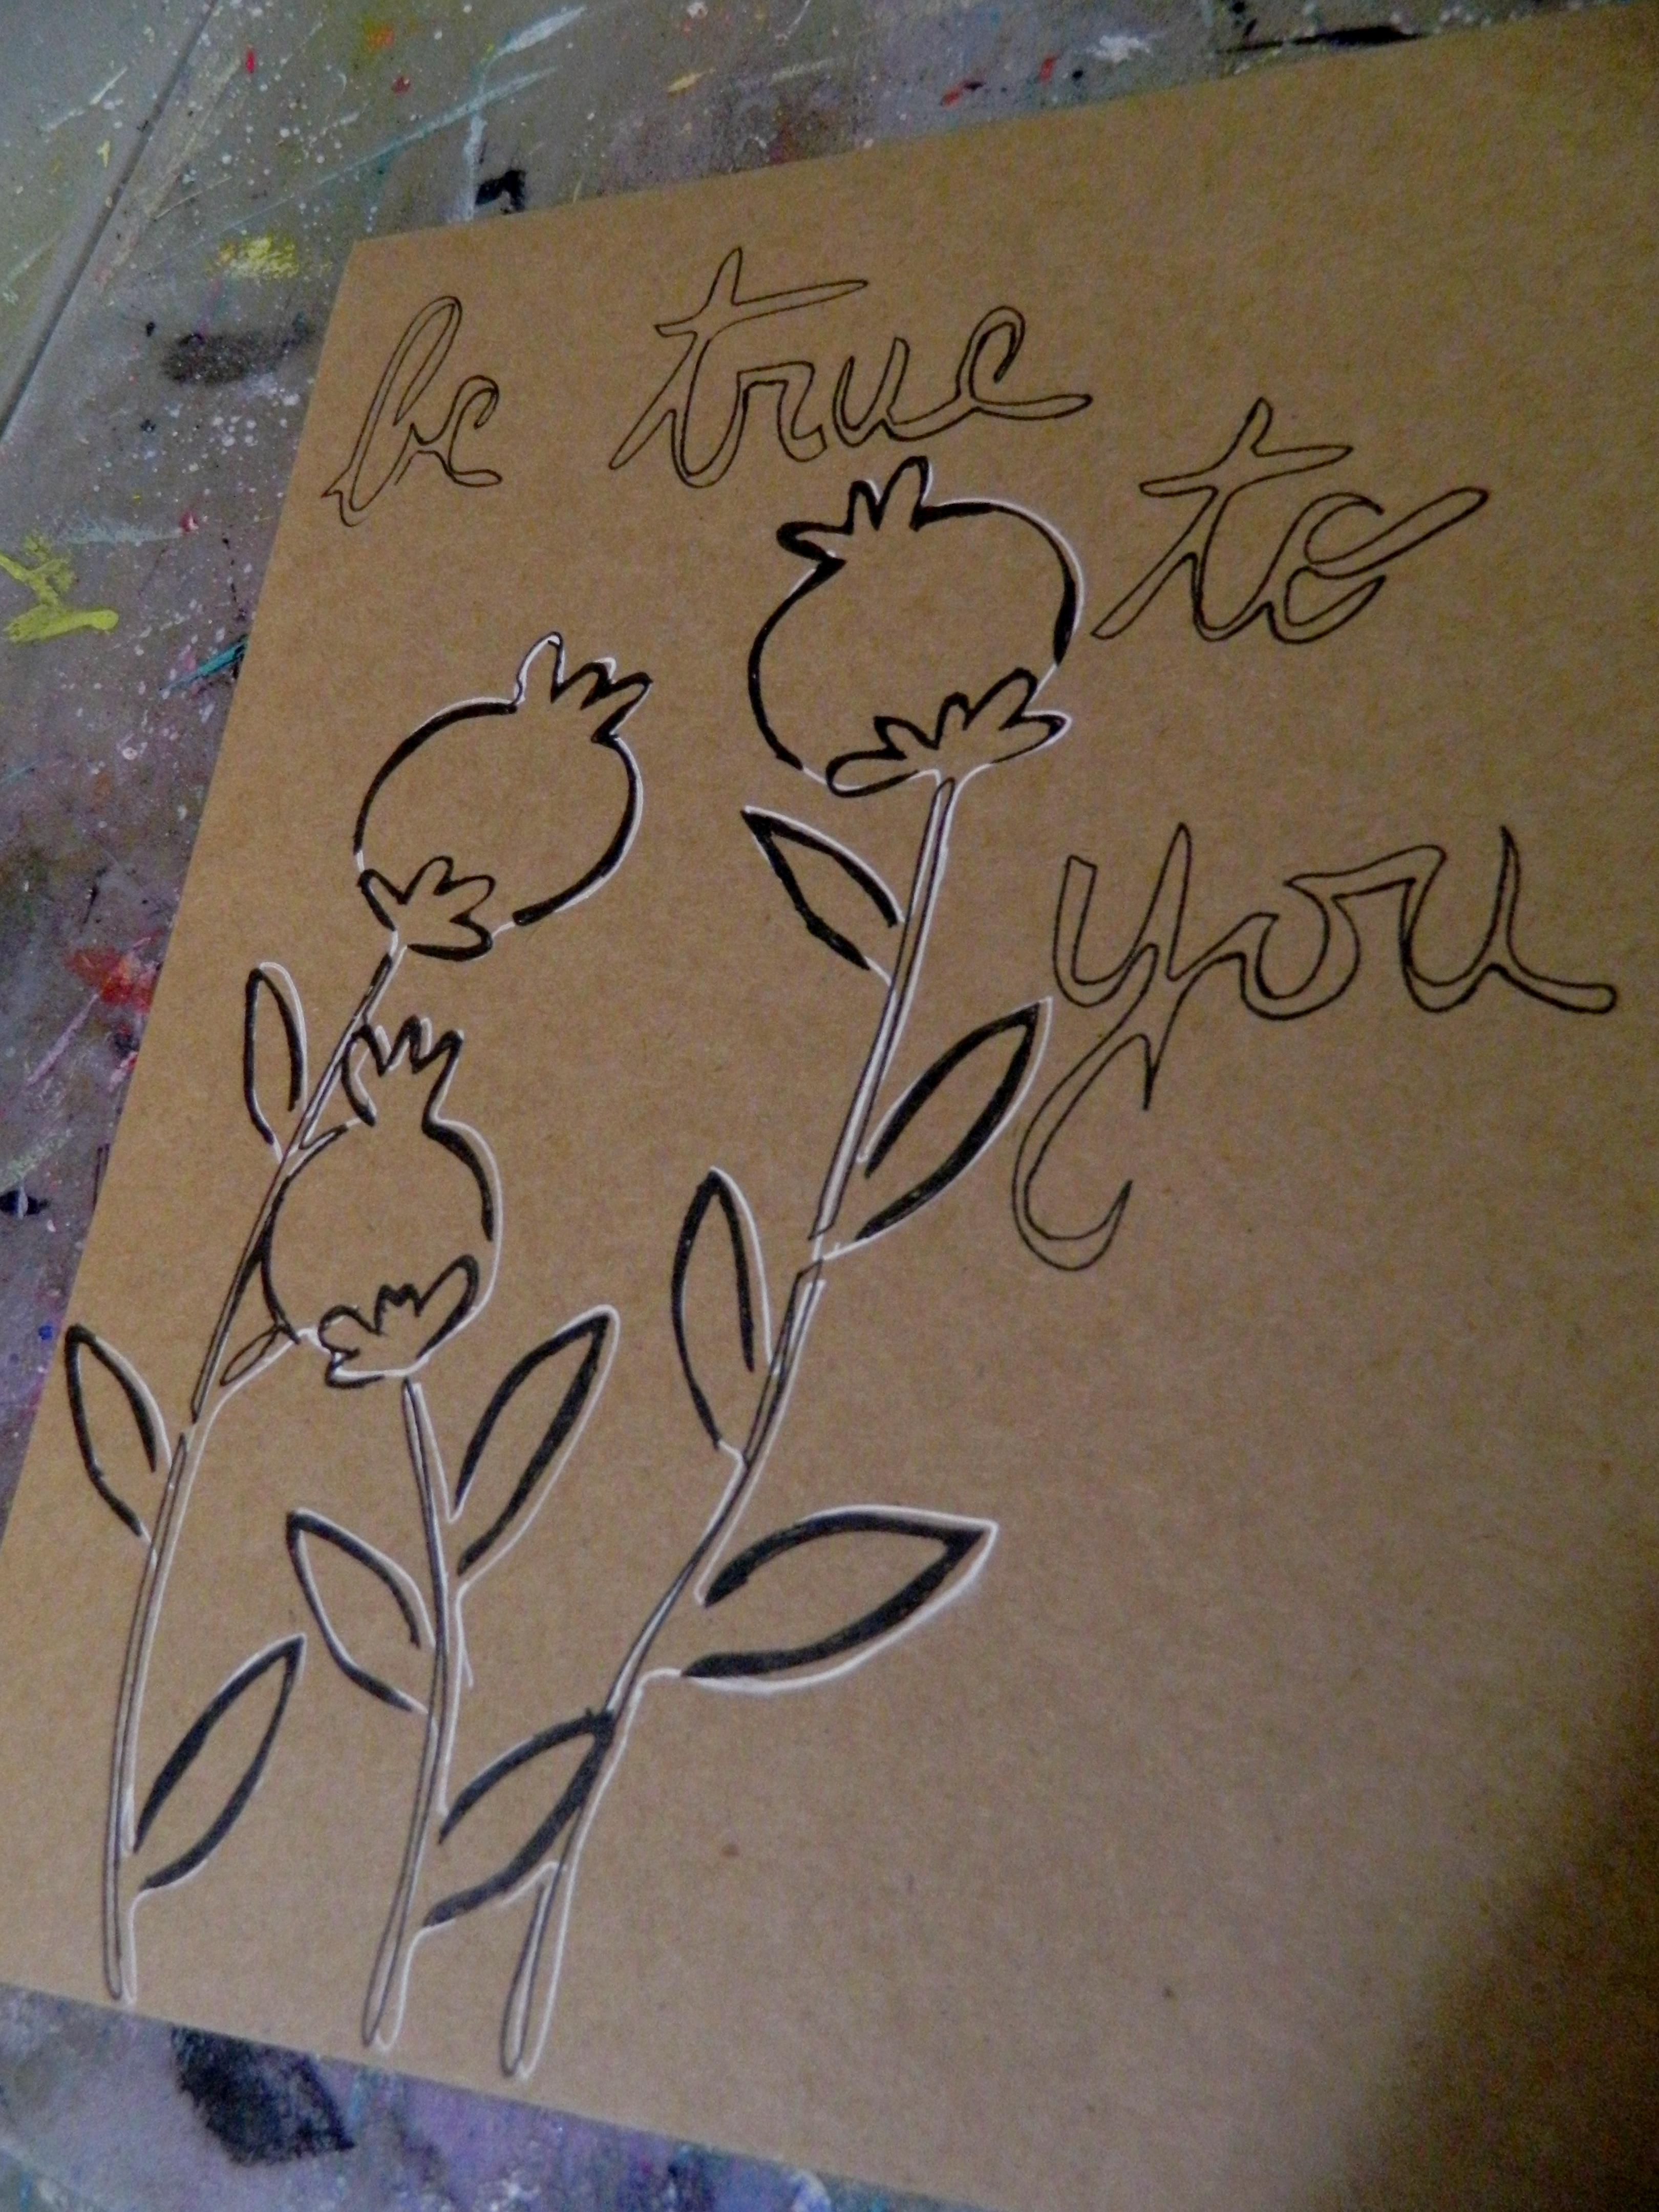
5. Next you’ll want to go over the pencil line using a black marker. I suggest a 1.2 mm.  Line the face and body. This will make your character stand out.

Define sketch with 1.2mm black marker

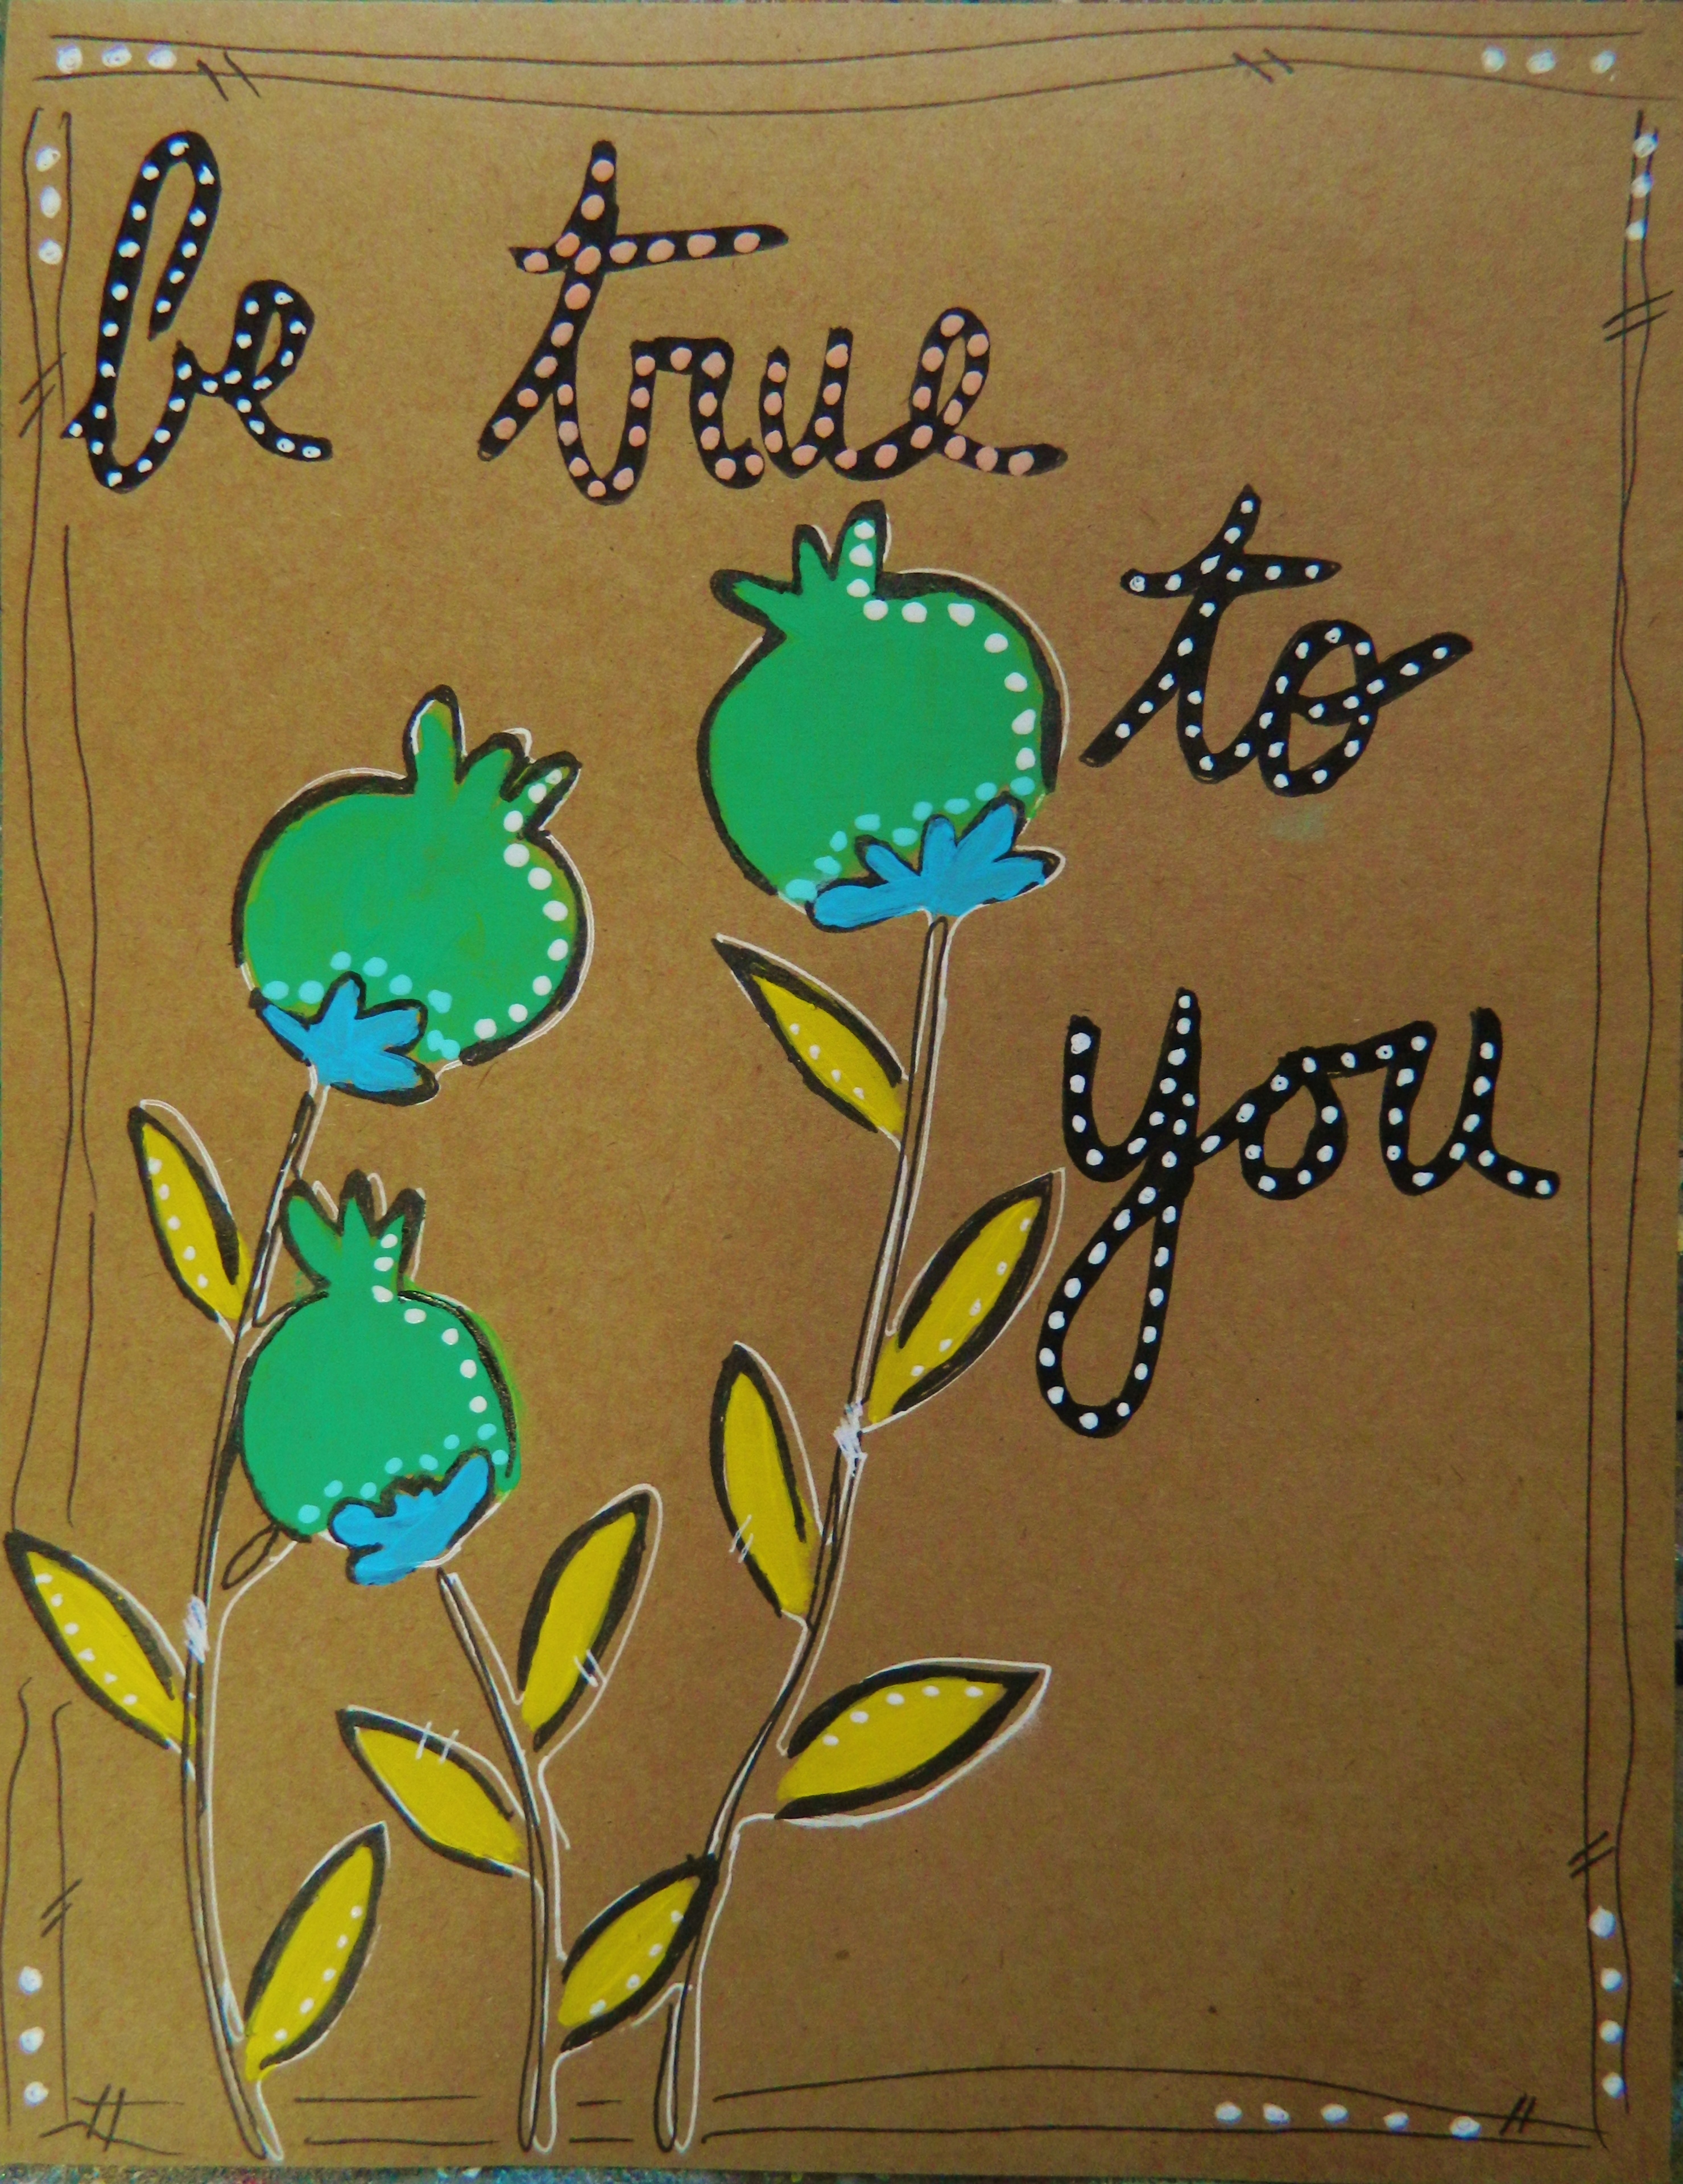
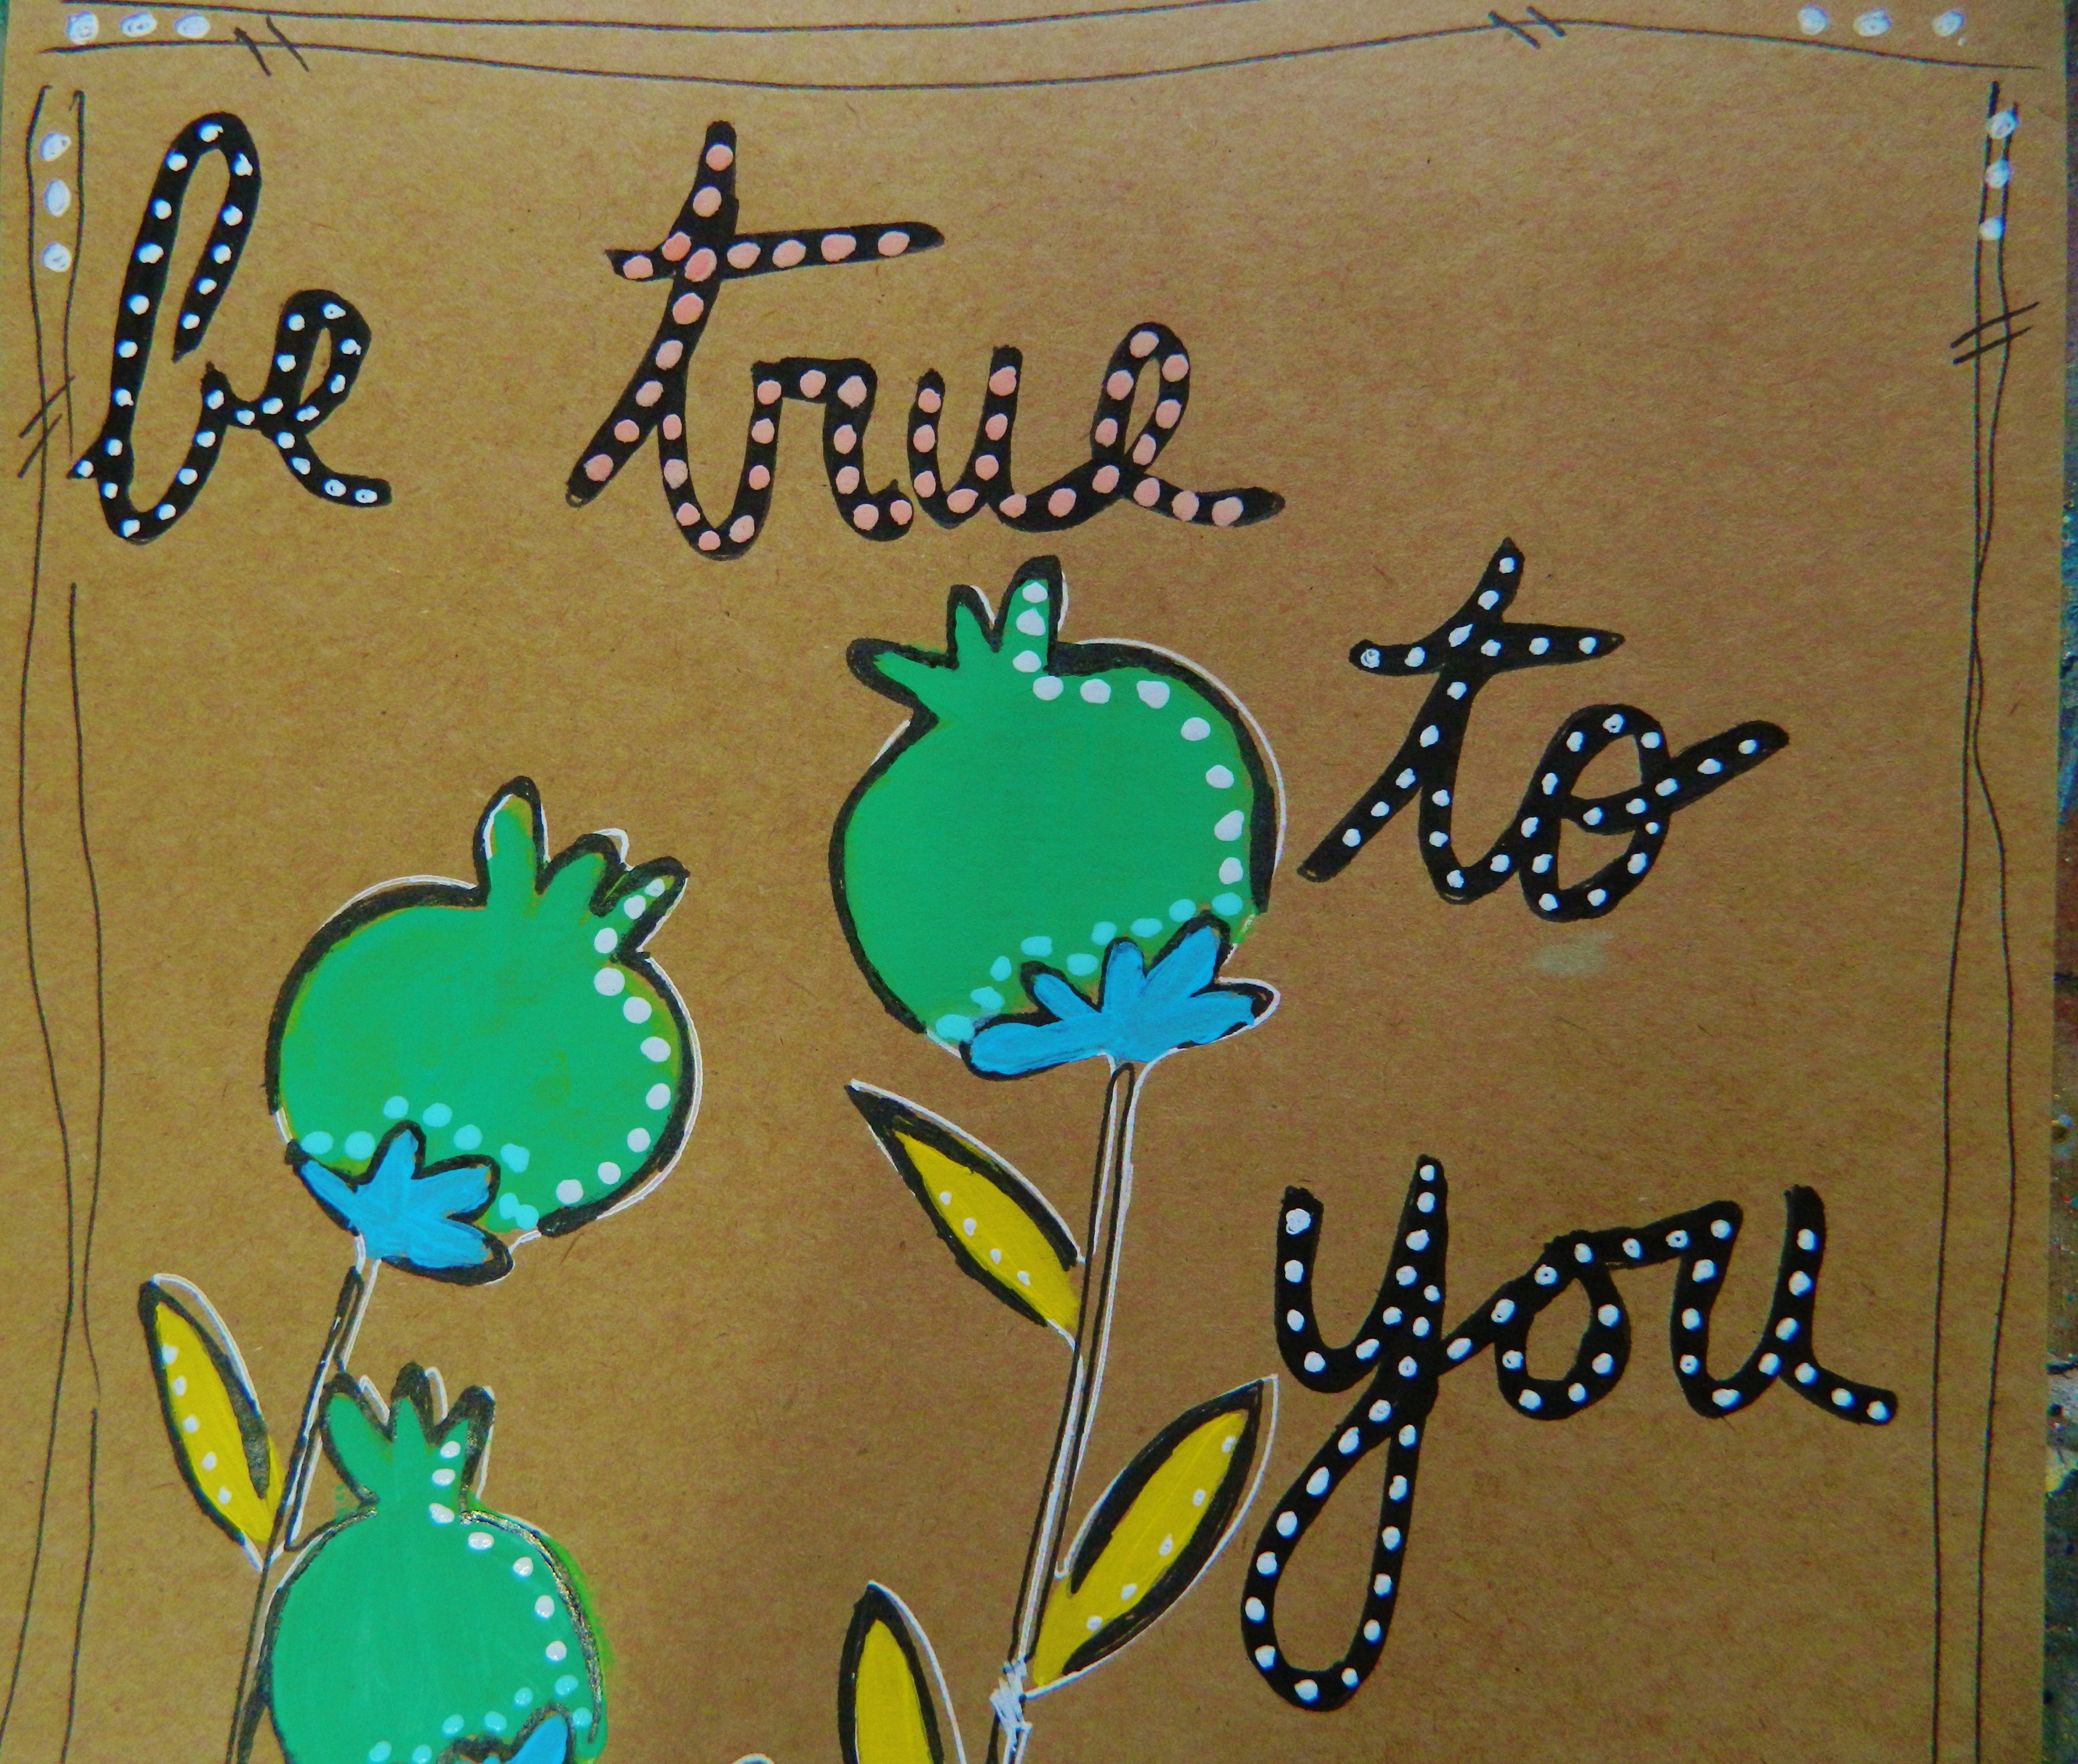
6. Using a ruler pick an open spot on your canvas to create a rectangular space to write. Using your black marker outline the rectangle twice creating blocks to write in words. Choose words that are inspiring to you.

Use ruler to add lines and words

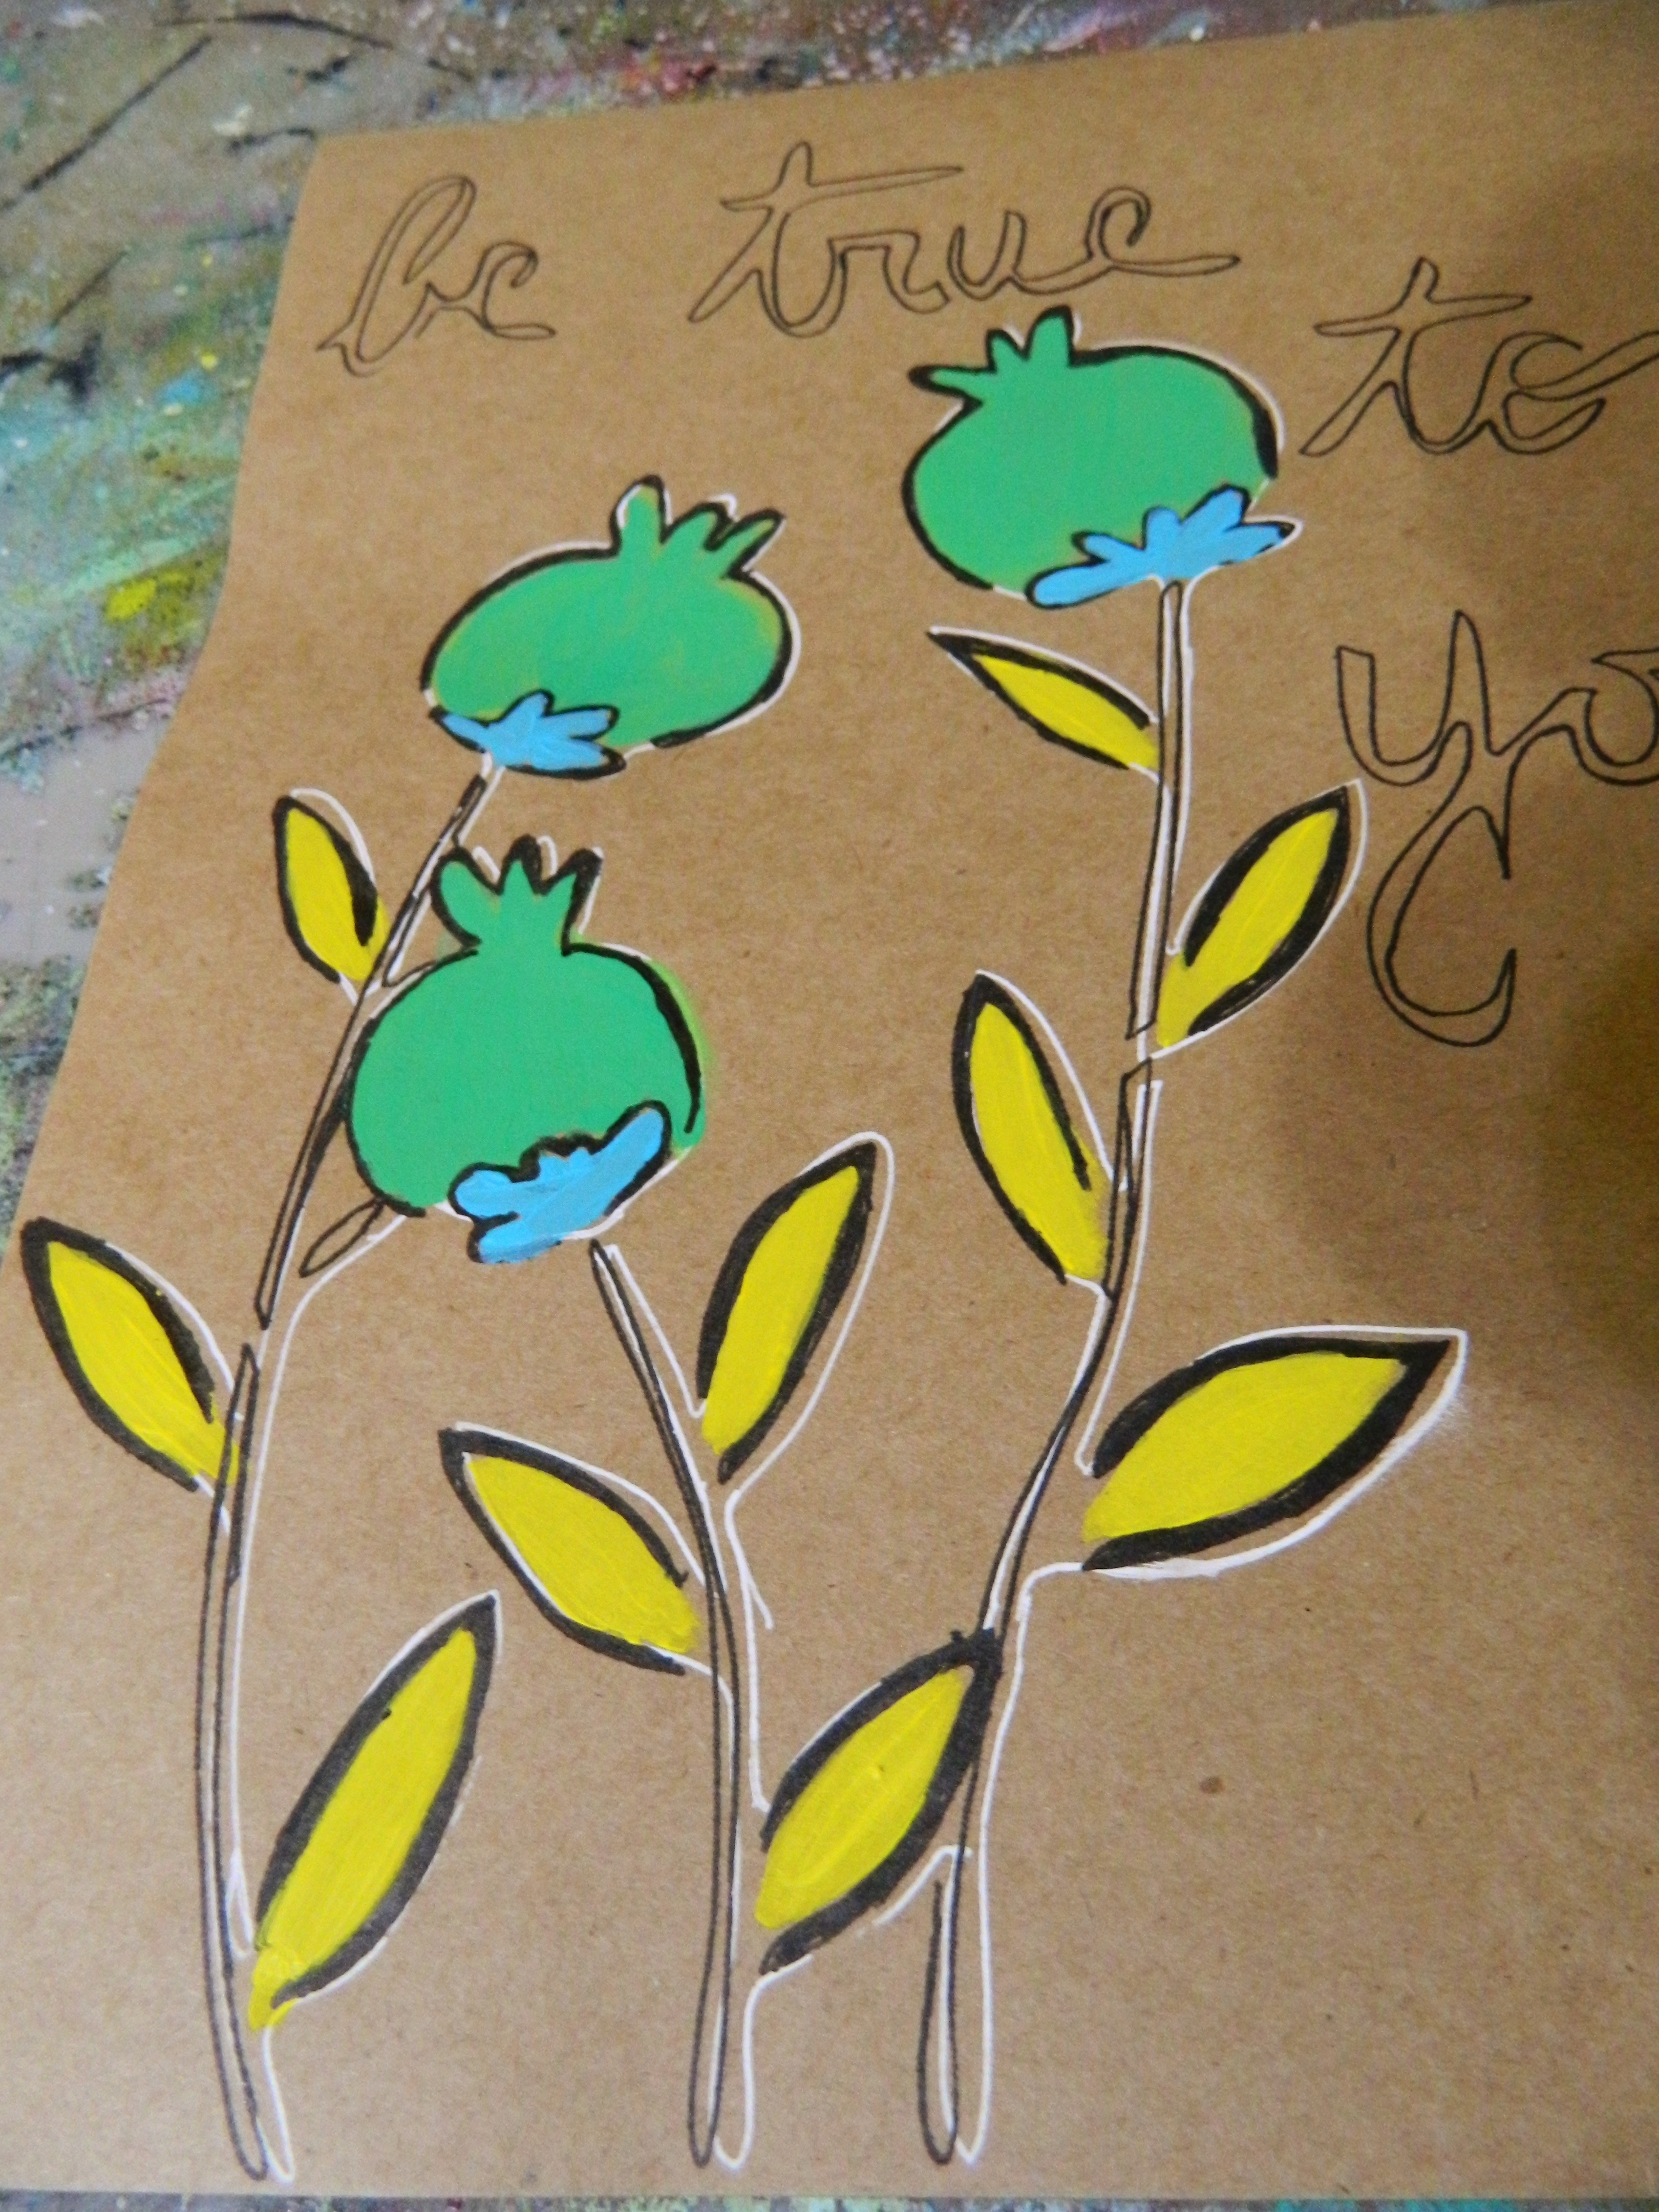
7. To complete the painting use stamps and stencils of your favorite and create the next layer to your back ground. In some spots you may want to layer over your character as you see here. Add details to your characters body face and clothing.  When using your stamps be sure to use permanent ink pad. I also suggest using lighter paint on a dark back ground when you stencil.

Stencilling and stamping add final touches to canvas

~*~*~*~*~*~*~*~*~*~*~*~*~*~*~*~*~*~*~*~*~*~*~*~*~

I’m a Canadian Mixed Media & Collage Artist out of North Carolina . I create art daily from my private studio. My artwork is fun and whimsy . I teach mixed media & Art Journaling online and in classroom. I hold mixed media workshops around the USA. My artwork can be found in art galleries and shops extensively in NC with international private collections. I have created my personal line of original stamps to purchase and use in your art. Look in my Etsy shop for my line.

Please visit my website to learn more about me and my work on Facebook.

~*~*~*~*~*~*~*~*~*~*~*~*~*~*~*~*~*~*~*~*~*~*~*~*~
.

For the Love of Kraft Paper

~ * ~

This article was written by Melanie Statnick

Creating artwork on Kraft paper

When I first saw photos on blogs from artists using Kraft paper for artwork and journaling pages I had to play with more of it myself. There are 1000 of great project you can use Kraft paper for. It’s very “Crafty”. From paper flowers, banners, cards, to table clothes and runners. The list goes on.

Creating artwork on Kraft paper{alternative description

A mini project I created to later place on a canvas, was taking one my favorite stencils and outlining it using white gel pen or you can use a white chalk pencil. This can be a very bold first move if you are nervous about the permanence of the pen. I skipped using a pencil because I’m not worried about making a mistake here. I will be adding acrylic paint directly to the paper and I felt that the paint brush line would “cover” my mistakes. (Never be afraid to make mistakes, it is how we All learn)

Creating artwork on Kraft paper{alternative description

This stencil has two pieces to it. The outer edge of the poppy pod that creates the general shape and the inner piece of the pod that adds the detail. It’s so versatile. You can use one or the other or both. I layered this piece again with the inner stencil part using a Pitt Pen in bold black. I painted this with acrylic paint and added the words that also come with this stencil.  I used layers with mostly a dry brush because I found that too much wetting of the paper can cause buckling. So I used clear gesso as a sealer/primer on pieces after this one.

Creating artwork on Kraft paper{alternative description

I used the puffy gel pens over this in small dots and circles and sharpened the edges with the Pitt marker.

Creating artwork on Kraft paper{alternative description

I found this to be a delightful and easy little project. So many of us have busy days filled with work ,family and unexpected issues, that we don’t often have time to create large master piece s. This is just one of many things you can create as a journal page or as one piece.

~*~*~*~*~*~*~*~*~*~*~*~*~*~*~*~*~*~*~*~*~*~*~*~*~

Author bio: Artist Melanie Statnick is a Published Artist/Writer out of North Carolina who writes and creates art daily from her private studio. Melanie is also the host of her own program via video and local PBS named The Brush & Pen  a NCC production. Statnick’s artwork can be found in art galleries extensively in NC with international private collections.

~*~*~*~*~*~*~*~*~*~*~*~*~*~*~*~*~*~*~*~*~*~*~*~*~

.

.

My Top 3 Art Journaling Videos

Whenever I need some inspiration or just general arty cheering up – I head over to my reliable favorite videos. It’s not just the art journaling of these three mixed media artists that cheers me up; I love their openness and honesty of their creative process.

Pam Carriker in art journalling mode

There is also something about actually watching the process of the art journalling unfold! Seeing how the paint moves around the page – watching as the layers are built up. It really does bring art journalling to life and makes my fingers itch to get messy and get creating!

Pam Carriker and her “Hear” page

*


In the bluey-green art journal layout, Pam uses Gelli plate printed deli paper to build up the collage layers and her hand carved prints. Pam then adds detail  with water resistance Faber-Castell artist crayons. The colours are then added with the Derwent Inktense blocks – this video was the inspiration for me buying my own set of Intense blocks!

You can see more of Pam’s work per at her blog – Living Art at the Speed of Life

~ * ~ * ~ * ~ * ~ * ~ * ~ * ~ * ~ * ~ * ~ * ~ * ~ * ~ * ~

Traci Bautista

*


I love Traci’s use of bright colors and stencils to create the base of this vibrant art journal page. This background is then collaged over to create the foundation for quick sketching with a charcoal pencil and then highlighted with acrylic paints and various markers – all of the ingredient for a fabulous mixed media art journal page!

You can see more of Traci’s work per at her blog – Kollaj

~ * ~ * ~ * ~ * ~ * ~ * ~ * ~ * ~ * ~ * ~ * ~ * ~ * ~ * ~

Donna Downey with “Imperfection is a Form of Freedom”

*


Donna never shows fear in the face of colour – here she uses orange and turquoise to create this fun art journal layout. Again, it’s great to see the layers being built up with all of the different coloured paints, as there are spots of colors that aren’t as noticeable when looking at the finished picture, but once I’ve seen them added during the process, I notice them. donna finished this layout off with charcoal pencil lines and some stencilling.

You can see Donna’s weekly videos over here at Inspirational Wednesday

.

.