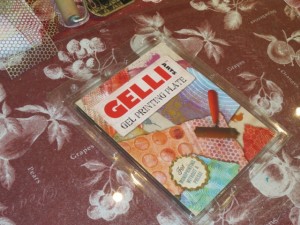
Monoprinting has been around in many forms for a long time. One alternative was to make your own printing plate using gelatine but this was a messy and time consuming activity, so the clever girls over at GelliArts have created a non-perishable alternative to gelatine plates – the Gelli Plate.
The Gelli plates are made from a polymer that provides the same feel as a gelatine plate but is non toxic and will last for many prints. They are available in three sizes: 6″x6″ , 8″x10″ and 12″ x 14″. Today we will be using the 8″x10″ one, which works well with A4 sheets of paper.
Setting up
Gather together all of your materials and tools and make sure you have plenty of space.
I have a large sheet of glass (with rounded, smooth edges) that I have sat over the protective cloth on our dining room table (hence the pretty maroon and fruit prints table cloth!) I also like to lay out a few cereal box plastic sheets on the floor so I can sit all of my prints out flat to dry.
You will also need:
1. A Gelli plate
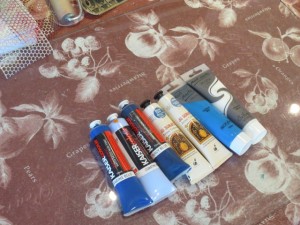
2. Acrylic paints
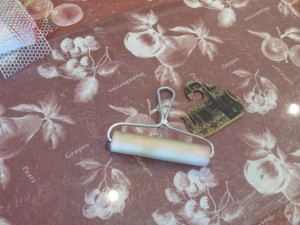
3. A brayer and other mark making tools (this is a surfboard wax comb)
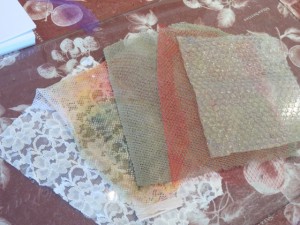
4. Netting, lace, bubble wrap and cloth for making marks
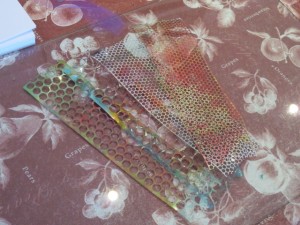
5. Sequence scrap
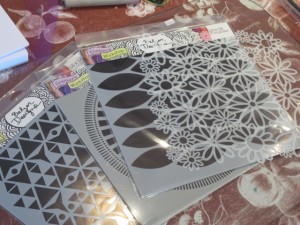
6. Stencils
Monoprinting Gelli Plates Style
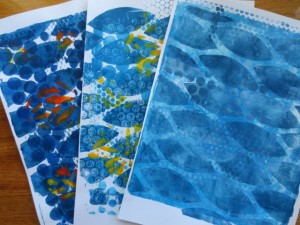
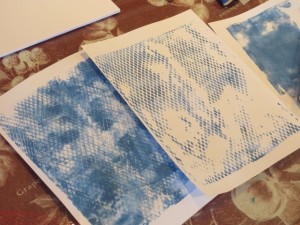
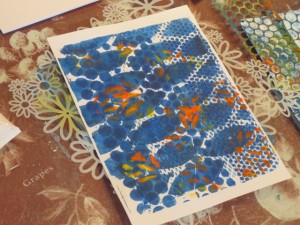
Here you can watch Michelle run through the process she used for creating this series of blue mono prints
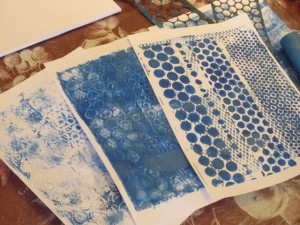
Layer 1 – light blues with orange bag netting
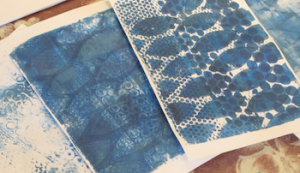
Layer 2 – medium blues with sequence scrap
Layer 3 – darker blues with Crafter Workshop Blazonry 12″x12″ stencil
Add a Little Contrast
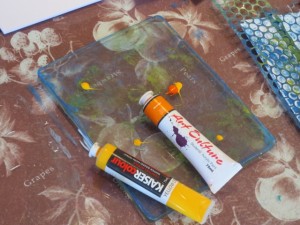
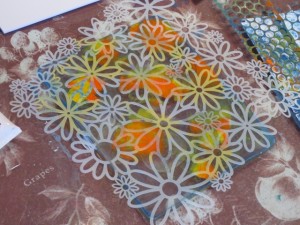
I decided to add a little contrast to my blue mono prints by adding a little yellow and orange, with the Crafter Workshop Flower Frenzy 12″x12″ stencil
Added a little paint
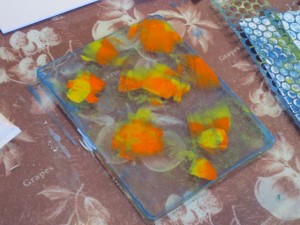
Rolled it out, not covering the whole Gelli plate
Sat the flower stencil on top
Added the darker mono print, adding highlights in yellow and orange
~*~*~*~*~*~*~*~*~*~*~*~*~*~*~*~*~*~*~*~*~*~*~*~*~
I am having SO much fun with my Gelli plate. I also LOVE looking on the internet to see what others have created – please share your Gelli plates print successes: link to your blog in the comments below!
To read more about some of the things you can actually DO with all of these Gelli prints, Michelle has put together these five projects – What to do with Your Gelli Plates Prints
Happy creating!
.
.


Your post has given me many new and inspiring ideas for my Gelli Printing projects. I am fond of this. So many vibrant colors make it more attractive. You must check out this book by Altered Upcycling too, it has many new ideas too.
http://www.amazon.com/Gelli-Printing-Adventure-Beginners-Printmaking-ebook/dp/B00KSNVLFM
Hi I am from South Africa. Where can i find these gel plates?
Hello Anette,
there is a list of South African retailers here:
http://www.gelliarts.com/pages/south-africa
That should get you started.
How much are your Gelli plates, I am in Australia
Hi Karen, thanks for your comment – I will send you an email with details. Regards, Michelle