~ * ~
This article is written by Kim Kelley
I was looking around on Pinterest the other day and saw a tile that had some beautiful colors on it, that said they used Sharpie markers to achieve it! So I clicked on the Sharpie site and decided to try it.
Here is a list of what I used:
~ 4 2” x 2” tiles
~ Rubbing Alcohol
~ Stampin’ Up scripture stamp: Romans 12:12 and Philippians 4:13
~ White embossing powder
~ Heat gun
~ Teal and Yellow paint
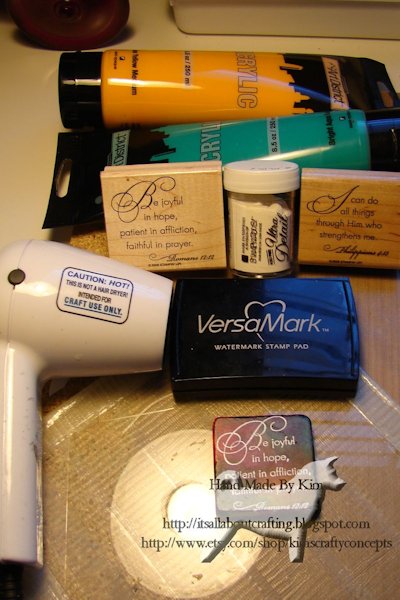
Products
I started out with 4 marble tiles that I had in a kit. They are meant to be used as magnets for the fridge and are only about 2” x 2”. 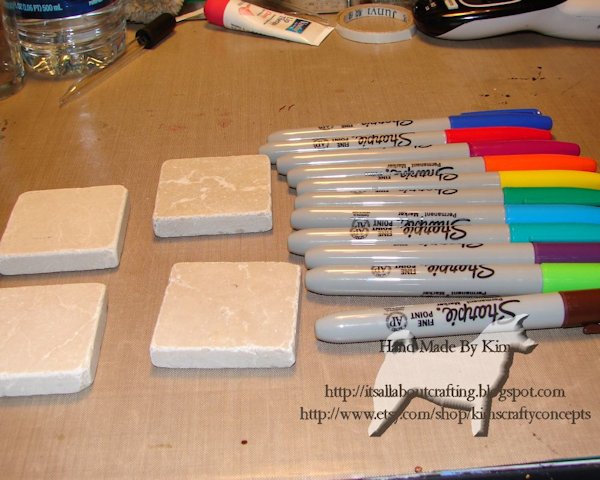
Tiles and Sharpies
Then I chose a few Sharpie pens and started to color. Not knowing how the marker would react to the alcohol I just scribbled it on, over lapping some of the colors. 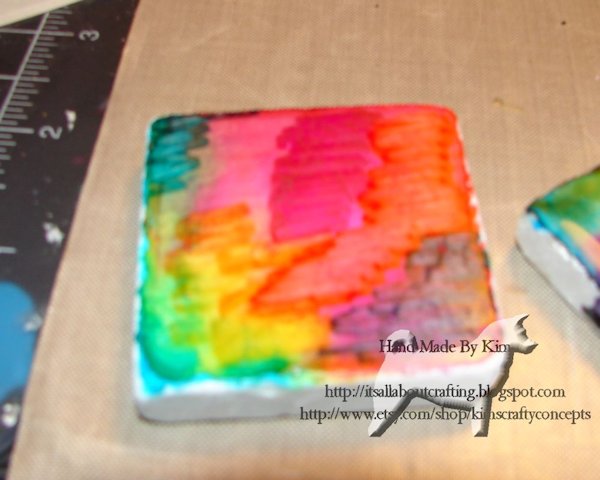
My coloring 1
My coloring 2
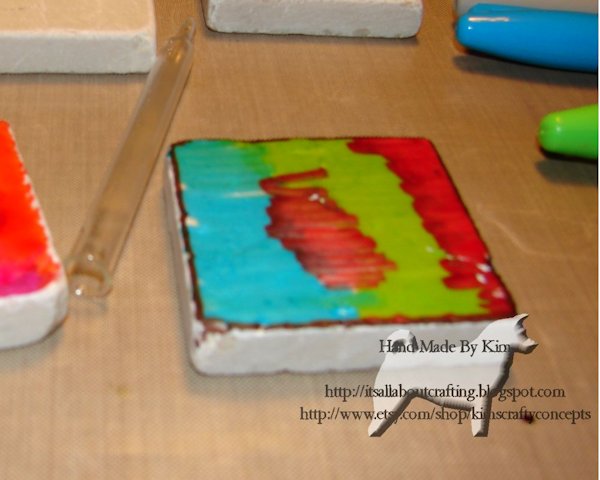
Then comes the fun part, using an eye dropper I started to drop the alcohol in spots and then cringed! It left dots. So I quickly added more alcohol, but covering the whole tile in one layer. It seemed to smooth it out a bit. 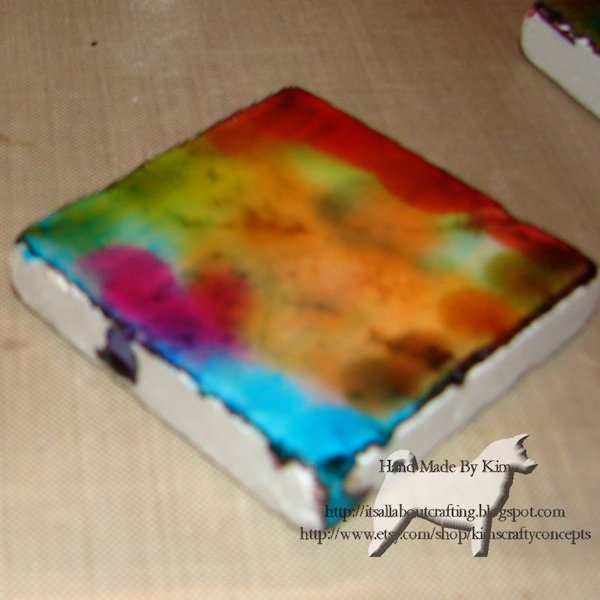
Tiles with the Alcohol 1
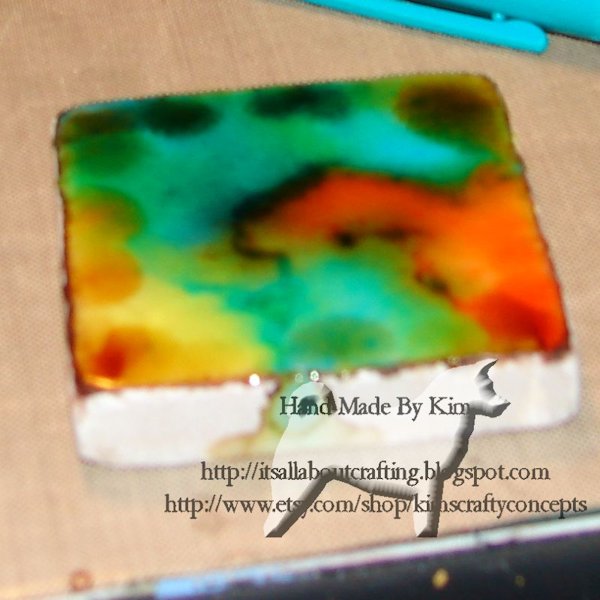
Tiles with the Alcohol 2
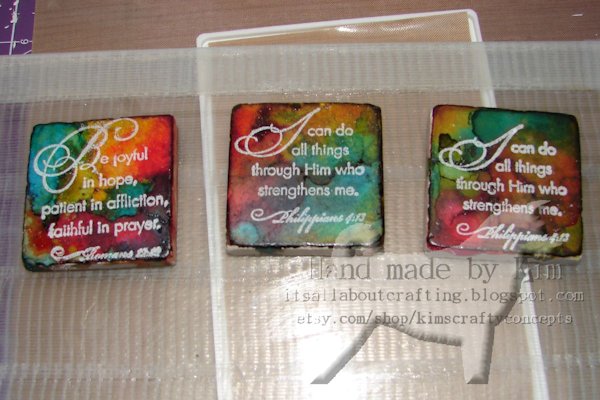
I let it dry for a few days because to be perfectly honest I was scared to try the Versamark on them. After 3 days I inked up my stamp, added my powder and it smeared, just what I was afraid of. So I wiped off the ink and started over with the markers and alcohol. After allowing that to dry I added a finishing spray by Krylon, let that dry a day and restamped them. This time after adding the powder and using my heat gun it worked. 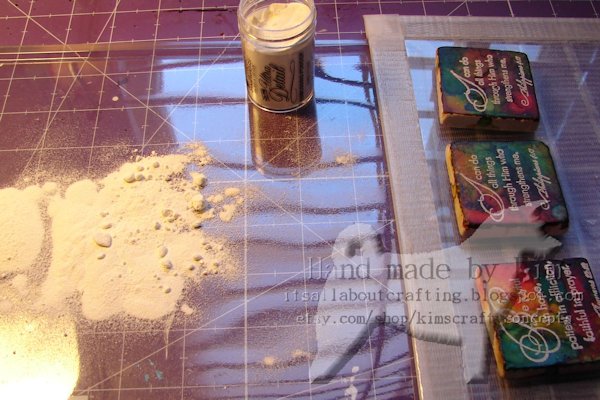
Embossing Powder
Upon looking them over I decided I did not like the look of the edges, just too messy. So I choose a teal and a yellow orange color to paint the edges. 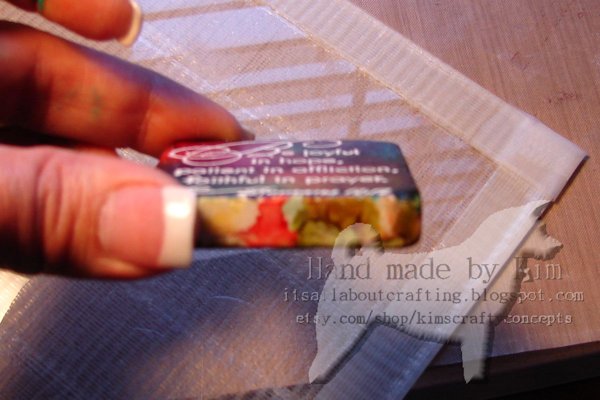
Tile edges 1
Tile edges 2
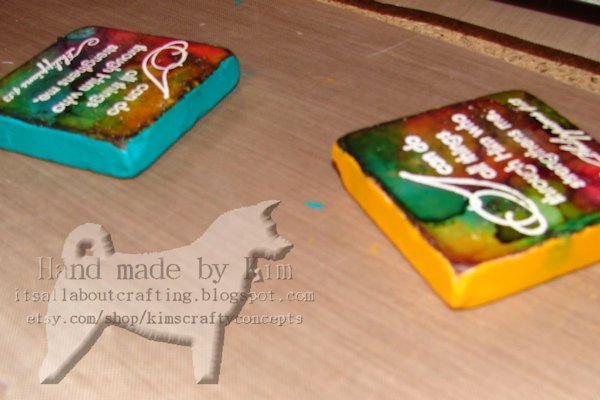
Painted edges
After painting the edges and letting them dry for a few days I noticed they had a dull finish. I know I should have left it, but any one who knows me, knows I can never leave well enough alone. So I added another layer of the finishing spray hoping it would make it shine…but if I am being totally honest here, I love the bold color this technique gives you but trying to add a stamp or ink to the top of it may be a bit much. Because after I added the finishing spray the stamp part, which was a white embossing powder ended up a bit yellow. Doesn’t look bad, but not exactly what I was going for. 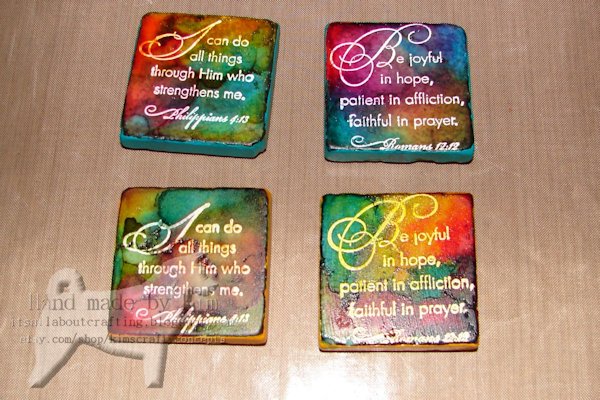
Final project 2
Life is short, do something creative every day!
~*~*~*~*~*~*~*~*~*~*~*~*~*~*~*~*~*~*~*~*~*~*~*~*~
Kim Kelley is borderline obsessive about her crafting and her art. She loves mixed media art because you are free to go beyond your comfort zone, using your imagination and exploring an anything goes mind set. Kim loves to learn and explore new techniques and hopes that any art she creates leads someone to find their inner creative artist! Sites: itsallaboutcrafting.blogspot.com and www.facebook.com/kimscraftyconcepts
~*~*~*~*~*~*~*~*~*~*~*~*~*~*~*~*~*~*~*~*~*~*~*~*~
.
.


How pretty!
How pretty!
I love experimenting and congrats to you too for coming up with good idea about spraying fixtative then using embossing powders. As for the sides…next time try covering with pretty tape…Washi or duct or double sided tape and thne dip each taped side into glitter or micro beads.