This article was written by Martice Smith II

Make the stencils, first! PART 1 of this tutorial can be found here.
Gather Supplies & Tools
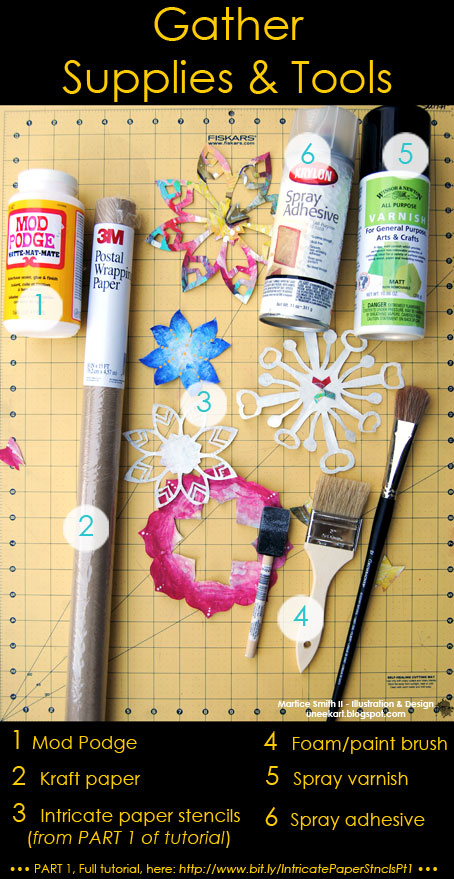
If you have used watercolors, water-soluble pencil or any other water-based mediums on the stencils you created, go ahead and spray 1-2 light coatings of varnish (matte or gloss; it’s your choice) to seal everything in and to prevent bleeding or mixing of colors on your stencils.
1. Position stencils onto kraft paper

Unless your stencils are very large, there’s no need to work on large areas for this step. You will be able to control your work surface much easier if you’re able to work in manageable sections, at a time.
Try a layered look by overlapping the stencils.
Don’t clutter too many of your intricate paper stencils in one area. It’s ok to leave some larger areas of kraft paper!
2. Apply spray adhesive
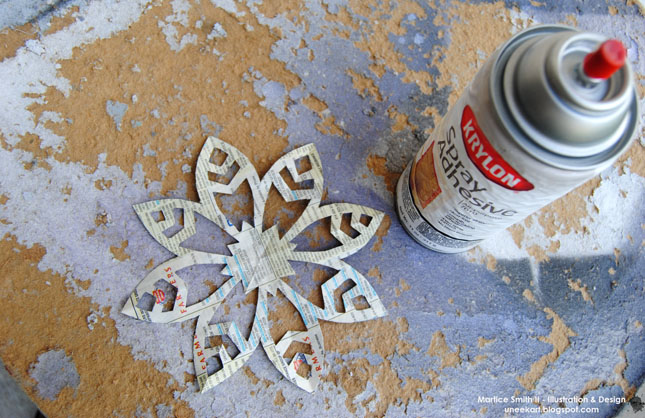
Do this step outdoors, as the fumes are very strong and can be harmful or cause irritation to eyes and throat.
On a separate work table, turn over 2 or 3 stencils so that the ‘wrong’ side (the side with no paint) is facing up. Spray each stencil, individually, with an even layer of adhesive. (Sometimes, I allow the spray adhesive to sit on the stencil for about 3 seconds. This will create a stronger bond to the paper.)
Gently place the stencil onto the kraft paper.
Use light pressure from the palm of your hand of fingers to flatten the raised areas of the stencil.
3. Brush on decoupage medium
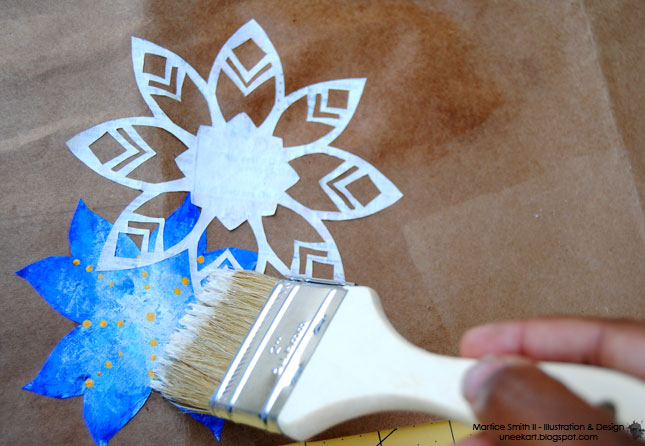
Take your large, bristle brush or a foam brush and generously apply Mod Podge® directly to the stencils.
Depending on the design and delicacy of your paper stencil, spread the Mod Podge®, working from the center, then out to the tips.
4. Let dry, then trim excess
This step is very important! You need to allow the Mod Podge® to dry completely.
Drying time will vary, depending on how many layers you applied, but a good 15 minutes should be fine.
TIP: If any of your stencils are extending beyond the kraft paper, use scissors to cut off the excess. (Yes, you can use these pieces, too! Go ahead and glue them down.)
5. Repeat or re-roll
If you like what you see so far, continue adding more of your intricate paper stencils.
When you are done, you can cut off what you need to wrap a package or you can re-roll the kraft paper until you’re ready to start again, later.
Now go wrap some gifts!!
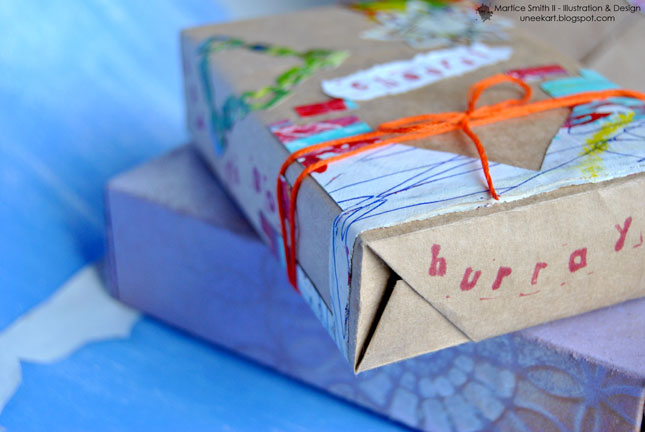
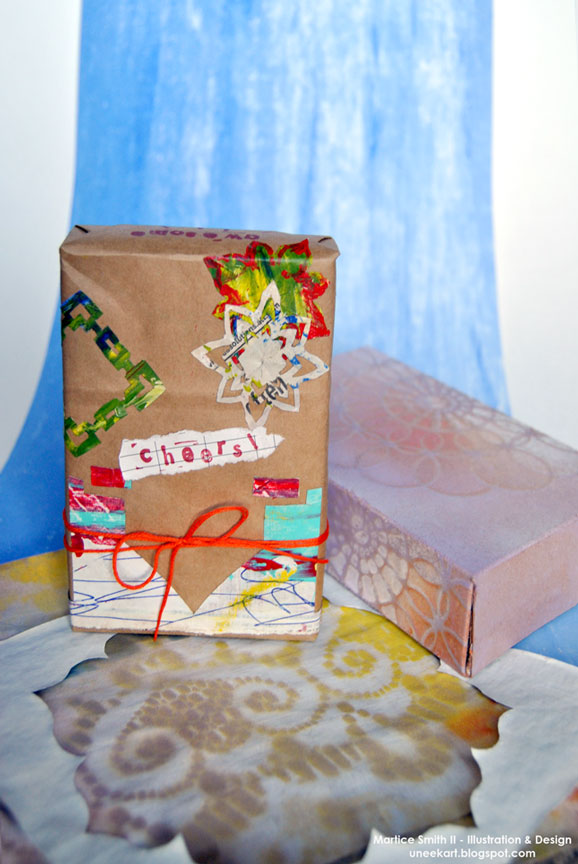
Great for mail art packages, too!
Would you like to try 10 more stencil designs? If you’re interested, you can sign up to receive “10 NEW Intricate Paper Stencil Designs”, a free e-book that showcases more of these stunning designs…click here to sign-up to the Uneek Art Letter to get access to download this pdf! (Courtesy of Martice Smith II – Illustration & Design Studio)
~*~*~*~*~*~*~*~*~*~*~*~*~*~*~*~*~*~*~*~*~*~*~*~*~
Author bio:

Martice Smith II is creative director of Martice Smith II – Illustration & Design Studio, based in Kansas City, Missouri and owner of Uneek Art Boutique. She established herself as a freelance Illustrator and graphic designer after receiving her Bachelor of Arts Degree.
Martice also contributes as an article writer for the Creating Mixed Media Art website.
You can see more of her work via her Facebook page or her blog. She invites you to join her monthly newsletter, Uneek Art Letter, for art biz tips, advice and free digital goodies!
~*~*~*~*~*~*~*~*~*~*~*~*~*~*~*~*~*~*~*~*~*~*~*~*~
.
.


Love it
This is a great idea, you can make them look so special for each individual, I am going to have to get some supplies out and have a go!
This is so cool. Such a great way to use up scraps. I definitely have a ton of scraps.