This article is written by Michelle Brown
~ * ~
I love how we can get lots of unique prints from our gel plates, really, really quickly. The challenge, of course, is how you can store your gel prints and how to use them in your crafting. I spoke about how to store them over in this article: Storing your Gel Prints. And we had a few ideas on how to use your gel prints over here: What to do with your Gel Prints.
Now I want to talk about taking your gel prints to the next level.
Here are my top for favourite ways to enhancing our gel printing a crafting projects.
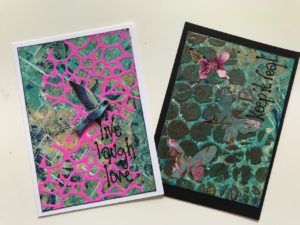
1. Gel Prints with Foils
.
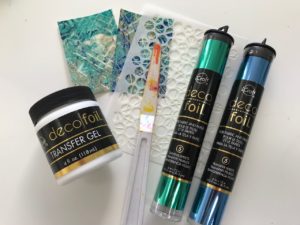
Adding a touch of shine to our gel prints can be done easily with foils. There are many ways to adhere the foil to gel prints. Here we have used the transfer gel and applying it through a stencil. Once it dries clear (about 30 minutes, depending on room temperature) the gel print can then be run through a hot laminator, with a layer of the foil on top. The foil then adheres to the gel and adds shine to your art. This foil system is by Thermo Web.
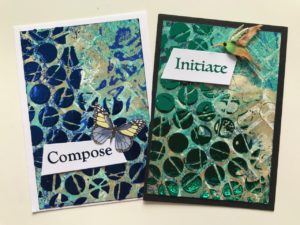
Then we added the gel print to an ATC sized cardboard and added embellishments to complete our project.
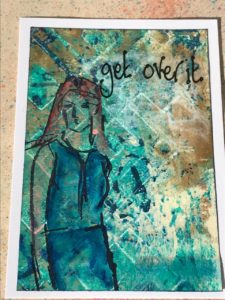
2. Gel Prints with Embossing powders
.
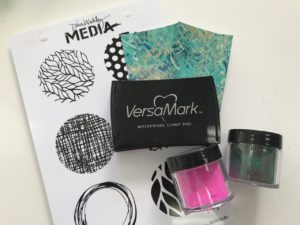
Embossing powders are basic craft supplies for many of us and adding them as an extra level on top of our prints creates depth and a real texture to them. Here I have used the Dina Wakley stamps and Versamark ink to add Emerald Creek embossing powders in Fluorescent Hot Pink and Seth Apter‘s Patina Oxide Baked Texture.
3. Gel Prints with Stamping and Colouring
.
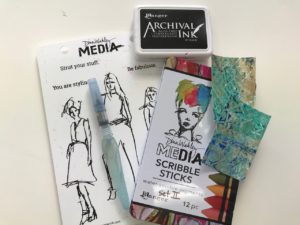
It’s easy to forget our crafting roots and miss the simplicity that stamping offers us! Plus is gives us a chance to use some of those stamps we have collected over the years! Here I used Jet Black Archival Ink. It stamps well onto painty surfaces and is waterproof so it won’t run when using the Scribble Sticks over it. The Dina Wakley Scribble Sticks were applies directly onto the background and activated with a water brush. The words are a sticker from Dylusions Creative Dyary Stickers book.
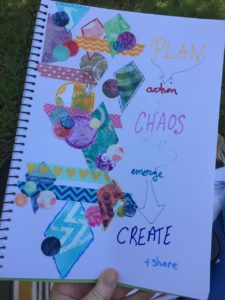
4. Gel Prints with Collage
.
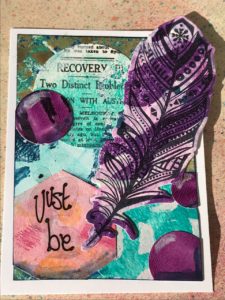
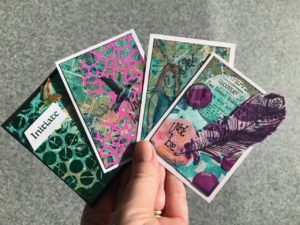
One of my favourite things to do with gel prints is to turn them into stickers! Stickers makes it SO easy to take your prints on the road and allows you to create and art journal anywhere!
To create your own gel print stickers, use a double sided adhesive and stick it to the back of the print. Then you can cut into shapes with your die cutter or stamp and die cut, like we have done with the feather (above). The feather is from the Kaisercraft stamp and die set.
If you would like to learn more about taking your gel prints to the next level, you might be interested in an upcoming class at the MMA studio. The studio is based in Melbourne Australia. Click here for class details!
Happy creating,
Michelle


I do love Gelli prints and these ideas take them to the next level. Thanks for sharing!