Incorporating jewellery elements into our mixed media art introduces a whole new world of embellishments and tools, as well as new skills. In this series we will look at the basic tools and elements needed to get us started.
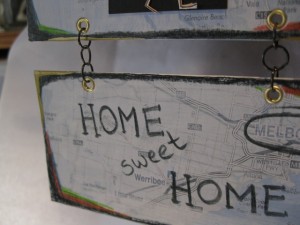
Here I have used eyelets to join two sections of this wall hanging together.
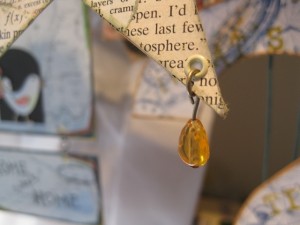
Here I used eyelets to reinforce the corners to hang beads in making this Christmas decoration.
Tools needed for eyelets
Eyelets are those fantastic embellishments that originated to reinforce a hole in fabric or paper and allow us to thread things through.
The tools needed to start using eyelets will require an initial outlay and can be expensive. Like any tools, you do get what you pay for. Once bought, these tools can be used again and again.
Hole punches
To add eyelets into our mixed media artwork we need to make a hole that is the right size for our eyelets. They come in a range of diameters and lengths and need a hole to match the size.
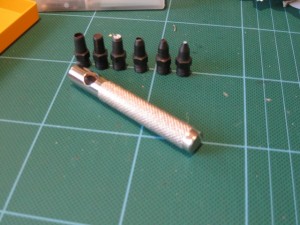
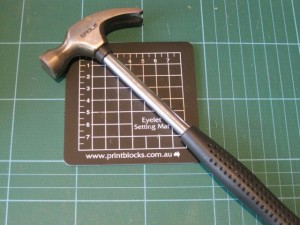
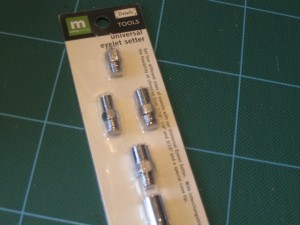
I have a universal hole punch set, which has interchangeable heads so I can make different hole sizes, anywhere on my artwork. To go with this, I need a hammer and a mat to protect the work surface.
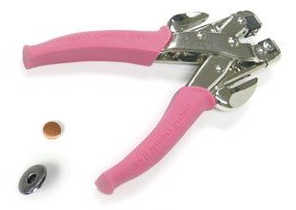
The bees-knees of hole punches is the Crop-a-dile punch – this has two different hole sizes and punches with ease through a range of cardboard thicknesses. It is much quieter than the hammer and punch approach.
Eyelet Setters
Eyelets need “setting” by splitting the end and laying them flat, so the cardboard is clamped between the head and tail of the eyelet. We need a setting tool to do this.
These also come in different sizes to suit the eyelet. The one I use is a Making Memories brand with interchangeable heads. To go with this, I need the hammer and a mat I use to punch the holes.
Again, the bees-knees of eyelet setters is the Crop-a-dile , which can also set the two different sizes that match the hole punches. This works really well with the soft eyelets.
I hope this article has got you thinking about incorporating jewellery elements into your artwork. In the next article we will show how to make the right hole for your eyelet and how to set it to get a great finish.
.
.


i love this site…i have been playing around with all kinds of mixed media since an illness 5 years ago and it has been a Godsend in keeping me sane..this site is so helpful and means so much for someone like me, mostly alone and always trying to figure stuff out thank you so much, carol
Love my crop-a-dile. I no longer have to go pound in the garage! But it is limited on how far in you can set an eyelet. Thanks for the ideas….gotta go put some eyelets on my journal pages!