Janelle Nichol’s Online Class: Glow-Paint Using Watercolors and Acrylics for a Fantasy-like atmosphere

~ * ~

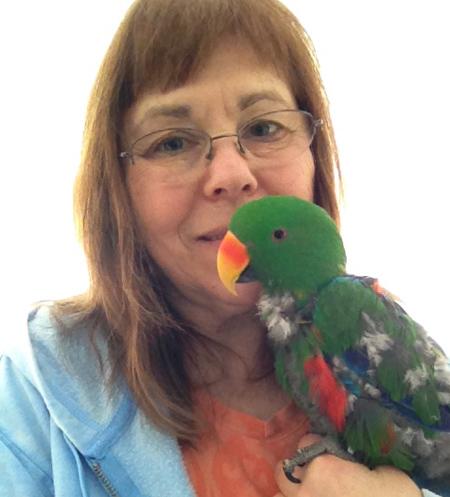
This article is written by Peg Rounds

All of the details have been added & the project is now finished

The “Glow” class by Janelle Nichol is perfect for the beginner who wants to learn how to do a mixed media canvas to the advanced person who would love to have some more creative ideas to use.  The class is an online class and is easy to sign up using the Skillshare website.  I found the site really easy to use and get around on to find the videos every time I signed into it.  The class is broken down into 14 videos which is helpful in going through it step by step and you are able to go back to a video and view it again if needed.  The only downside I found was at times the sound was really low and I would have to turn my speakers way up to hear.

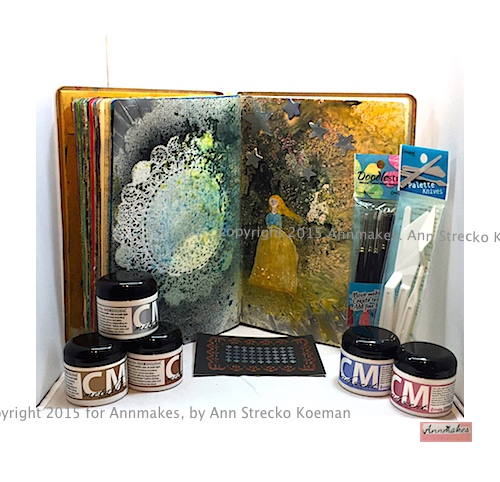
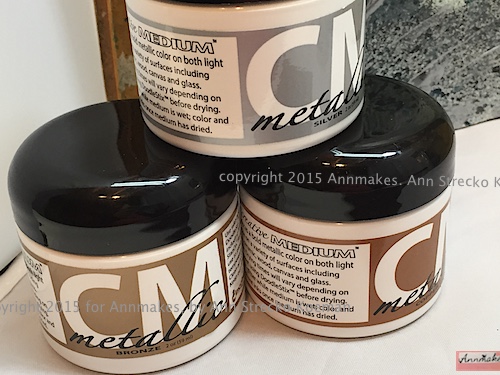
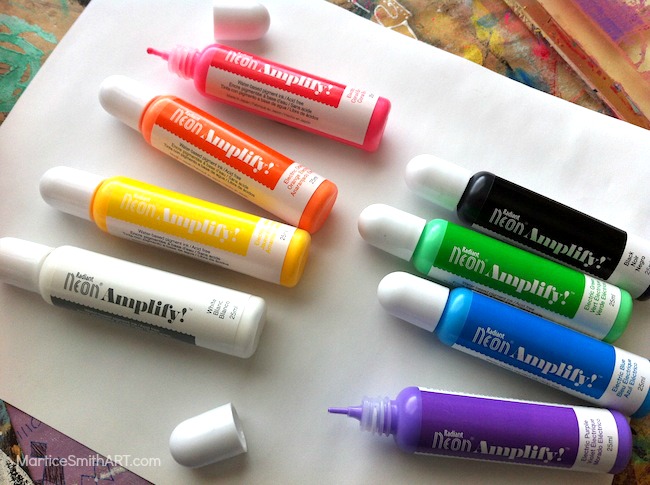
Janelle does an awesome job walking you through the supplies you will need and what you can use if you don’t have the same things.  She has a dedicated video just on the supplies, but be sure to also look below the video for a print list as not everything is covered in the video.  There were a couple of things she used in later videos that weren’t mentioned in the supply video or on the list such as magenta paint and chunky glitter so if you can watch through the videos before starting that is very helpful to make sure you have everything.  I didn’t have the glitter and couldn’t get it so I substituted for a glitter I hand on hand.  I, also, could not find locally the same types of materials she suggested for the dress so I have a different type and color for mine.  By using the list and video she has created, you will find that you have many things on hand already and for those that you don’t, you will be able to readily get from your local craft stores.

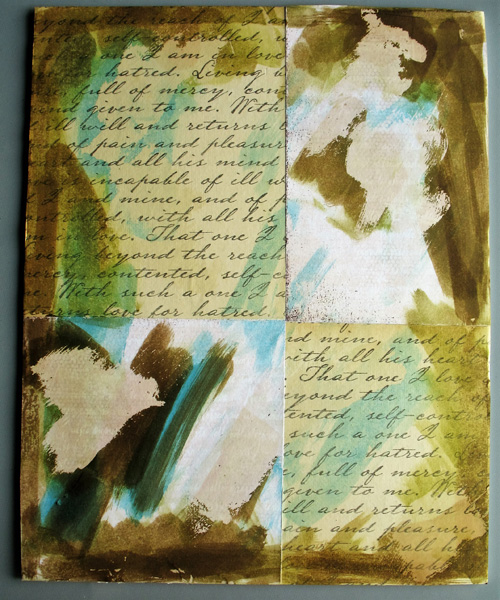
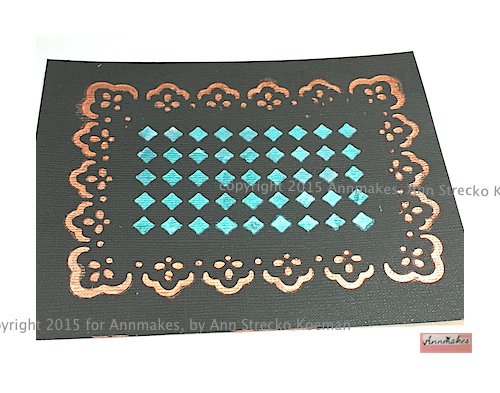
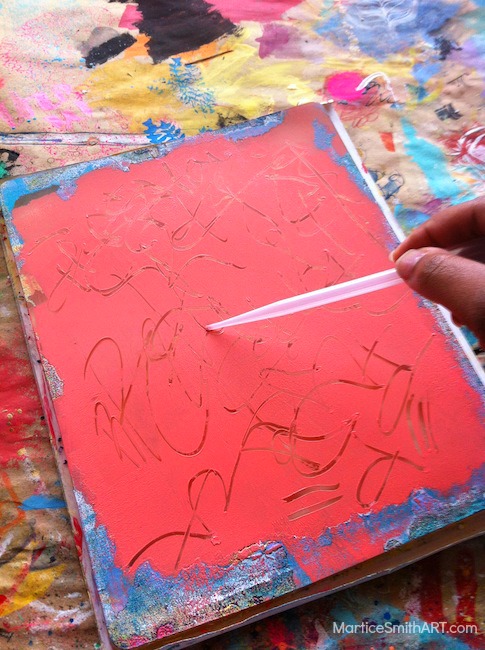
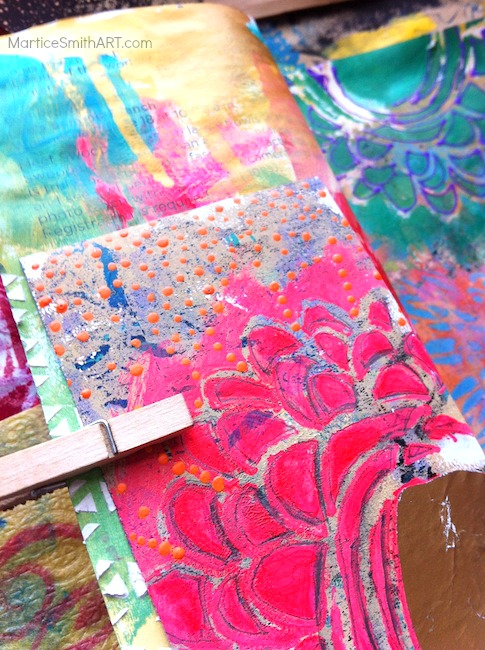
One of the beginning steps is to create color and texture using Distress Stains and Mod Podge on the patterned paper.  It is fun to watch how these beginning steps help lay the foundation for the rest of the piece.  The heart in the corner of mine was not knowingly created and I found it after the piece had dried.  It was fun to see what happened with it as the layers were added.

Scripted Paper with Inked with Blue & Brown Distress Stain

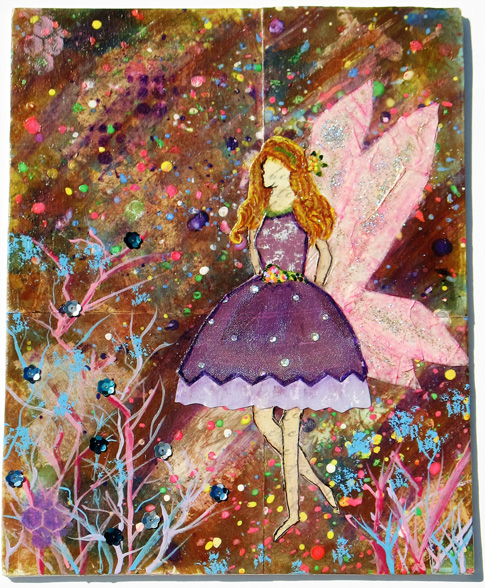
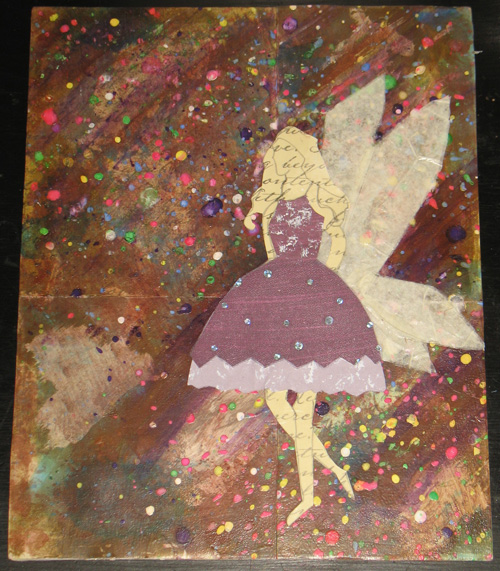
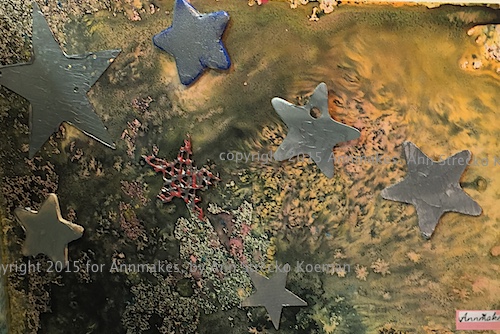
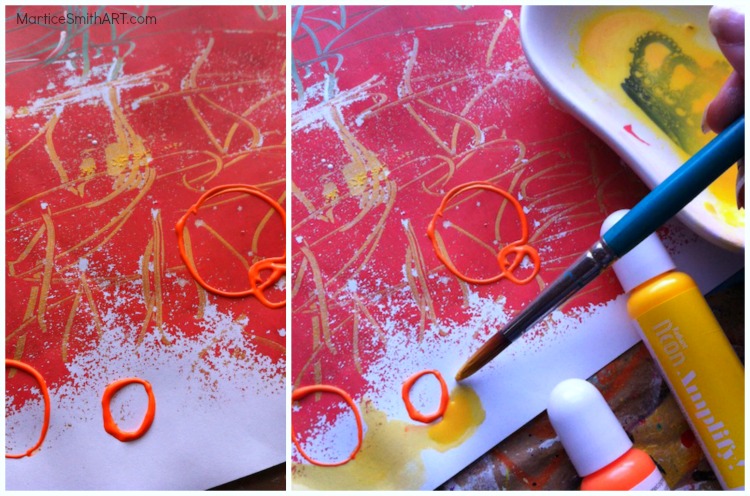
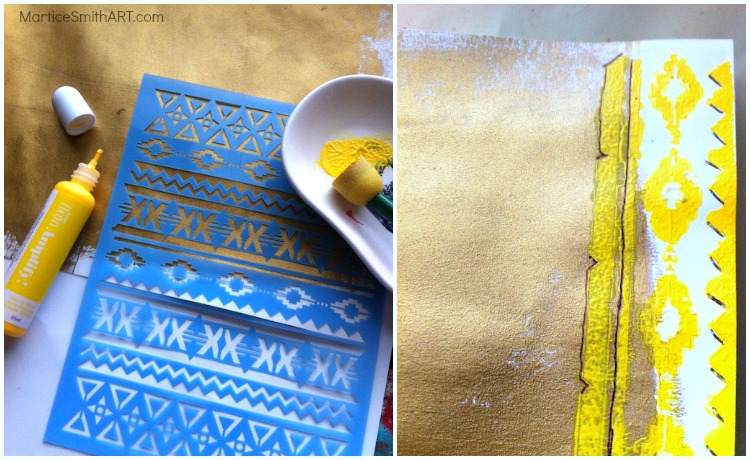
After several more layers of paint and Mod Podge, you will really start seeing the canvas taking shape.  Again, Janelle does a wonderful job at showing you how to create the fairy to attach to the project.  If you don’t think you can draw a fairy, don’t worry she’s got it covered with the addition of printable pieces to help you create your own.  She, also, helps you with creating the wings which are really easy to do, too.

The fairy & her wings have been attached and the painting of the waistband and hairband are done

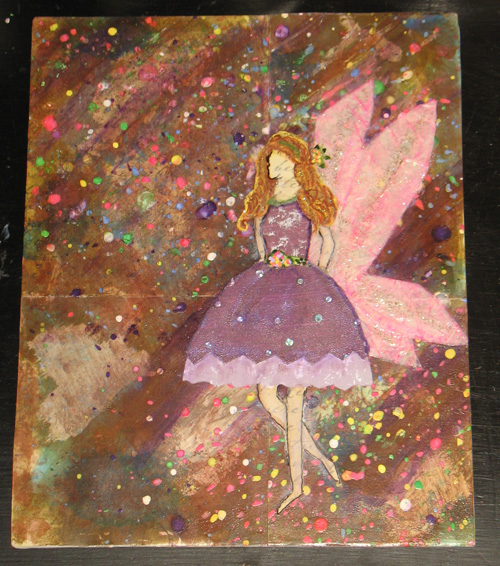
You will learn how to finish the fairy and then move on to how to paint the details such as her hair, the waistband and headband.  You will, also, find out how to add shading to her dress, skin and wings.

The trees have been painted and the another layer using sequins have been added to the piece

I found this to be an excellent class to take and the finished project is well worth the time and effort put into it. The videos are easy to follow and the items used are already on hand for most mixed media artists or are easily obtainable.   I would recommend it highly for everyone who enjoys creating mixed media pieces from the beginner to the advanced.

You can jump straight into Janelle’s Glow; Create a Mixed Media Fairy here

~*~*~*~*~*~*~*~*~*~*~*~*~*~*~*~*~*~*~*~*~*~*~*~*~

Peg Rounds has been seriously creating many types of art since 2007.  Her focus has become mixed media, card making and jewelry making.  She is often found on social media sites Pegs Crafting Corner where she enjoys sharing all that she has created.

~*~*~*~*~*~*~*~*~*~*~*~*~*~*~*~*~*~*~*~*~*~*~*~*~

Disclosure: Access to this course was supplied by Janelle Nichols for the purpose of review. All opinions are that of the MixedMediaArt team. Some links on this page may be affiliate links and any purchases help to support the ongoing work by MixedMediaArt. 

.

Versatile Chipboard Embellishment Kits from Eye Connect Crafts

~ * ~

This article is written by Gail Green

I recently discovered some super cool new chipboard kits that TOTALLY got my creative juices flowing! They are made by a new company Eye Connect Crafts, who have definitely designed some of the most unique embellishments around.  Made from recycled, environmentally conscious chipboard for a reduced footprint, Eye Connect Craft’s kits are just perfect for mixed media projects. And they simplify the process by doing some of the difficult work for the crafter.

Gail Green creates these cute eye connect creatures

Here ’s the skinny!

“Totem Poppets” are multiple component kits that appear to be very easy to use for all ages and skill levels. With pre-punched holes and multiple body parts, they can be used by children in school projects, as well as for imaginative play. I love that animals are the main theme and can see their potential in helping raise awareness of nature and teaching respect for all living things. At the same time, adults can create interesting embellishments for Mixed Media art, craft and/or home decor projects.

What is especially unique about Totem Poppets kits is that the components are assembled in a way that allows realistic posing and movement. They totally remind me of marionette puppets!

Another group of kits–appropriately named “Lace ups” also have the holes already perfectly positioned and punched on each piece so all crafters have to do is decorate and lace them up with ribbon, leather, fibers, string, wire and more.  These items are SO perfect for Mixed Media projects, my head started swirling with creative ideas the minute I saw them!

Both types of kits provide the user with a blank canvas…which means mixed media artists can use a variety of mediums or combination of mediums and techniques to decorate them. I don’t even know where to begin because there are so many possibilities!

All kit items can be painted or sponged with ink. Add decorative designs with stamps, stencils, draw doodles with pen or marker or decoupage layers of torn paper, tissue, magazine pages, and other paper items.  In reality, the sky is the limit when designing with these kits and creating all types of mixed media projects.

While I wanted to make a bunch of finished embellishments, I had to settle on just one for this article. IÕm thrilled with how it came out. In fact, I was SO inspired I decided to make two versions–one on each side!

Here are just two examples of how easily a Totem Lizard can be decorated using multiple mediums.

Gail Green creates these cute eye connect creatures

Using a cosmetic sponge (or Art Daubers) and the straight edge of a scrap of card stock for a mask, gently sponge irregular stripes on each body piece using ink, acrylic paint or another quick-drying medium. Choose multiple colors in related or contrasting tones/hues, as desired. (Note: If possible, avoid mediums that over-saturate or require long drying times.) Dry completely before embellishing or assembling.

Gail Green creates these cute eye connect creatures

Or, you can heat emboss with clear embossing powder and ink in a related color family or value. Begin by base-coating the pieces with ink or paint. Next, apply colorful pigment ink in sections and heat emboss one color at a time. You can do this step either assembled or unassembled, as you wish. My Lizard was already assembled so I did this version assembled. While it was a little tricky to apply the ink, it was easier to hold when using the heat tool. I used a Colorbox PetalPoint pigment inkpad so I could take each color section out and apply it direct-to-paper (DTP). If you choose to use full size inkpads, I would recommend doing this project unassembled and/or applying the ink with a tool like an Art Dauber or Color Blender.

When dry, assemble all the pieces using tiny brads or eyelets. If desired, add dimensional elements by gluing on beads, wiggle eyes, or glitter. I used dimensional paint to add accents on the heat embossed version. You can also draw patterns on the pieces using a waterproof pen in a doodle, stylized or Zentangle style.

Add the finished Lizard to a journal cover or scrapbook page or use to decorate a gift, frame or a dozen other possibilities. The sky is the limit on how many types of mixed media projects you can create with products from Eye Connect Crafts!

For more information of where you can purchase these fun kits and products, please visit the Eye Connect Crafts website.

~*~*~*~*~*~*~*~*~*~*~*~*~*~*~*~*~*~*~*~*~*~*~*~*~

Gail Green is a Chicagoland craft book author and feature article writer/columnist for Scrap & Stamp Arts magazine. Known as the Òdesigner in the hatÓ and creator of the Sweet PETatoes art brand, Gail has licensed her illustrations on products in multiple global markets, including her own line of rubber stamps with Impression Obsession. For more information, please visit her ETSY store or blog for fun adventures with Ollie, Gail ’s crafting parrot and his pet doggie, Lacy Lulu.

Gail Green creates these cute eye connect creatures
~*~*~*~*~*~*~*~*~*~*~*~*~*~*~*~*~*~*~*~*~*~*~*~*~

Disclosure: These products were supplied by eye Connect Crafts for the purpose of review. All opinions are that of the MixedMediaArt team.
.

.

Creative Medium by Imagine Crafts

~*~

This article is written by Ann Strecko Koeman

I recently had the opportunity to try working with “Creative Medium”, a new line of products by Imagine® Crafts.  I can honestly say that it was a pleasure and I really do intend to play (ahem, I mean work) with these products more.

Imagine Crafts Creative Medium Product Review

First of all let me briefly explain that these products are  “a creamy paste that produces a bold metallic” or “iridescent dimensional effect” on various backgrounds.  The “Medium” can be applied with a palette knife and used on a variety of surfaces such as canvas,  card stock, acrylic, plastic, ceramic, wood, and glass. Note that a “Surface Compatibility Chart” is available to download from www.imaginecrafts.com.

The Medium can be made interesting by using DoodleStix™, palette knives, and other mark making tools.  The medium can also be sprinkled with glitter while it is still wet.  When dry it can be stamped and coloured with pigment or solvent inks (such as StazOn®, Brilliance®, and Memento Luxe®) .  The time for drying is short and does vary depending upon how thick the layers are.  I found the product to take between a few minutes for a thin coat and up  to half an hour for a very thick coat.  It is recommended to let the product air dry to obtain optimal results.  I concur that when using thicker layers and trying to use a heat drying tool the outcome is different than letting the product air dry.

Metallic Creative Mediums

I got to work with the Creative Medium in metallic in the colours; Copper,Silver, Bronze, and Gold.  I did try and was pleased with the results of using the product on  light  and dark surfaces.  When I tried the product on a flexible surface such as paper I was pleased to see that it was flexible , and  did not crack or flake, when I manipulated the paper.  I also found the product to adhere well to all hard surfaces and left a very smooth like finish when dry.  I would almost compare it to a leathery feel.

picture of Iridescent Creative Mediums

The Iridescent Mediums I got to try were the; Pink, Blue, Purple, Chartreuse, Green, and Turquoise.  I enjoyed watching the medium transform itself from a plain looking whitish paste when wet to beautiful shiny colours when dry.  The effect is more apparent on darker surfaces.  However, using the same product on lighter coloured surfaces gives a “mother of pearl: effect which is very pretty.

sample of Creative Mediums on a dark surface using Copper Metallic, and Iridescent Green

Due to my own sensitivities to smells I was pleased that the product produces very very little odour and I found it pleasant to work with. The “Doodlestix”, also from Imagine Crafts are silicone-tipped tools used to create texture, manipulate mediums and enables the artist to add details.  I really like these tools and found the tips to be very flexible and easy to clean.  The “Palette Knives” are just the right size and clean up easily as well.  I was able to clean off both sets of tools with a damp cloth and even a baby wipe.

Note: that it is  recommended (and I agree) that when using any tools especially stencils and intricate stamps that you clean them before the product dries on them.

sample of thick layer of Creative Medium on paper

~*~*~*~*~*~*~*~*~*~*~*~*~*~*~*~*~*~*~*~*~*~*~*~*~

Ann Strecko Koeman lives and works in Ontario, Canada with her husband and two sons.  She blogs, writes about and makes things every day from her home based studio and office

You can see more of Ann’s work and find links to her other published posts, and videos at annmakes.blogspot.com

~*~*~*~*~*~*~*~*~*~*~*~*~*~*~*~*~*~*~*~*~*~*~*~*~

Disclosure: These products were supplied by Image Crafts for the purpose of review. All opinions are that of the MixedMediaArt team. Some links on this page may be affiliate links and any purchases help to support the ongoing work by MixedMediaArt.
.

.

Radiant Neon Amplify! Imagine® Crafts Product Review

~*~

This article was written by Martice Smith II

Looking to add a little extra oomph and intense color to your mixed-media creations? If so, you might want to try out these awesome, easy to use product by Imagine® Crafts. They’re called Radiant Neon Amplify! Writers and I recently had the opportunity to play with them.

I received eight beautifully vibrant, colors: Electric Yellow, Electric Coral, Electric Orange, Electric Blue, Electric Purple, Electric Green, Black, and White.

photo example of Radiant Neon Amplify! Writers from Imagine® Crafts

These paints are so versatile and I had such a great time playing with them. I always like to push the boundaries of an art supply, just to see how much I can do with it. So, today, I’m sharing a few techniques, anyone can do – no skill-level required!

Here are some of the ways I played with the new Radiant Neon Amplify! Writers:

1. I used them on my 8×10 Gelli Arts – Gel Printing Plate. I wrote in scribbly letters to create a graffiti look.

Smooth application of Radiant Neon Amplify! Writers from Imagine® Crafts on a Gelli plate

2. Drew simple shapes, straight from the paint bottle + introduced another color. Use the paints like watercolors!

These are water-based pigment inks, meaning, I can water them down a bit. Doing this allowed me to paint with them as if they were watercolors. However, they did appear to mimic the look of soft and chalky pastels rather than radiant, neon colors. To get the neon effect, just keep adding layers of the same paint color.

Use the Radiant Neon Amplify! Writers like watercolors.

3. Use them with a stencil + a foam pouncer to add a textured border along the edge of a page in my art journal.

Use the Radiant Neon Amplify! Writers with a stencil and foam brush.

4. Add dimensional texture.

The instructions say to shake bottle vigorously before each use. One thing I discovered while shaking the product was, after I removed the cap, the paint would ooze out of the nozzle before I was ready to paint! Ooops! Oh well…that glob of paint was applied in another area.

This means I had to be extra careful when adding smaller details, like dots.

To create dimension, use the Radiant Neon Amplify! Writers to add dots.

Other facts to know about the Radiant Neon Amplify! Writers:

Drying time: Dries within minutes, depending on how much paint you squeeze out.

Dimensionality: 

I like to retain as much dimensionality as possible. After drying, I was surprised to see how well these Radiant Neons held up! My art journal is packed with many different material and I was worried that it would flatten out over time. I was glad to see that that hasn’t happened!

Paints are flexible when dry – they will not crack due to heavy handling.

Texture:

Very smooth to the touch. The texture stays round, even in my journal. It hasn’t flatten out over time.

Vibrancy of color: 

Strong and very bright on both light and dark colored surfaces, which I love!

Maintenance + clean up:

The Radiant Neon Amplify! Writers have a NO clog tip but I do recommend wiping the tip before placing the cap back on.

Store them upright to prevent paint from oozing out of the nozzle.

Applied too much paint onto your page? No problem! Take a wet paintbrush and gently lift the color from the page. Use a paper towel to dab excess water.

I hope this review encouraged you to try new techniques and to especially incorporate the Radiant Neon Amplify! Writers from Imagine® Crafts into your next project!

Disclosure: These products were supplied by Imagine® Crafts for the purpose of review. All opinions are that of the MixedMediaArt team. Some links on this page may be affiliate links and any purchases help to support the ongoing work by MixedMediaArt. 

~*~*~*~*~*~*~*~*~*~*~*~*~*~*~*~*~*~*~*~*~*~*~*~*~

Mixed-Media artist, designer, and instructor Martice Smith II

Martice Smith II is creative director of Martice Smith II – Illustration & Design Studio, based in Missouri and owner of Uneek Art Boutique. She established herself as a freelance Illustrator and graphic designer after receiving her Bachelor of Arts Degree. Specializing in mixed-media illustrations, Martice’s love for fashion, typography and wildlife are infused with a combination of traditional and digital art techniques. Discover more tutorials on her blog www.uneekart.blogspot.com!

~*~*~*~*~*~*~*~*~*~*~*~*~*~*~*~*~*~*~*~*~*~*~*~*~

.

.