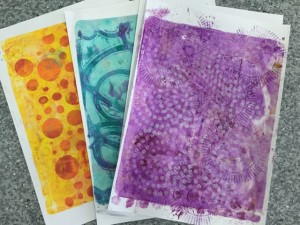
With so many colours to choose from, The Crafters Workshop STENCIL BUTTERS are so much fun to add sparkle and dimension to you mixed media projects. Michelle loves to use the creamy, sparkly Stencil Butters in her mixed media art journals and junk journals, as well as on top of gel prints and printed ephemera.
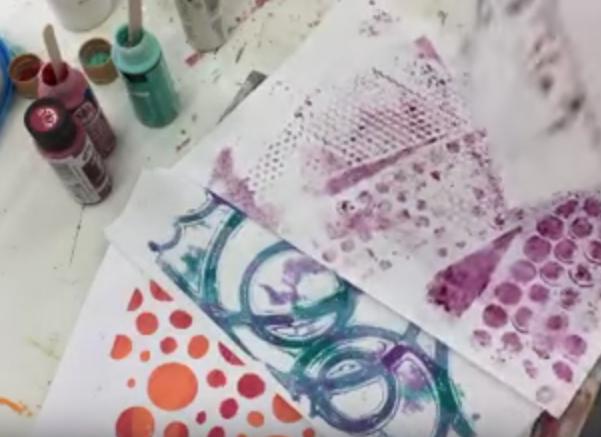
In this video, Michelle shows you some examples of the stencil on different surfaces, plus shows you how to apply the paste through a stencil.
.
You can see our full range of STENCIL BUTTERS in the Mixed Media Art online store
[shipping across Australia]
You can see our current range of STENCILS here – our range is always evolving and the stencils used in this video may no longer be in stock but we will have lots of other fun stencils to choose from!


Recent Comments