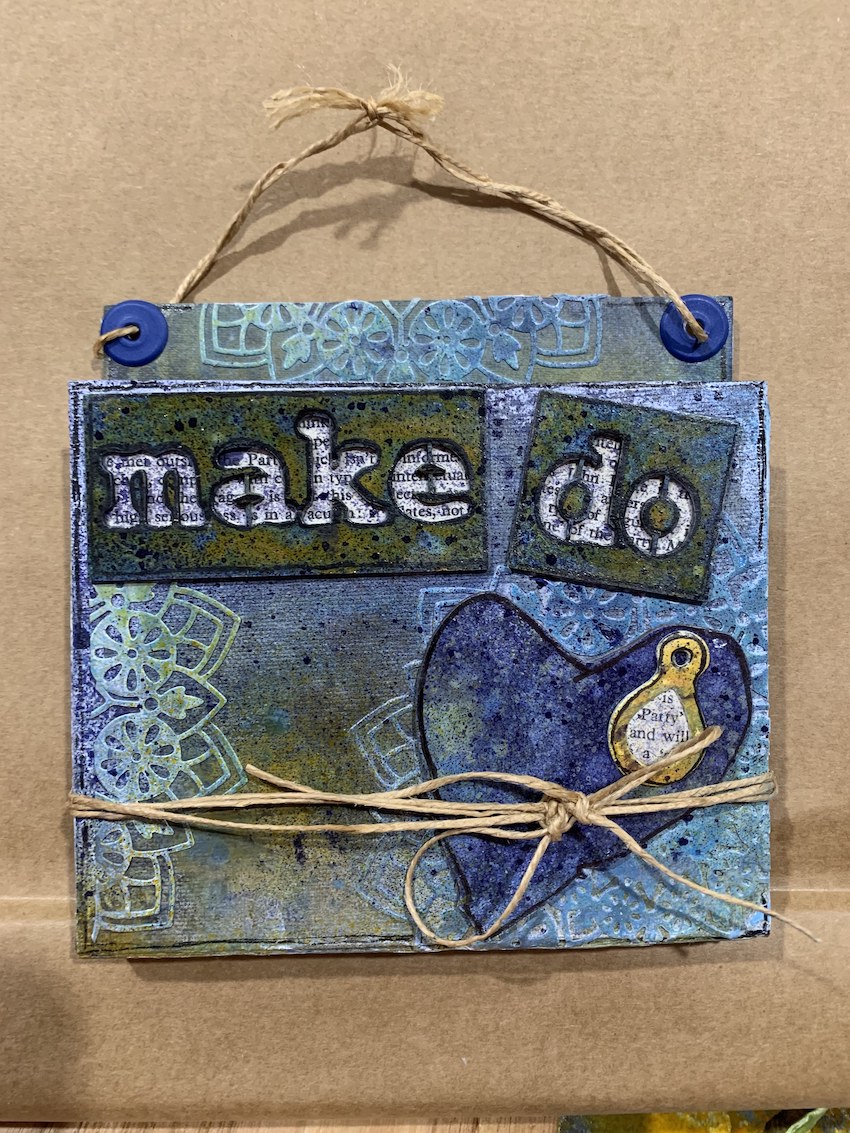
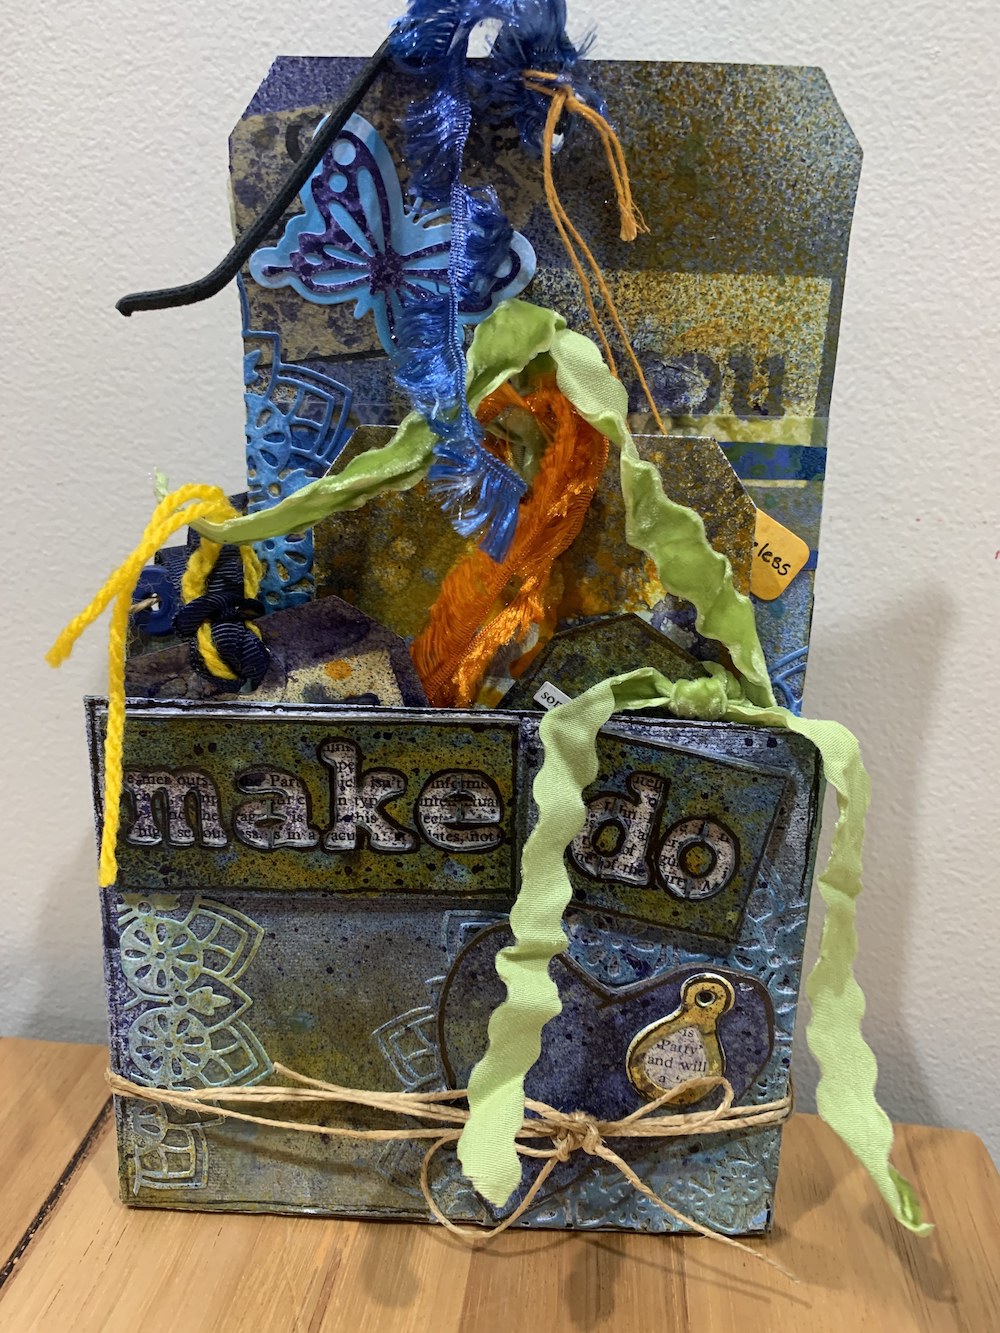
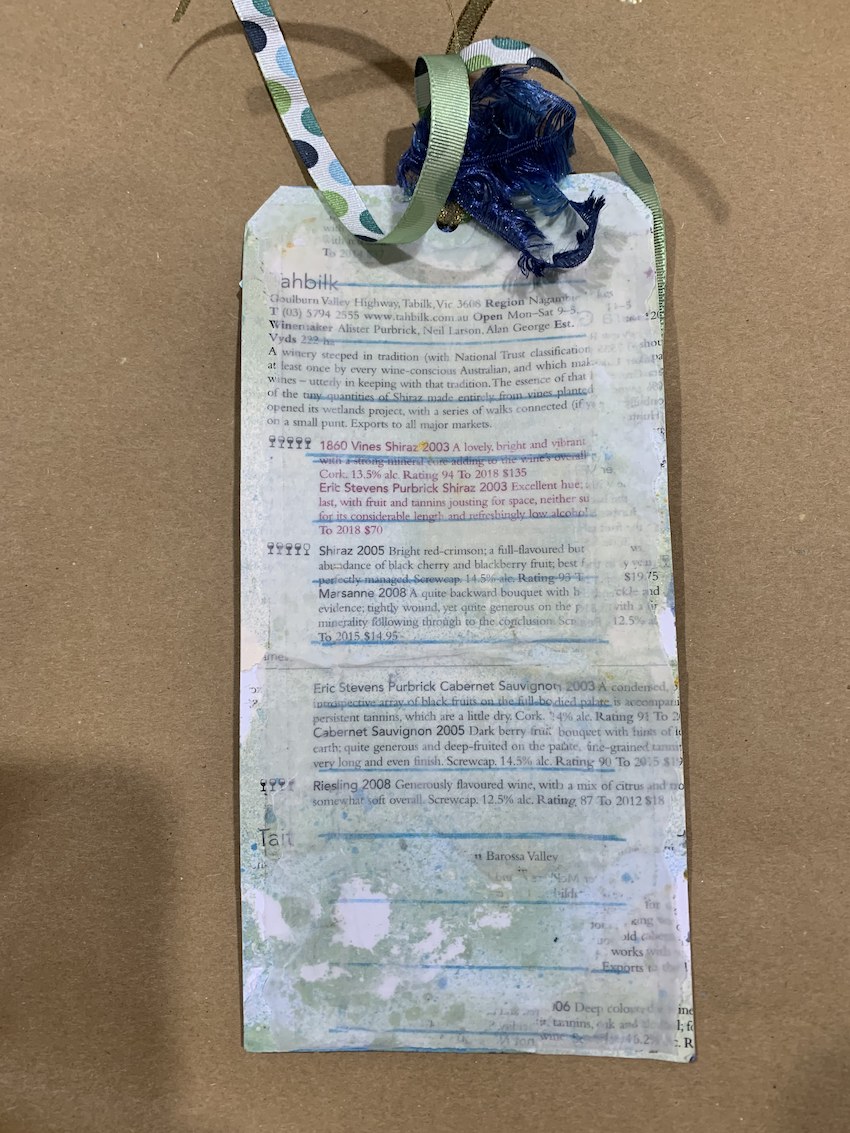
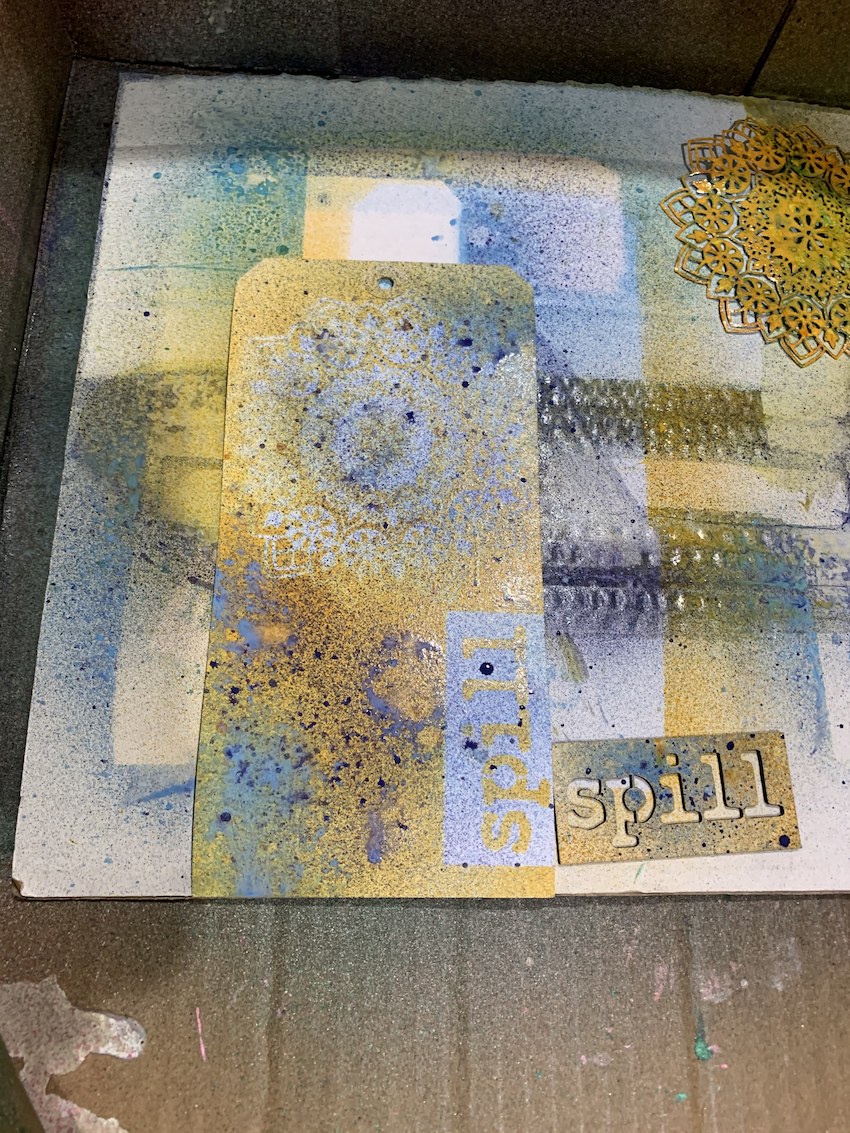
Michelle is playing with the Mixed Media Art DIY Envelope template to create a decorated C6 envelope that can be given as a gift or added to our art journal page, to hide a journaling block or tuck ephemera into it. It’s being decorated with Archival inks, stencils and transfers.
The large DIY Envelope Template makes a C6 envelope from an A4 sized paper, which fits a standard A6 greeting card. The DIY Square Envelope Template makes an envelope that fits a 95mm x 95mm card or booklet.
.
Buy your very own Mixed Media Art DIY Envelope template C6 [shipping across Australia]
Or get your SQUARE DIY envelope template
Other products used:
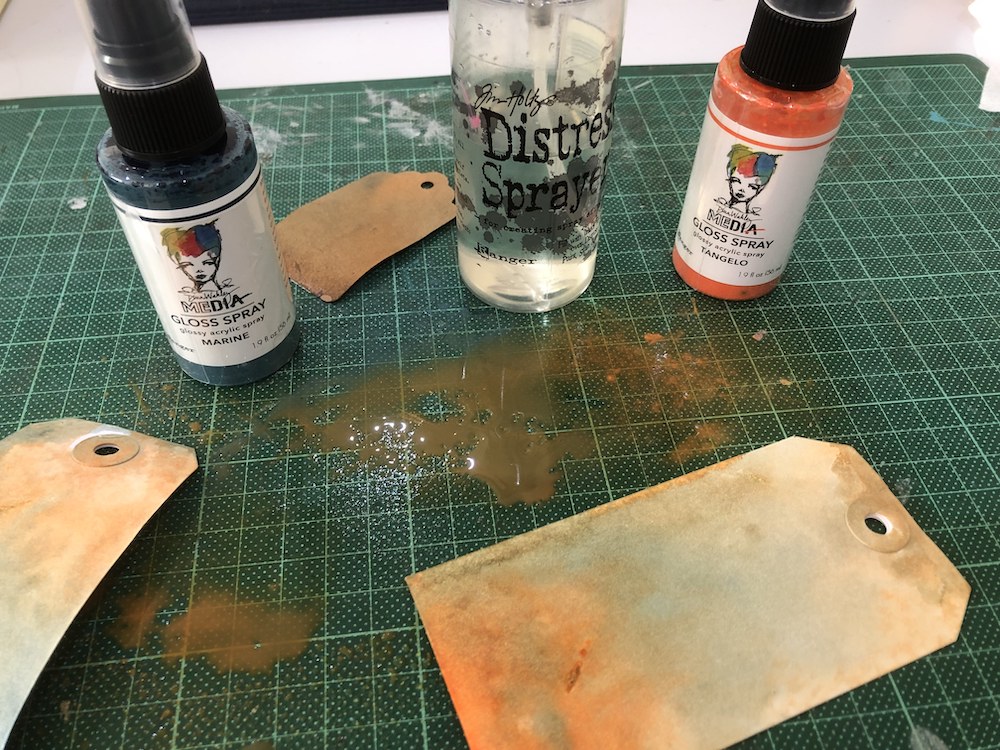
- Stencils
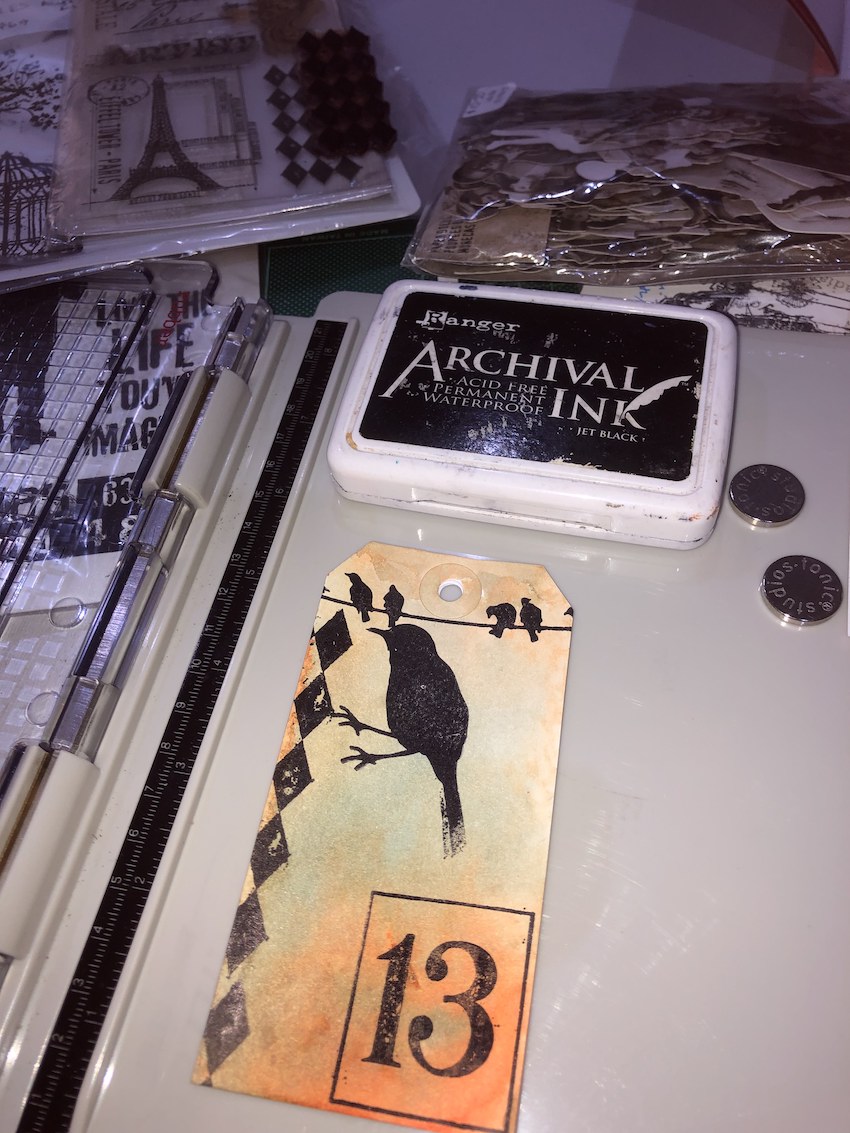
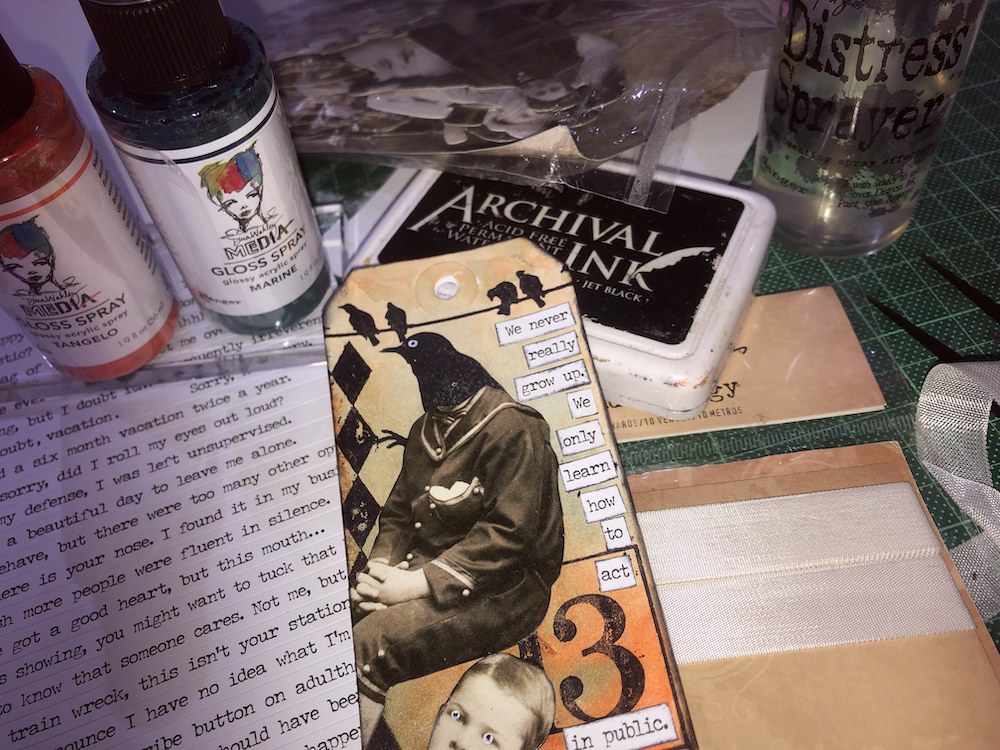
- Archival inks
- Ranger Ink blending tool
- Additional ink blending foam sponges
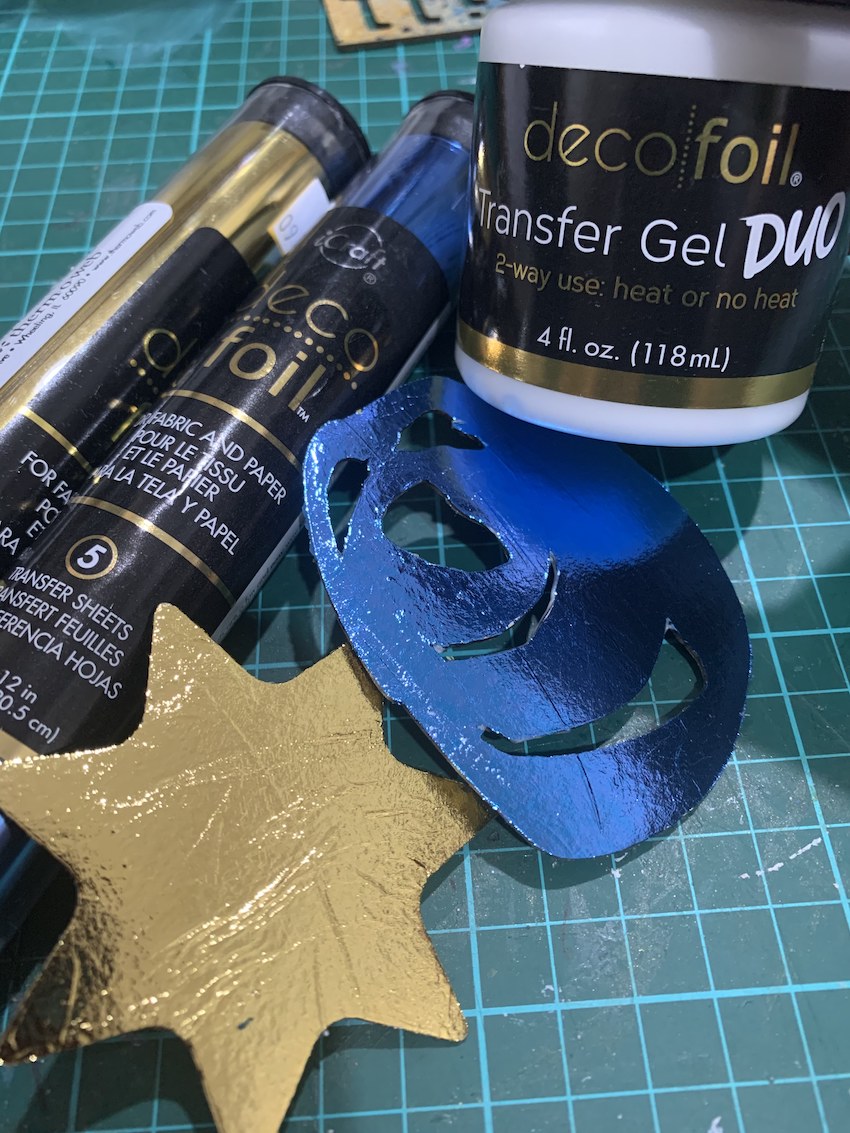
- Dress my Craft transfers
NOTE: our range is always evolving so the exact products shown in this video may no longer be in stock but we will have lots of other fun craft supplies to choose from!


Recent Comments