A Custom Grunge Mat for Framing Mixed Media Art

~ * ~

This article is written by Anjuli Johnson

My husband and I just moved into a new home.  It’s my first time as a new home owner, and I couldn’t be more excited.  My head is full of plans for how we can update and improve certain things… new tile in the bathrooms, different colored accent walls, perhaps some new kitchen cabinets at some point and of course, a brand new art studio for me.    All of those things will happen in time, but one thing I needed to do right away was create a few pieces of art for our bare walls.

I framed my ATC cards on the outside of a large custom mat.

I’ve spent the last few months scouring Pinterest and internet images, looking for décor ideas and deciding what I liked and wanted to incorporate in our home.  I was caught by so many of the gallery walls I had seen, where small photos are framed by large mats and thin, large frames, utilizing a lot of negative space to focus the eye right on the photo in a neat and quite sophisticated way.  I loved the result, but I decided to tweak it just a bit.

Book page text is transferred to a cardboard mat.

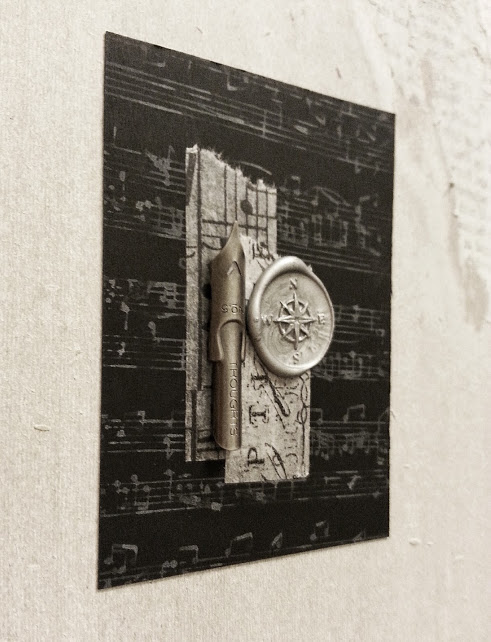
I knew I wanted to frame some small art pieces rather than photos for this project (Mostly because I have a pretty cool idea in mind for framing my photos… but that’s a different article in the future. ), I knew that I wanted to position the art on the outside of the mat, rather than having it framed underneath, and I wanted to do a whitewash grunge type of effect rather than having a plain white or black mat.

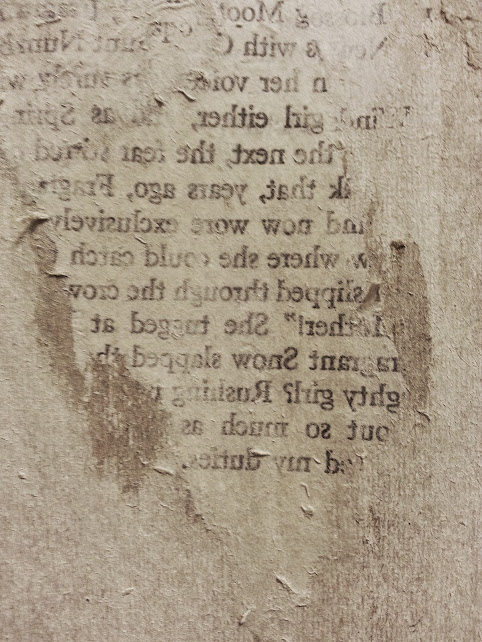
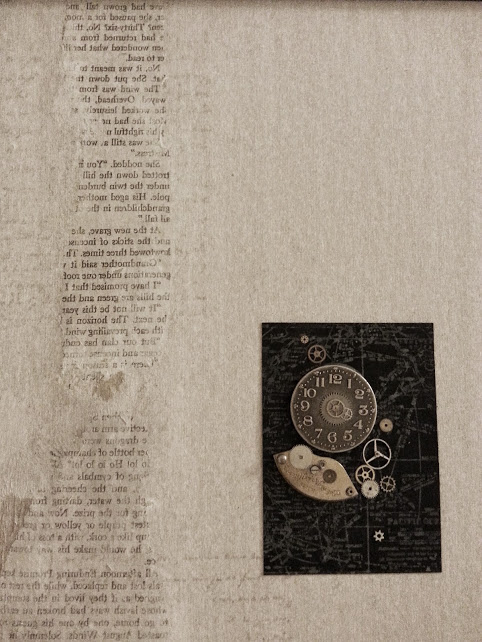
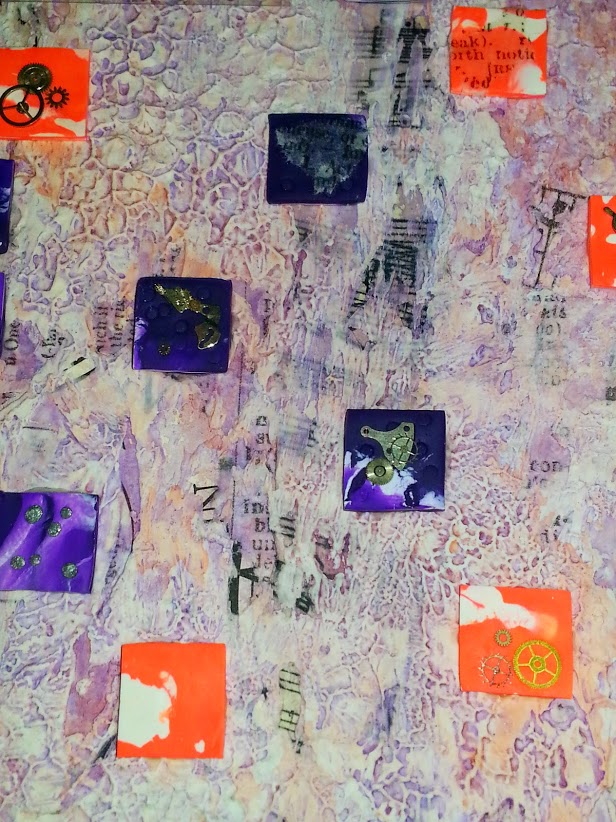
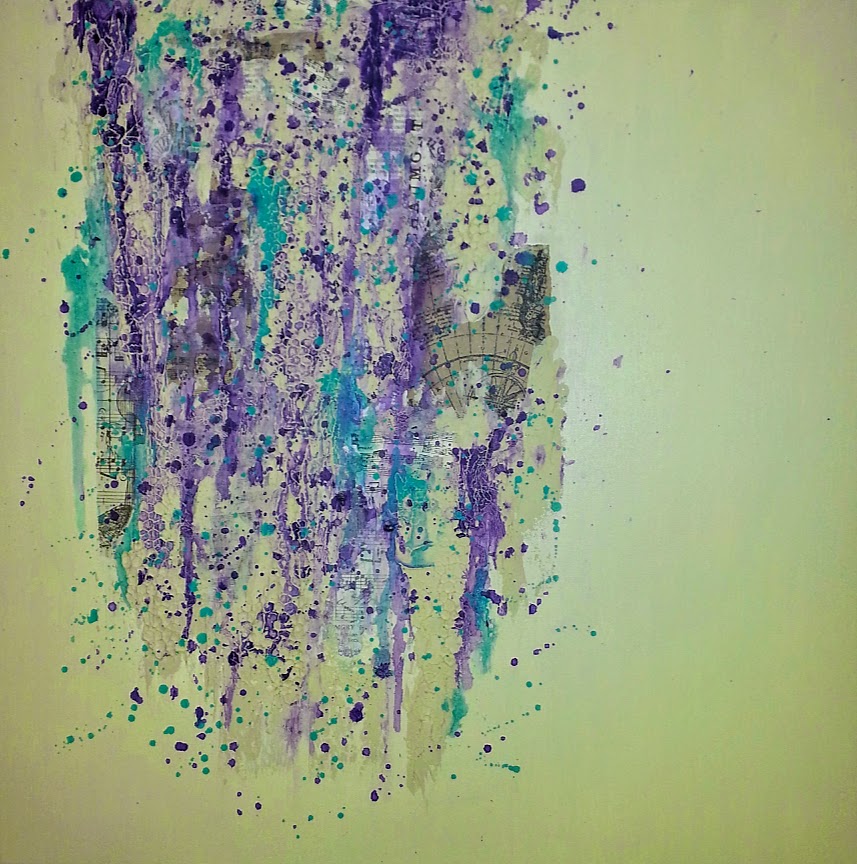
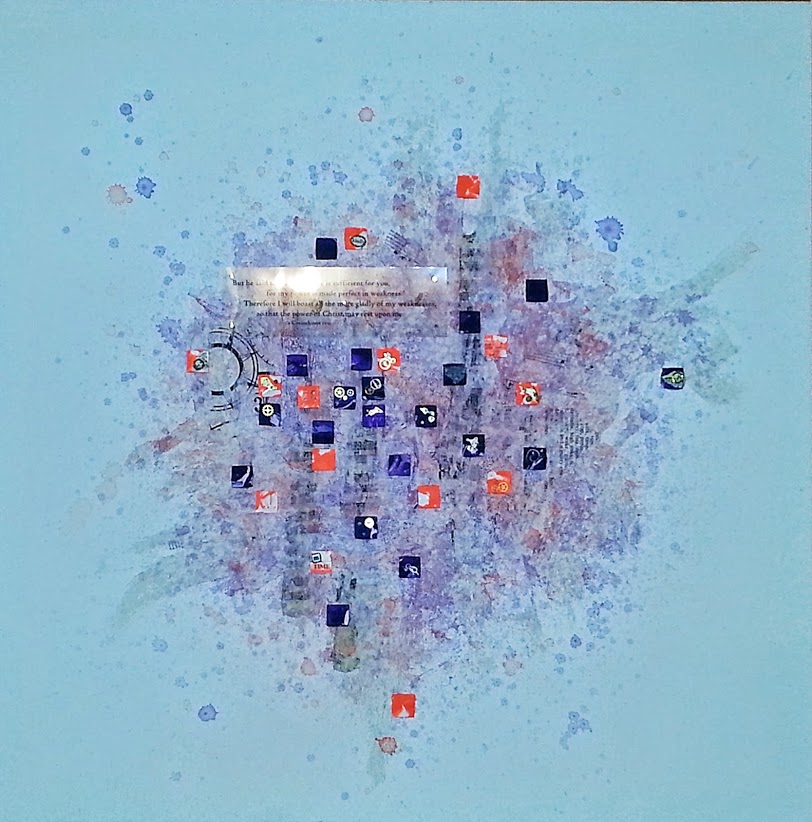
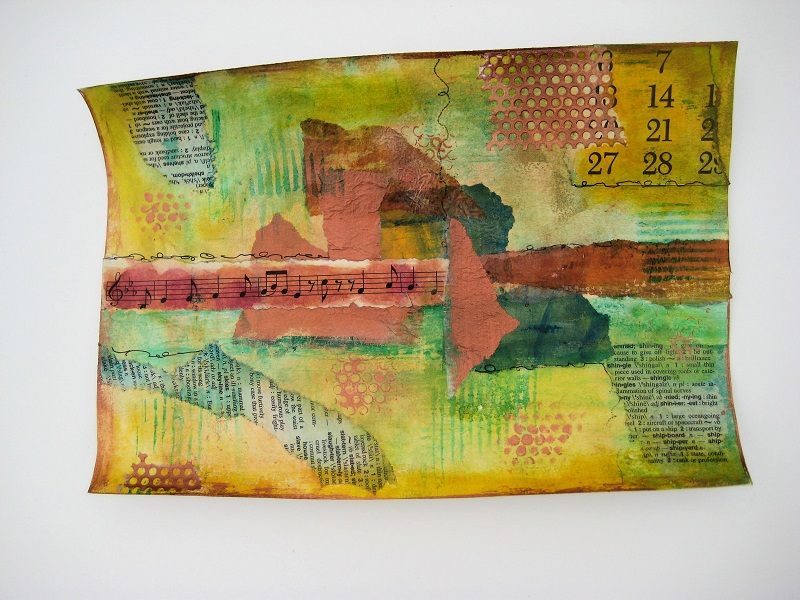
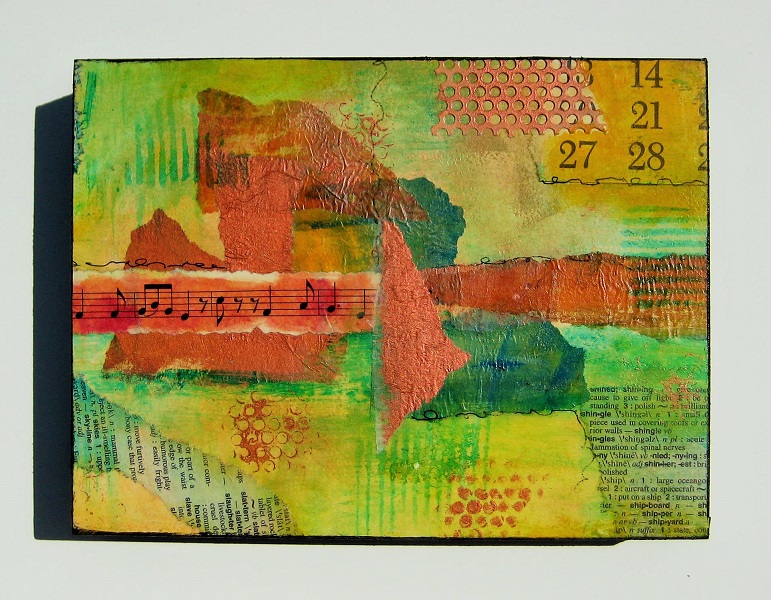
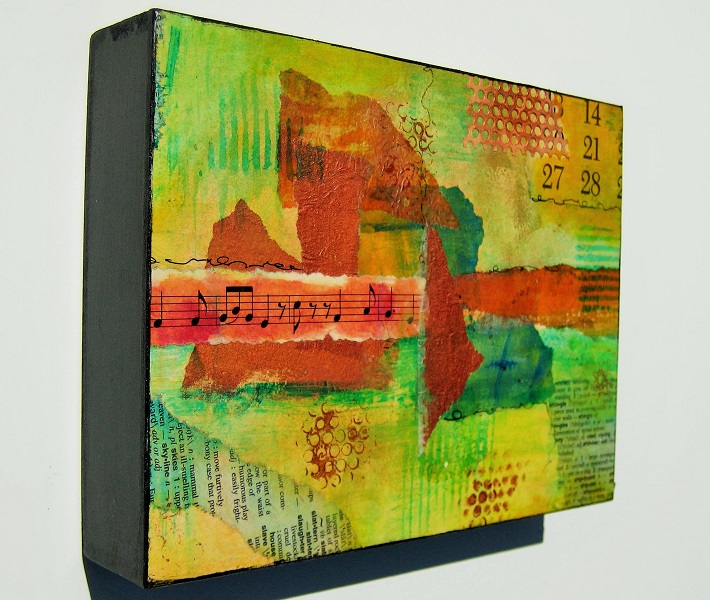
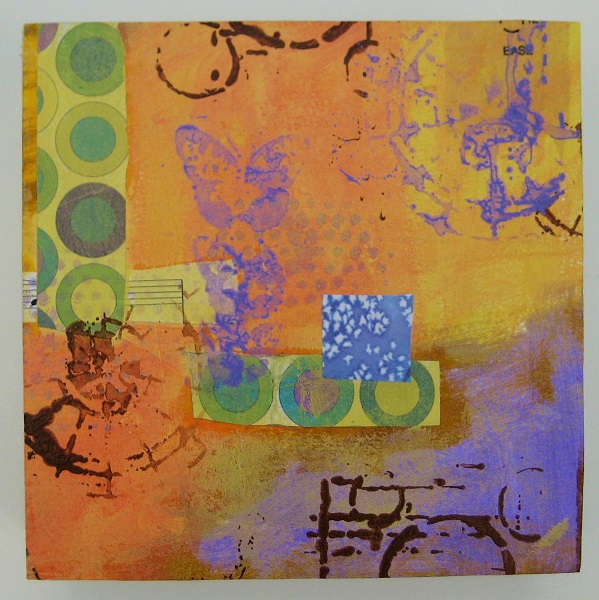
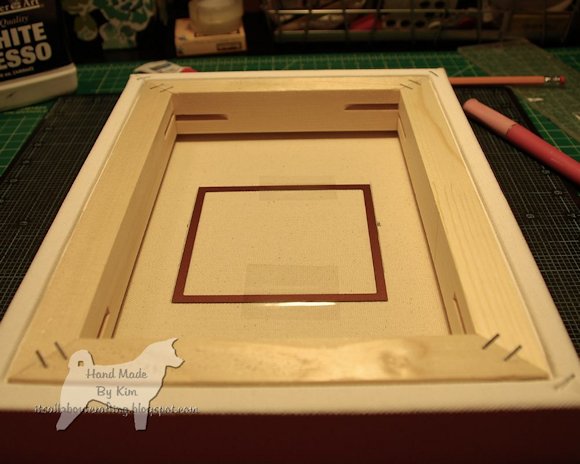
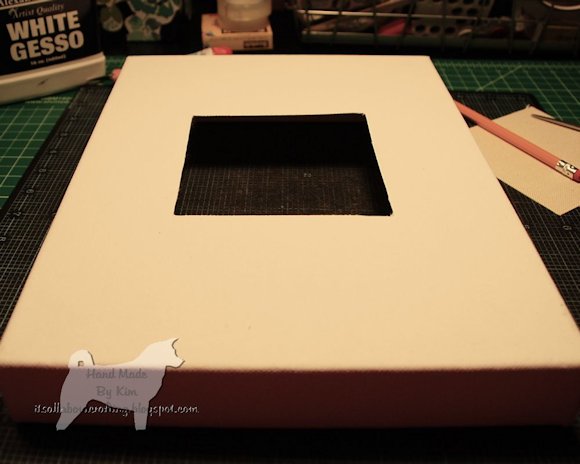
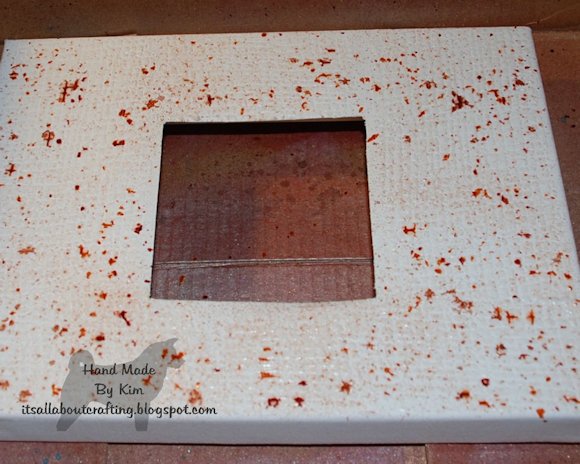
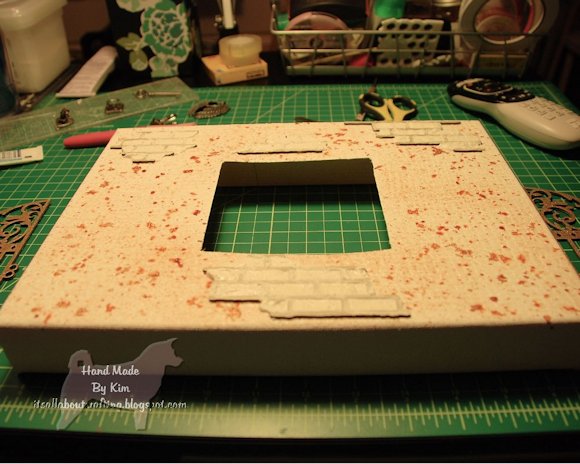
I used the cardboard insert from the frames I bought as my mat and used gel medium on book pages to transfer text onto the surface.  Once the medium dried, I dipped my fingers in water and rubbed off the excess paper to show the bottom text transferred to the cardboard.  I used watered down acrylic paint as a wash (two are white and one is in black) and applied several coats until it was the color I wanted.  I did let the cardboard dry in between.

Each mat is a bit different, but I used the same techniques

I used a Versamark stamp pad to add some watermark stamped images in a few places… they’re very subtle but you can see them if you look closely.

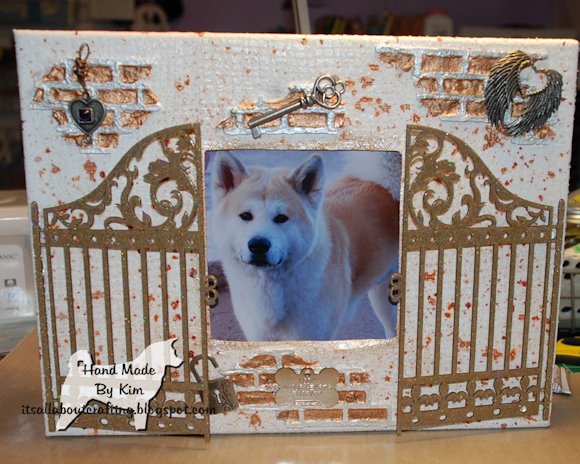
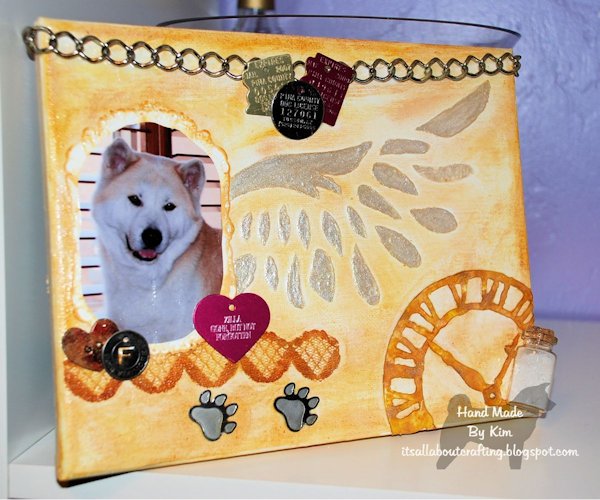
And that’s it! A mixed media mat for the small black and white ATC cards I made.  I love the way they look in my hallway.  I want to do this again- perhaps as a gift- so I’d love to know how you would alter a mat to frame some photos or art.  What techniques would you use? 

Whitewash and a bit of grunge text

~*~*~*~*~*~*~*~*~*~*~*~*~*~*~*~*~*~*~*~*~*~*~*~*~

 Anjuli Johnson is a Mixed Media Artist form Raleigh, NC.  She began her art career as a scrapbooker, and it’s been an evolutionary process ever since.  She loves all things mixed media- paper, paint, pens, wire, gears, clay… the list goes on and on.  She is constantly trying to push through her fears to discover and develop her talents, meet new people, and learn from those around her.  To see more of Anjuli’s art and techniques, check out her website at www.thefarpavilion.com  and like her Facebook page https://www.facebook.com/TheFarPavilion   Don’t forget to follow her blog! thefarpavilion.blogspot.com

~*~*~*~*~*~*~*~*~*~*~*~*~*~*~*~*~*~*~*~*~*~*~*~*~

.

.

Meaningful Mixed Media Collages

~ * ~

This article is written by Anjuli Johnson

The term collage comes from the French word “coller”, meaning “to glue”.  Though it had been a technique for many years, the first mention of the term was around 1913 when Pablo Picasso and Georges Braque drew serious attention to collage as an art form.

Splashes of purple and turquoise against bright white

Now, collage can be found everywhere- in elementary classrooms, photo albums, crafting and fine art.  It is used for many reasons- practicing motor skills, preserving memories, home décor, etc. In fine art, collage can be used to express different ideas through the different materials used- newspaper and magazine clippings to make political statements, blocks of color to suggest violence or the randomness of life, or even sections of old paintings and drawings cut up and reformed into something new.

I myself have been fascinated with a new collage technique I’ve been experimenting with- using modeling paste as a means to hide certain collage elements while keeping others visible.

Polymer Clay tiles add the finishing touches to this collage.

I’ve been fascinated lately with the idea of hidden things, things lurking just below the surface, specifically in a person’s character.  We all have things that we try to hide from other people- weaknesses and vices that are embarrassing or compromising, or even accomplishments that we are anxious or unsure of for some reason- talents we hold back because of fear.  Whatever the nature of our hidden parts, they affect our outward natures, as well.  I believe that, however good we may be at hiding certain things about ourselves (good or bad), there are hints to be found for those who look closely enough.

In my recent collages, this is exactly the idea I’ve been working to convey.  I begin with a layer of cut and torn papers, then I cover certain areas with modeling paste- sometimes thick, sometimes thin.  Once it dries, I sand certain areas (I love that I can do this so easily with modeling paste), and then I add some color and another layer of patterned papers.  More modeling paste is stenciled over to give it more texture and dimension, and a final layer of color.  Of course, I could completely mix up these steps- add some more or take away a few and use different elements for some new inspiration.

Bright Purple and Turquoise against a cream background.

Collage is such a versatile medium with infinite possibilities.  I’m grateful when I look back on my initial attitudes toward collage- all I could see was bits of paper and fabric pasted together in random ways.  I didn’t see the meaning, the purpose beneath the surface.  Now, though I can’t say I fully understand the meaning behind every piece by every artist, I do see the purpose and the value.  Let’s go find some new ways of putting ourselves into our collages.

Orange and Purple Collage with square tiles and acetate quote.

~*~*~*~*~*~*~*~*~*~*~*~*~*~*~*~*~*~*~*~*~*~*~*~*~

Anjuli Johnson  is a Mixed Media Artist from Raleigh, NC.  She began her art career as a scrapbooker, and it’s been an evolutionary process every since.  She loves all things mixed media- paper, glue, paint, canvas, pens, wire, gears… the list goes on and on.  She is constantly trying to push through her fears to discover and develop her talents, meet new people, and learn from those around her.  To see more of Anjuli’s art and techniques, check out her website at www.thefarpavilion.com  and like her Facebook page.

~*~*~*~*~*~*~*~*~*~*~*~*~*~*~*~*~*~*~*~*~*~*~*~*~

.

.

Painted Paper Collage

~ * ~

This article is written by Debbie Davis

One of my favorite things to do is paint and collage onto mixed media paper.  When using paper, I let go of any apprehensions about messing up a nice canvas or other expensive substrate.  This allows me to work freely and just have fun.  Once a paper collage painting is complete, depending on the size of the paper,  it can be cut to make smaller pieces of art or you can use the entire piece.

mixed media collage on canvas

I usually start by collaging various papers onto the mixed media paper.

For the collage painting above, I used pieces from a vintage ephemera music book, dictionary and calendar page.  I also added some deli paper that I had painted and crumpled to give it some texture along with some painted drywall tape.  Once the papers were collaged on the mixed media paper, I added some paint and did a bit of stamping with a piece of cardboard that I had brushed some paint onto and pressed onto the paper.  I also used a piece of the drywall tape as a stencil and pounced some paint through it.  Line work was added using a Pitt artist pen.

mixed media collage on canvas

I sometimes mount the paintings onto wood panels that I purchase from my favorite art supply store.  Another option is to buy clearance craft art from your local hobby/home decor store, that is done on wood pieces or panels to repurpose and use as your substrate.  I am always on the lookout and buy a lot of my substrates at 80% off.  I recently paid $2.00 for some panel boxes that had words printed on them.  They were just the size I needed for a few of my paper collage paintings.

mixed media collage on canvas

Cut your paper close to the size of the substrate.  Extra paper can be trimmed off after the glue dries.  To adhere your art onto the substrate, use PVA glue by adding it to the center of the substrate and brushing it out towards the edges.  You need to make sure and cover the entire top of the panel with the glue.  You don’t want the glue to be too thin that the paper won’t stick in some areas. You also don’t want to put so much down that it is oozing out the sides once you get the paper down.

Next lay your art onto the panel smoothing out any air bubbles.  I like to cover it with wax paper and roll out the bubbles and smooth down the paper using a brayer.  Next, leaving the wax paper on the painting,  put some heavy books on top and leave to dry overnight.  Once dry, paint the sides of the substrate and finish it off with a spray sealer or varnish.

Here is another painting I completed recently and mounted on to a wood panel.  I used some scrapbook paper on this one along with stencils.

mixed media collage on canvas

~*~*~*~*~*~*~*~*~*~*~*~*~*~*~*~*~*~*~*~*~*~*~*~*~

My name is Debbie and I live in Morton, Illinois, USA. I’m happily married and have a wonderful family that includes a daughter, son, son-in-law and 3 of the sweetest grandchildren ever!

What I love most about mixed media art is that you don’t have to be an expert at anything to create beautiful art. It is a great way to recycle found objects. Art is such a wonderful stress reliever. I just wish I had more time to play!

I have a blog called In Art Therapy where I share my art along with techniques I have learned.  I hope you will come visit me there.  I also have an Etsy shop called Artful Explorations where I place some of the art I have created for sale.

~*~*~*~*~*~*~*~*~*~*~*~*~*~*~*~*~*~*~*~*~*~*~*~*~

Mixed Media Canvas: Creating with Feeling

~ * ~

This article is written by Kim Kelley 

Have you ever thought about how you are feeling when you create your art? Are you happy? Sad? Grieving? Excited? Some people will tell you they find themselves in the creative mood when they are happy, some say that their best piece of art came out of their lowest time.

For me, the more “personal art” I have created over the years, came out of me being at my saddest. And this, my latest canvas, came from this.

To give you a little insight into the canvas I have to tell you a story:

10 and half years ago a little 3 week old Akita puppy chose us for his parents. Koda was the most adorable little guy and we fell head over heels in love with him. He was a perfect addition to our family. We also rescued a 4 year old female Akita, named Zilla about 8 months after bringing Koda home.

 Koda playing

Koda playing

Koda

Koda got sick in 2007 with an auto immune disease. He would have a few bad months, and then would slip back into remission. Doctors informed us he was in no pain…just itchy…needed medication and to stay out of the sun. That was the hardest part; I mean we live in Arizona!

May 29th we had to take him to the animal emergency room, his white blood cells had dropped from medication and were not improving. So we made the decision to let him go. Even as I am writing this the tears are starting to fall.

OK Back to the task at hand…

I  started with a 9 X 12 canvas, cutting a square in the center for my picture to show through. I have never done this before and after completing the project I thought I might change it a bit and add a pocket under the canvas so that I can change the picture out if I want.

mixed media scrapbooking collage with photos

mixed media scrapbooking collage with photos

I added texture with some Golden’s Gel in Semi-Gloss and the Burlap stencil from Tim Holtz. After letting that dry I used some copper, orange and gold sprays from Lindy’s trying to mimic the colors from the photo I was going to use. I added some brick chipboard pieces, filling them with stucco, painting the inside with brass and black paints and outside white paint mixed with a little bit of stucco for texture.

mixed media scrapbooking collage with photos

mixed media scrapbooking collage with photos

I added a few metal pieces; a heart (because he will always be in mine), angel wings, a key, a lock and a dog tag that has “KODA IN OUR HEARTS FOREVER”.  Then attached chipboard gates that I heat embossed and have bumped up a bit to look like they are open.

This is the canvas I created celebrating Sunrock Kelley’s Kajita Tama:

mixed media scrapbooking collage with photos

We lost Miss Zilla to bone cancer in May of 2013; needless to say May has been a bad month for us!

I created this canvas for my husband of Zilla…

mixed media scrapbooking collage with photos

Thank you for allowing me to share a bit of my life. Happy creating.

~*~*~*~*~*~*~*~*~*~*~*~*~*~*~*~*~*~*~*~*~*~*~*~*~

Kim Kelley is borderline obsessive about her crafting and her art. She loves mixed media art because you are free to go beyond your comfort zone, using your imagination and exploring an anything goes mind set. Kim loves to learn and explore new techniques and hopes that any art she creates leads someone to find their inner creative artist!

You can see more of Kim’s work at her blog itsallaboutcrafting.blogspot.com and via Facebook

~*~*~*~*~*~*~*~*~*~*~*~*~*~*~*~*~*~*~*~*~*~*~*~*~

.

.