Mixed Media Art was featured in P2PCrafts Presents online crafting videos. Michelle chats about the beginnings of the Mixed Media Art website and how it turned into the online store of today!
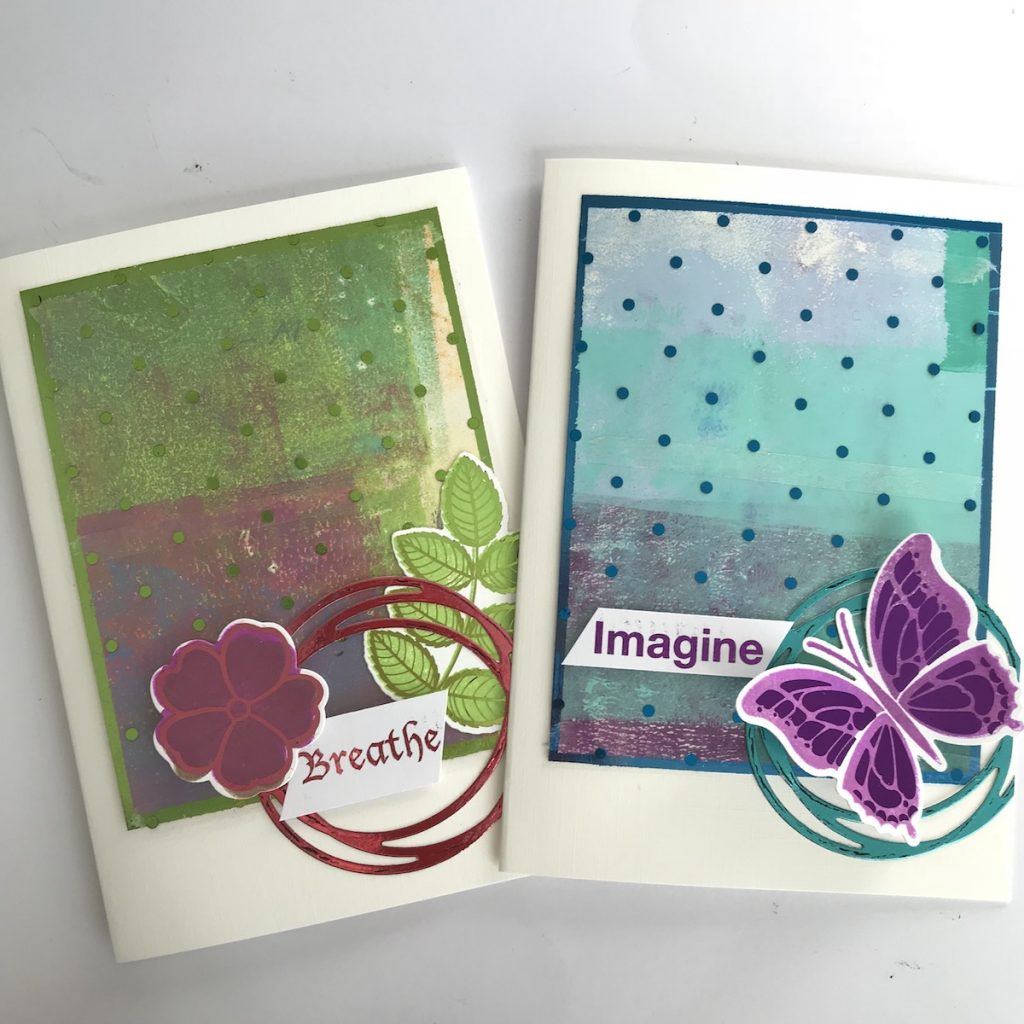
Materials List:
- adhesive pen
- Decofoils – 24 colours & specialty
- Parchment paper pack
- Decofoil printed transparency sheets (clear)
- Decofoil printed Foil Mates (white card)
- Toner sheets – PeelnStick 2pk
- Toner sheets – plain 3pk
- Scribble Circles dies
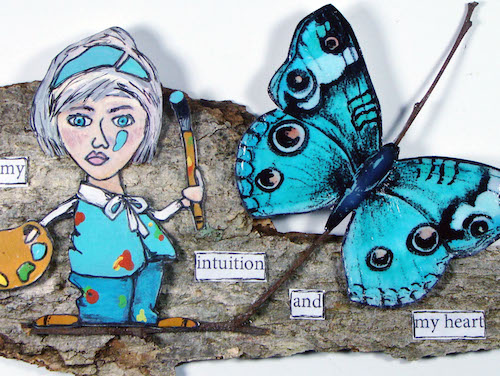
- Gina K Foil Mates – Butterflies and Flowers
- Gina K clear stamps – Butterflies and Flowers
- Gina K Craft Dies – Butterflies and Flowers


Recent Comments