Altered Daily Journal Cover

This article was written by Melanie Statnick

Save time and money by upcycling a notebook cover

I have been looking for a journal big enough to write some reflections down daily. I didn’t want to spend the money. Upcycling is one of the best ways to use your imagination.

Save time and money by upcycling a notebook cover

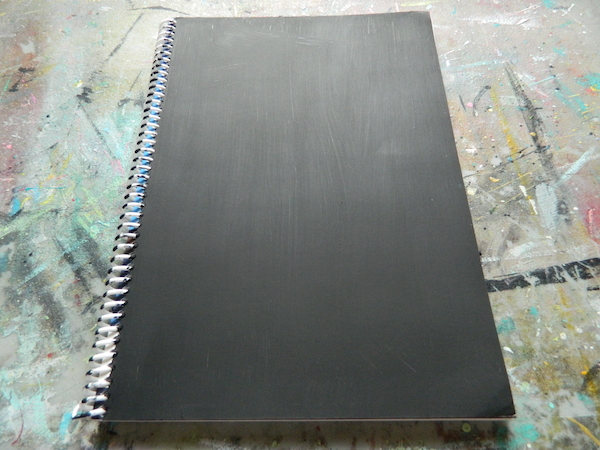
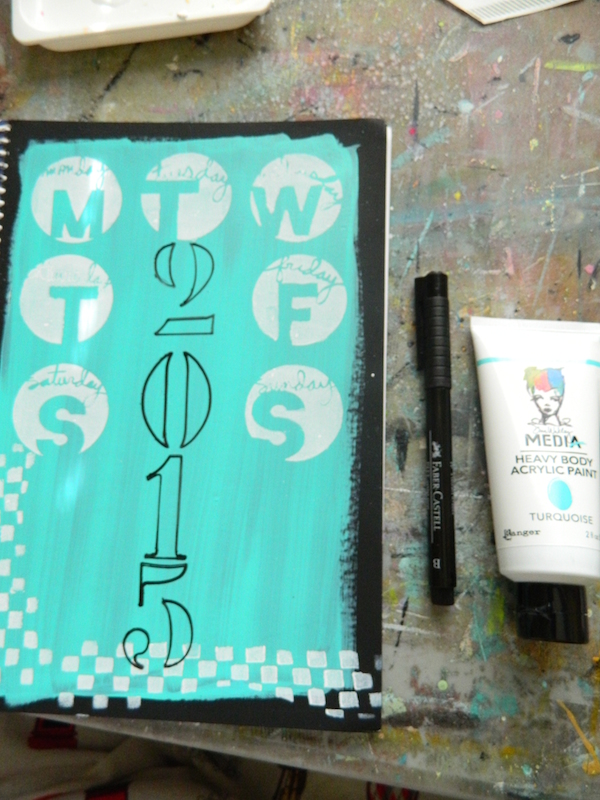
I used black gesso to cover the front of the journal. I like using black gesso, I find it covers more and leaves you with a primed black surface that is great to use white gel pens on.

Save time and money by upcycling a notebook cover

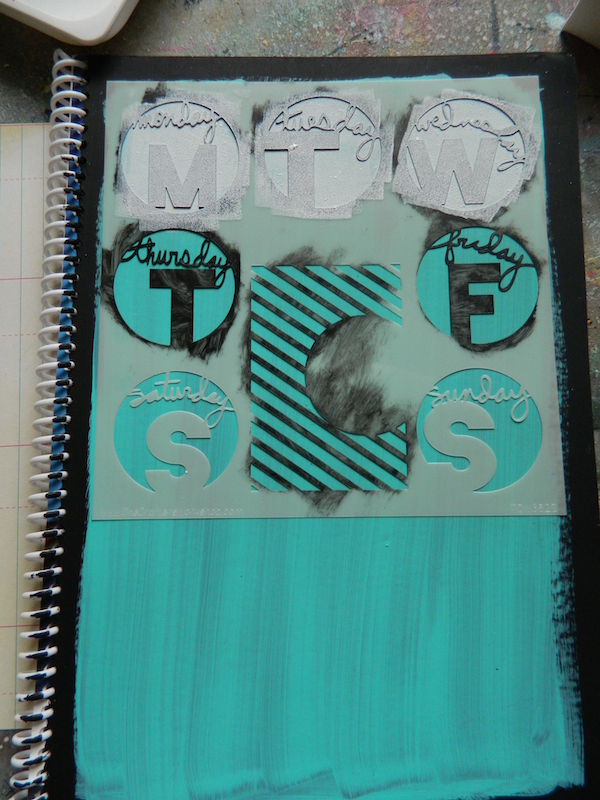
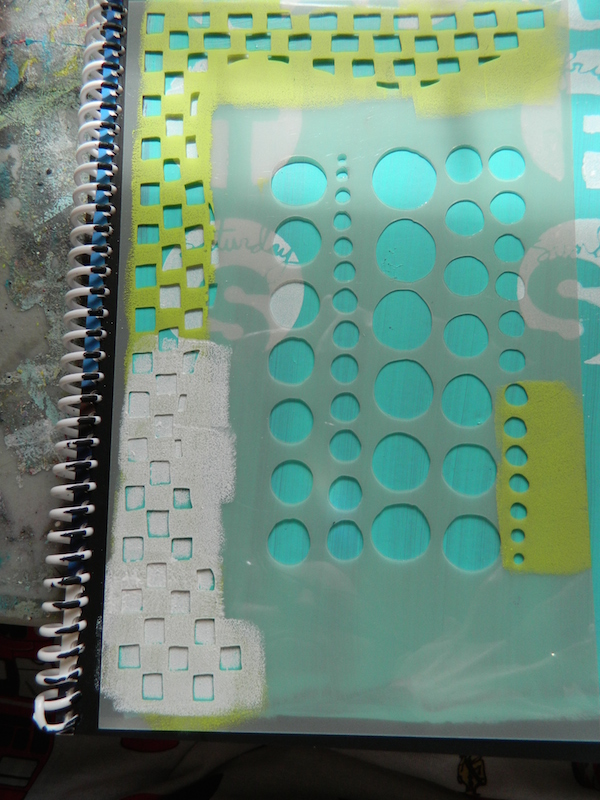
I painted a wide rectangle of turquoise paint over the gesso surface and added a weekly stencil an Artistcellar product.  I used various stencils to create a quick and easy stenciled back ground. Since this is for personal use only I felt more experimental then I did wanting a clean design.

Save time and money by upcycling a notebook cover

Save time and money by upcycling a notebook cover

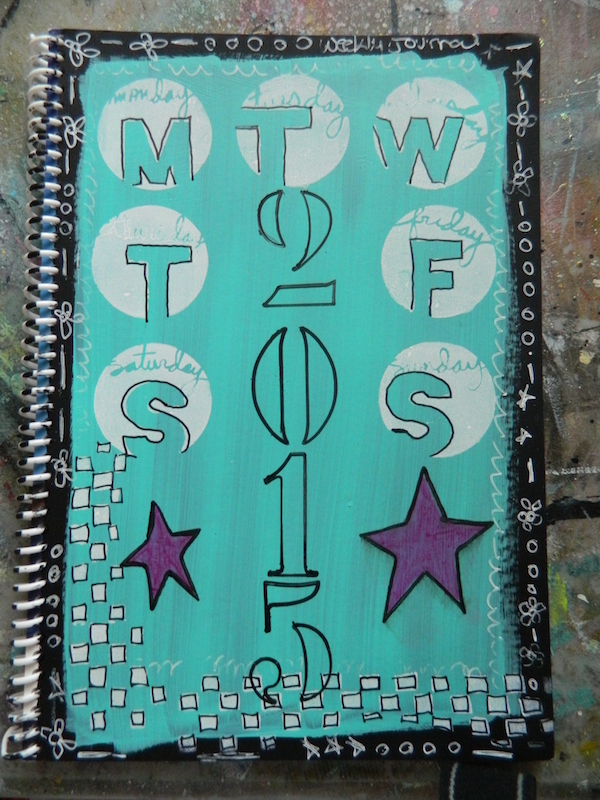
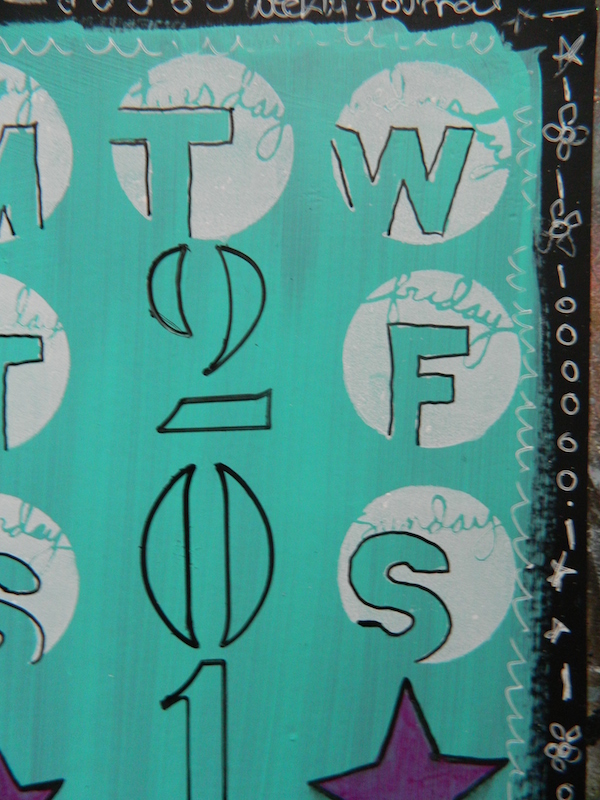
I added the year and later went in to outline the days of the week with a PITT pen, then added some detail to the cover with stars and good use of a white gel pen. Looks similar to a chalk board effect.

Save time and money by upcycling a notebook cover

 Upcycle Daily Journal Cover

~*~*~*~*~*~*~*~*~*~*~*~*~*~*~*~*~*~*~*~*~*~*~*~*~

Author bio:

Artist Melanie Statnick is a Published Artist/Writer out of North Carolina who writes and creates art daily from her private studio. Melanie is also the host of her own program via video and local PBS named The Brush & Pen  a Nash Community College production. Visit her website to learn more.

www.melaniestatnickart.com

~*~*~*~*~*~*~*~*~*~*~*~*~*~*~*~*~*~*~*~*~*~*~*~*~

.

.

Mixed With Faith, Hope, and Love

~ * ~

This article is written by Kim Kelley

The holidays are over, the decorations are put away, time to get crafty and I don’t know about you, but it’s not a moment too soon for me.

This month I decided to make a memory tray that I purchased from Hobby Lobby. I have several and have always been a bit nervous to try one. So I chose the one in the shape of the cross, threw the nerves out the window and got to work.

Here is a list of what I used:

~ Cross Memory Tray by Paper Studio

~ White gesso by

~ Texture medium by Imagine Crafts: Original, Vintage and Shimmer

~ Spray mist by Lindy’s Ethereal Emerald and Maidenhair Fern Green

~ Miscellaneous charms, flowers and clothes pins from stash

~ Glue gun

~ Mod Podge

Most trays are basic black, but by using gesso and adding paint or texture and sprays; you can change the color real easy, all depending on what look you want to create.  Wanting a real light coating of gesso I added a bit of water, to thin it out, and brushed it on leaving areas where the black showed through.

altered art memory box tray

Cross Tray

altered art memory box tray

Cross Tray with Gesso

After letting it dry, with a little bit of help from my heat gun, I started to add my texture mediums. Here’s where it gets weird…I knew what I did not want it to turn out like: not clear, not one color, no flakes, grit or fibers. So I grabbed my “Creative Medium” in Vintage, Shimmer and Clear and started sponging it on, making sure to keep them somewhat separated so each shows through.

altered art memory box tray

Texture Medium

altered art memory box tray

Tray with Texture Medium

After letting the texture dry for about 2 hours I chose my sprays. This is probably one of the hardest parts of creating something, not knowing what the color will end up looking like. In my mind I had a soft patina color, but achieving that is half the battle. Looking through my spray bottles I decided to try Ethereal Emerald for the green hue and Maidenhair Fern Green to add that bit of brownish tone, hoping it will go well with the vintage color of the creative medium.  (Sorry the pictures did not turn out that great of the sprays before I added the embellishments.)

altered art memory box tray

Sprays

OK I said the hardest part of the creation process was choosing color…well I lied. The hardest part is the waiting, waiting for stuff to dry seems to take forever.  I usually end up having at least one other project going at the same time, sometimes more than one.

The next step was to determine what scripture I wanted…I chose to use I Corinthians13:13 “and now abide faith, hope, love these three; but the greatest of these is love”, deciding this would be a perfect choice to use some charms I had of “Faith”, “Hope” and “Love”. Wanting them to hang rather than lie flat I found some small, chunky clothes pins that would hold the charms perfectly. I did add some texture medium to the pins to make them blend in more. After adding all the embellishments I added more spray, covering the texture on the clothes pins.

altered art memory box tray

Scripture

altered art memory box tray

Clothes Pins

altered art memory box tray

Textured Clothes Pins

After texturing, gluing, and spraying I added some Mod Podge to seal it all up. I like using Mod Podge because I can go over any item with it; charms, texture, paper, whatever is on the project and it dries clear and FAST! Less waiting time for me.

Without further ado, here is the finished project:

altered art memory box tray

Finished Cross

(Again sorry for the photo, everyone I took came out with the scripture not as distinct)

Life is short, do something creative every day!

~*~*~*~*~*~*~*~*~*~*~*~*~*~*~*~*~*~*~*~*~*~*~*~*~

Kim Kelley is borderline obsessive about her crafting and her art. She loves mixed media art because you are free to go beyond your comfort zone, using your imagination and exploring an anything goes mind set. Kim loves to learn and explore new techniques and hopes that any art she creates leads someone to find their inner creative artist!

Sites: itsallaboutcrafting.blogspot.com and kimscraftyconcepts

~*~*~*~*~*~*~*~*~*~*~*~*~*~*~*~*~*~*~*~*~*~*~*~*~

.

.

Altered Book Jewelry Box

This article is written by Anjuli Johnson

Box cover close up

I have been a fan of Tim Holtz for a loooooong time.  I mean, who isn’t, really?  His lines of scrapbook and art supplies are just delicious, especially to a steampunk fan who loves to add text to most of her projects, whatever they may be.

One of his products I’ve been dying to try was his configurations line- book boxes that are filled with interchangeable compartments.  These books are perfect for altering in just about any way possible, including my choice- a jewelry box.

Tim Holtz configuration line

After altering the cover with lots of paper (notice all the text? I can’t help myself!), ink, chipboard, and paint, I used paper and fabric to line each box.  Using rolled up strips of the same fabric made my ring holder quite easy to assemble.  I didn’t even have to use glue- the pressure of the fabric rolls holds everything together, including however many rings I may end up adding to my jewelry collection.

Cover shot

I’m so pleased with how this one turned out, that I think I’ll make 2-3 more and instead of having them lay flat on my dresser, I’ll mount them on the wall and add jewelry hooks.  At first glance they will look like a range of my favorite books hanging on the wall when in reality, it’s the rest of my jewelry nestled in unique little boxes, organized and adding quite a bit of charm to my little corner of the house.

inside my jewelry box

~*~*~*~*~*~*~*~*~*~*~*~*~*~*~*~*~*~*~*~*~*~*~*~*~

Anjuli Johnson is a Mixed Media Artist from Raleigh, NC.  She began her art career as a scrapbooker, and it’s been an evolutionary process every since.  She loves all things mixed media- paper, glue, paint, canvas, pens, wire, gears… the list goes on and on.  She is constantly trying to push through her fears to discover and develop her talents, meet new people, and learn from those around her.  TheFarPavilion

~*~*~*~*~*~*~*~*~*~*~*~*~*~*~*~*~*~*~*~*~*~*~*~*~

.

.

Gum Ball Machine ~Not Just For Gum

~ * ~

This article is written by Kim Kelley

By now you have probably figured out that I love to reuse and repurpose products. Just seeing how you can change the look of something with a little paint and spackle makes me smile. So today I am going to show you two projects I created using gum machines that I found at an antique store.

I never knew that these dang machines could get so expensive! But from what I have been told there are some machines out there that are considered collector’s items. For me, I just like the look of them with something other than gum.

The first one I am going to show you is a snowman theme, using a plastic and metal machine that started out green and copper. Honestly, I should have looked the “ball” portion over better because it does have some scratches and as this one is plastic it is impossible to get all of the scratches out. If anyone has any ideas let me know!

I first took the machine apart, cleaned each part and let them dry completely. Using gesso on the bottom base, base, collar and top I let them dry overnight.

altered art and gum ball machine scenesBefore remake

altered art and gum ball machine scenesBase

altered art and gum ball machine scenesPieces and Parts

Using a mixture of red paint and Golden crackle paste (yes, crackle paste, weird I know, but it worked) I went over the base 3 times. Making sure the green was not going to show through. I found that Golden’s crackle paste does not really crackle, especially with paint added, but leaves it with an almost spongy,velvet look and feel to it.

For the pieces and parts I used a mixture of gloss gel, 2 types of iridescent paint and even a bit of iridescent glitter, sponging it on to create a lot of texture. I ended up with 3 coats of this as well.

altered art and gum ball machine scenesBase New Paint

altered art and gum ball machine scenesPieces and Parts Painted

The ball of the machine, being plastic, actually comes apart and let me tell you it made it easier to put everything together! In the bottom of the opening of the ball I added a cardboard sheet to fill in the hole and started to created my scene. The snowman and tree came from Michael’s Lemax collection. I added a few wrapped presents and some poinsettias for added color. And then let the snow fall, even including some plastic flakes here and there.

altered art and gum ball machine scenesScene (before top of “ball” was added)

altered art and gum ball machine scenesScene 2 top of ball with snow

altered art and gum ball machine scenesFinished project

I glued the ball together and then glued everything but the top together so it can be all together without the metal rods running through the ball. Creating this really put me in the mood for Christmas!

Here are 2 other pictures of a gumball machine I created in the theme of Paris.

altered art and gum ball machine scenesJust the ball

altered art and gum ball machine scenesCompleted project

Life is short, do something creative every day!

~*~*~*~*~*~*~*~*~*~*~*~*~*~*~*~*~*~*~*~*~*~*~*~*~

Kim Kelley is borderline obsessive about her crafting and her art. She loves mixed media art because you are free to go beyond your comfort zone, using your imagination and exploring an anything goes mind set. Kim loves to learn and explore new techniques and hopes that any art she creates leads someone to find their inner creative artist!

Sites: itsallaboutcrafting.blogspot.com and www.facebook.com/kimscraftyconcepts

~*~*~*~*~*~*~*~*~*~*~*~*~*~*~*~*~*~*~*~*~*~*~*~*~

.

.