~ * ~
This article is written by Debbie Davis from In Art Therapy.
Debbie has previously shared her Christmas beeswax collages with us. Now she is back to step us through the process of getting started with this interesting medium.

Introduction
Beeswax is a wonderful medium to use in art. It can be used as a decoupage medium for adhering papers and objects to a number of surfaces. It can be stamped into to add texture to your art and rubbed with an oil pastel to add color.
There are many options available when choosing a substrate upon which to create your collage. Here are a few:
- Wood
- Masonite
- Paper
- Canvas (small gallery wrapped or canvas panel)
- Encaustic board
- Clayboard
- Metal
I have read that you should not apply beeswax over acrylic paint because it will eventually fall off. I do use small canvases that have been primed with acrylic gesso and have never had a problem with it coming off. I wouldn’t use a wrapped canvas any bigger than 5×5 inch because there isn’t as much support. I find the 4×4 inch to be the perfect size. You could also use a canvas panel which would be much sturdier.
Choosing your wax
Beeswax is sold in one or two pound blocks. It is also available in bags or jars that contain small pellets. It can be yellow (natural) or white (filtered) in color.You can find beeswax online or at a number of craft and hobby stores. Prices will vary but I usually pay around $11.00 for a 1lb block.
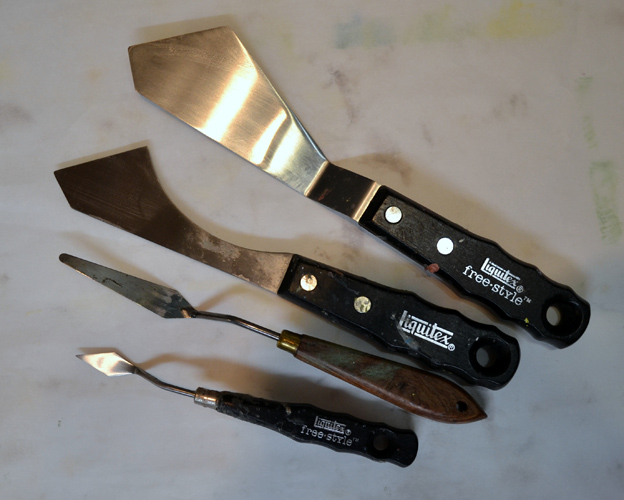
Heating tools options
- Crock pot
- Griddle
- Melt Pot (made by Ranger)
- Heat Gun
- Mini iron (I love using my Clover mini iron)
- Travelers iron (without holes)
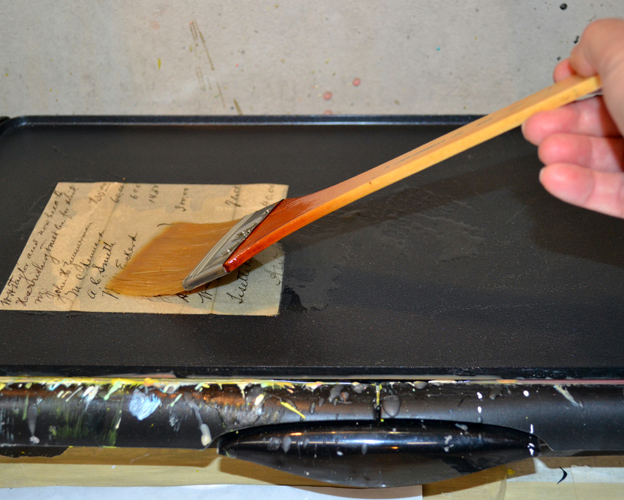
If using a block of wax, you will need to break off pieces for melting. Put the wax in a plastic bag and hit it a few times with a hammer. Melting the wax can take a while, depending on how much you put in your pot. I like to use a small crock pot I bought at a yard sale. You should be very careful not to overheat the wax. Put it on the medium to low setting.
You could also use an electric griddle and put a pan on top with the wax in it. Just remember that whatever you put the wax in, you will not be able to use it for anything else. Keep the temperature setting around 200 degrees. If the wax starts to smoke, the temperature is too high.
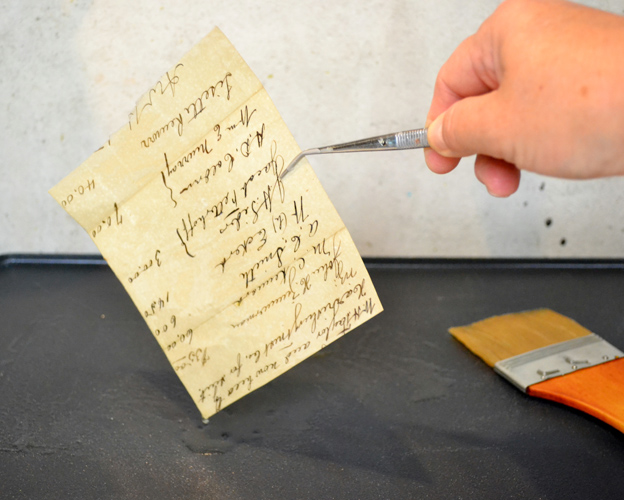
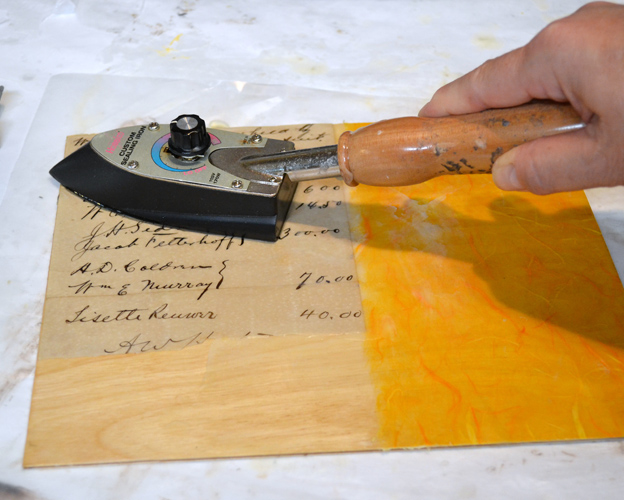
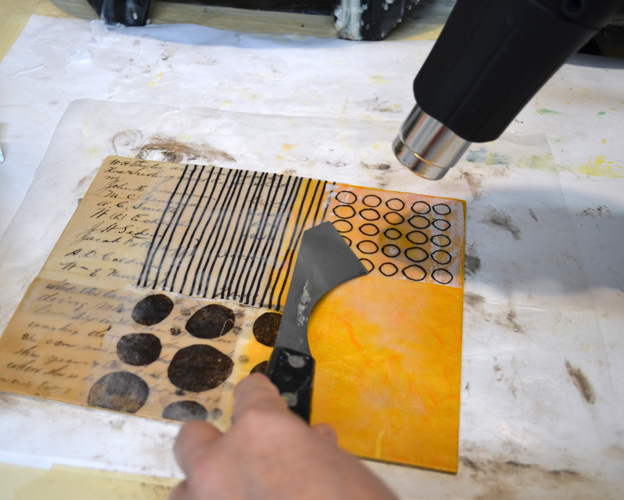
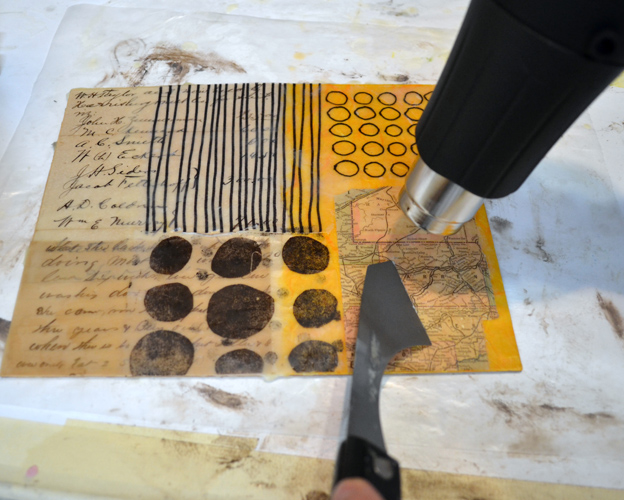
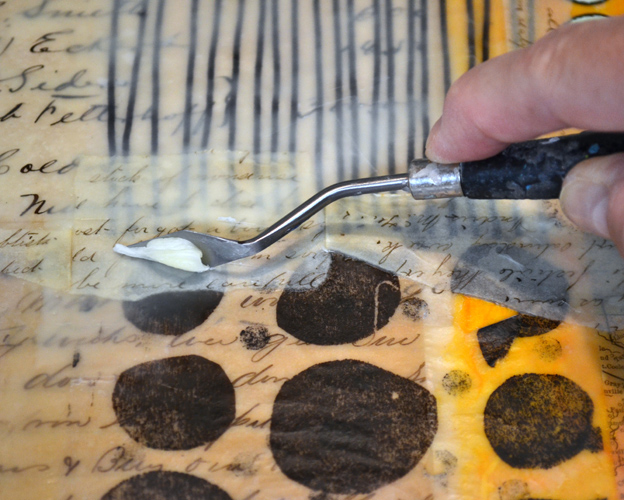
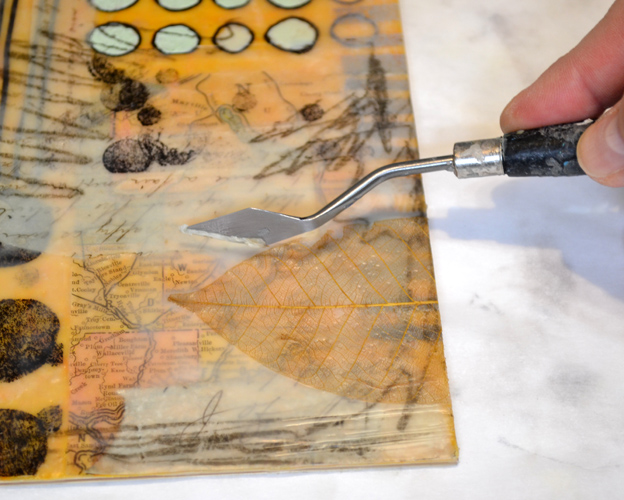
I love to use a mini iron to smooth the wax out after adding elements to the collage. A heat gun can be used to fuse layers of wax together. You can also easily fix mistakes by melting the wax and removing any elements you are not happy with. All of these tools can be found on-line or at your local craft stores.
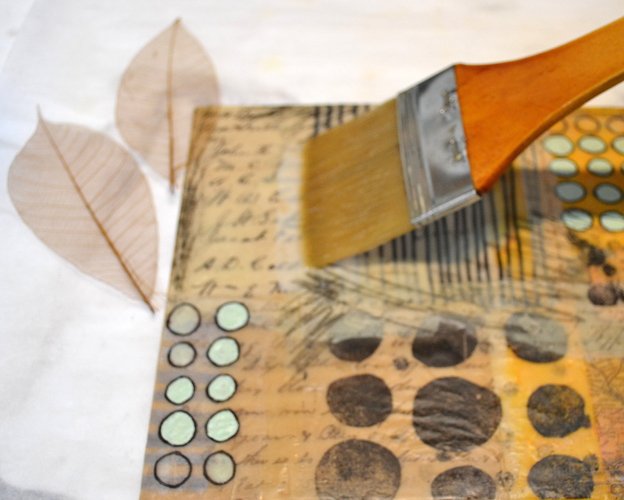
When painting the wax onto your substrate, use a natural bristle brush because synthetic brushes will melt. I just buy the cheap chip brushes. Also know that once you use the brush in the wax, you will not be able to use it for anything else. The wax will harden quickly on the brush but will melt again once placed back in the hot wax.
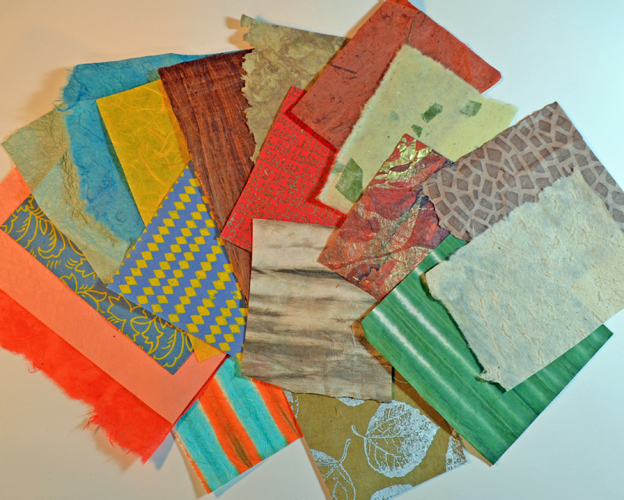
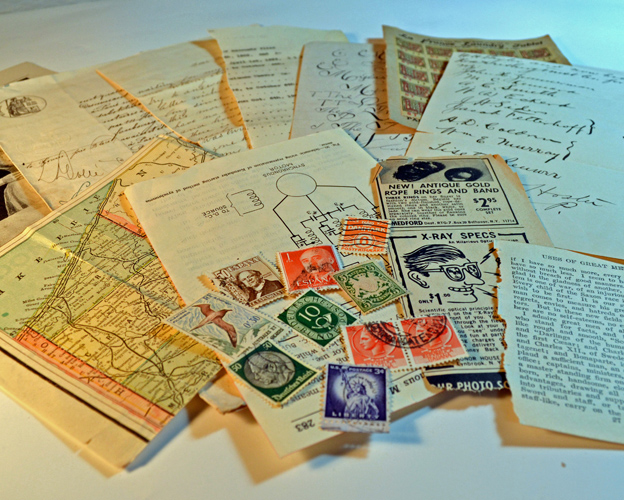
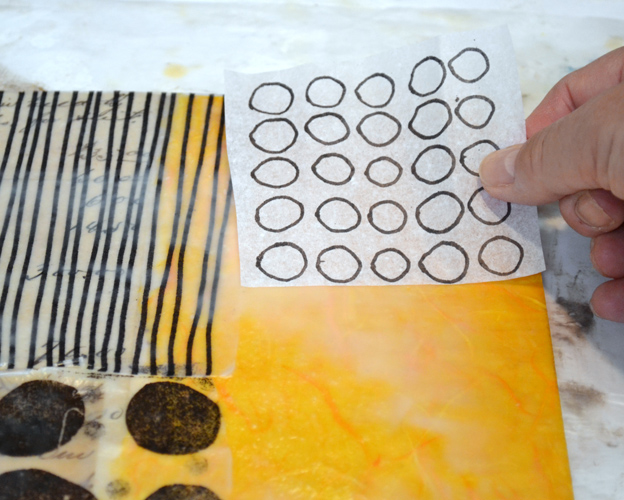
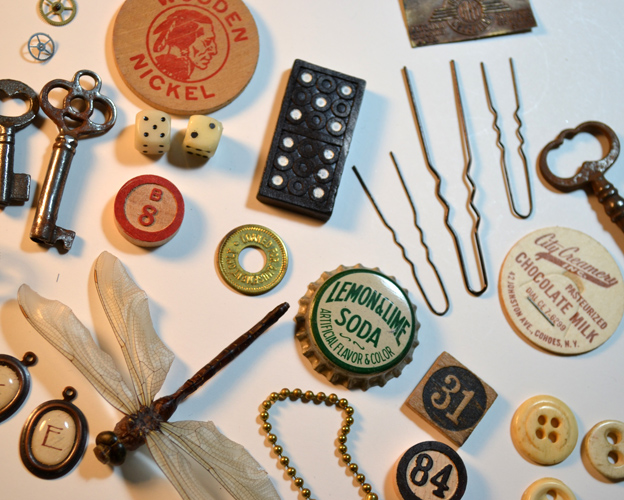
Items to use in your collage
- Any type of paper (Scrapbook, dictionary pages, vintage book pages, magazine clippings)
- Old photos or printed images
- Buttons
- Keys
- Dried flowers
- Found objects
- Material
- Lace
- Ribbon
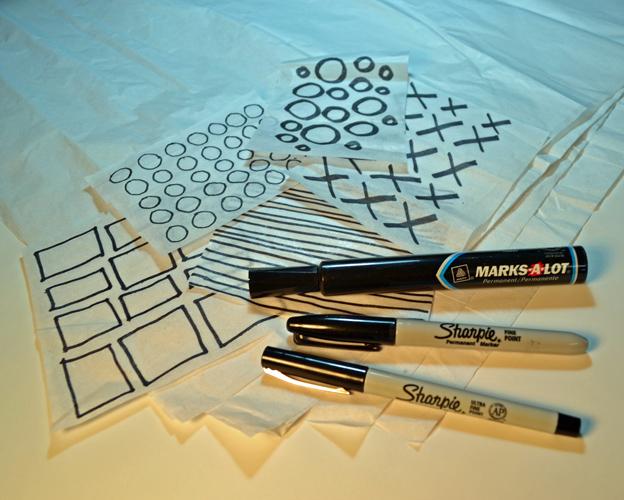
- Paper napkins
- Gift wrap tissue
- Pattern tissue
This is where you can really have fun because if you don’t like where you put something, you can melt the wax, move the object and start over again. No need to worry about ruining your substrate.
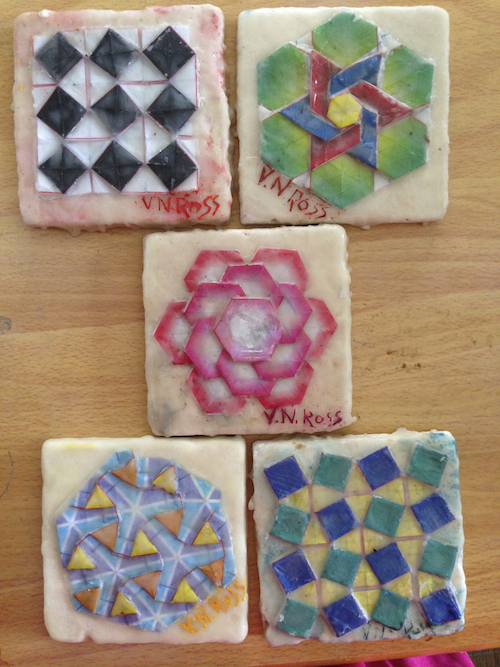
Here are some examples of collages I have created on various substrates:

Collage on Canvas using an image of my sweet cousins, flowers and a poem stamped onto white tissue paper along with a paper butterfly and a button.

Beeswax on Wood – Ink and watercolor painting coated in Beeswax
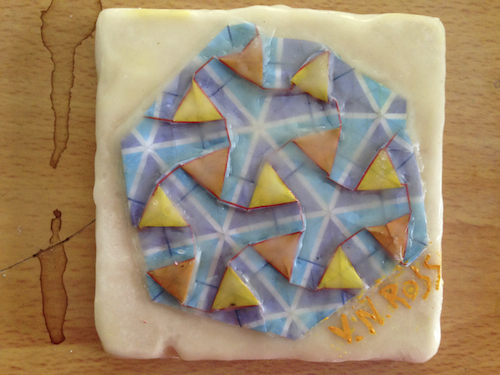
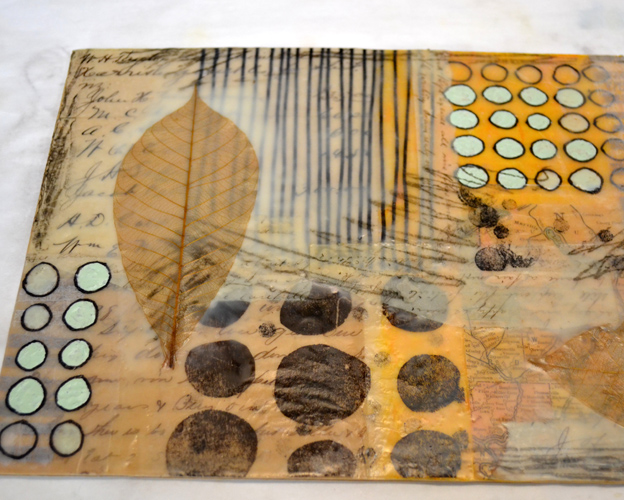
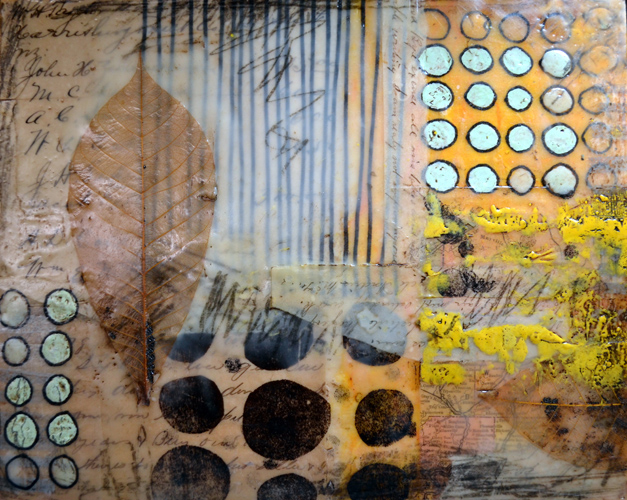
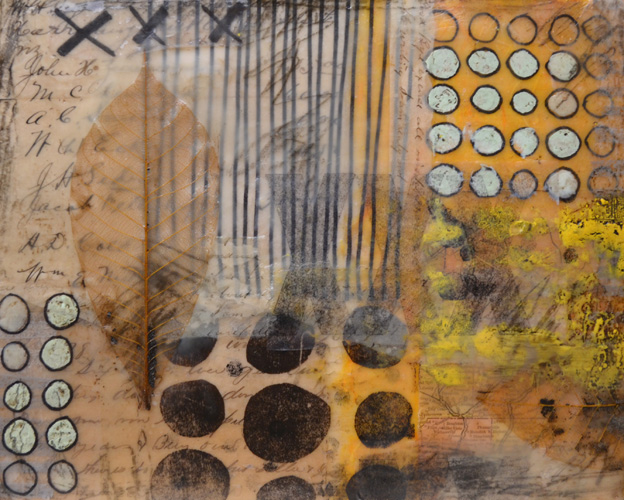
Beeswax on Clayboard – I used tissue paper, scrapbook papers, a page torn from a vintage children’s book and an image printed from my inkjet printer.
I hope you have fun experimenting with this new medium – it’s perfect for a range of mixed media projects!
~*~*~*~*~*~*~*~*~*~*~*~*~*~*~*~*~*~*~*~*~*~*~*~*~
My name is Debbie and I live in Morton, Illinois, USA. I’m happily married and have a wonderful family that includes a daughter, son, son-in-law and 2 of the sweetest grandchildren ever!
What I love most about mixed media art is that you don’t have to be an expert at anything to create beautiful art. It is a great way to recycle found objects. Art is such a wonderful stress reliever. I just wish I had more time to play!
I have a shop on Etsy called Artful Explorations where I place some of the art I have created for sale. Having been inspired by others who are willing to share their techniques and ideas, I decided to start a blog called In Art Therapy and hope you will visit me there.
~*~*~*~*~*~*~*~*~*~*~*~*~*~*~*~*~*~*~*~*~*~*~*~*~
For further reading:


.


Recent Comments