Mixed Media Art
Mixed Media Art Techniques and Projects to Inspire You!
Ready for a wonderfully arty 2024?
For Mixed Media Art, 2024 will include in person craft shows PLUS in person & online art classes. Makers, Arts & Crafts at the Train & Hobby show, From Picture to Page papercraft shows in May & October, Paperific Expo at the Flemington Racecourse in August plus The Papercraft show at the Hawkesbury Showgrounds in November.
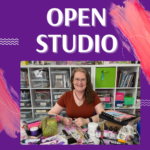
Join us ~ Open Studio
Join MIchelle for the Mixed Media Art OPEN STUDIO – Fri 1 & Sat 2 Dec, 2023 – Come along to watch mixed media demonstrations – Play with favourite new craft supplies – In-store specials – Melbourne, Victoria AU
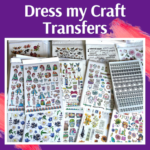
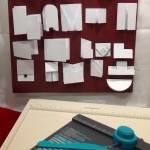
Using the Dress my Craft Transfers
Michelle is playing with the Dress My Craft Transfers – they come in many different designs and are perfect for adding a focal point to your art journaling, scrapbooking or card making project. The transfers are easily applied with a little water.
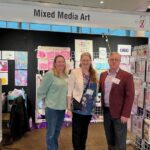
Visit us at Paperific 2023
The Mixed Media Art team are excited to be heading back to Melbourne Paperific Expo for 2023! Come and see us at the Flemington Racecourse on 25, 26 & 27 August 2023; we are running a FREE Make and Take.
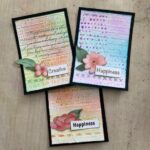
Vicky P inspired mixed media ATC
Let’s create an ATC (Artist Trading Card) inspired by the Create Happiness range from Stamperia and Vicky P. We will learn a few mixed media techniques including ink blending, creating borders and composition.
The Multitasking Mixed Media Artist
Ann Strecko Koeman is the ultimate multitasking mixed media artist, finding new ways to make a living as an artist and promoting her work through teaching and the internet, as well as a few other strings to her bow.
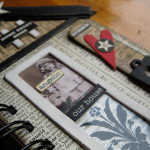
What is Mixed Media Art?
The term “mixed media art” is a broad definition that covers many arts and crafts, including collage, assemblage (both 2D and 3D), altered objects, including books and boxes, handmade greeting cards, artist trading cards (ATCs) and tags, art journalling and book making.


About Us
![]() If you are looking for inspiration and great mixed media ideas, then you have come to the right place! Enter your name and email above to join our mailing list and each month you will receive a summary of what's new at Mixed Media Art and notification of our latest ephemera sheet ~ we promise not to bother you any more than that!
If you are looking for inspiration and great mixed media ideas, then you have come to the right place! Enter your name and email above to join our mailing list and each month you will receive a summary of what's new at Mixed Media Art and notification of our latest ephemera sheet ~ we promise not to bother you any more than that!
Happy Creating,
Michelle & the MMA Team
Artist Unite!

Recent Comments